Replacing Imported Images
The Image Replace feature makes it easy to update imported images without losing your edits in Mental Canvas. Whether you’ve refined a sketch, adjusted a design, or made small modifications like changing a logo, this tool ensures a seamless workflow between Mental Canvas and external creative tools.
When to Use Image Replace
If you’ve imported a sketch or image and later modified it in an external tool, you can update it without having to re-import and re-edit from scratch. This is especially useful for:
- Keeping your scene up to date after making changes in another app.
- Adjusting small details, such as logos, colors, or textures, while preserving the rest of your work.
- Swapping out an early concept with a finalized version while maintaining any projections, cuts, or other modifications made in Mental Canvas.
Image Compatibility
To prevent distortion, the replacement image must have the same aspect ratio and dimensions as the original. Any edits applied in Mental Canvas—such as cuts or projections will remain intact after the image is replaced, allowing for a smooth update without disrupting your scene.
If you’ve made major changes to image size or content, it’s best to reimport the image instead of trying to replace it. To streamline the process, select the existing layer and import the new image directly over it.
How to Replace Images
The following steps demonstrate how to replace a sketch layer with a more detailed, colored version while maintaining its position and projection in the scene.
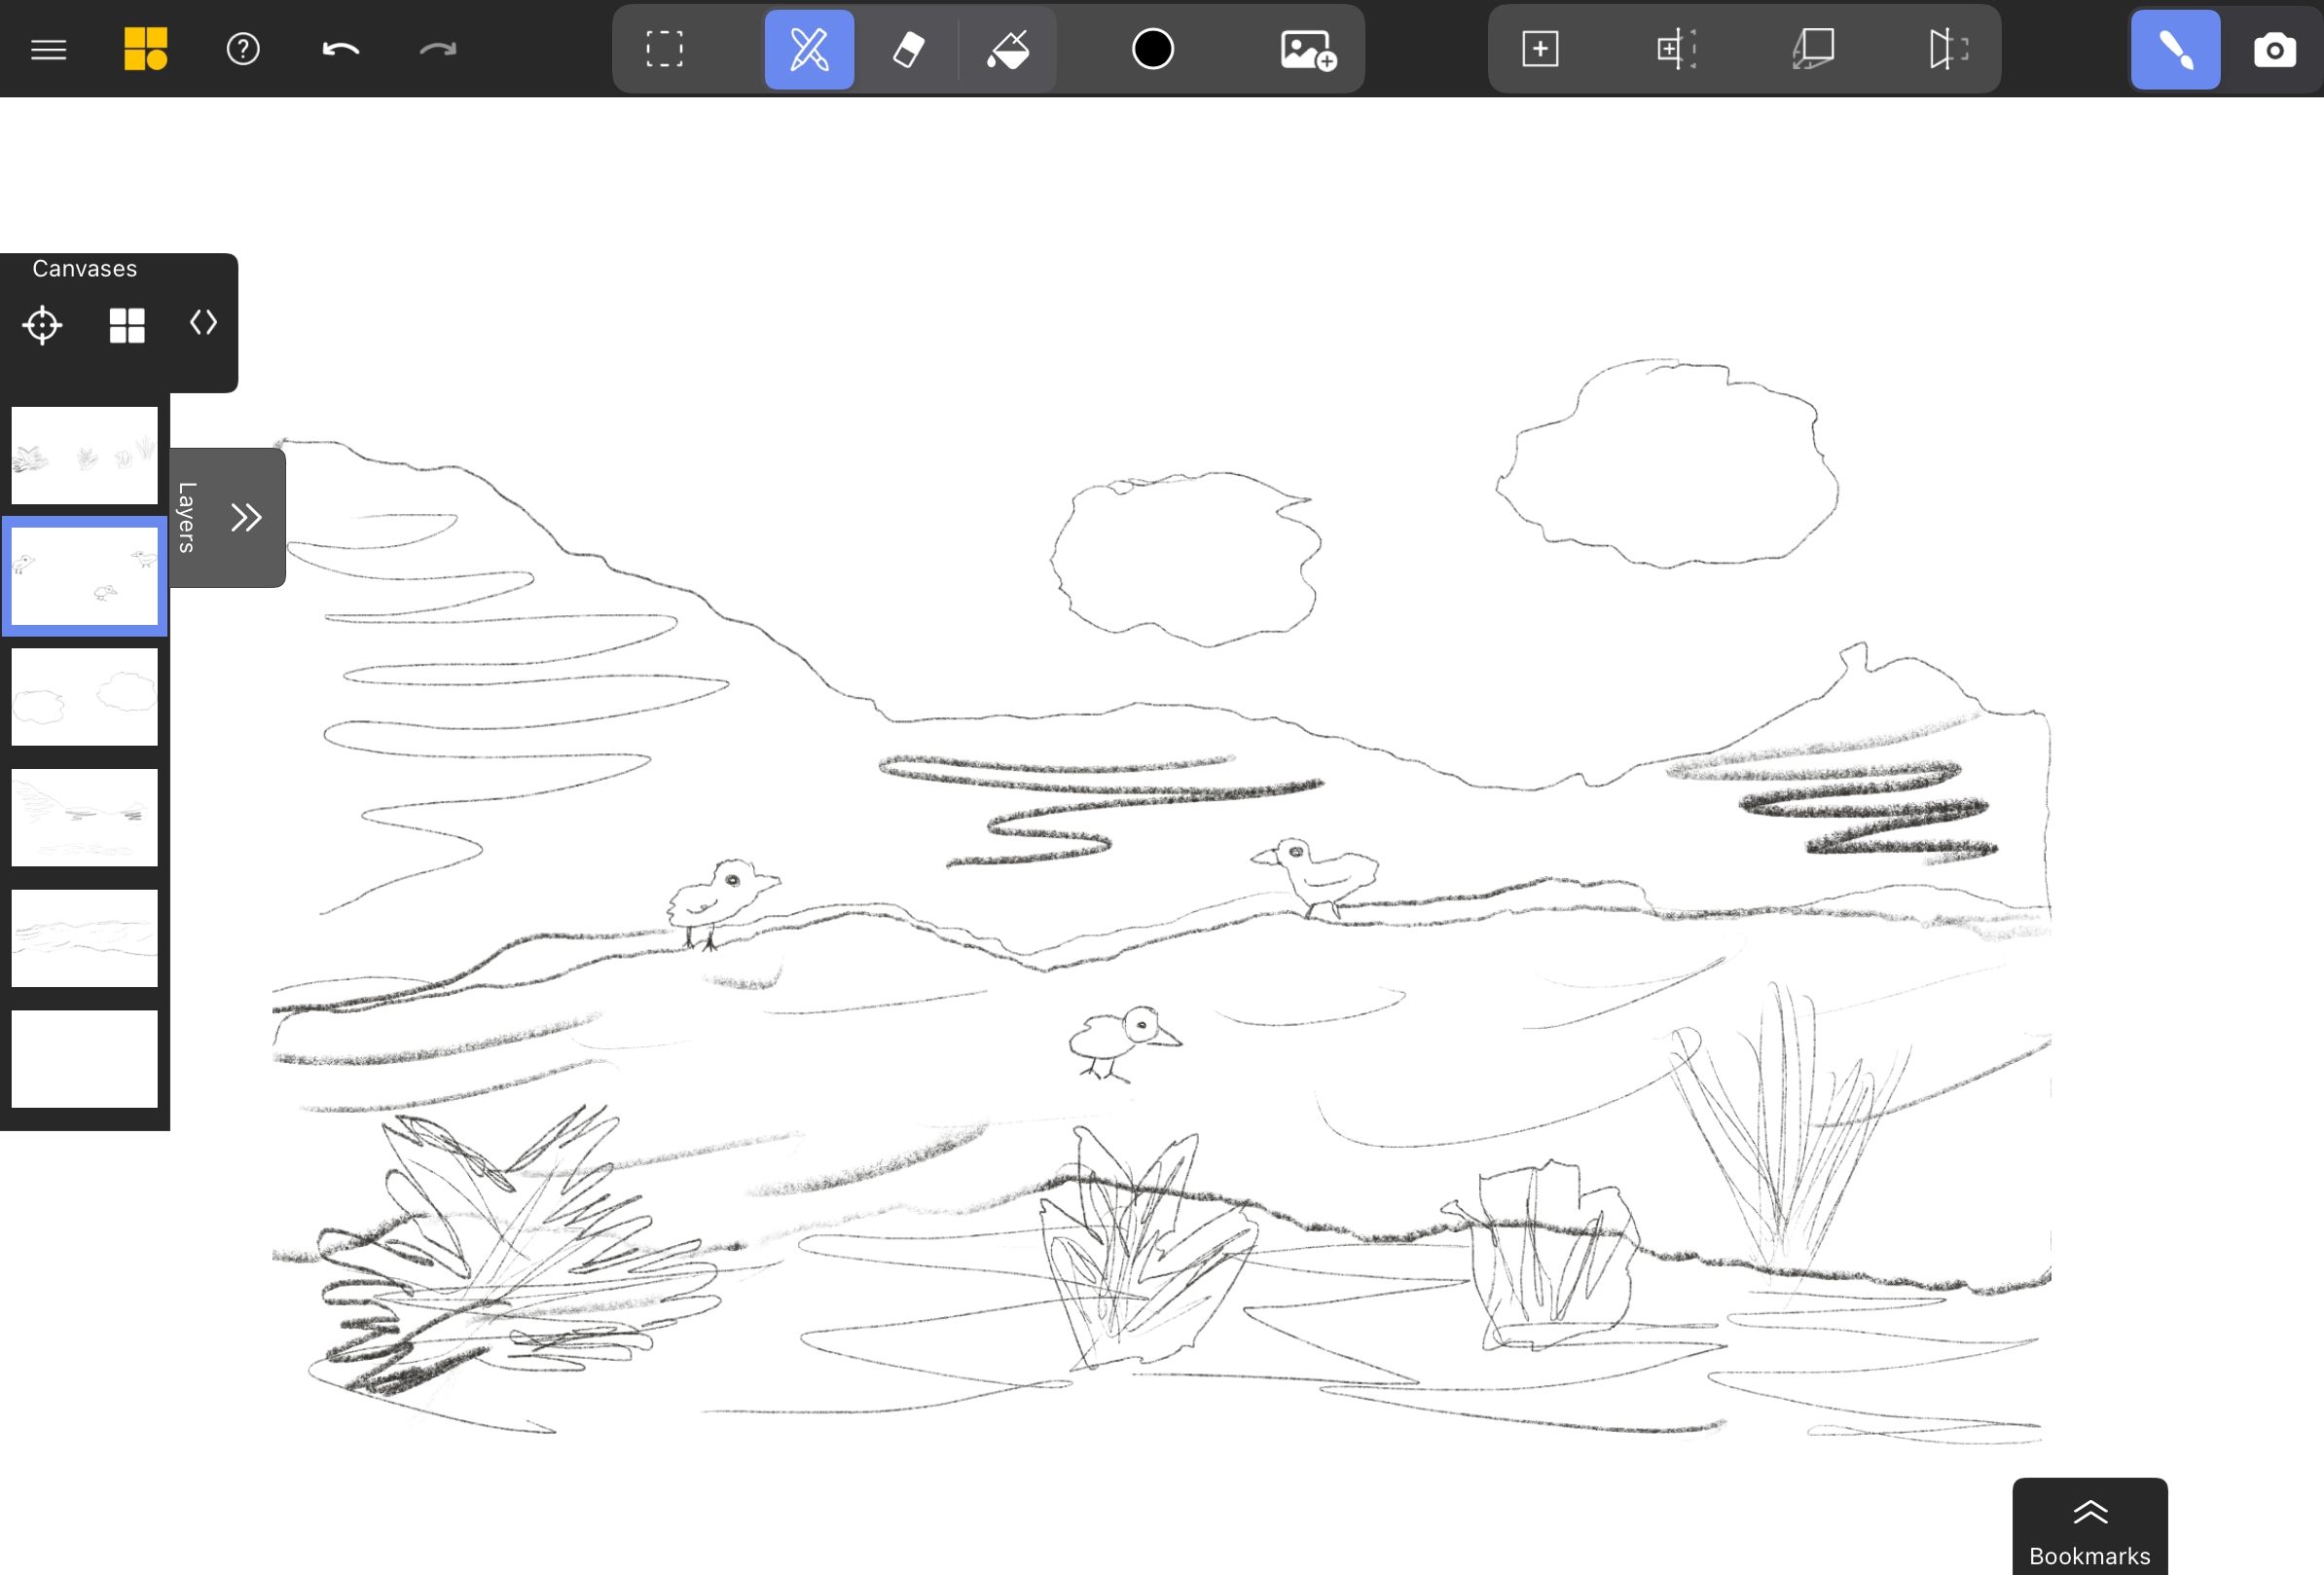
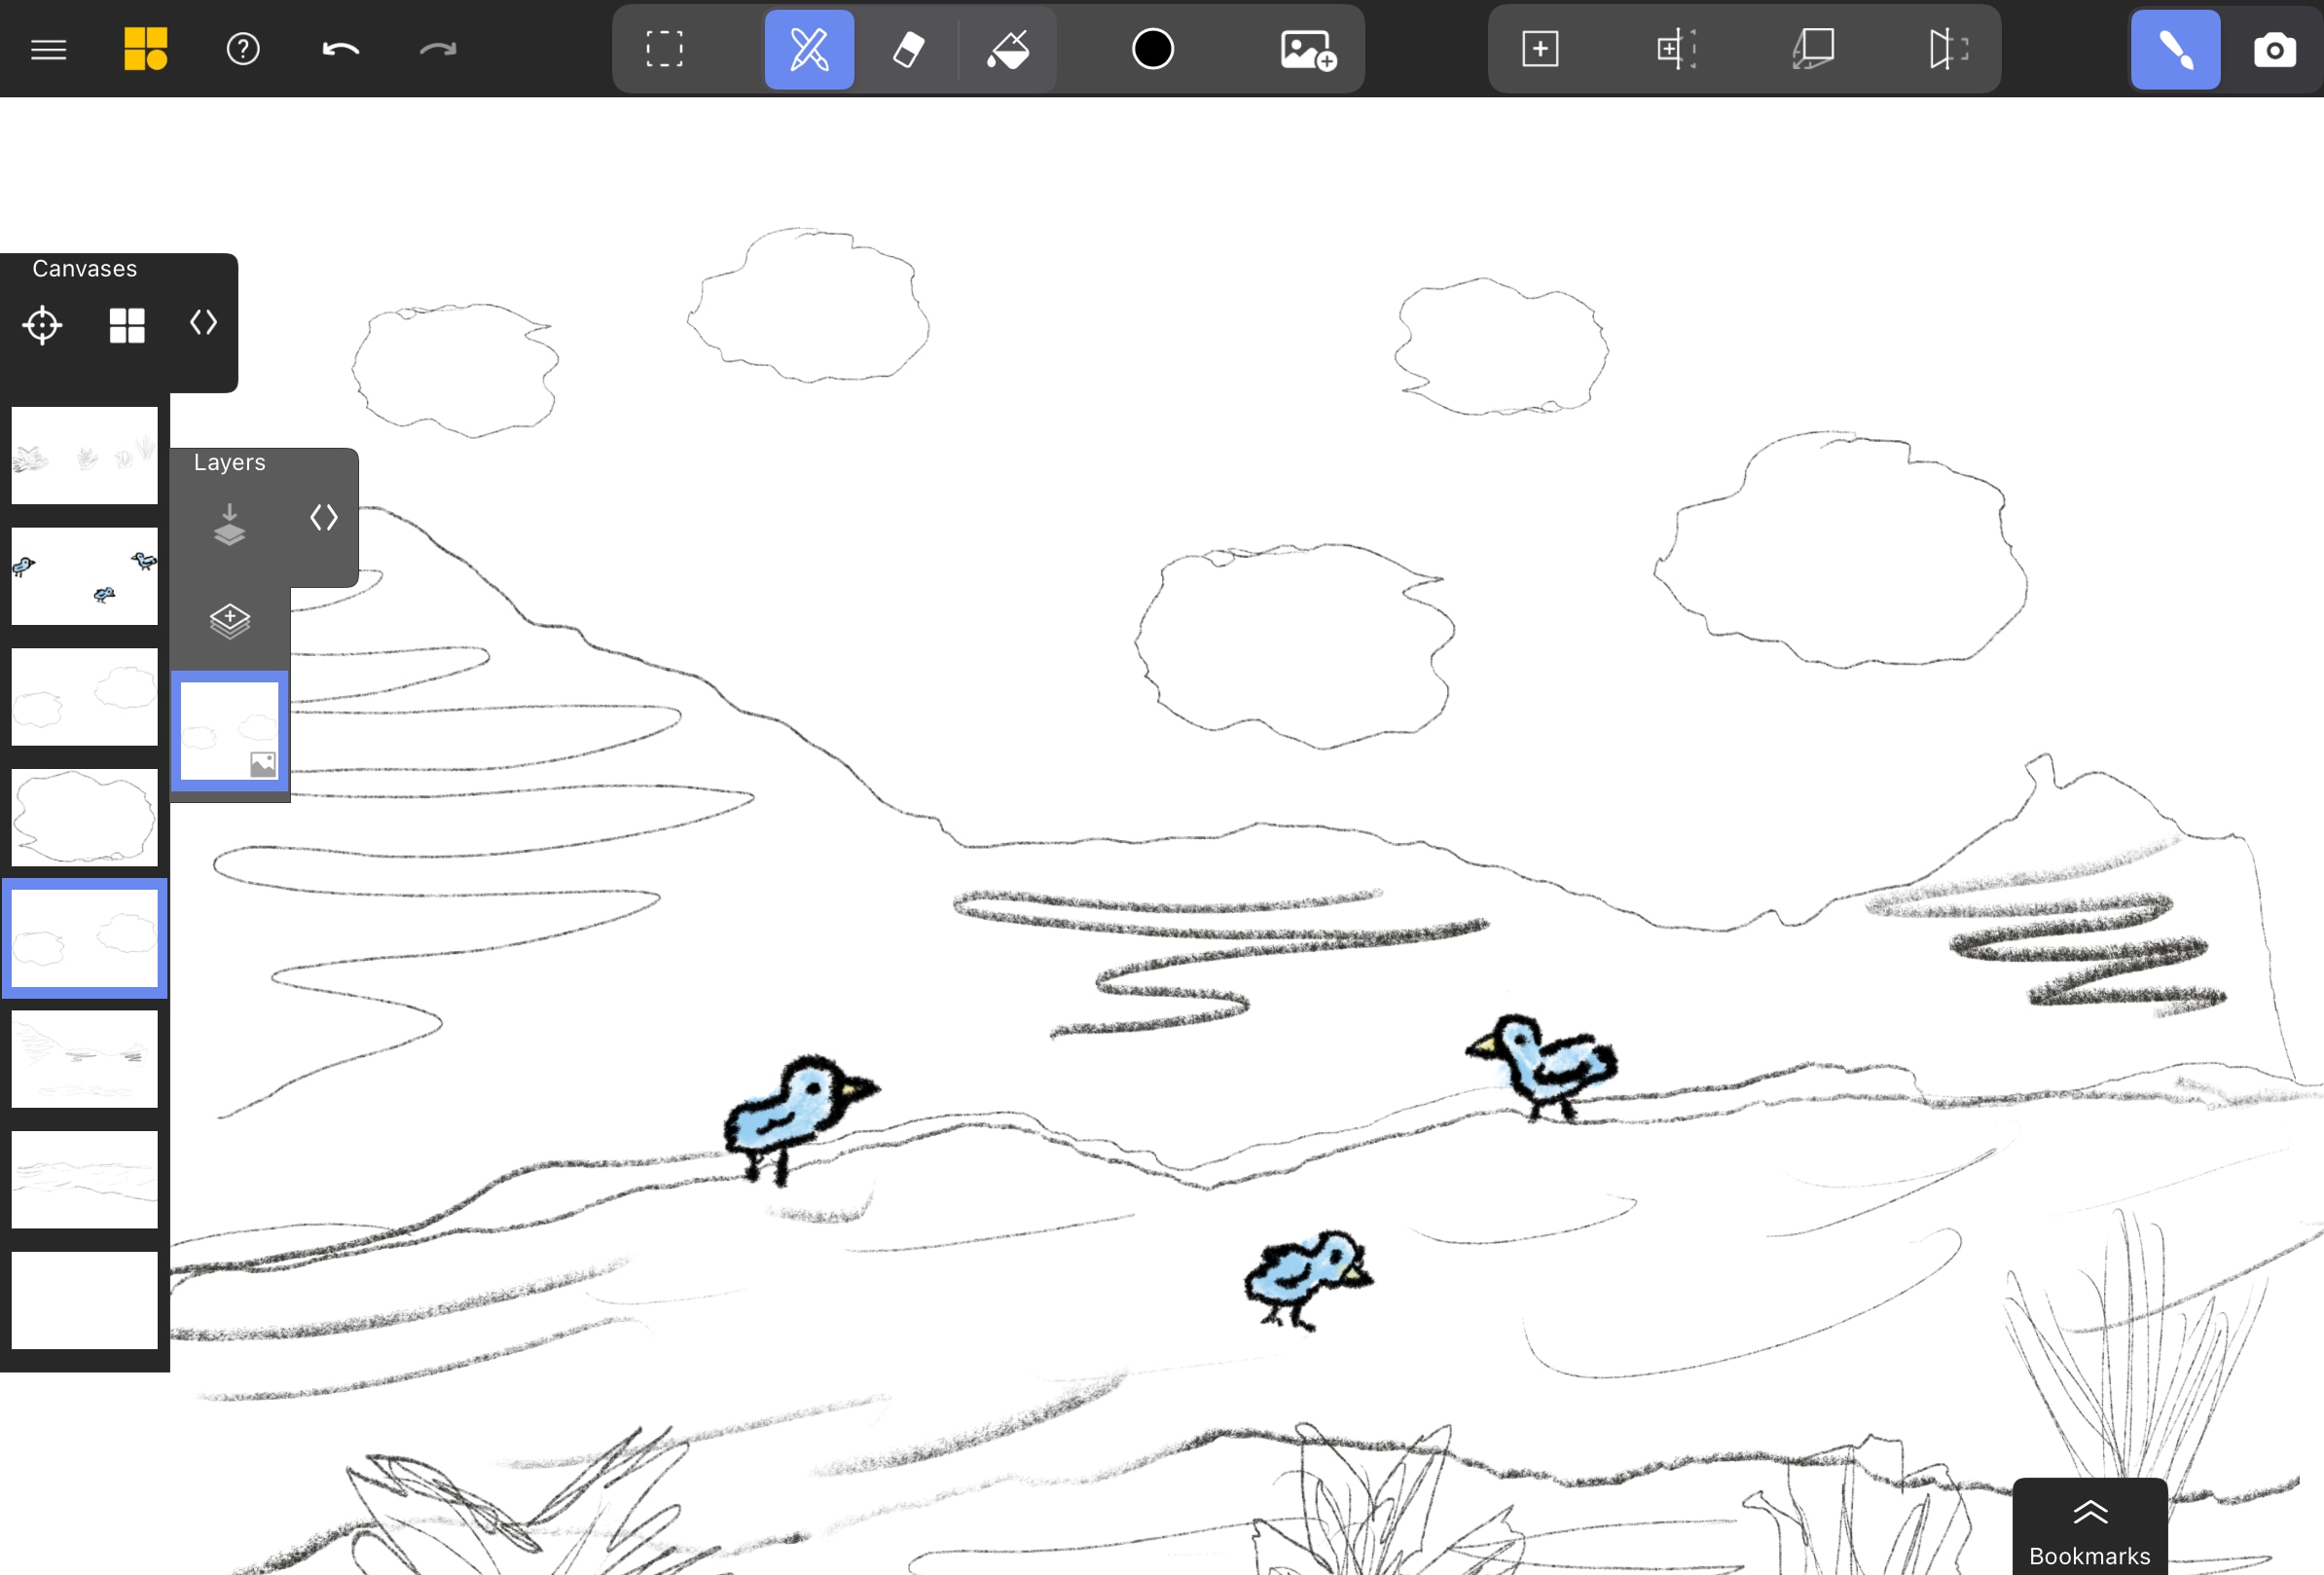
Select the Canvas You Want to Replace in the Canvas List
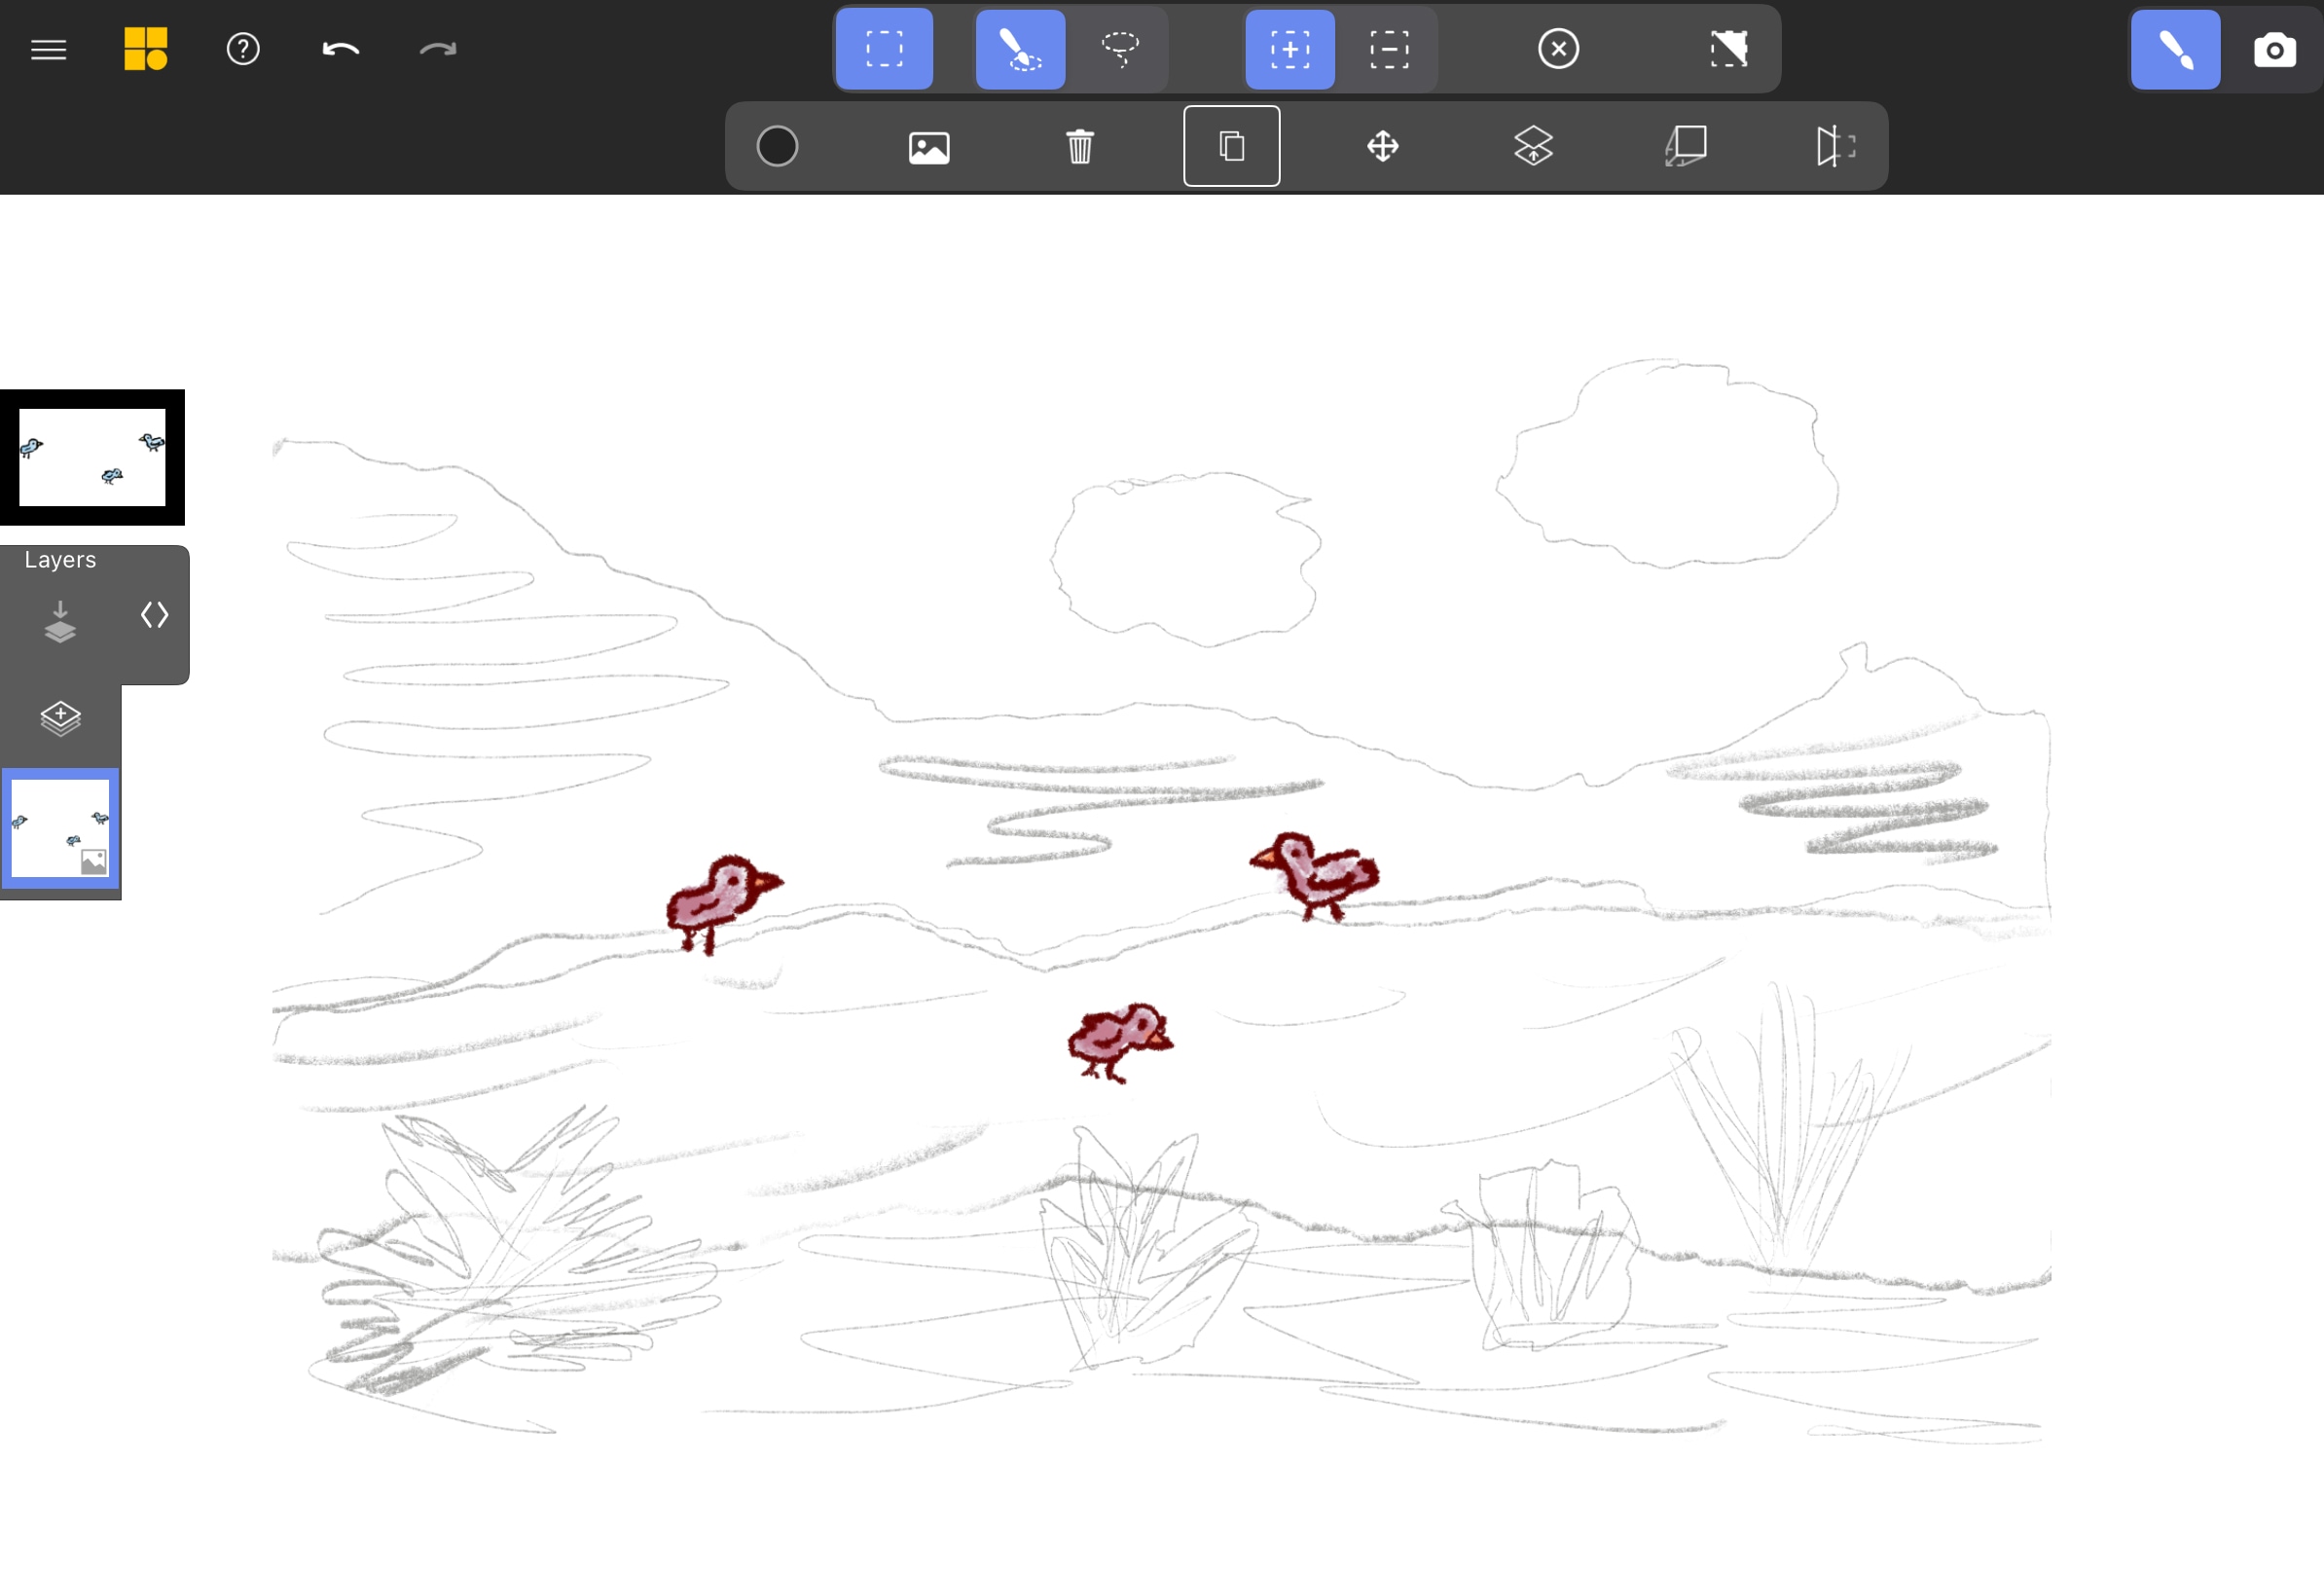
The layer must be an imported image – drawn content in Mental Canvas cannot be replaced. In this example, we’ve selected the canvas containing a simple sketch of three birds.
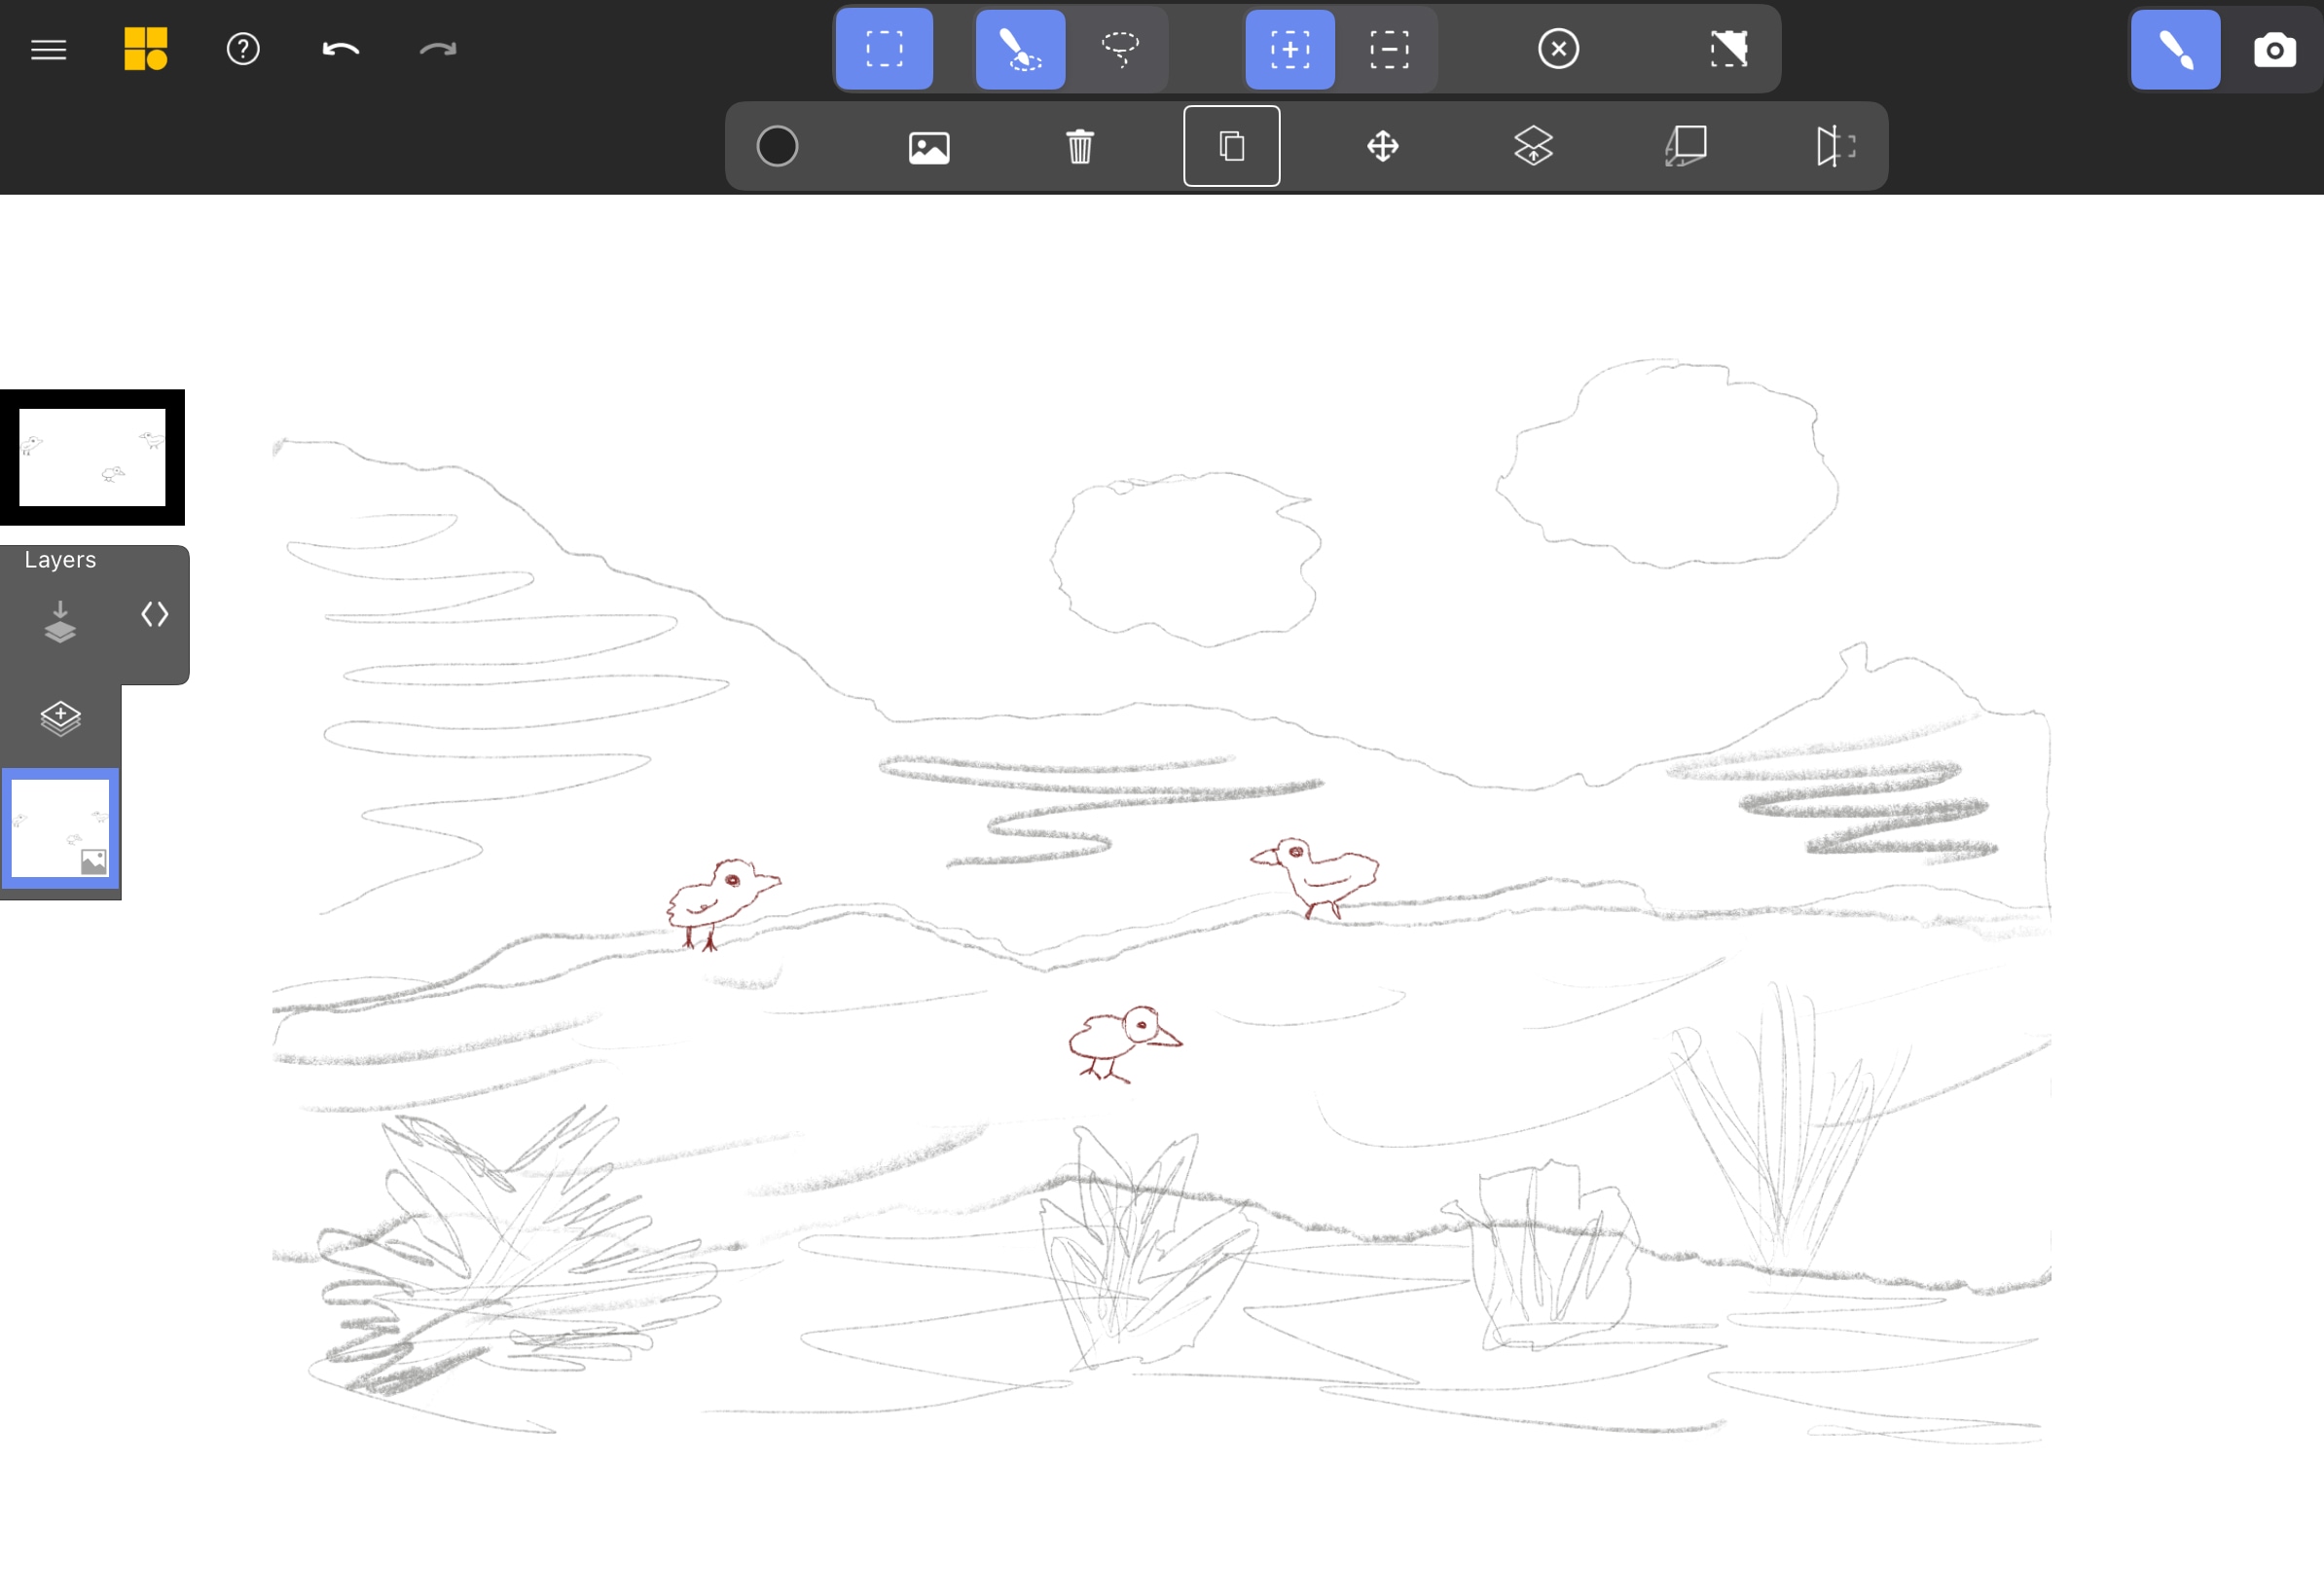
Enter Selection Mode and Select the Content to Replace
Since we want to replace the entire layer, we enter Selection Mode and tap Invert Selection to quickly select everything on the layer. The outline of the birds will turn red to indicate they’re selected.
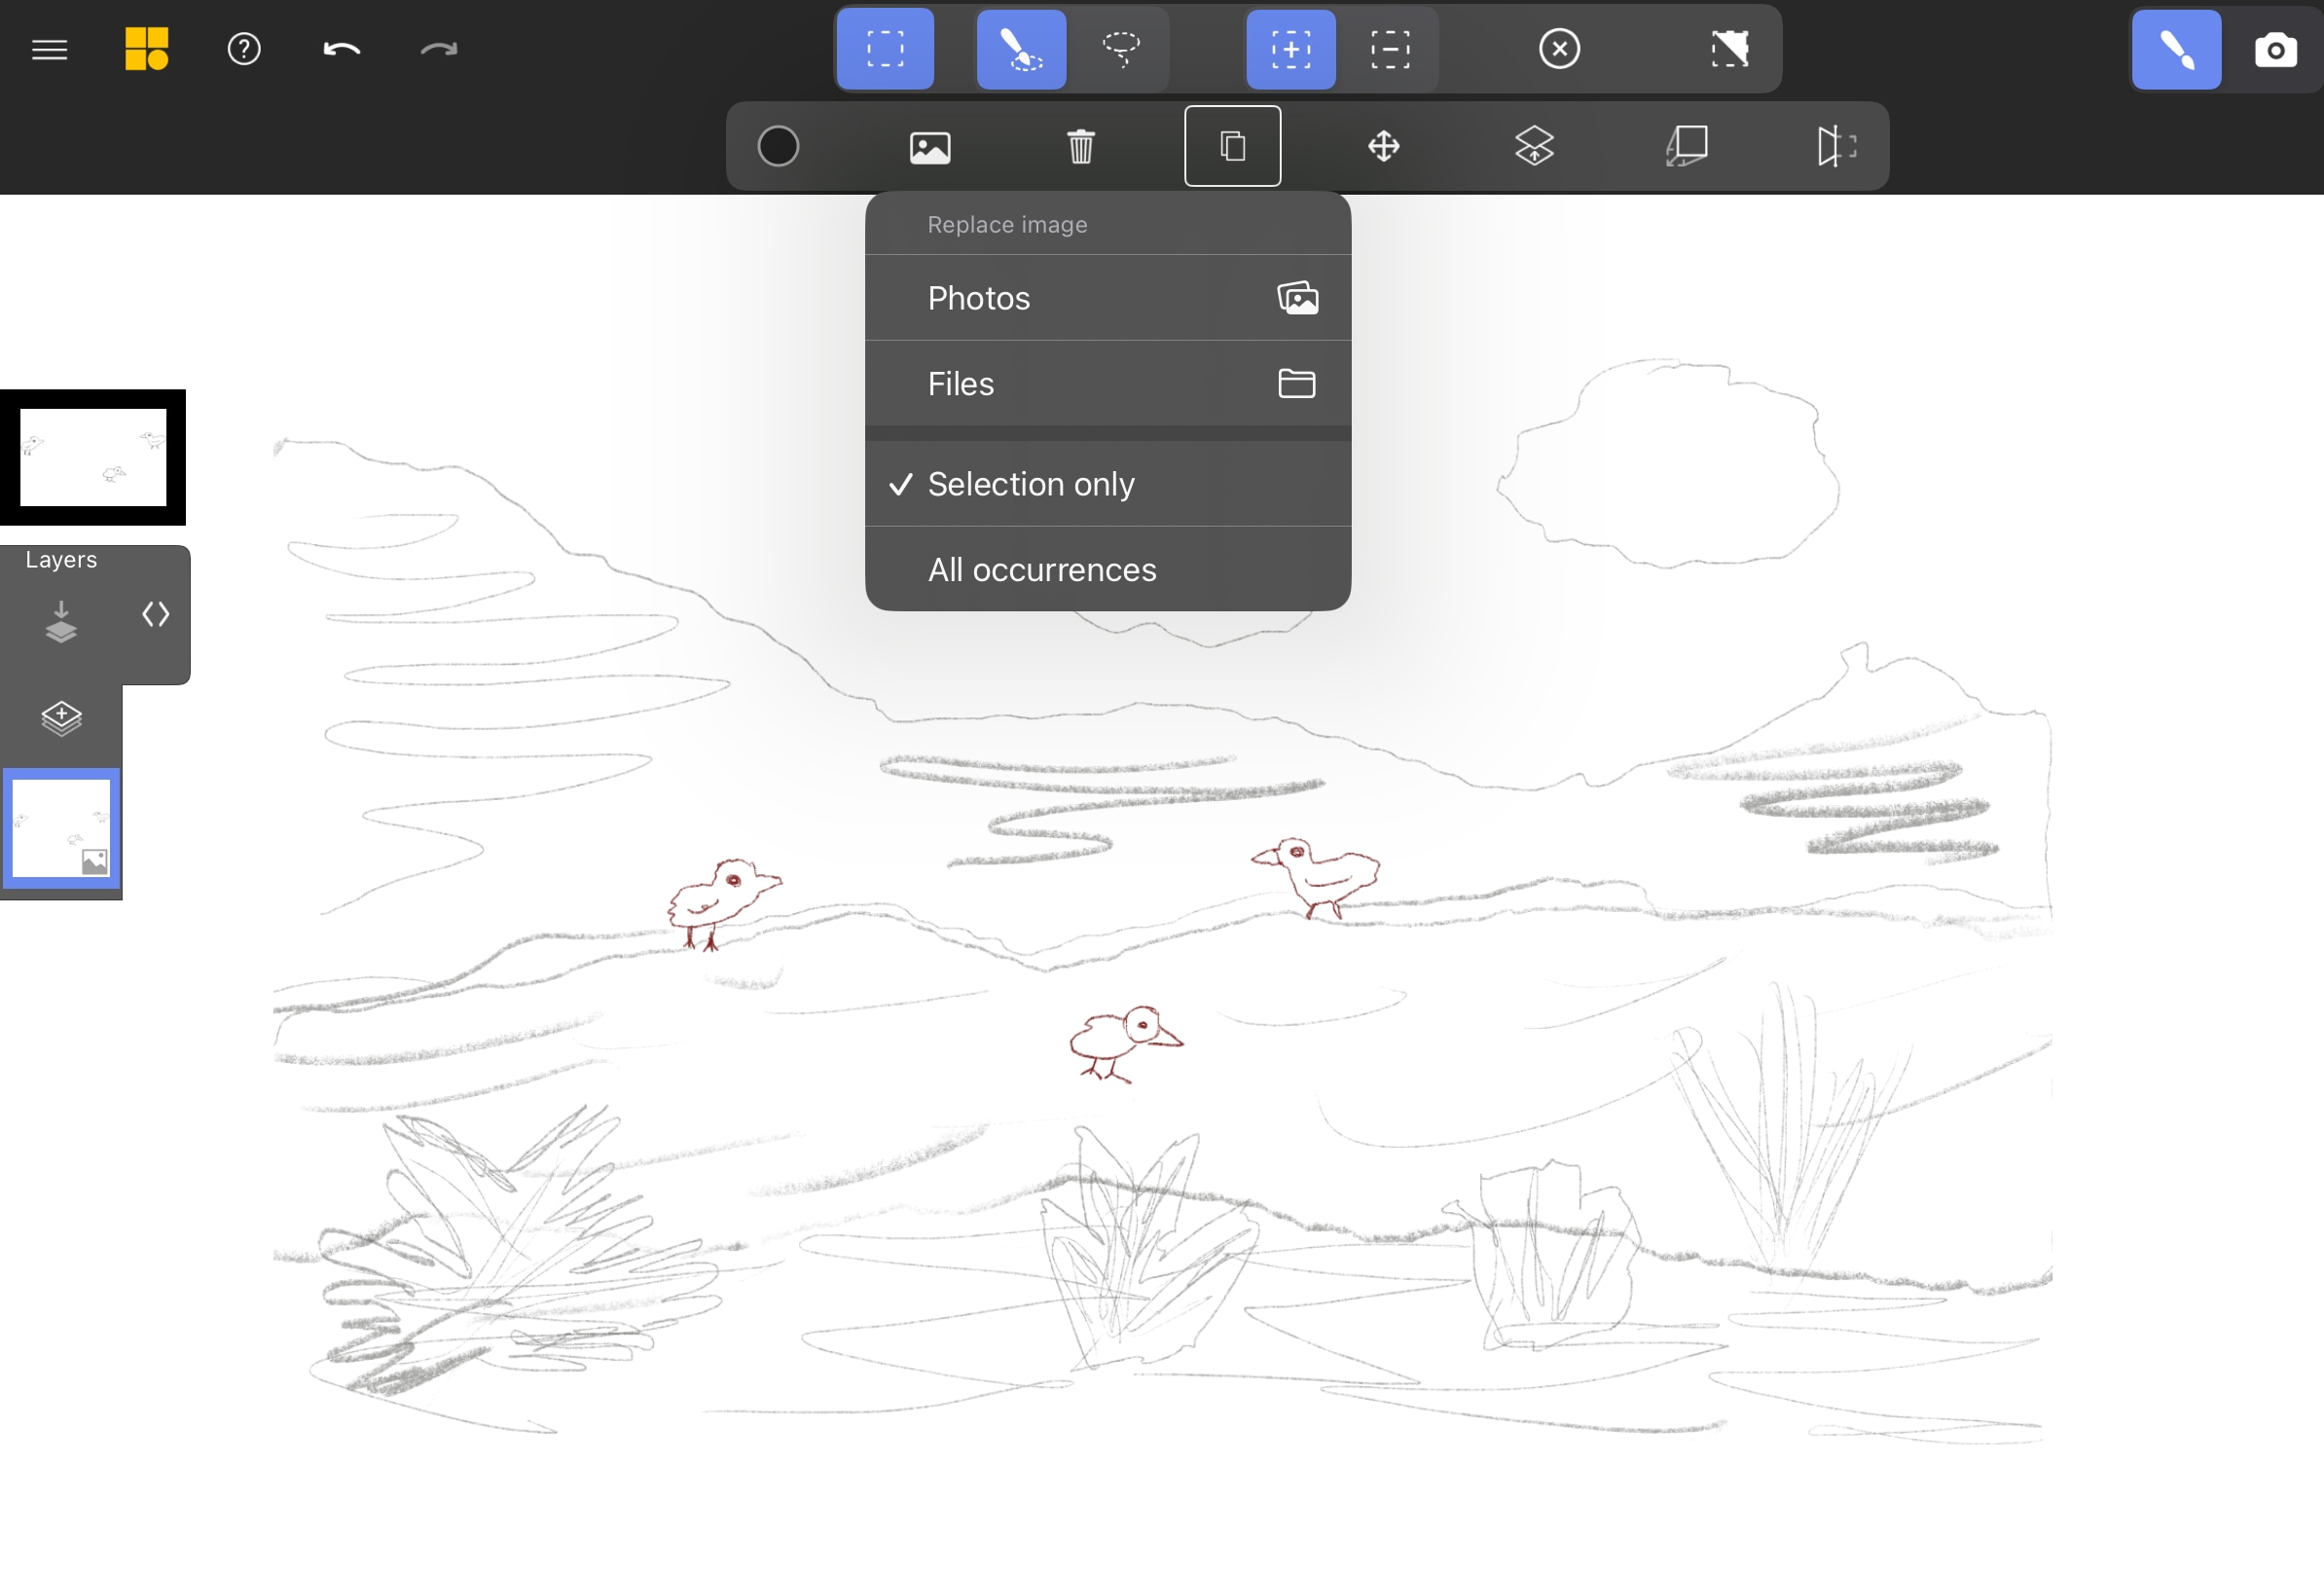
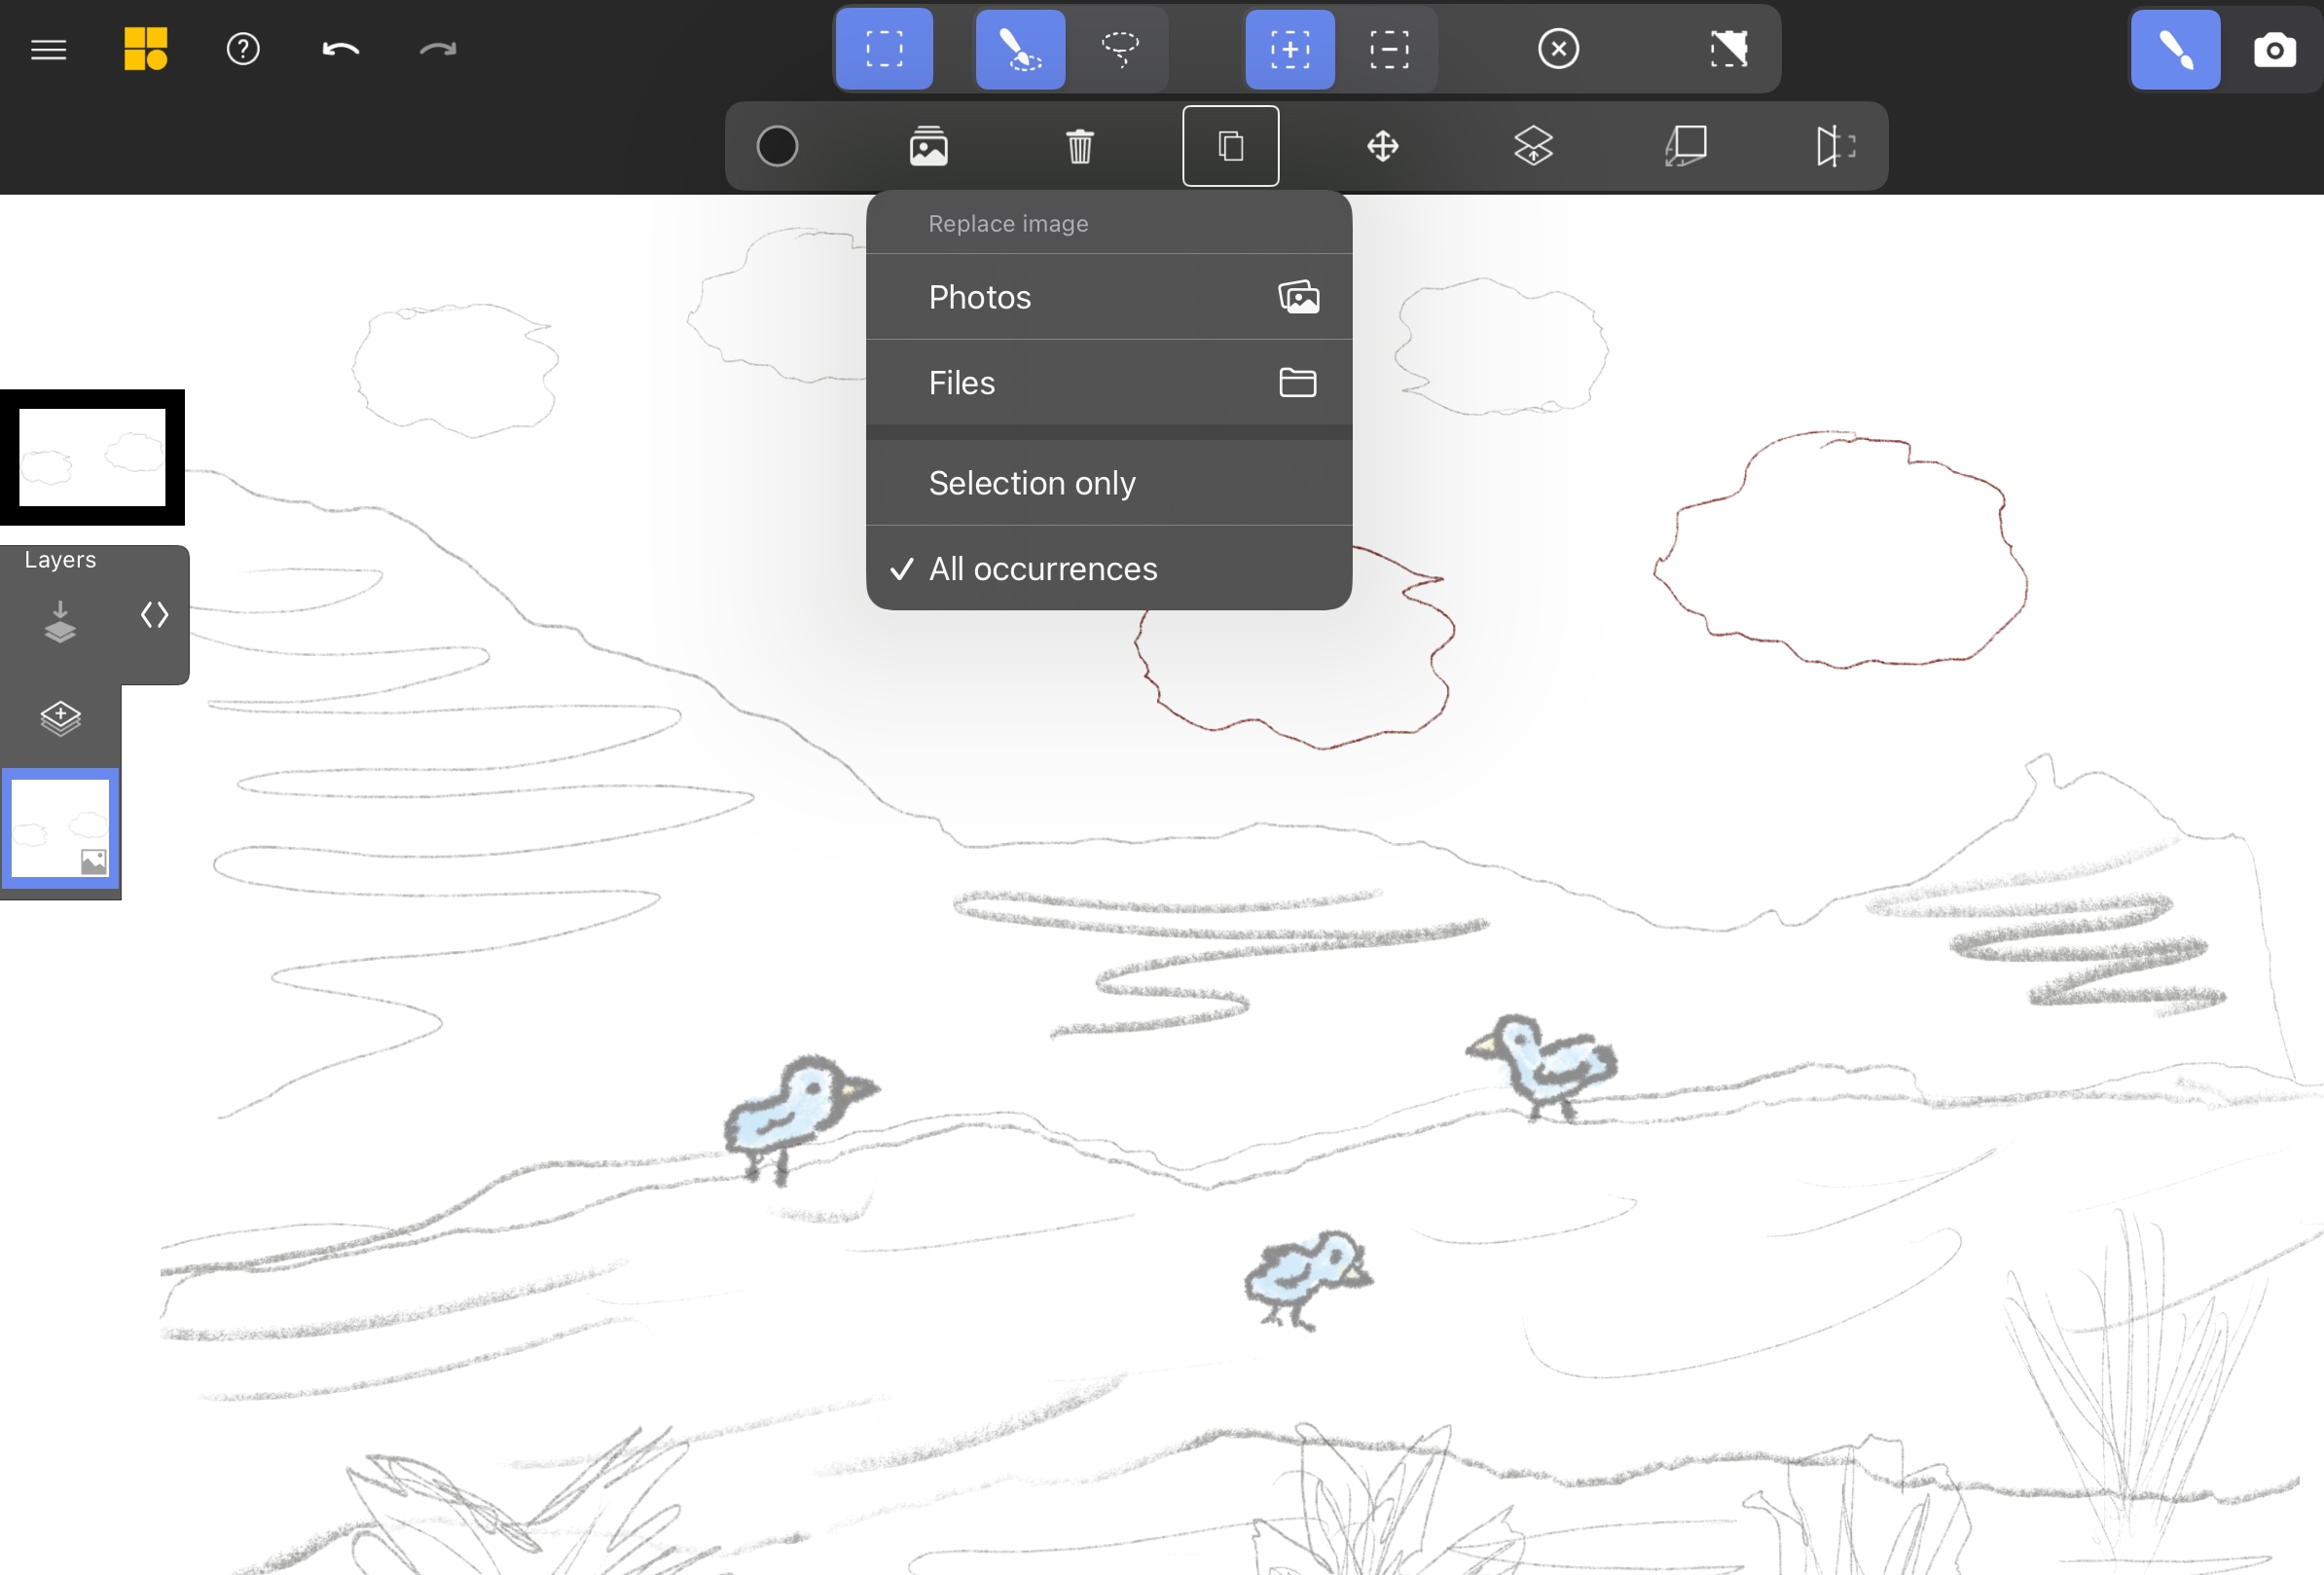
Tap the Replace Image Button
A menu will appear, prompting you to choose a new image from Photos or Files. For details on the differences between these import methods, see Importing Images.
You can also choose to replace just this instance of the imported image or all occurrences of it in the scene. Replacing all occurrences is useful when updating elements used repeatedly, such as clouds, trees, or textures.
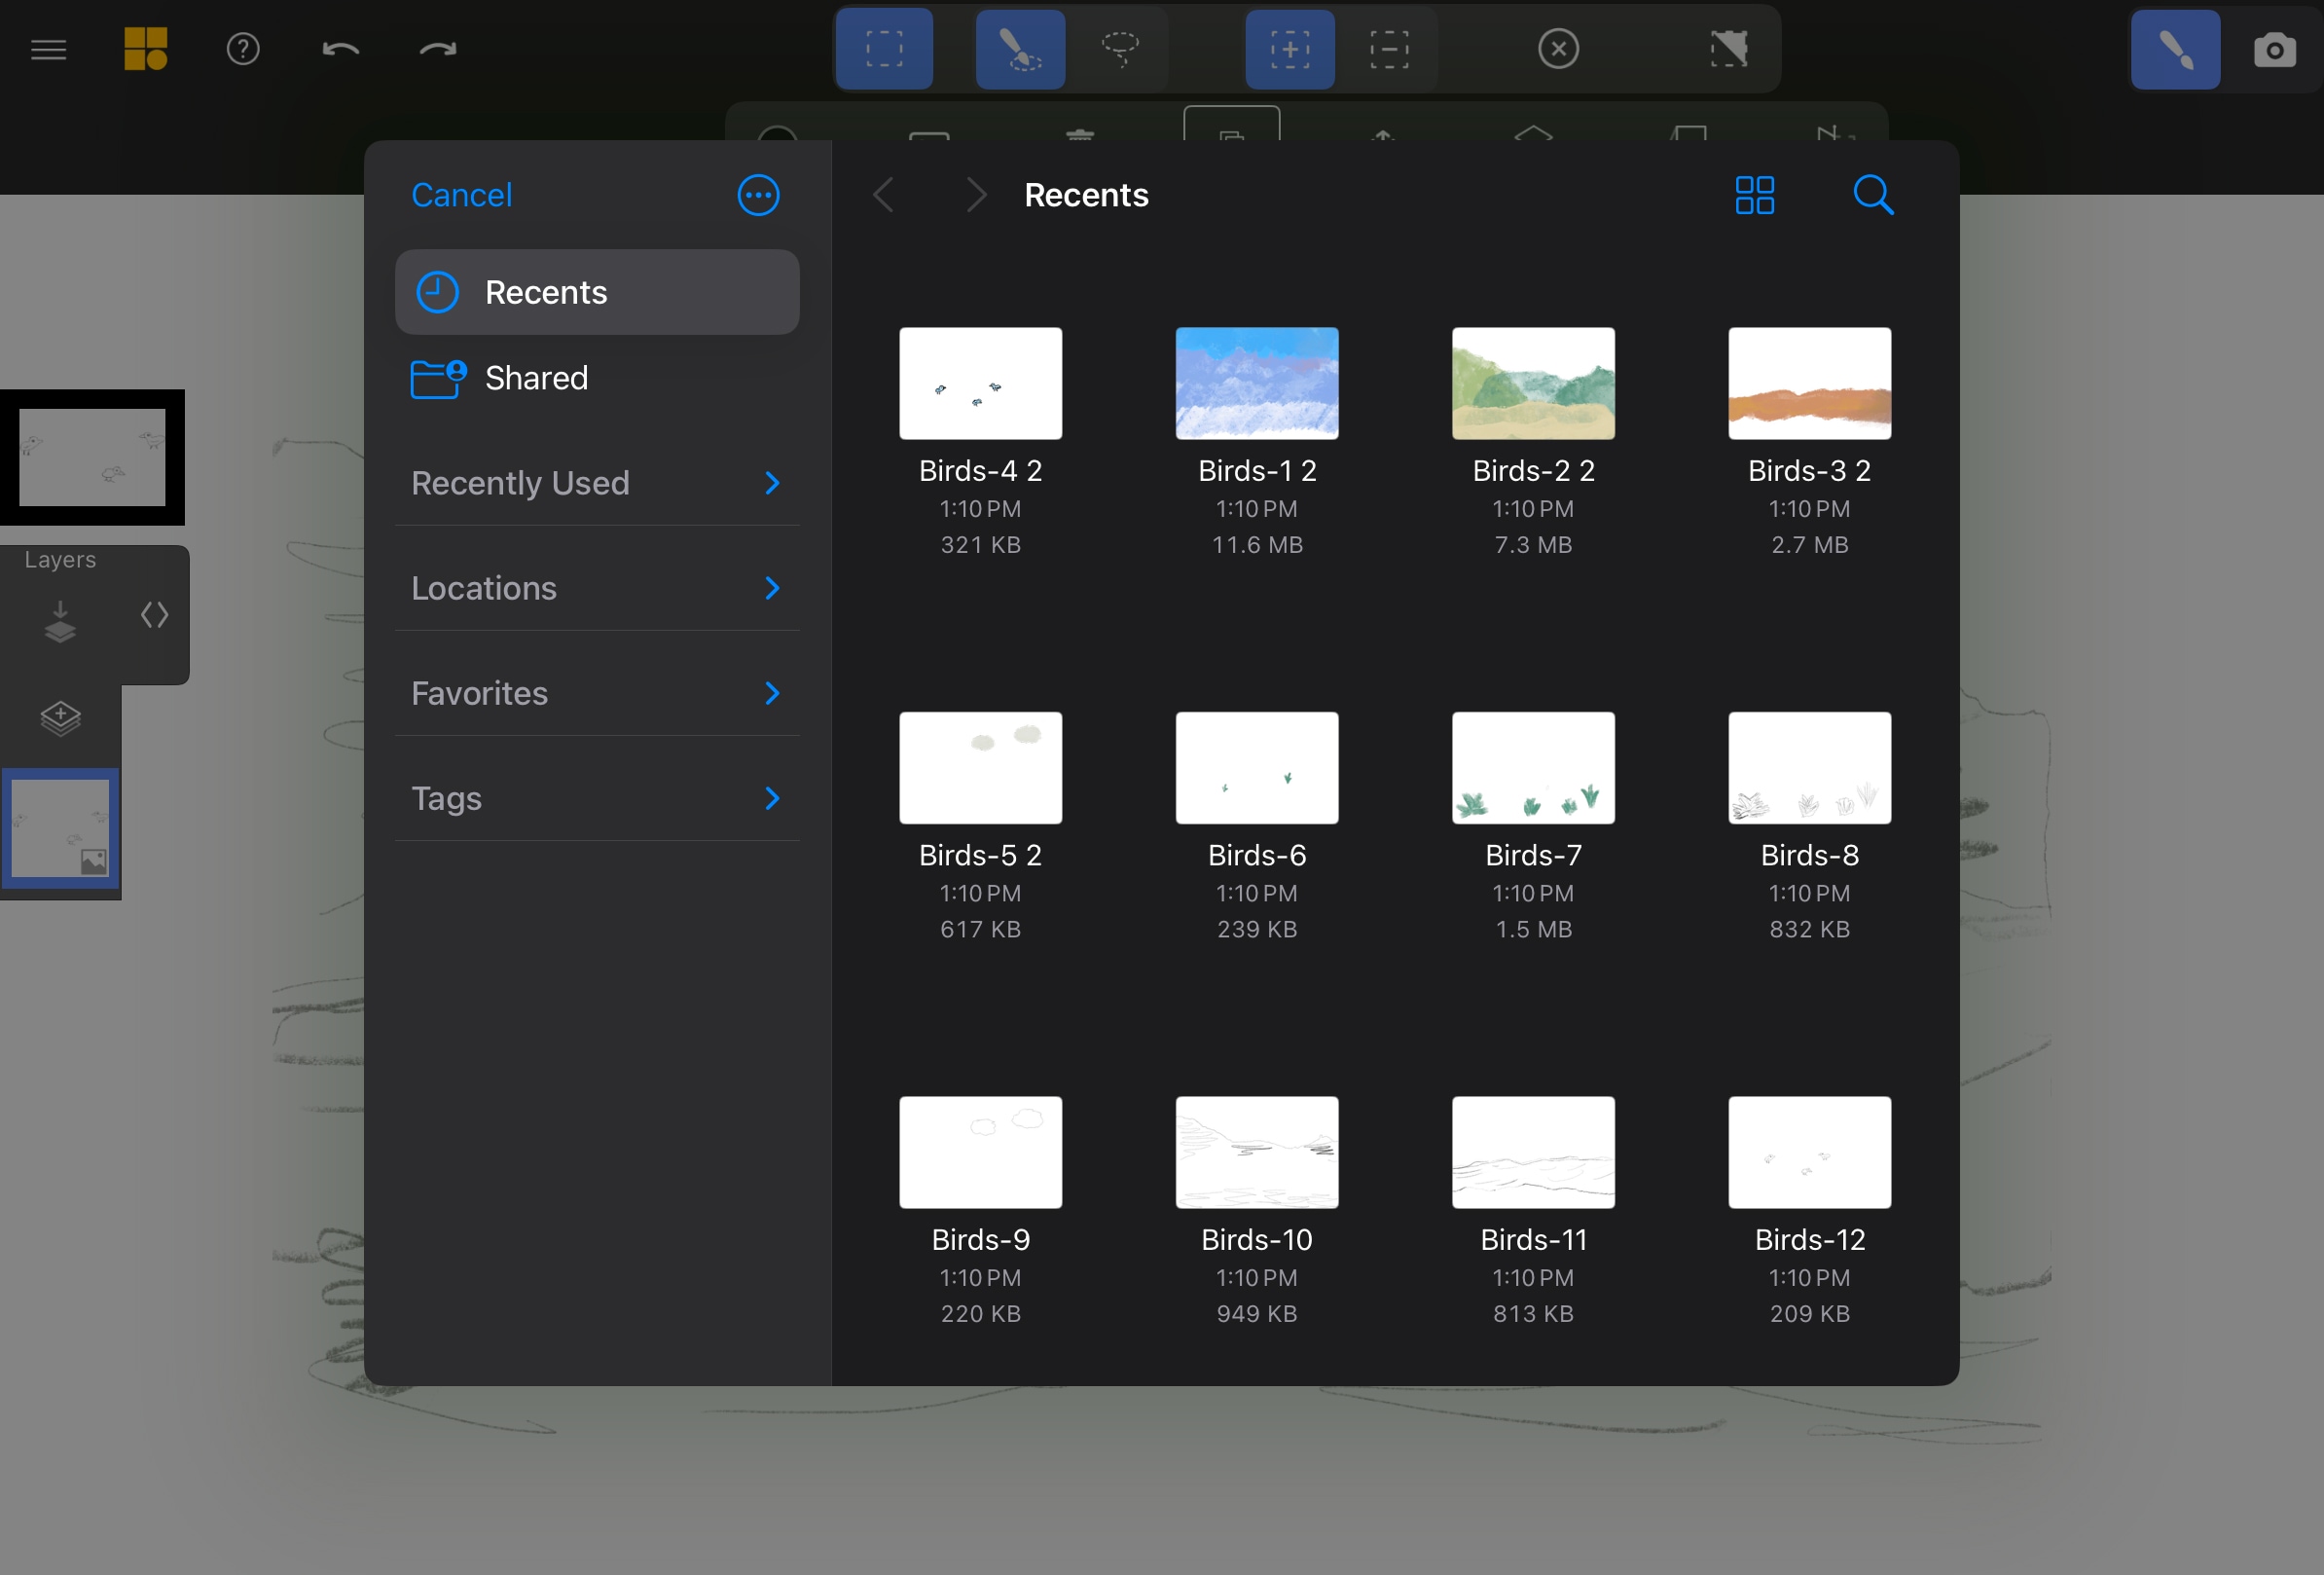
Find Your Updated Image
Browse for the new version of the image and select it. The replacement image will take on the same projection and transformations as the original. To prevent distortion, ensure that the new image has the same aspect ratio and dimensions as the original.
Verify the Replacement
Once selected, the new image appears in Selection Mode, highlighted in red. If the wrong image was chosen, tap Undo to revert and try again.
Exit Selection Mode and Continue Authoring
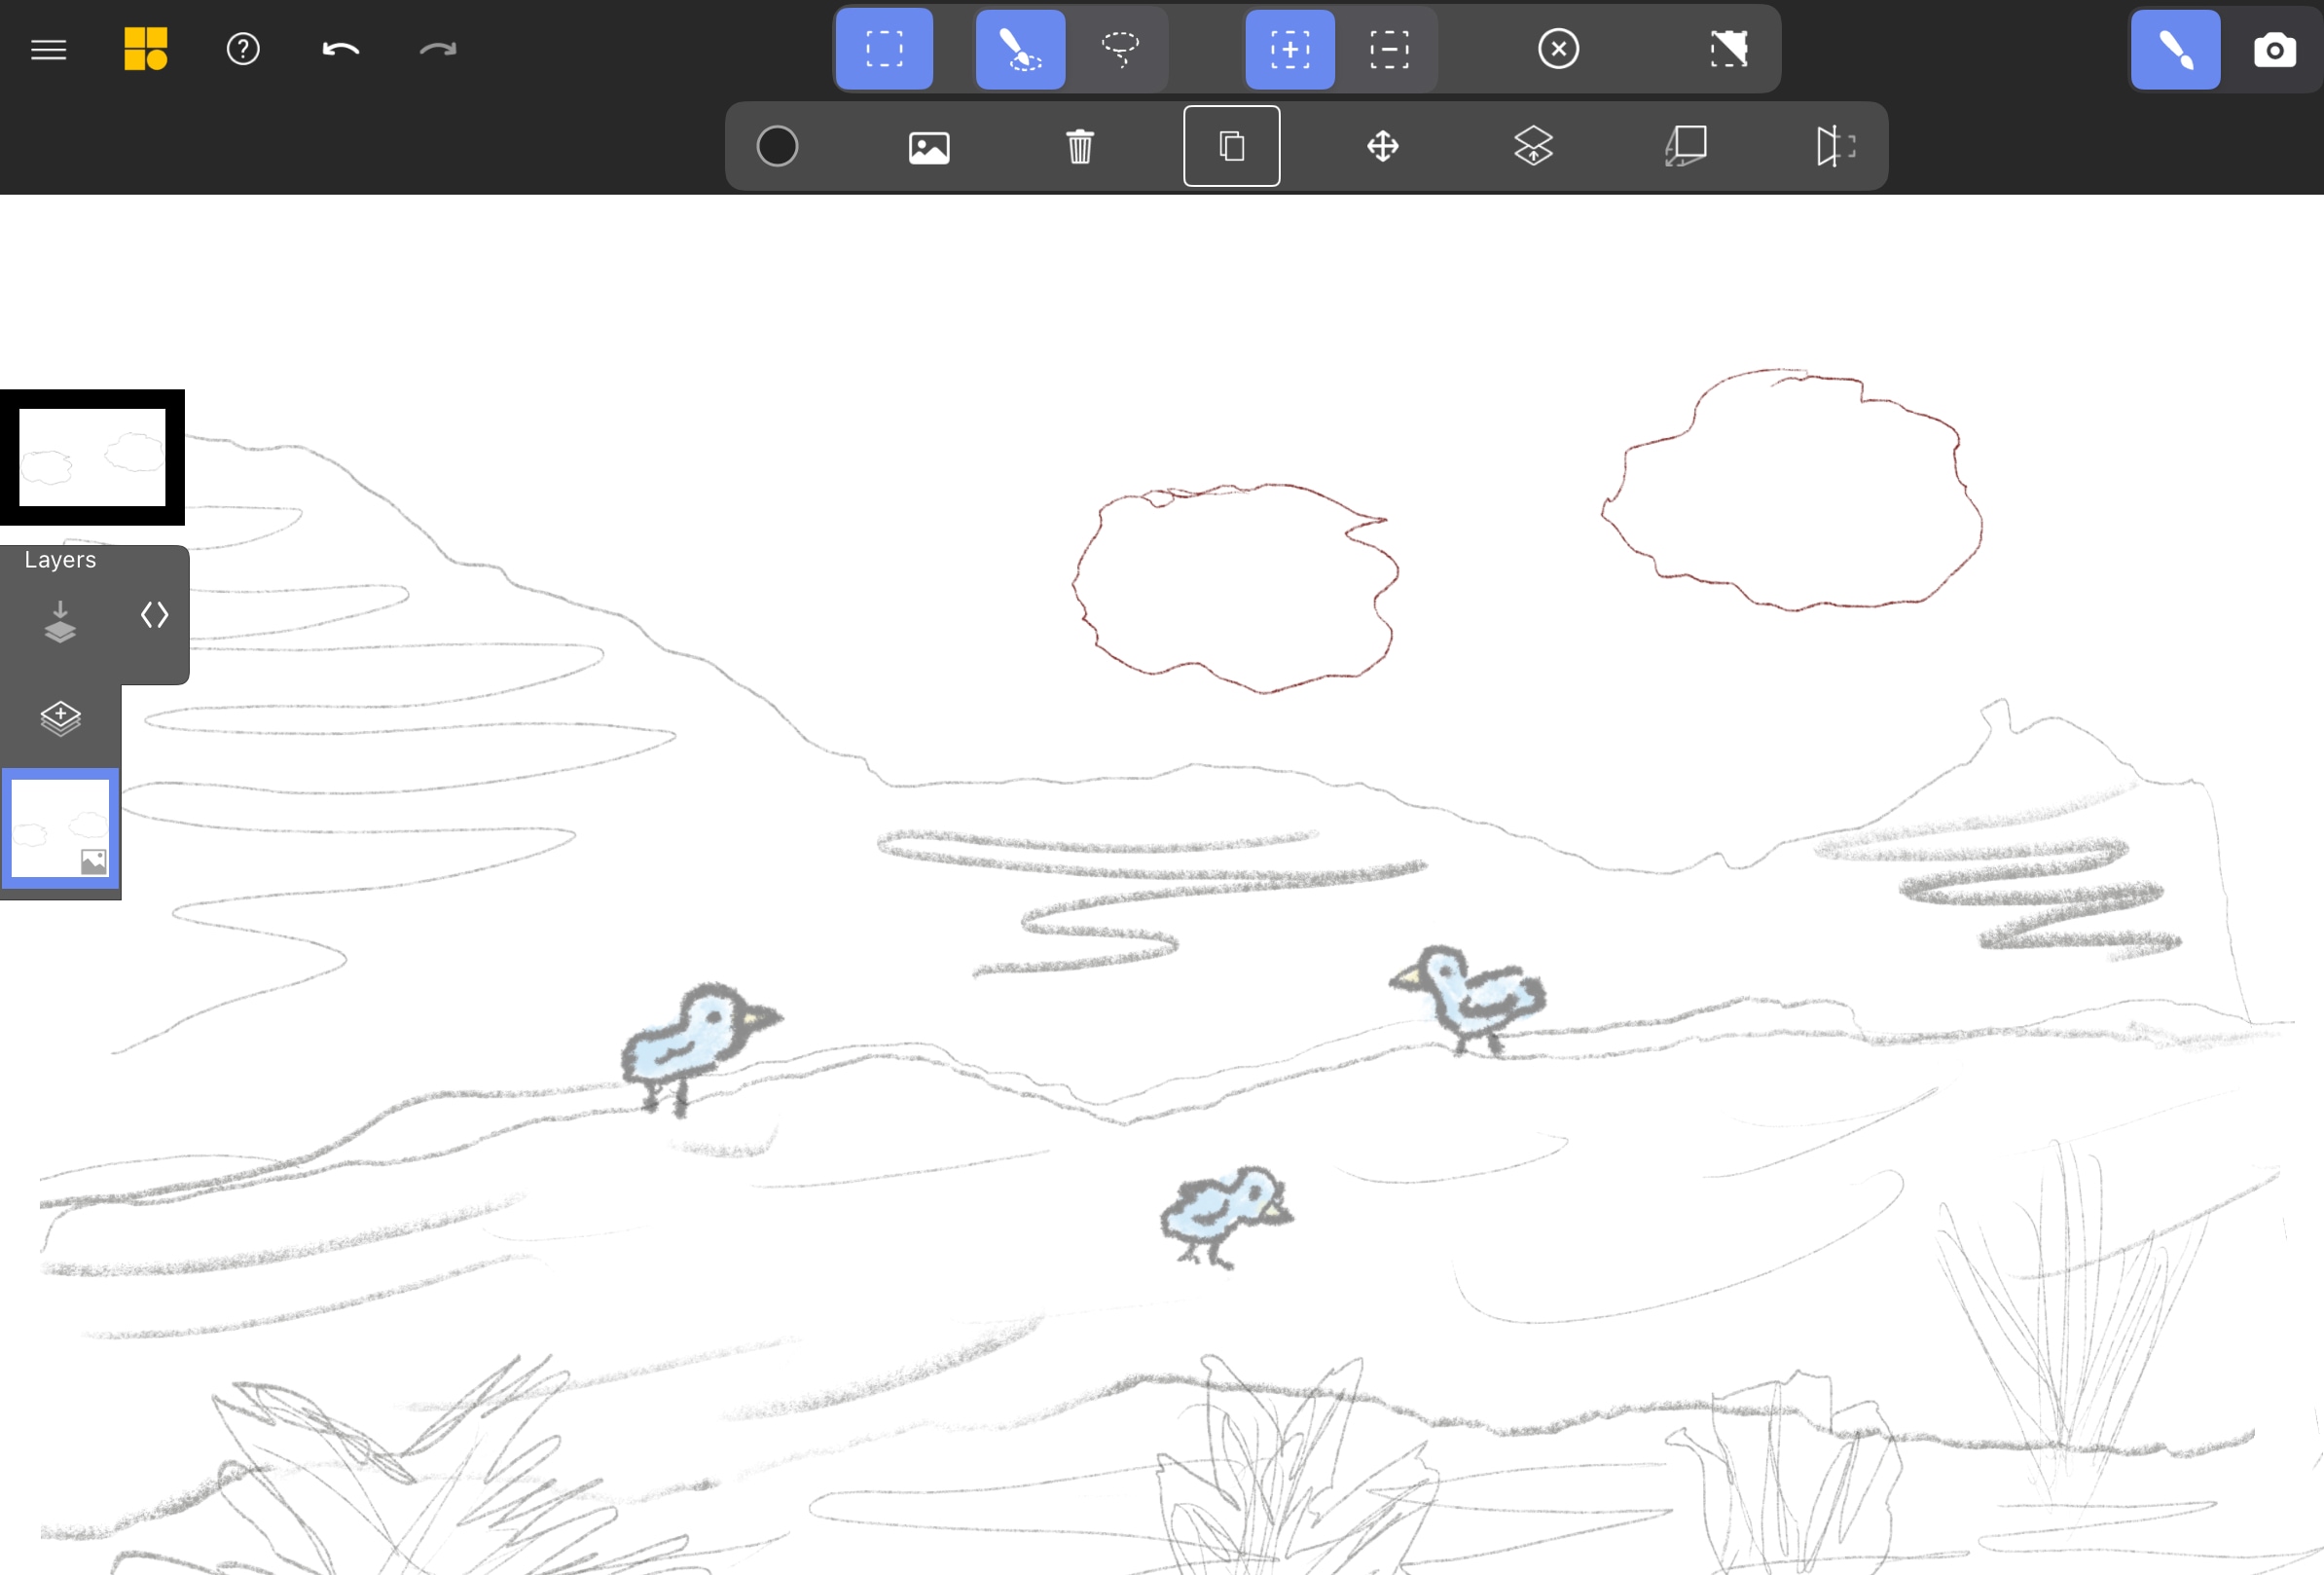
After exiting Selection Mode, the updated layer is now in place of the sketch. The same process can be repeated for additional layers in the scene.

Replacing All Occurrences of an Image
In this example, we start with an imported sketch of two clouds, which we modify using Selection tools before updating it to a polished, colored version.
Select the Layer You Want to Modify
We begin with our imported sketch of two clouds as the base. Using Selection Mode, we will clone, resize, rotate, and reproject them to fill out the sky.
Clone the Layer Using Selection Tools
We duplicate, resize, and reproject the original two clouds to create a second pair on the left. Then, we select just the left cloud using the Lasso tool, duplicate and rotate it upside down to form another distinct cloud above. Once we replace the source sketch with a polished version, all transformations will be preserved as long as the aspect ratio remains unchanged.
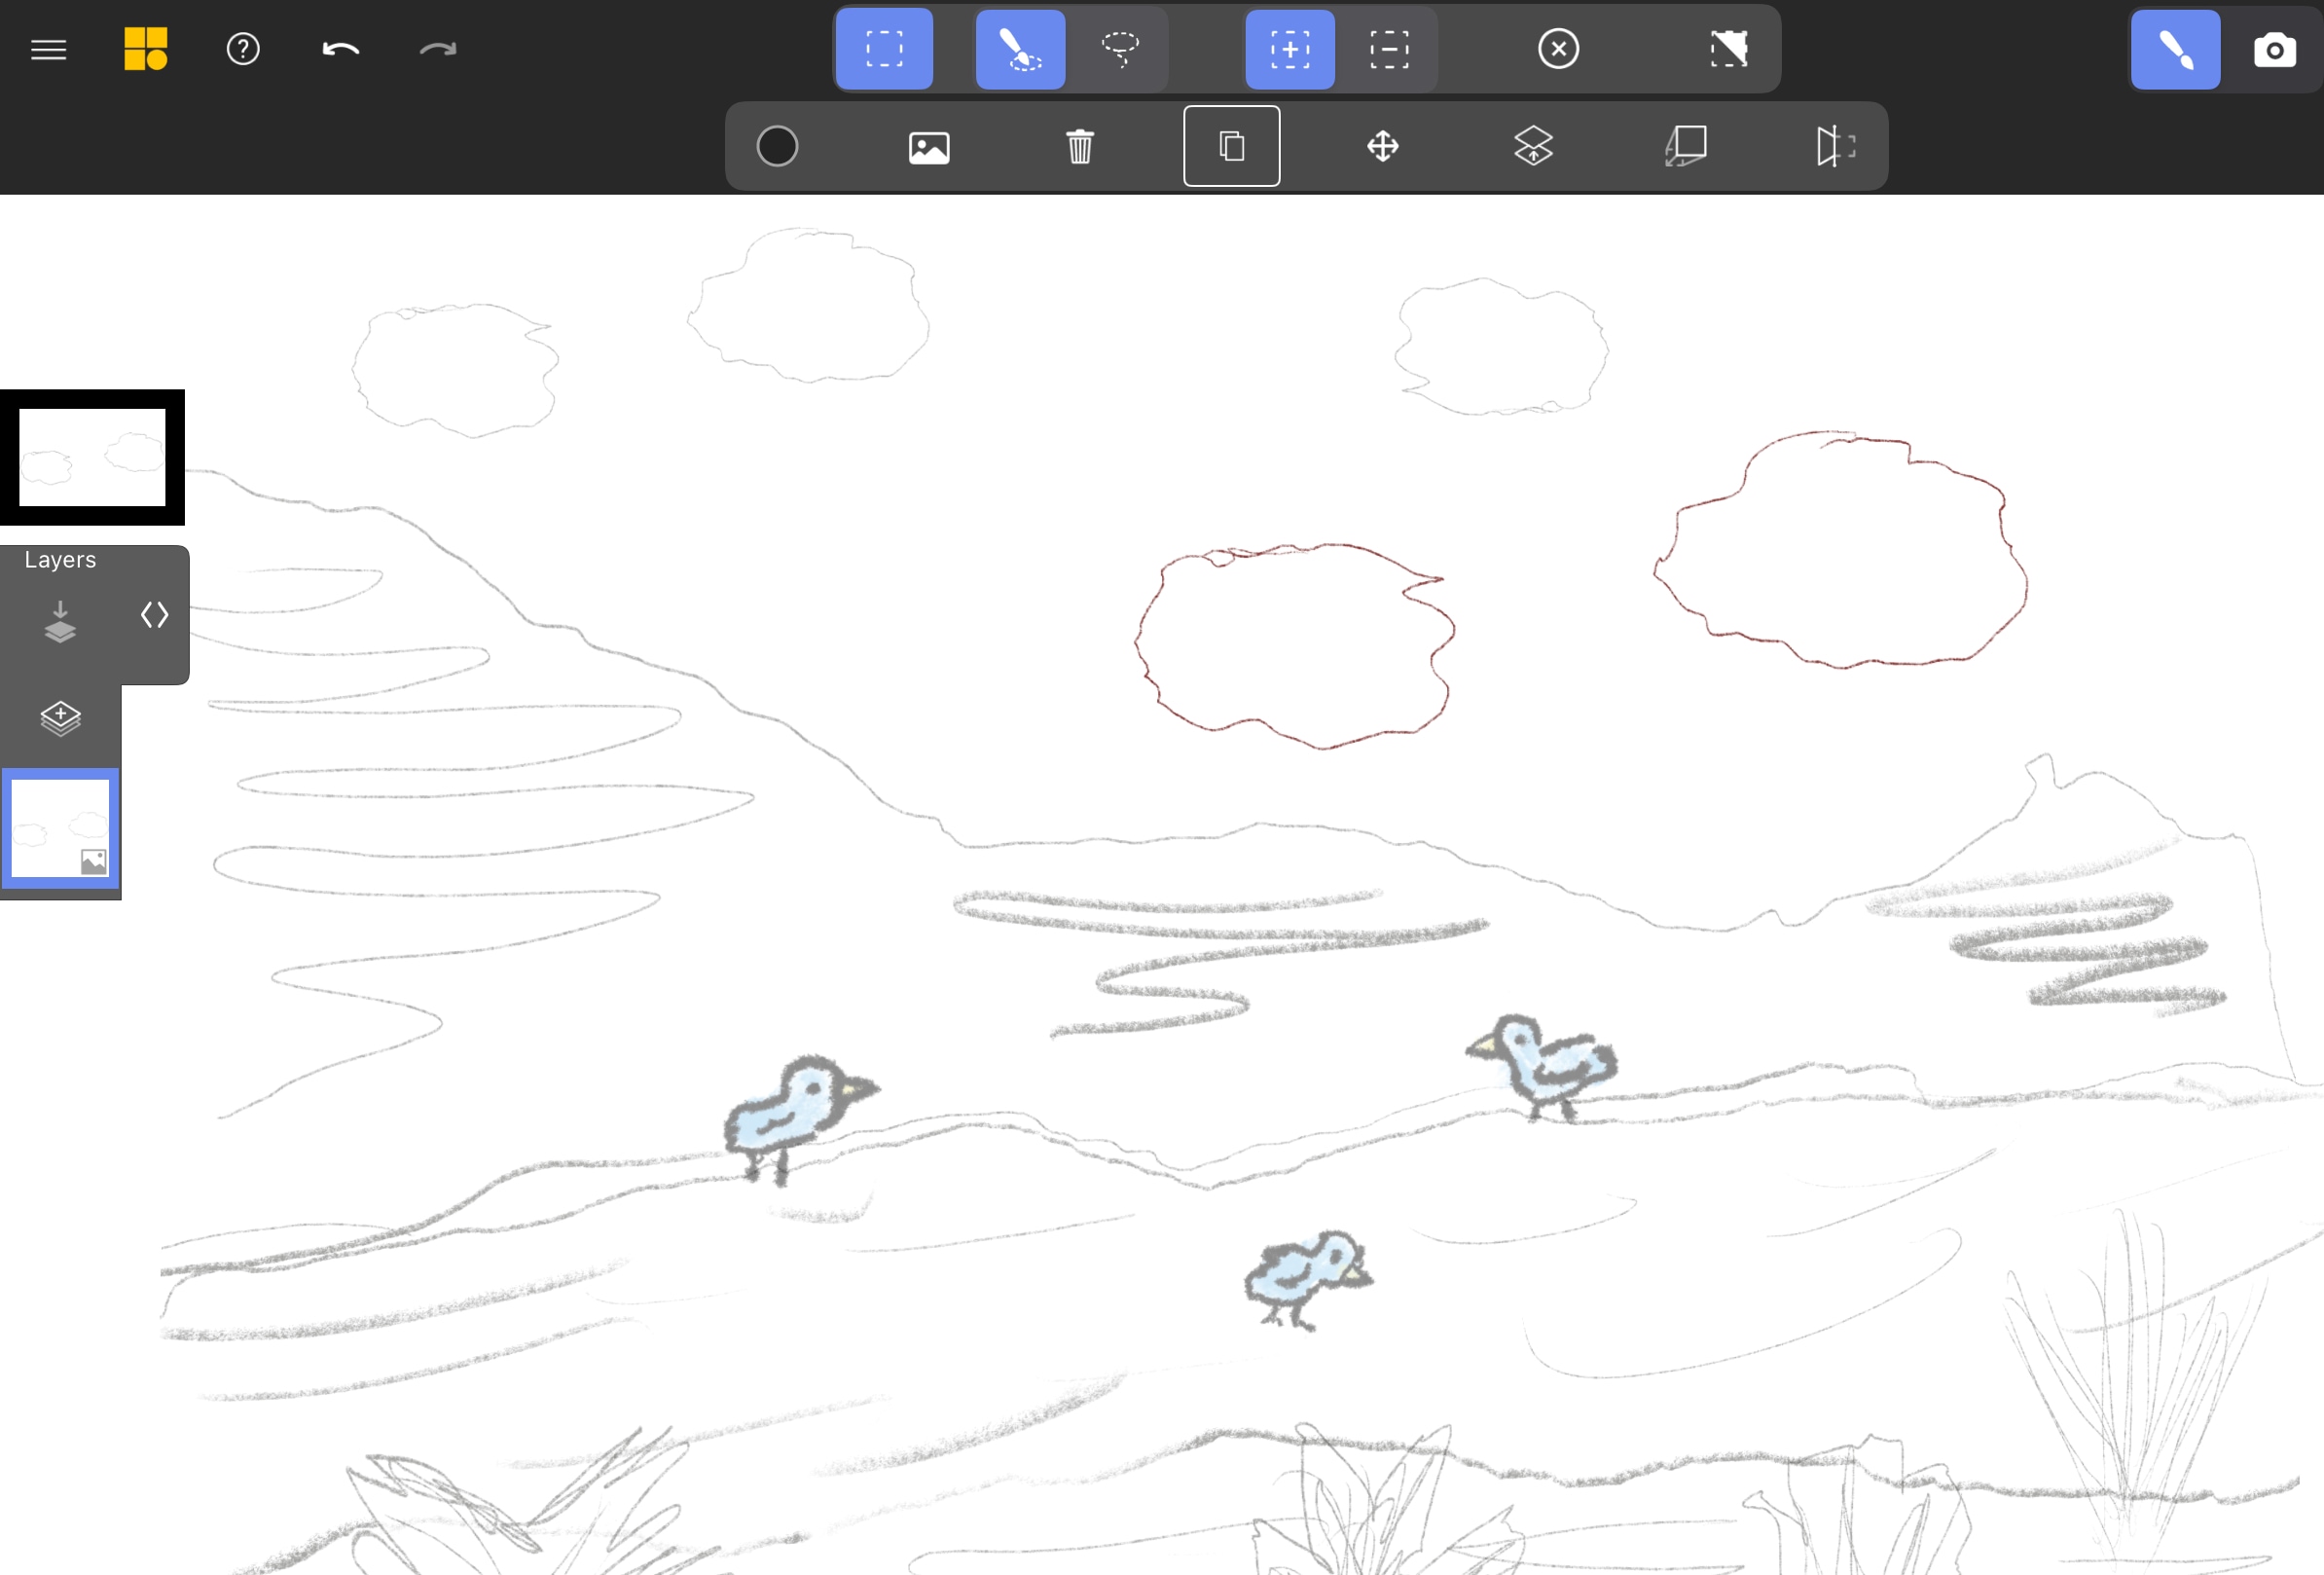
Enter Selection Mode on the Layer
We select the two clouds, which are then highlighted in red, indicating that they are ready for replacement. You can do this on any of the layers featuring the source image.
Select Image Replace and Toggle All Occurrences
In the Replace Image menu, we enable All Occurrences, updating every instance of this image throughout the scene. The replace icon will change to indicate that this setting is active.
Select Your New Image and Replace
Once the new image is selected, all instances of the original sketch are automatically updated while retaining their transformations, projections, and placements in the scene.
