Creating a Spatial Scene from Procreate
This guide will show you how to import layered Procreate drawings into Mental Canvas and transform them into immersive 3D scenes to create animations and interactive web experiences.
Prepare Your Procreate Drawing
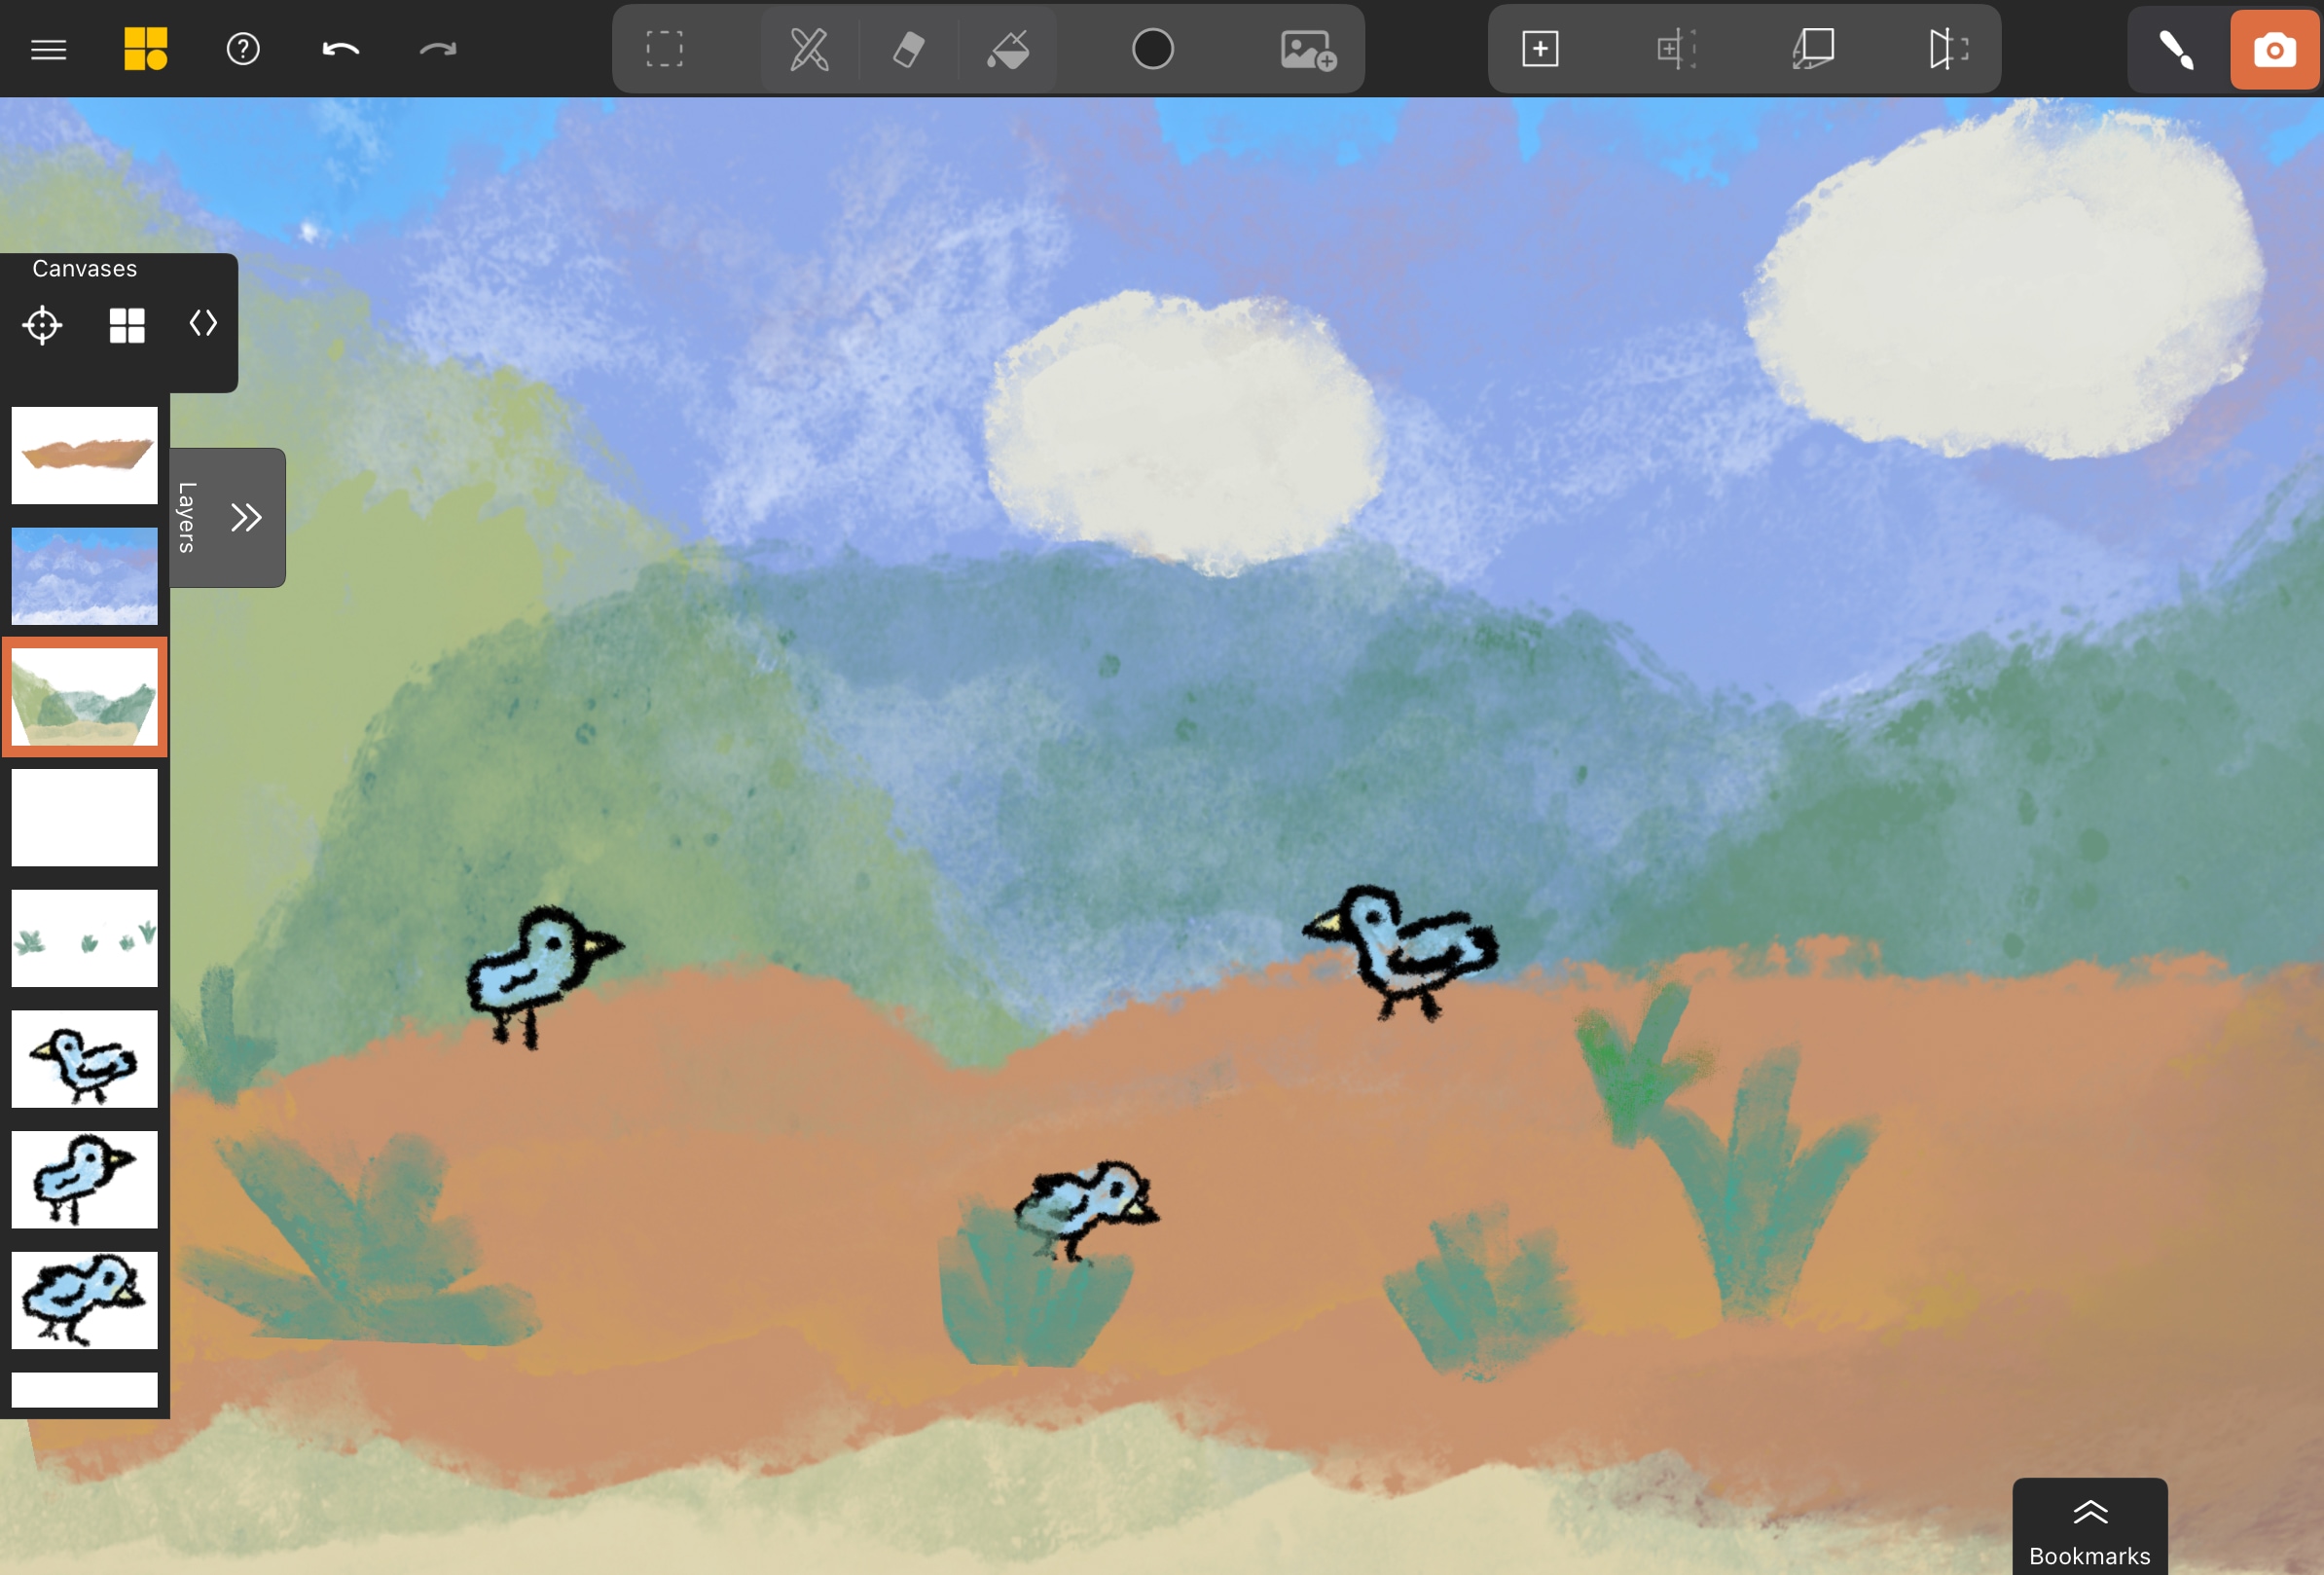
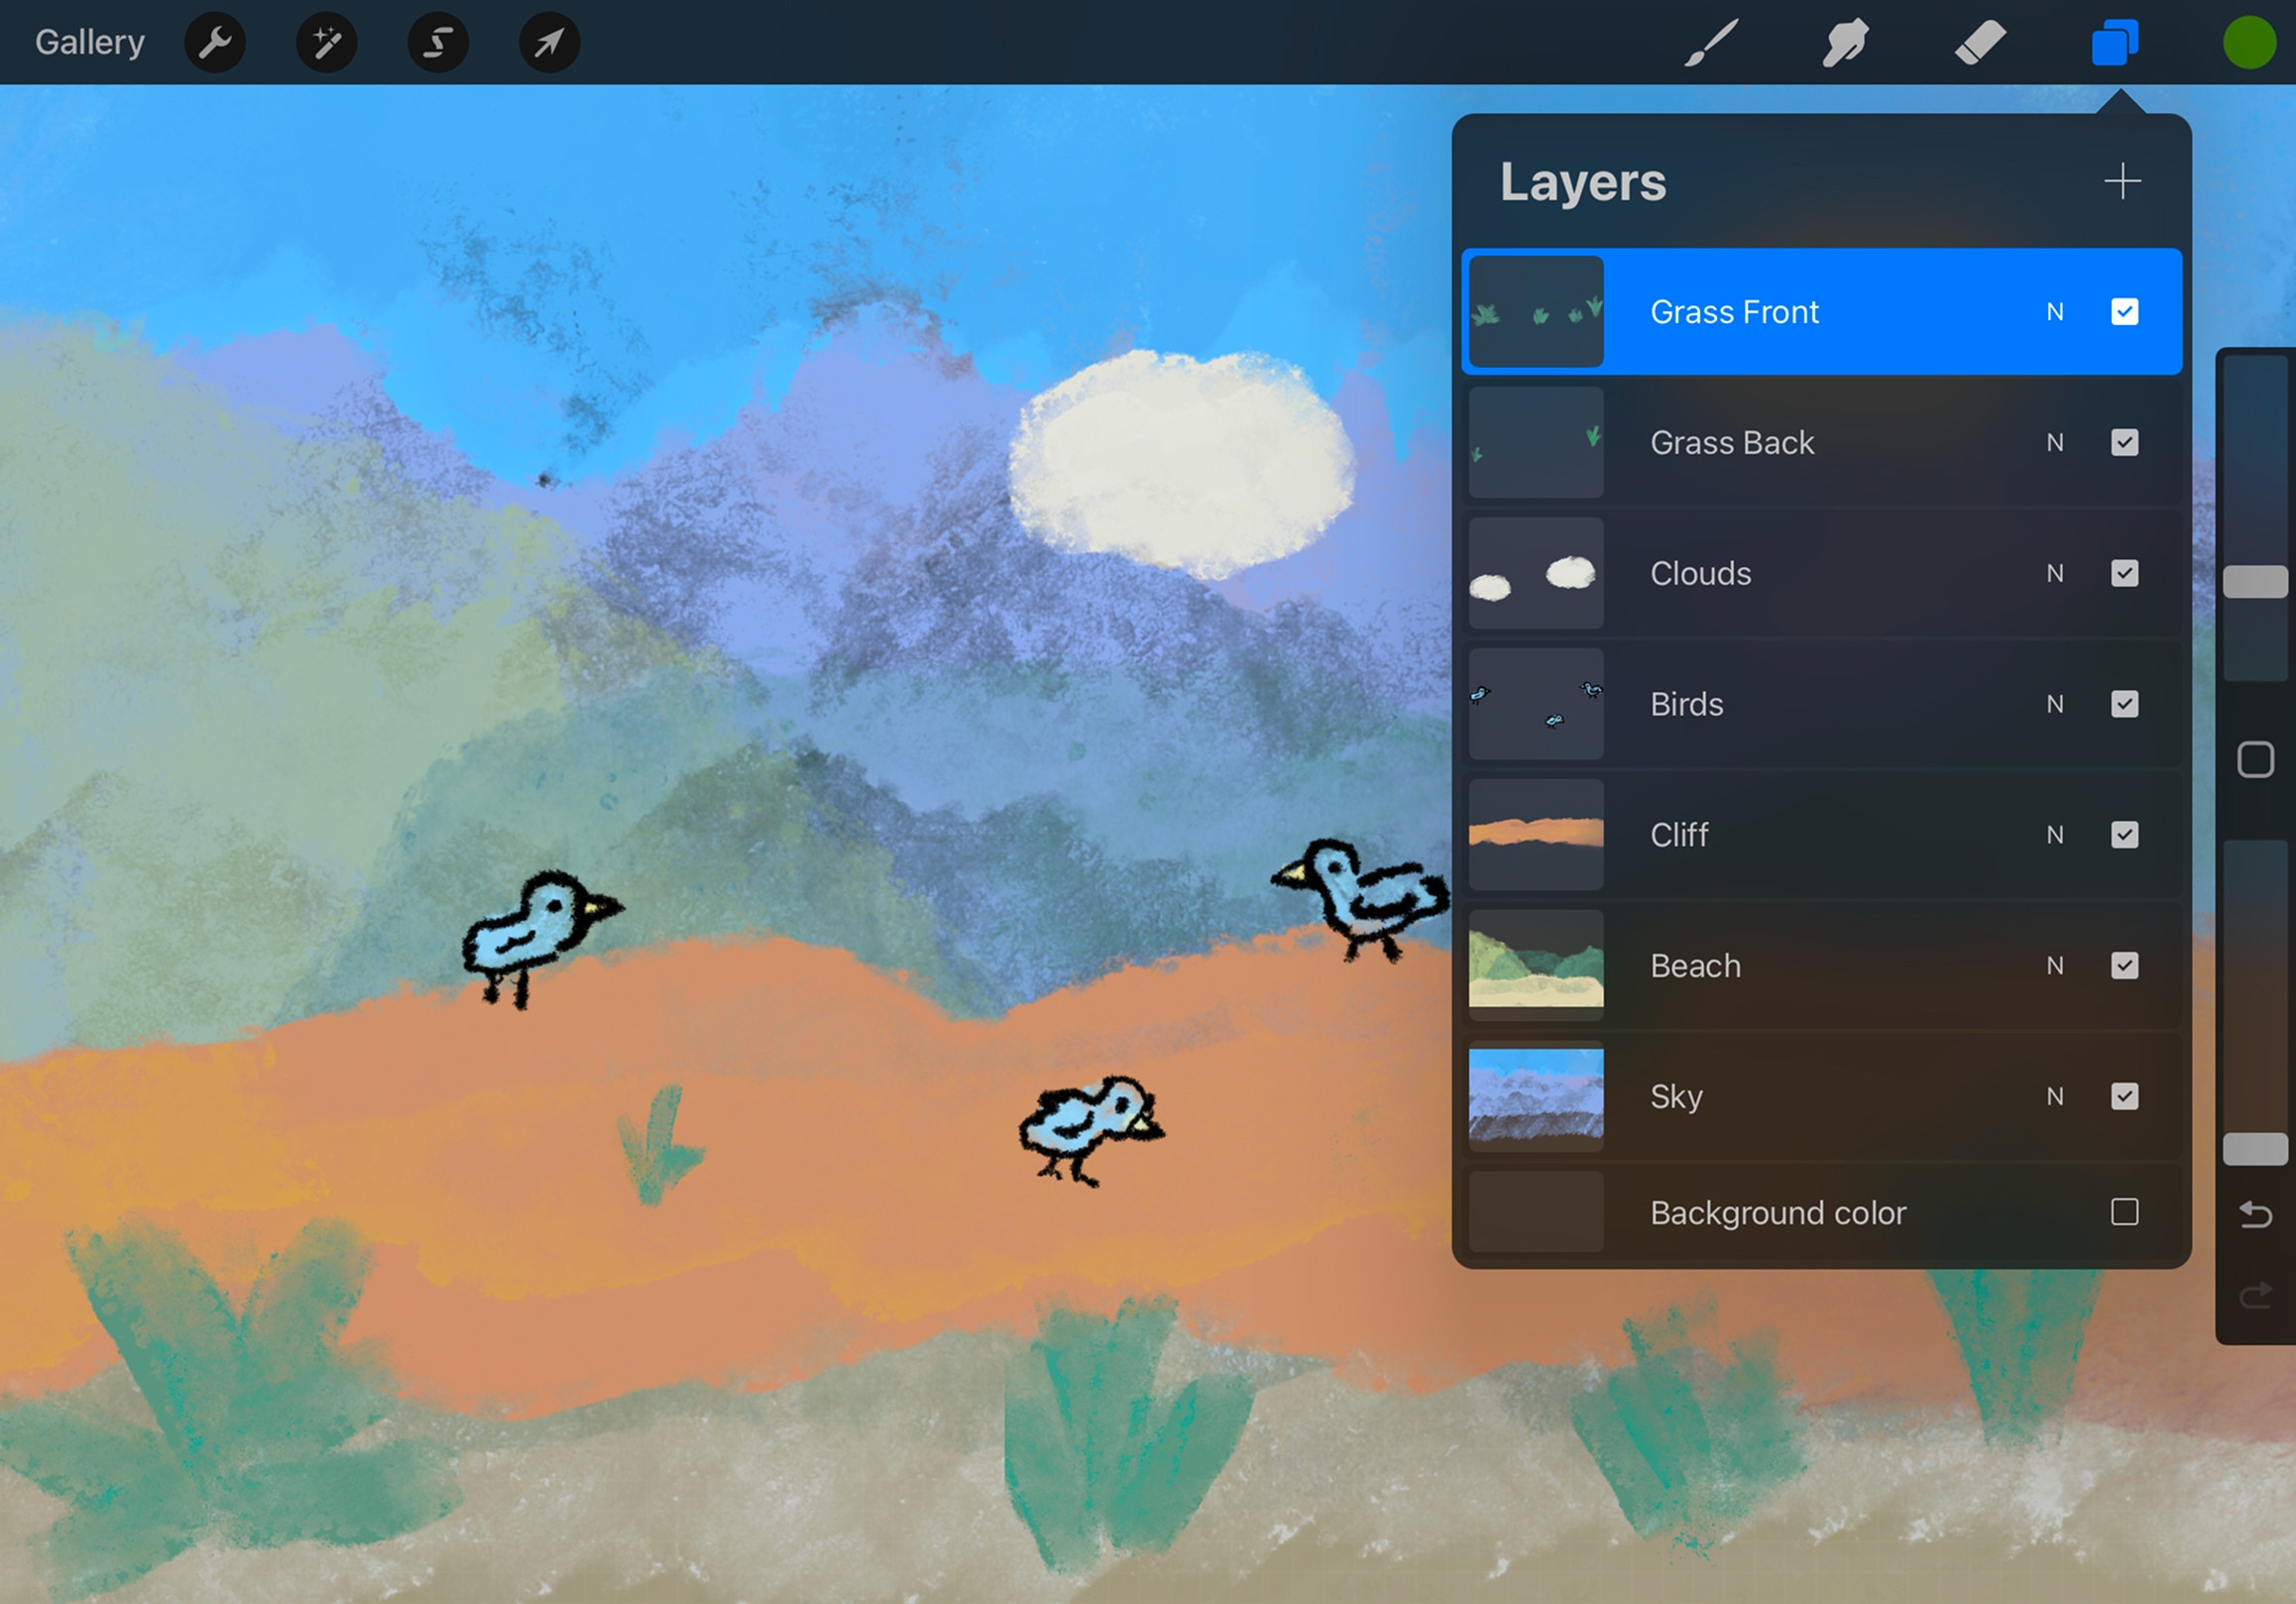
Start with a layered drawing in Procreate where each element you want to project is on its own layer. This separation will give you more control when creating depth in Mental Canvas.
Export Your Layers
Tap the wrench icon (Actions) in the top toolbar, then select Share. Choose Share Layers > PNG Files from the export options. This will allow you to export all layers at once as transparent PNGs.
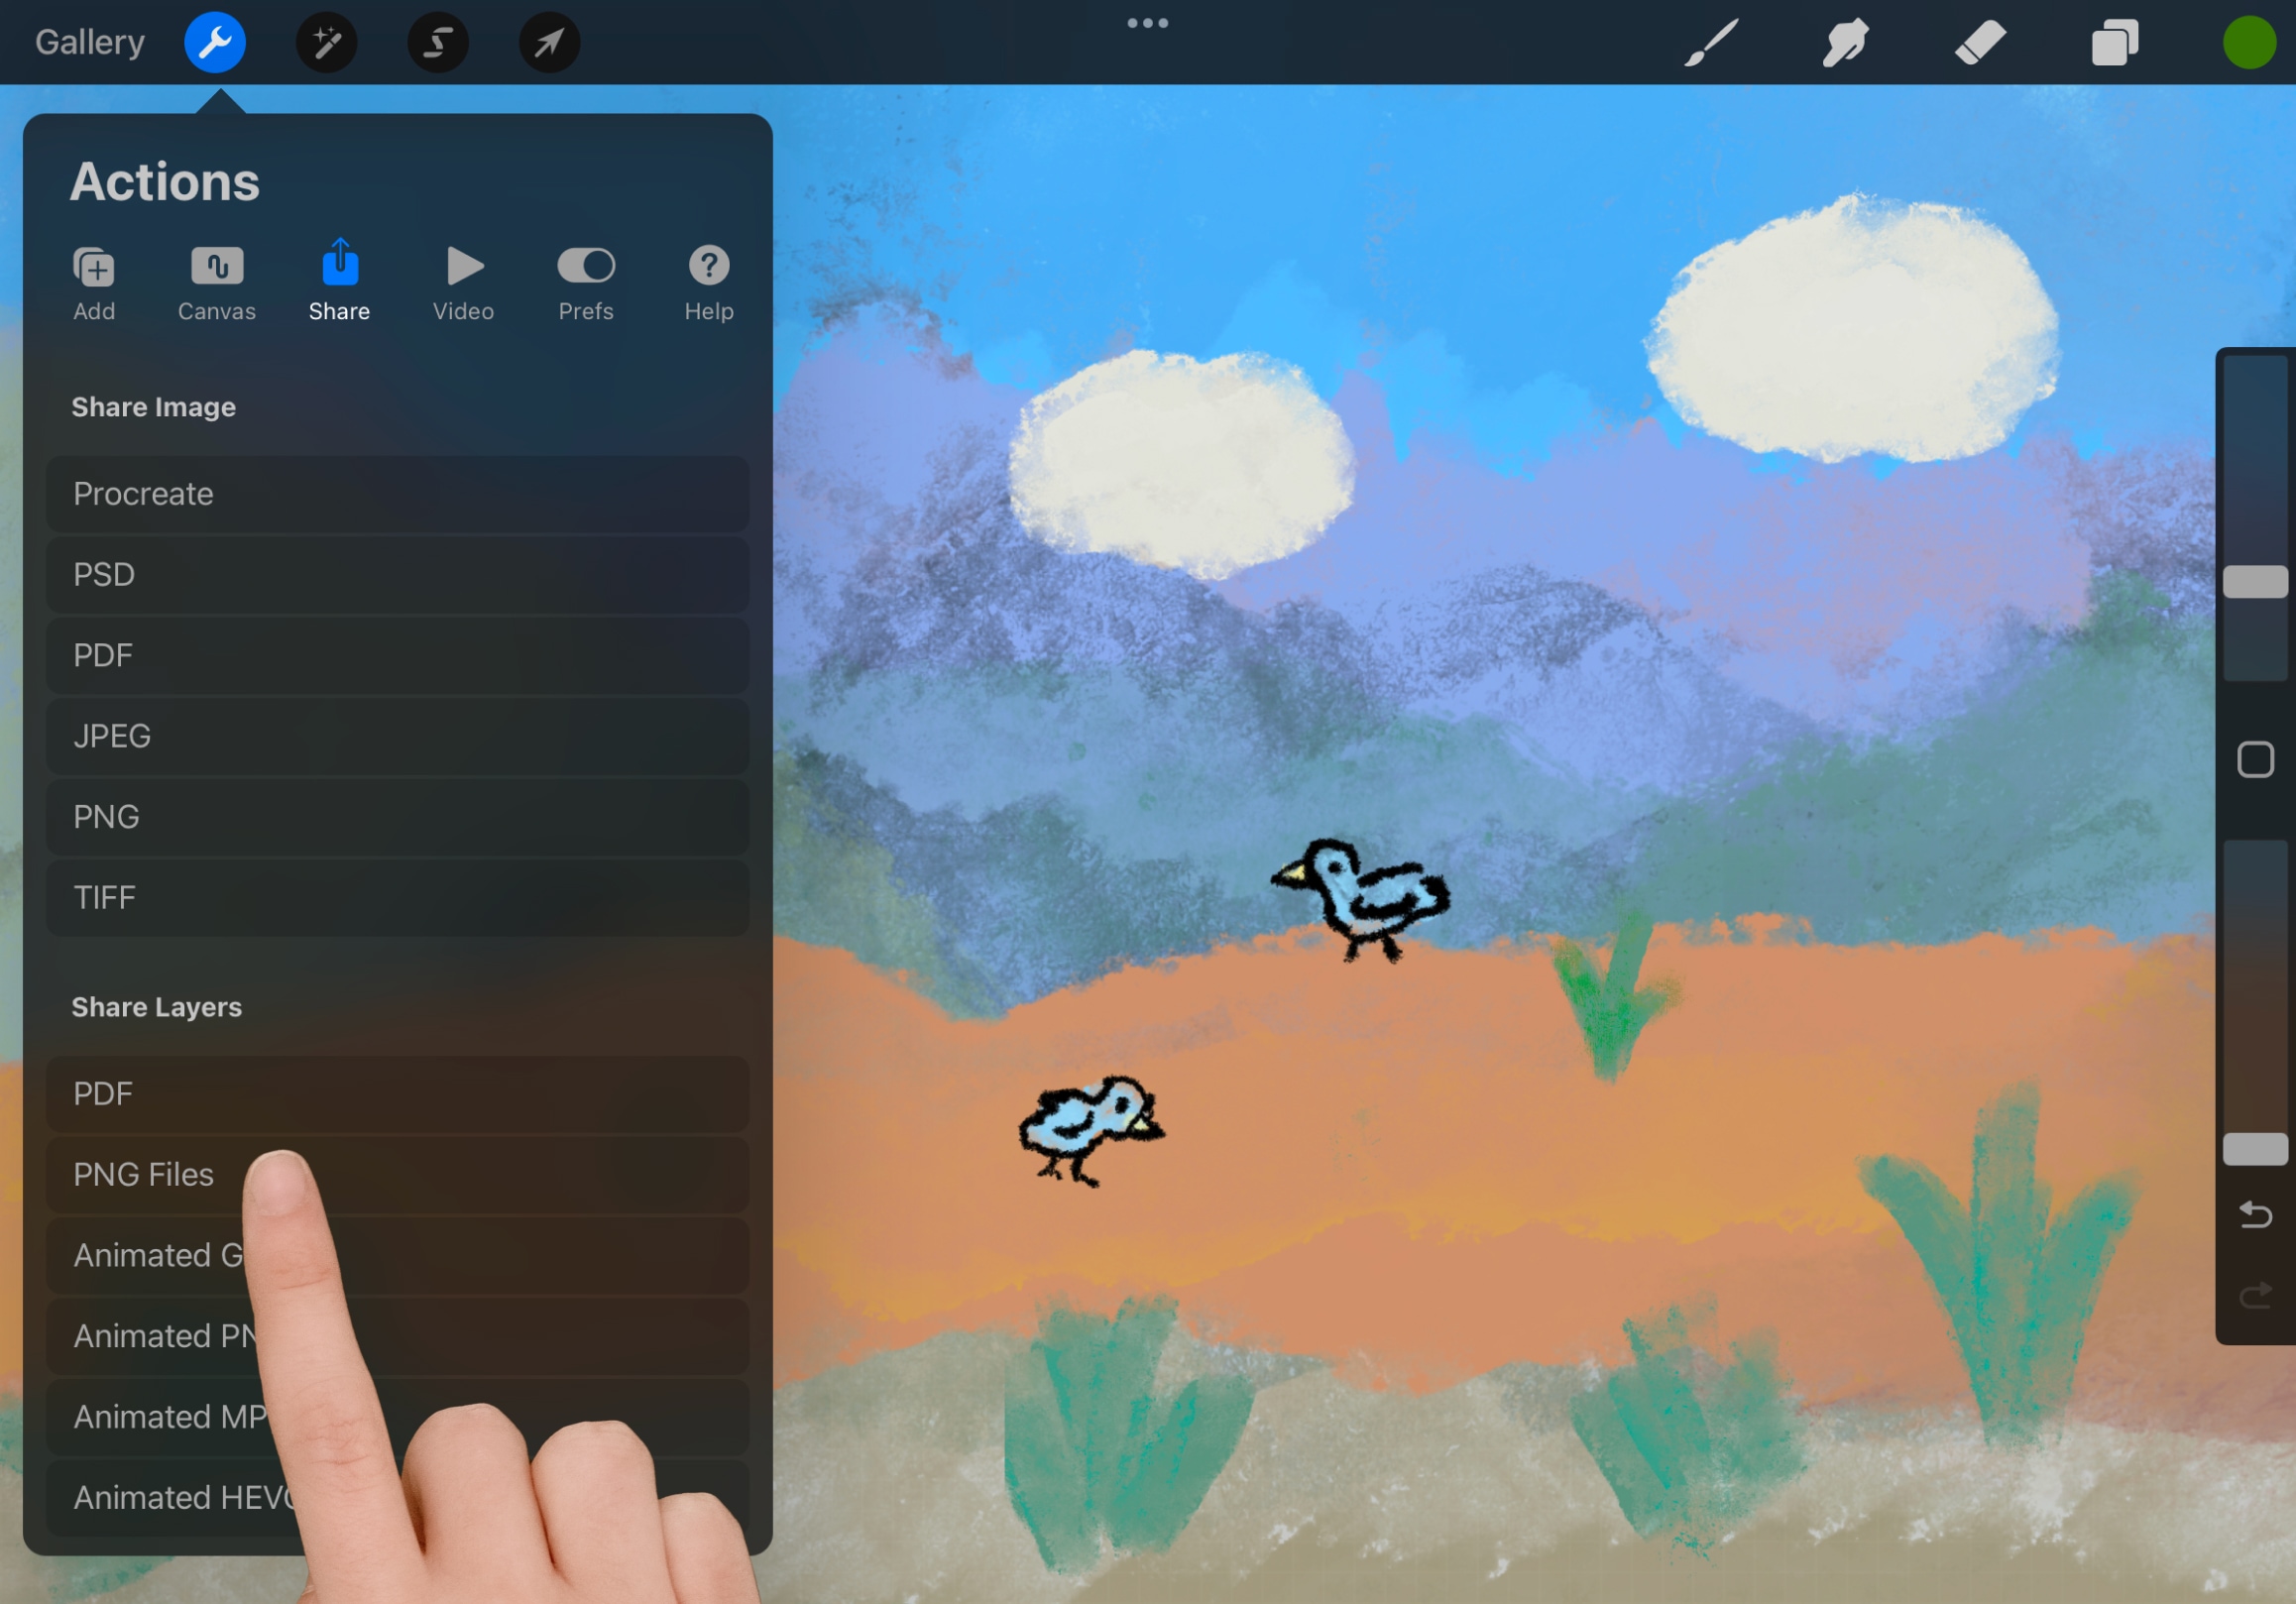
Choose Save to Files to save them in your Files browser, or Save X Images to save them in Photos.
The image import from Files or Photos behaves slightly differently in Mental Canvas:
 Photos: Import up to 5 images in the order you select, with the first image as the top layer.
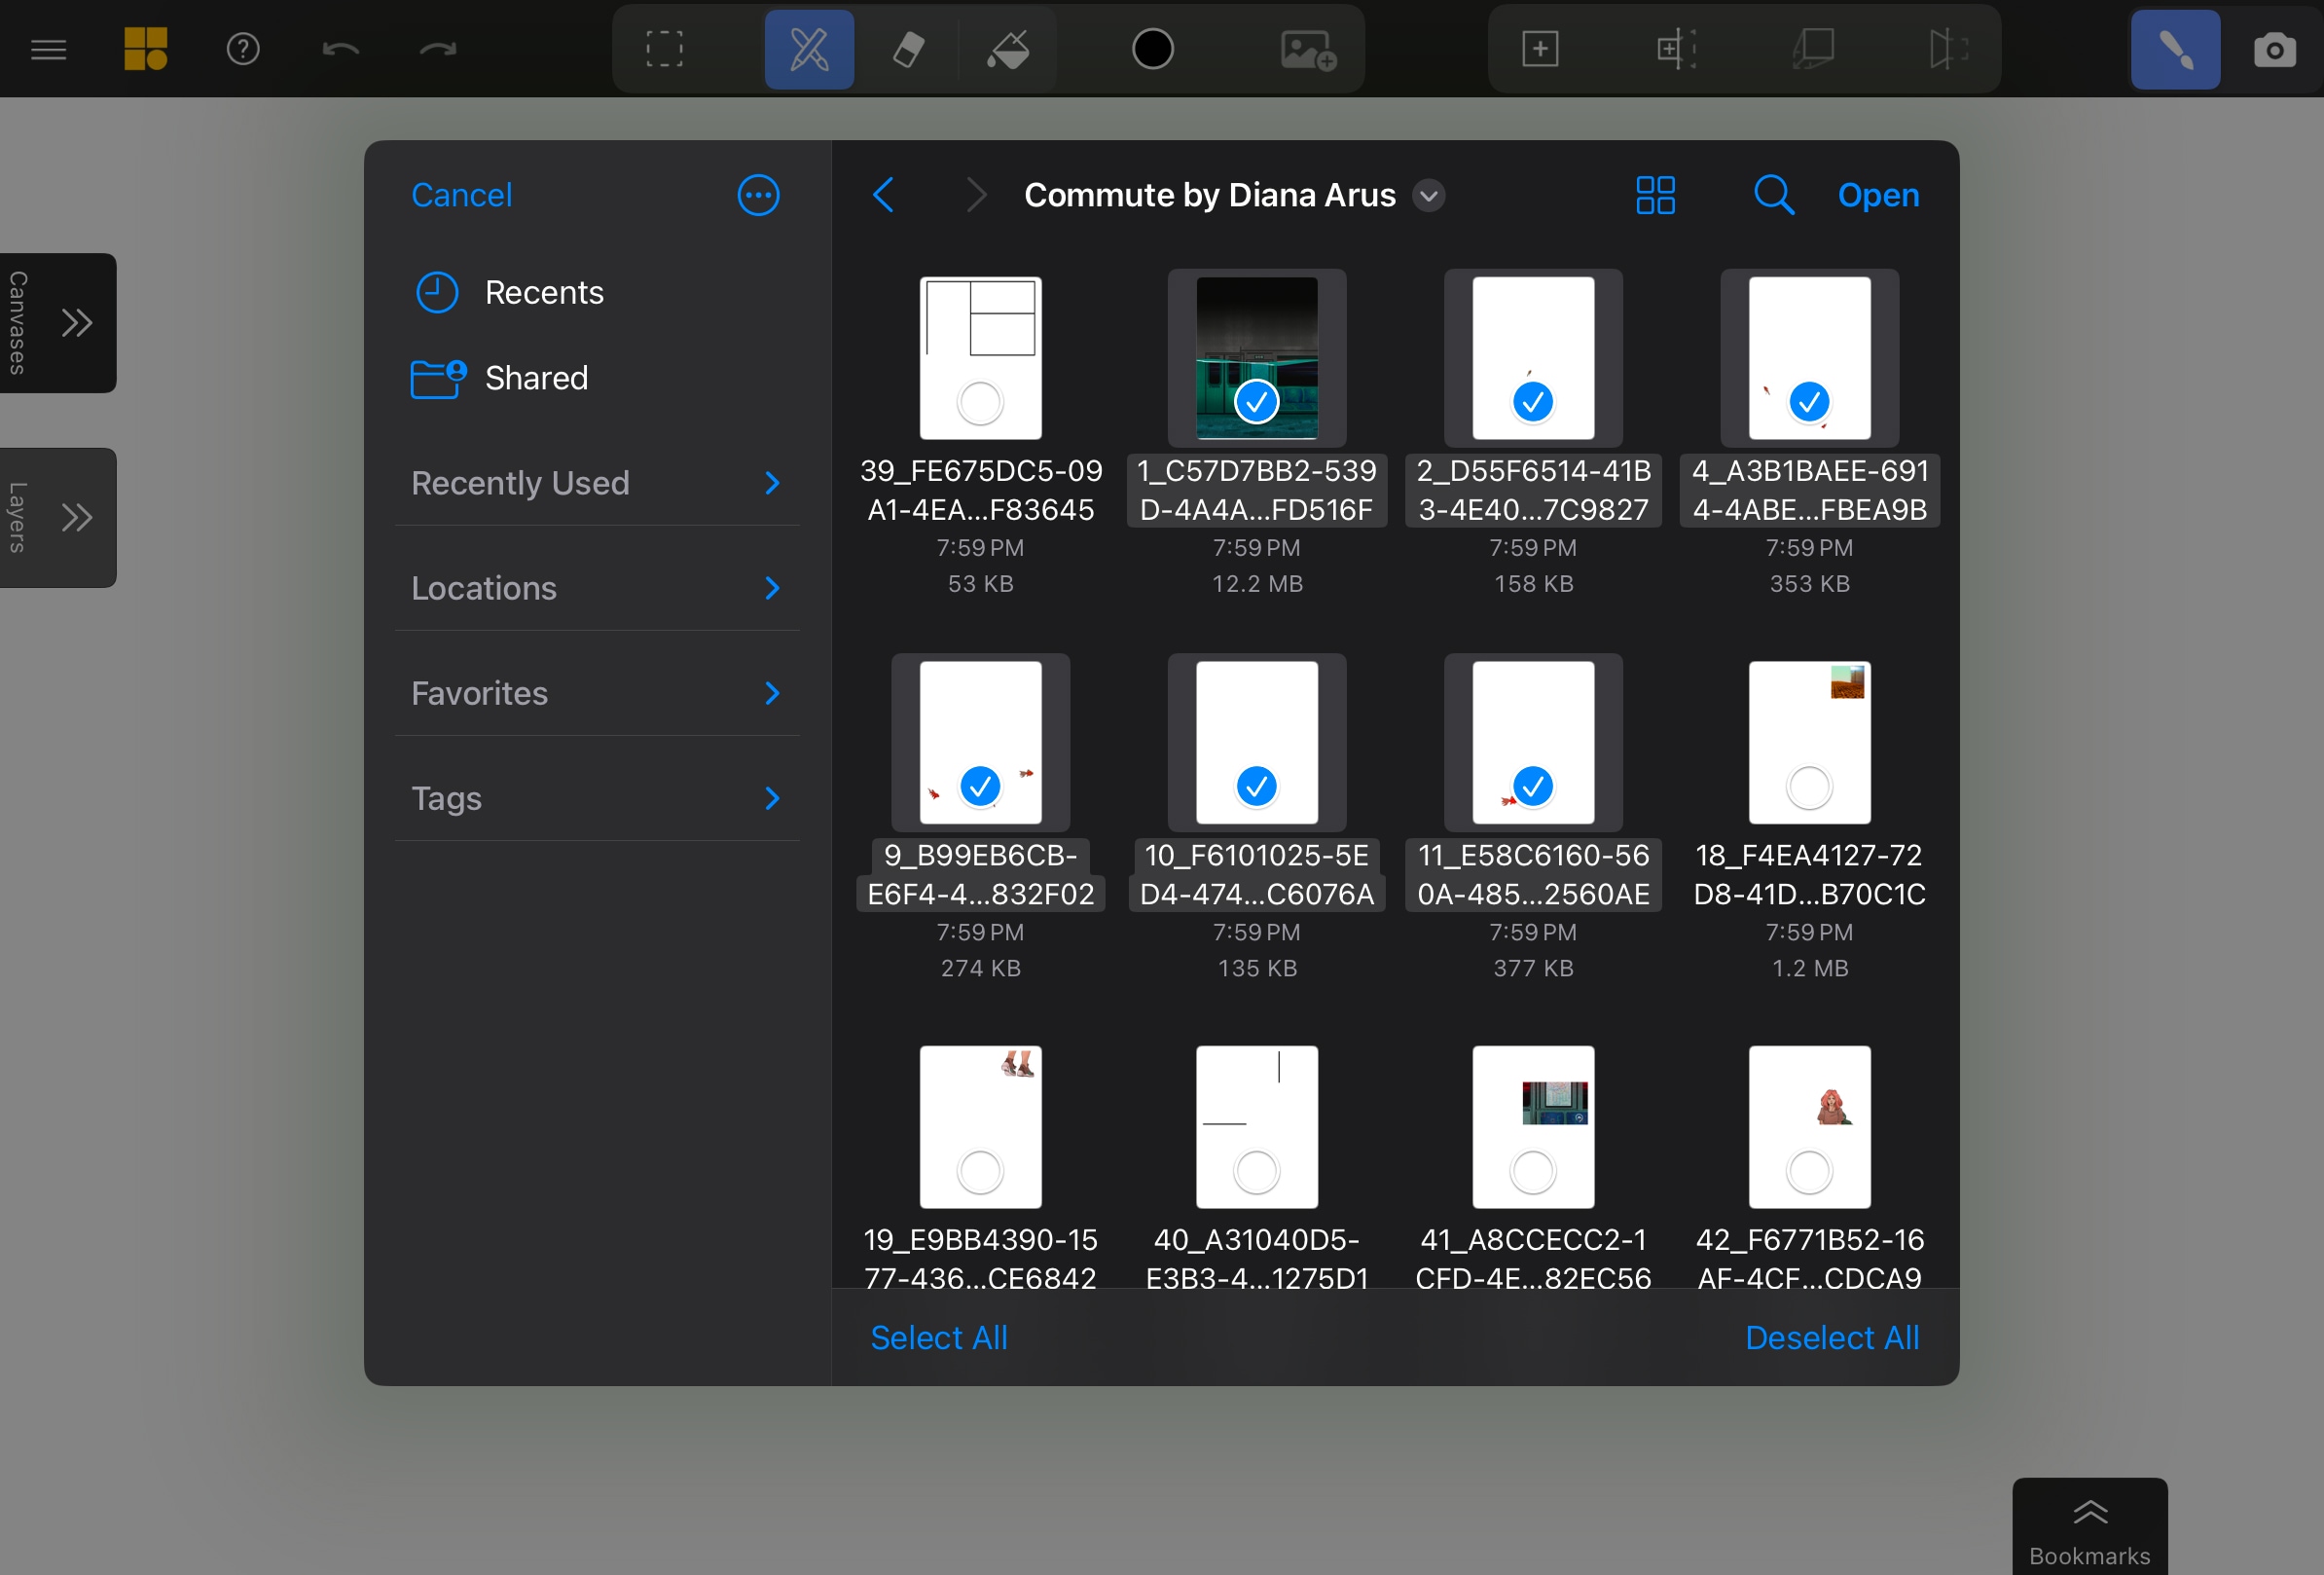 Files: No limit, but layer order is determined automatically, back-to-front alphanumerically by filename.
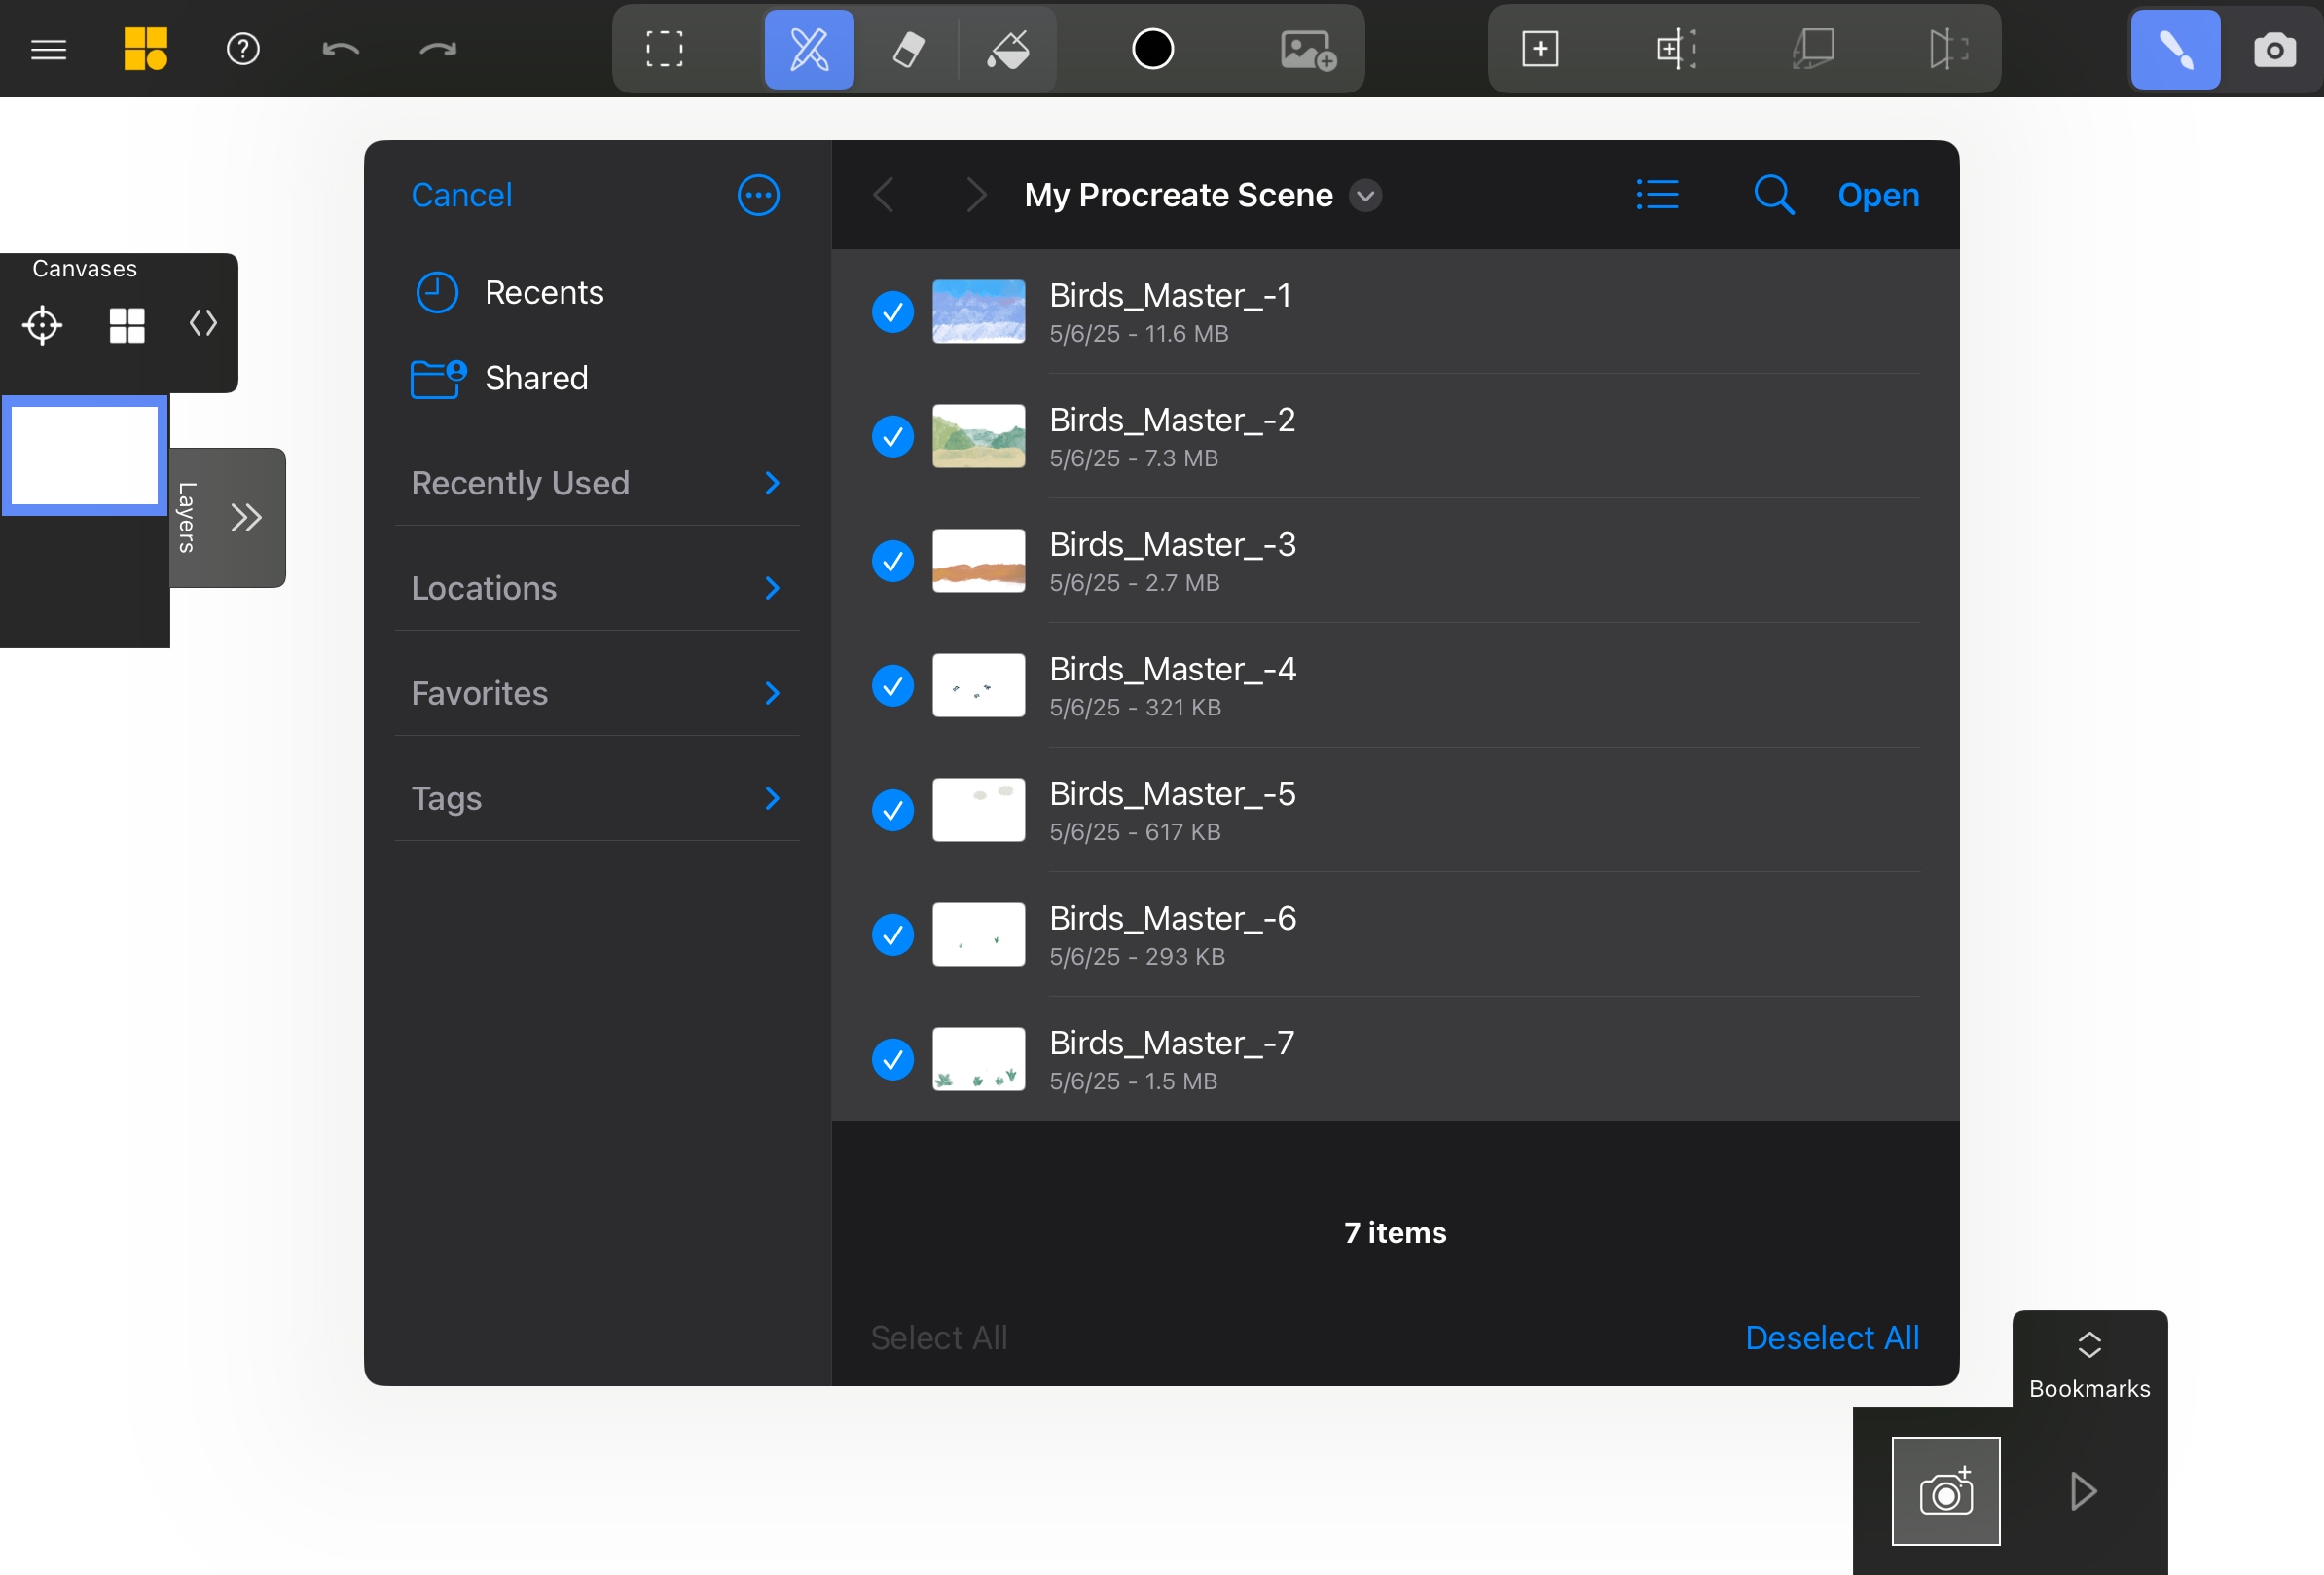
When exporting from Procreate, we recommend saving your layers to Files rather than Photos. Procreate automatically numbers the exported layers in back-to-front order (e.g., Layer-1.png, Layer-2.png), which ensures they’ll import into Mental Canvas in the same order as your original Procreate document. This makes it easy to maintain your intended layer stacking when building your spatial scene.
Import into Mental Canvas
With your Procreate layers exported, let’s bring them into Mental Canvas.
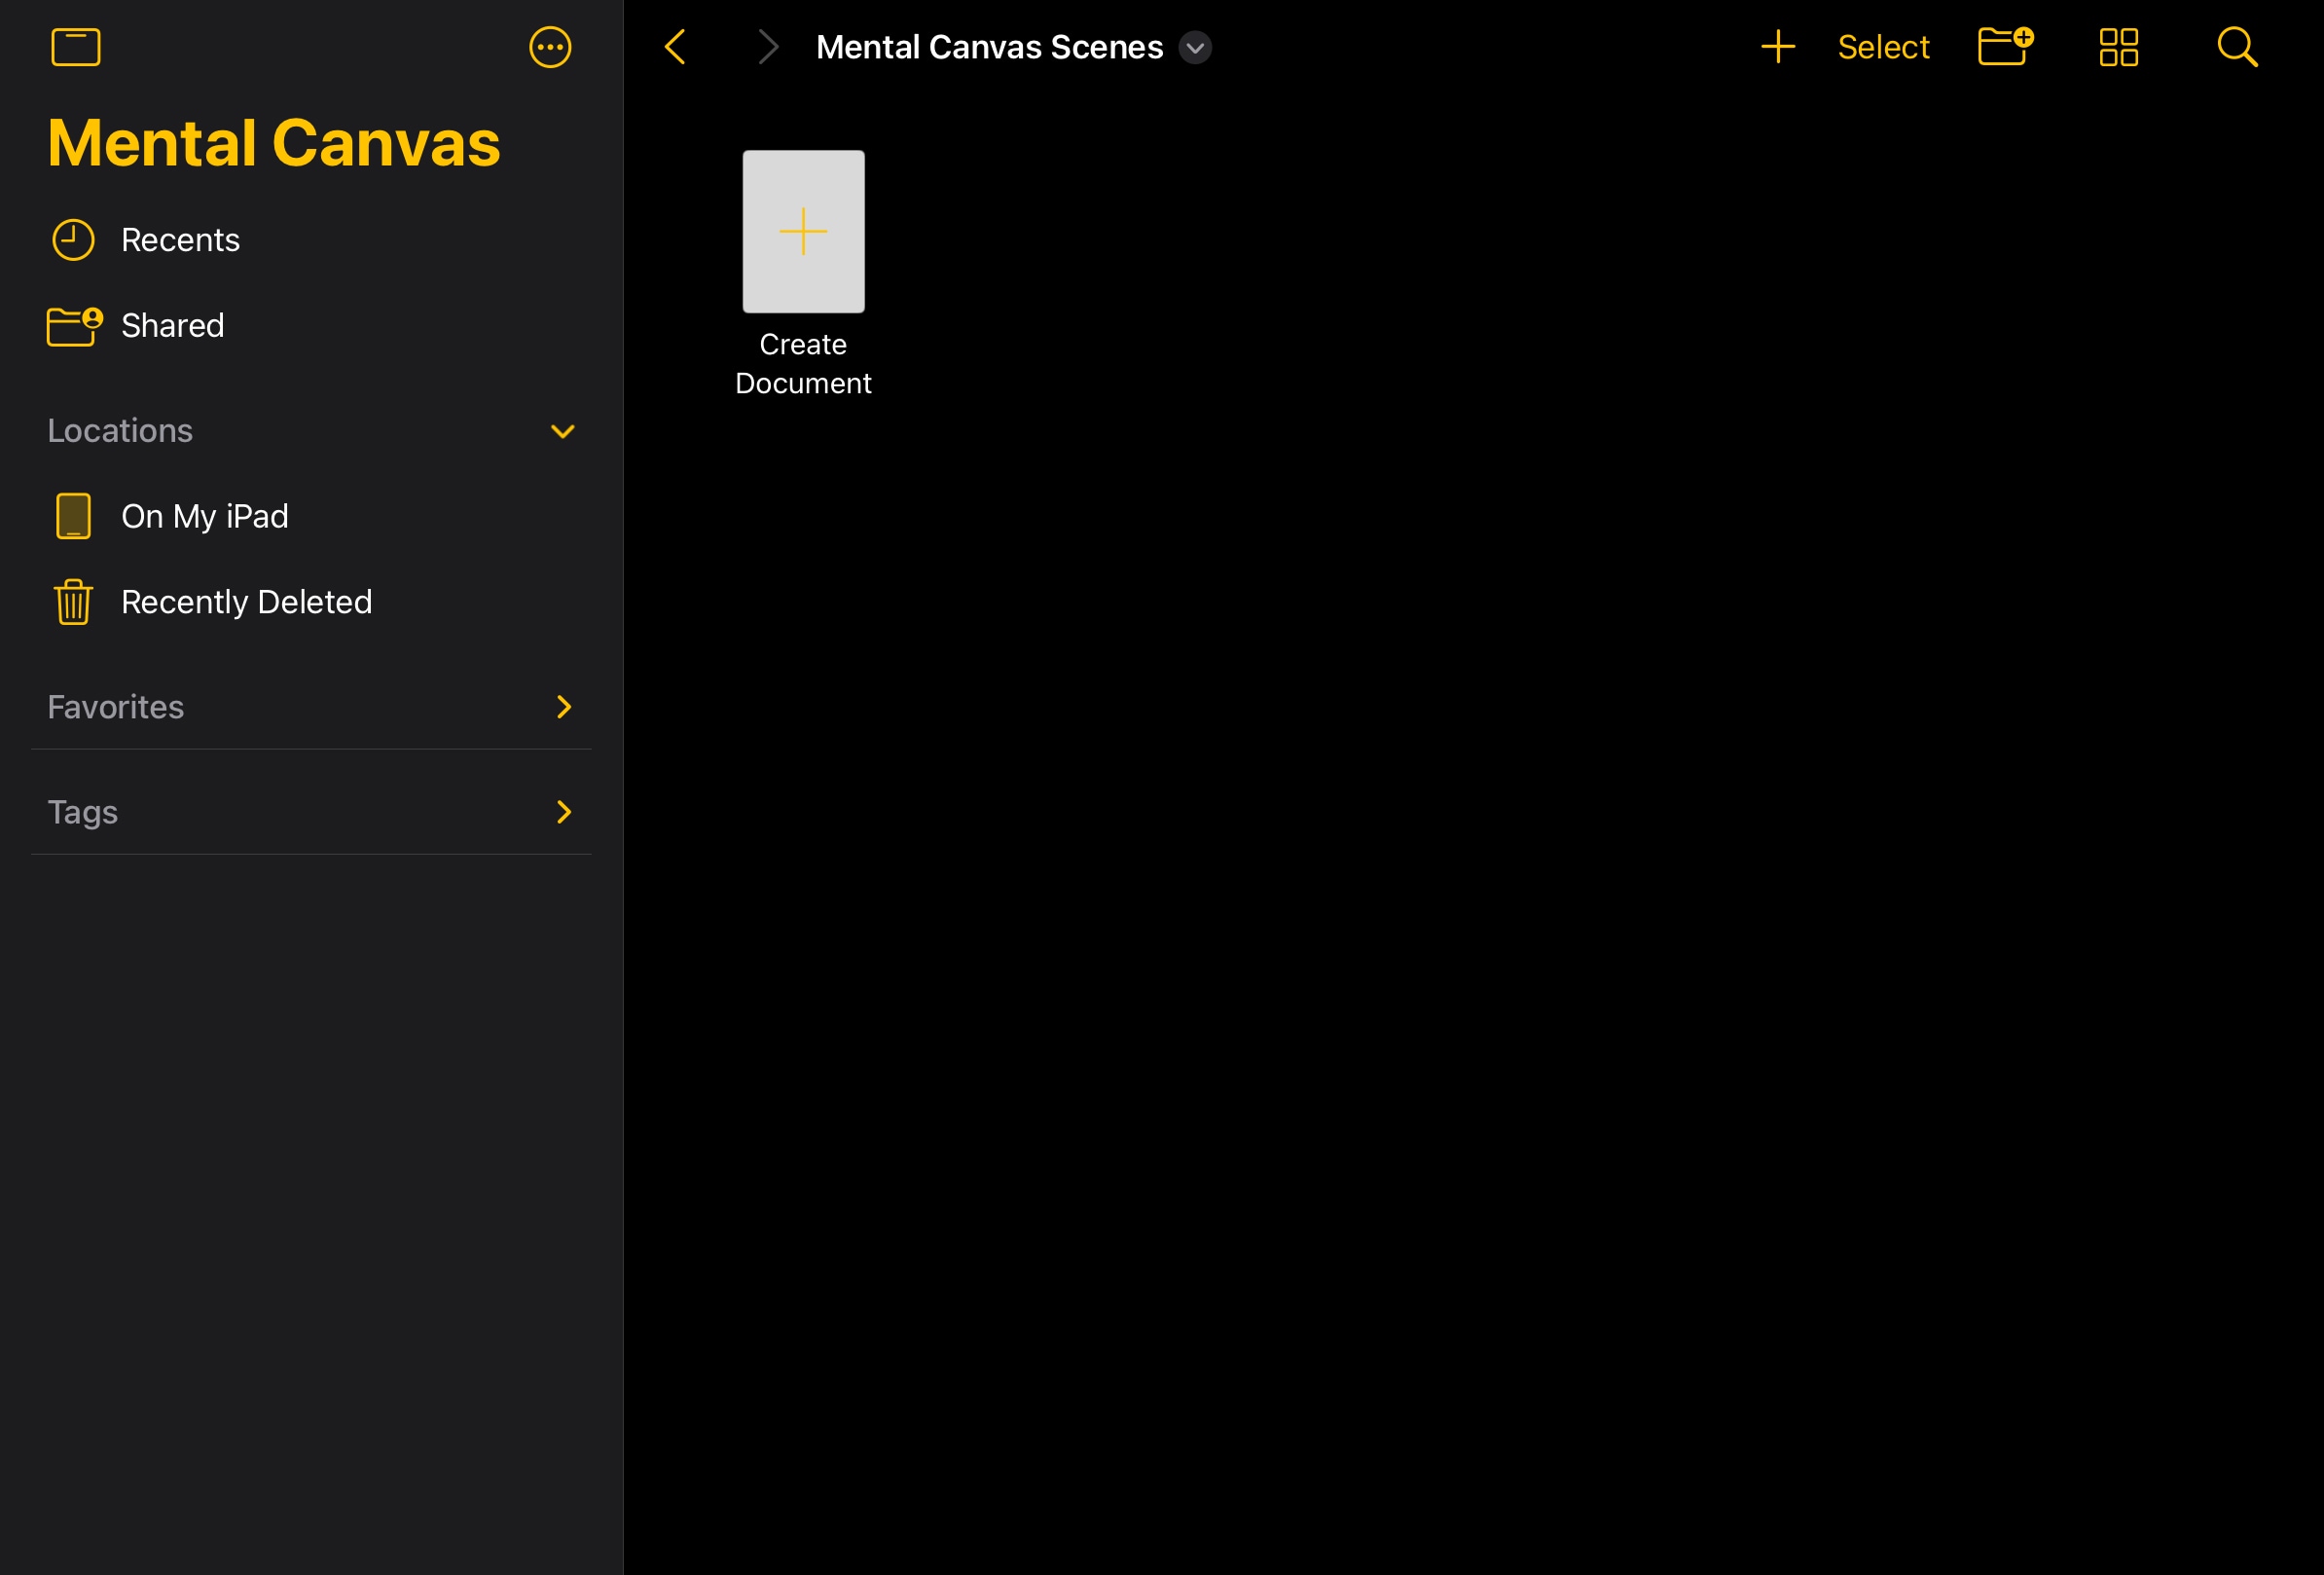
Create or Open a Scene
Launch Mental Canvas. You can start with a fresh, blank scene or open an existing one if you’re adding to a project.
Import Images
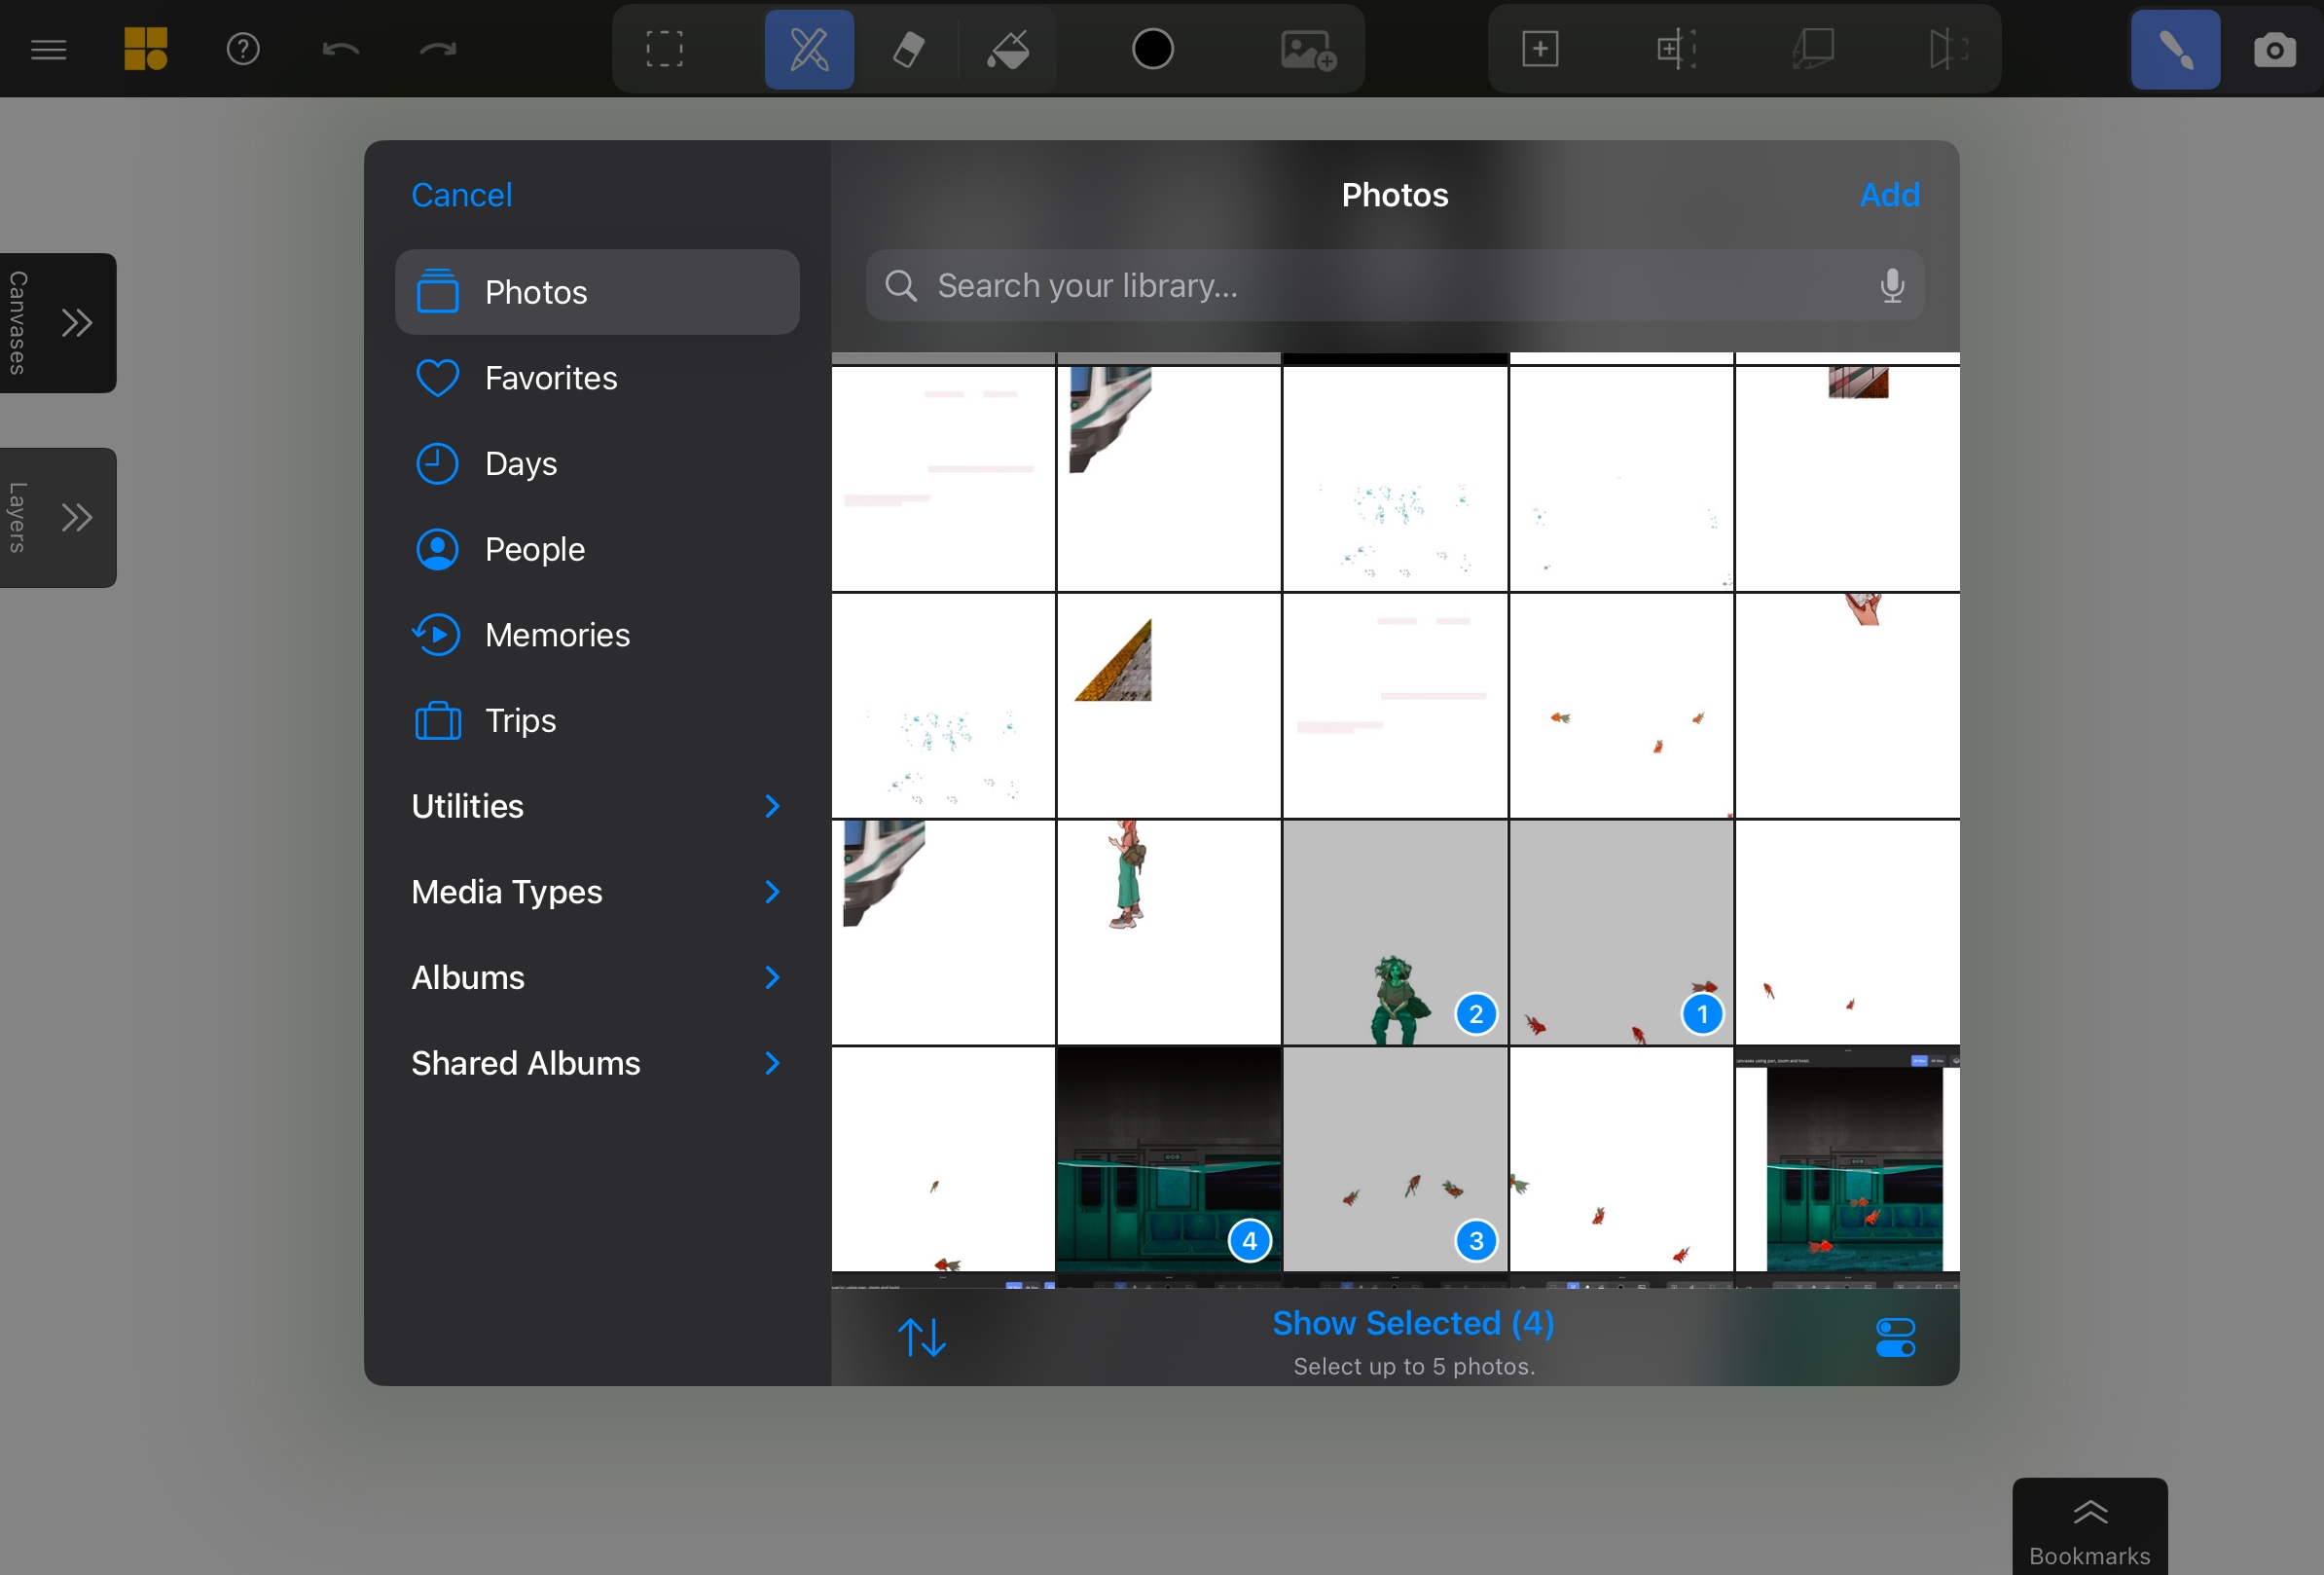
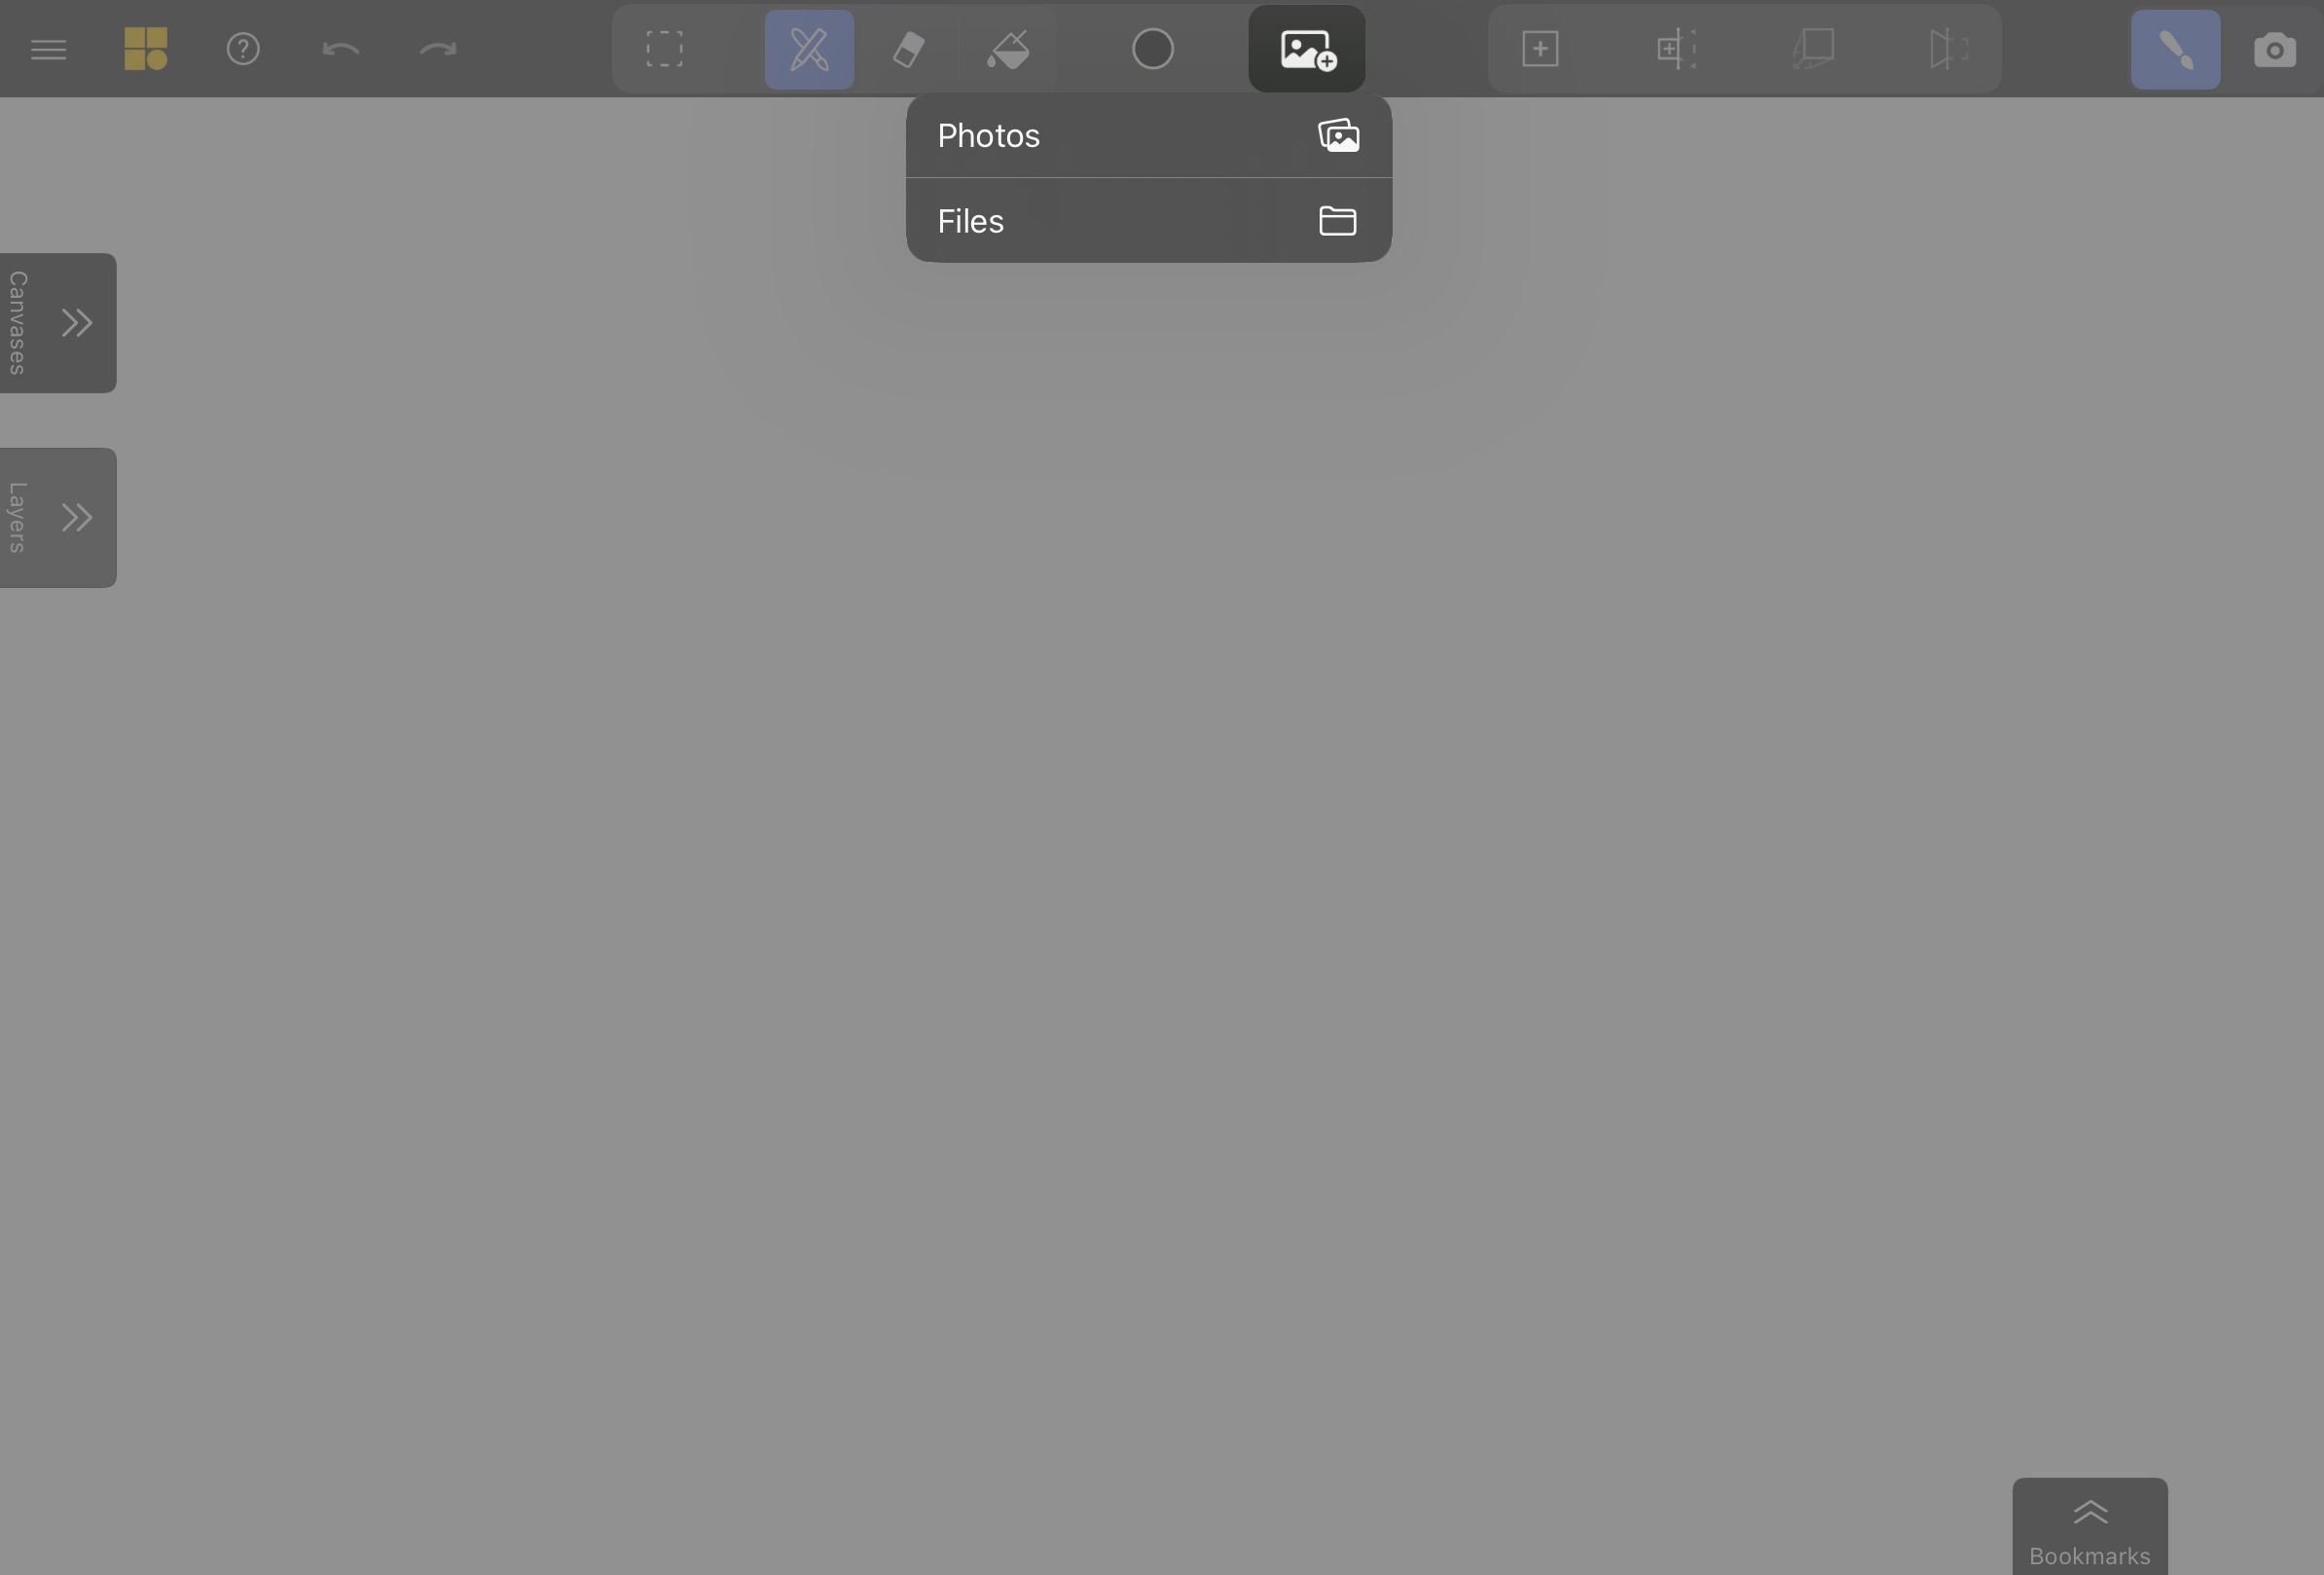
Tap the Import Image button in the top toolbar. Choose your image source: Photos or Files.
Select Your Layers
Navigate to your saved PNGs and select all layers you want to import. Tap Open (or Add from Photos).
Your images appear overlaid on your canvas, ready for positioning.
Position and Scale (Optional)
Make initial adjustments now or refine later:
- Pinch with two fingers to scale the image stack
- Drag with one finger to move the stack
- Twist with two fingers to rotate the stack
Don’t worry about perfect alignment or stacking order – you can adjust individual layers later.
Configure Import Settings
Review the top toolbar settings before confirming.
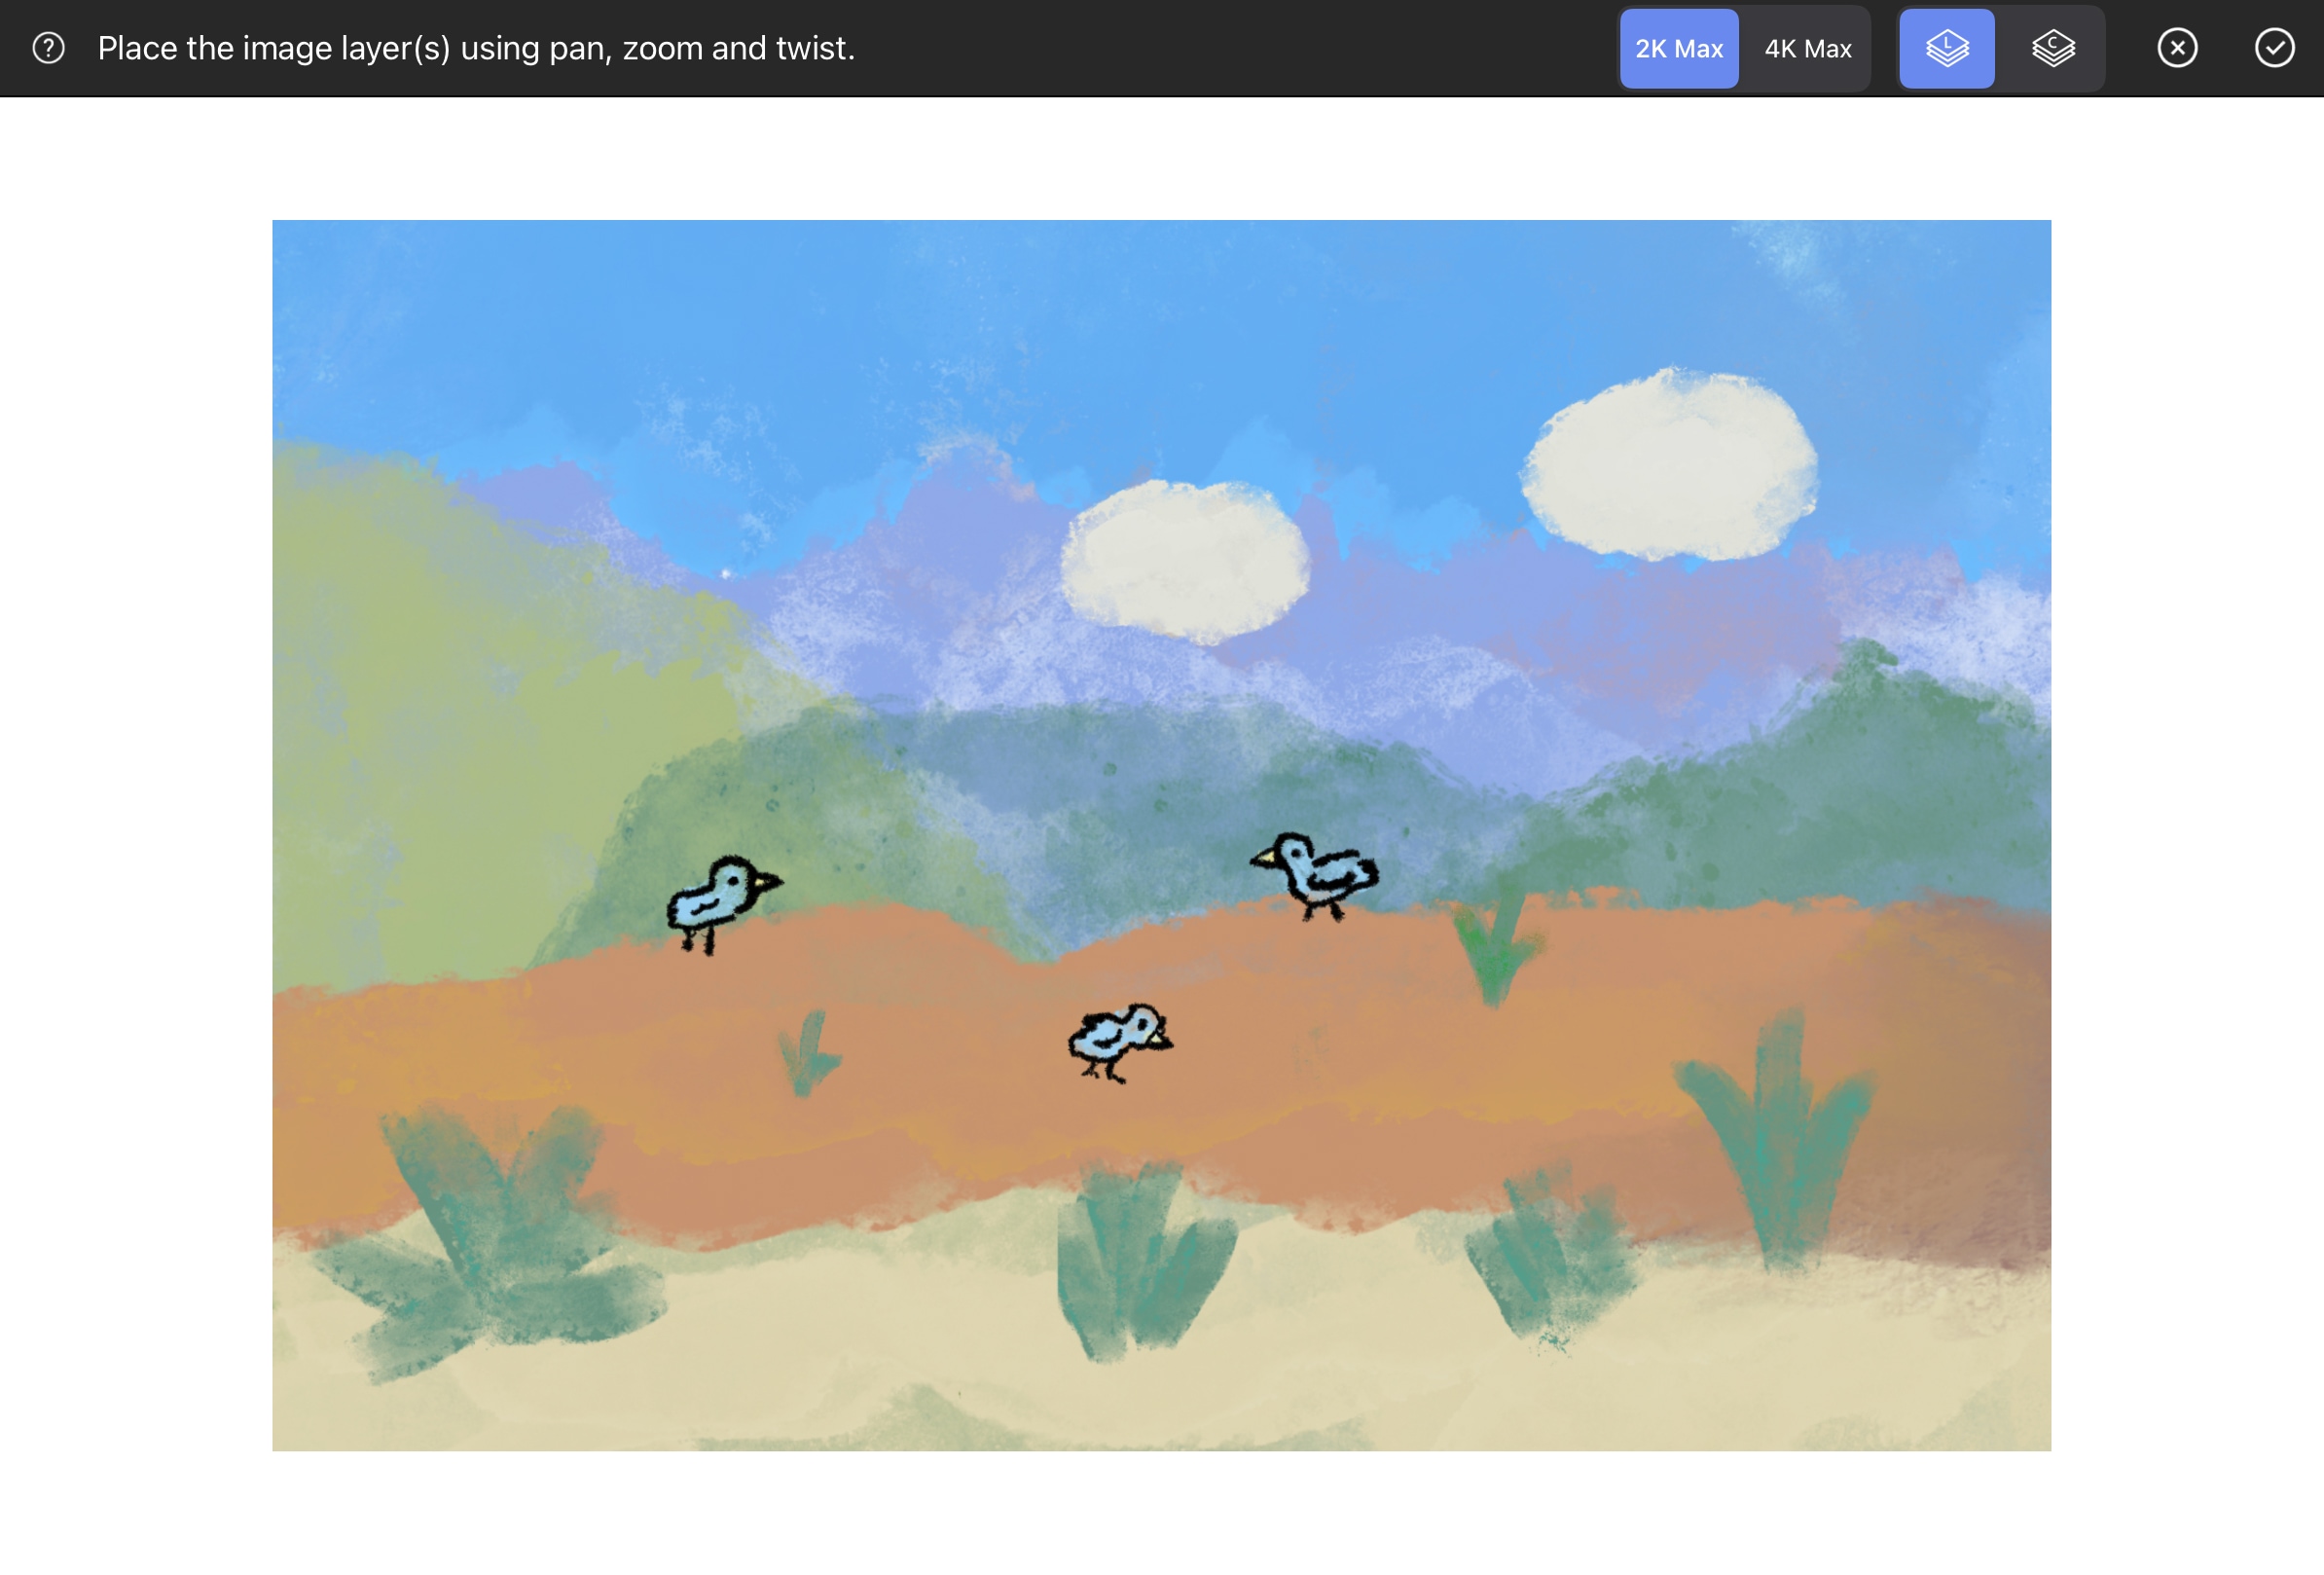
Resolution: Choose 2K Max (2048x2048 pixels) or 4K Max (4096x4096 pixels). This sets the maximum resolution for imported images.
Use 2K for better performance on most devices. Only use 4K if you need extreme detail for close-up views.
Import Mode: Choose how your images are structured:
- Separate Layers (L): All images on one canvas, each on its own layer. Mirrors your Procreate setup.
- Separate Canvases (C): Each image on its own canvas. Use for immediate 3D positioning.
For most beginner Procreate workflows, we recommend Separate Layers (L), as it keeps your artwork organized on one primary canvas, similar to your Procreate setup.
Confirm Import
Tap the Confirm checkmark button in the top toolbar to finalize import.
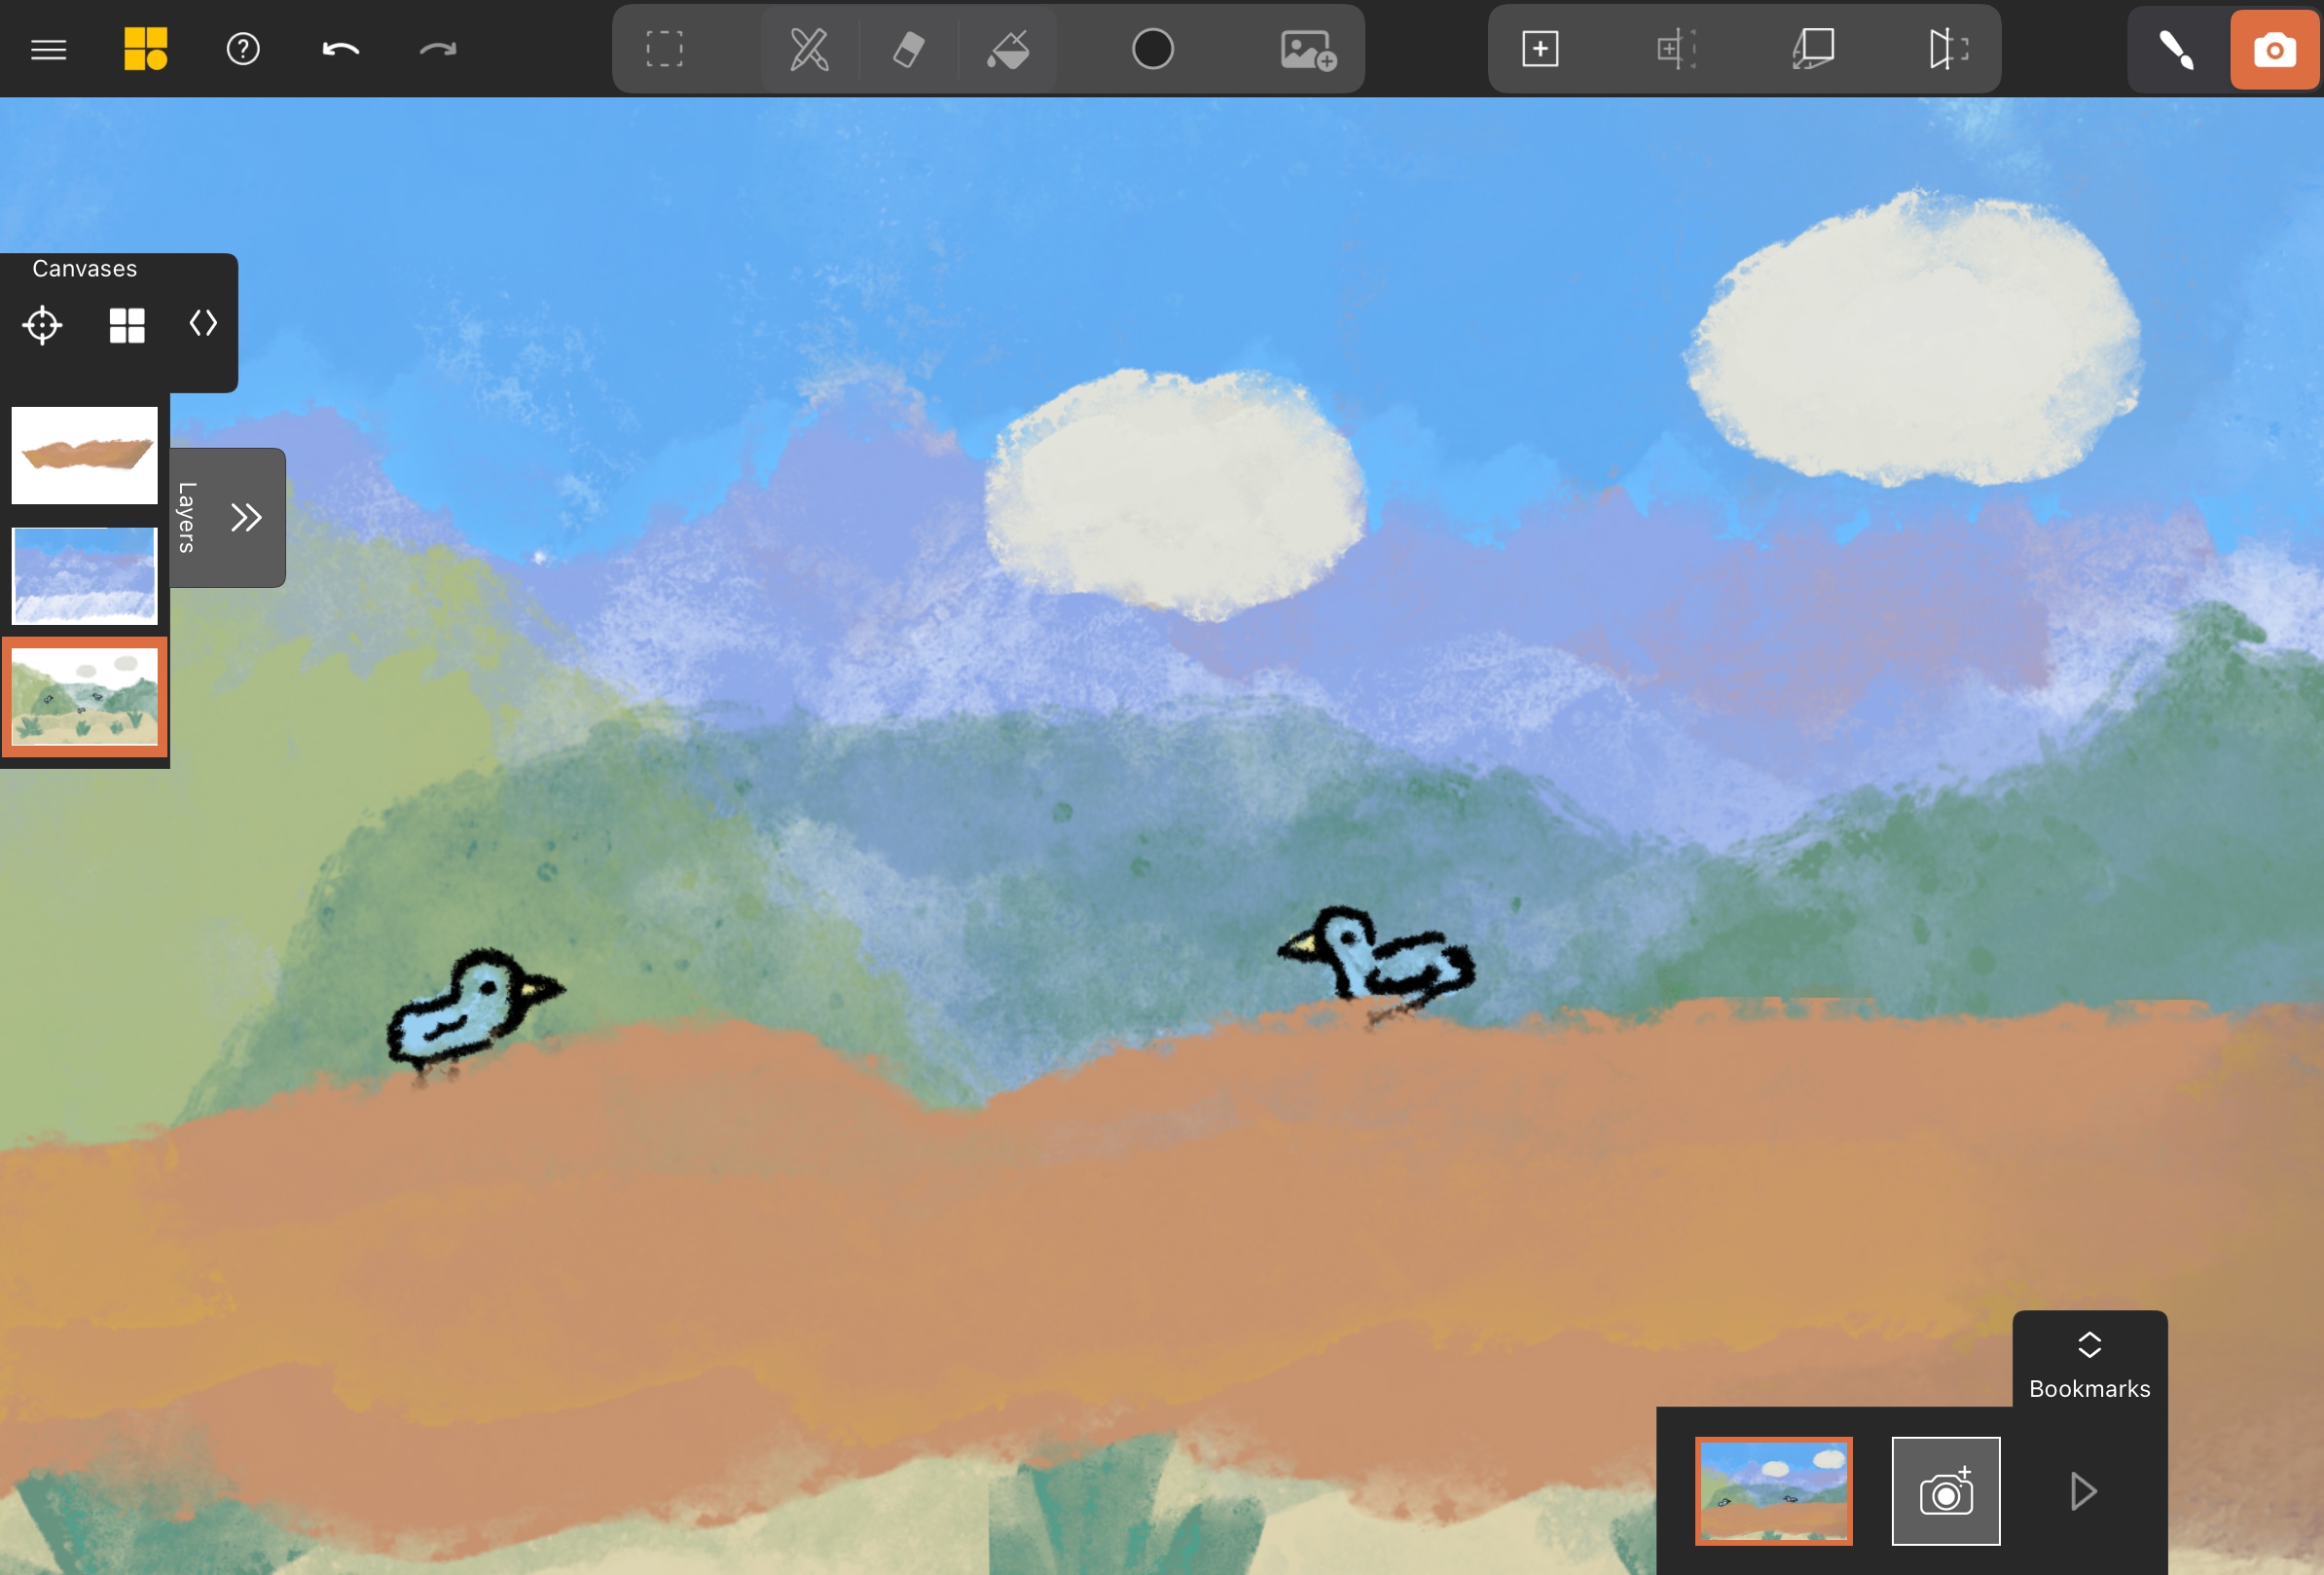
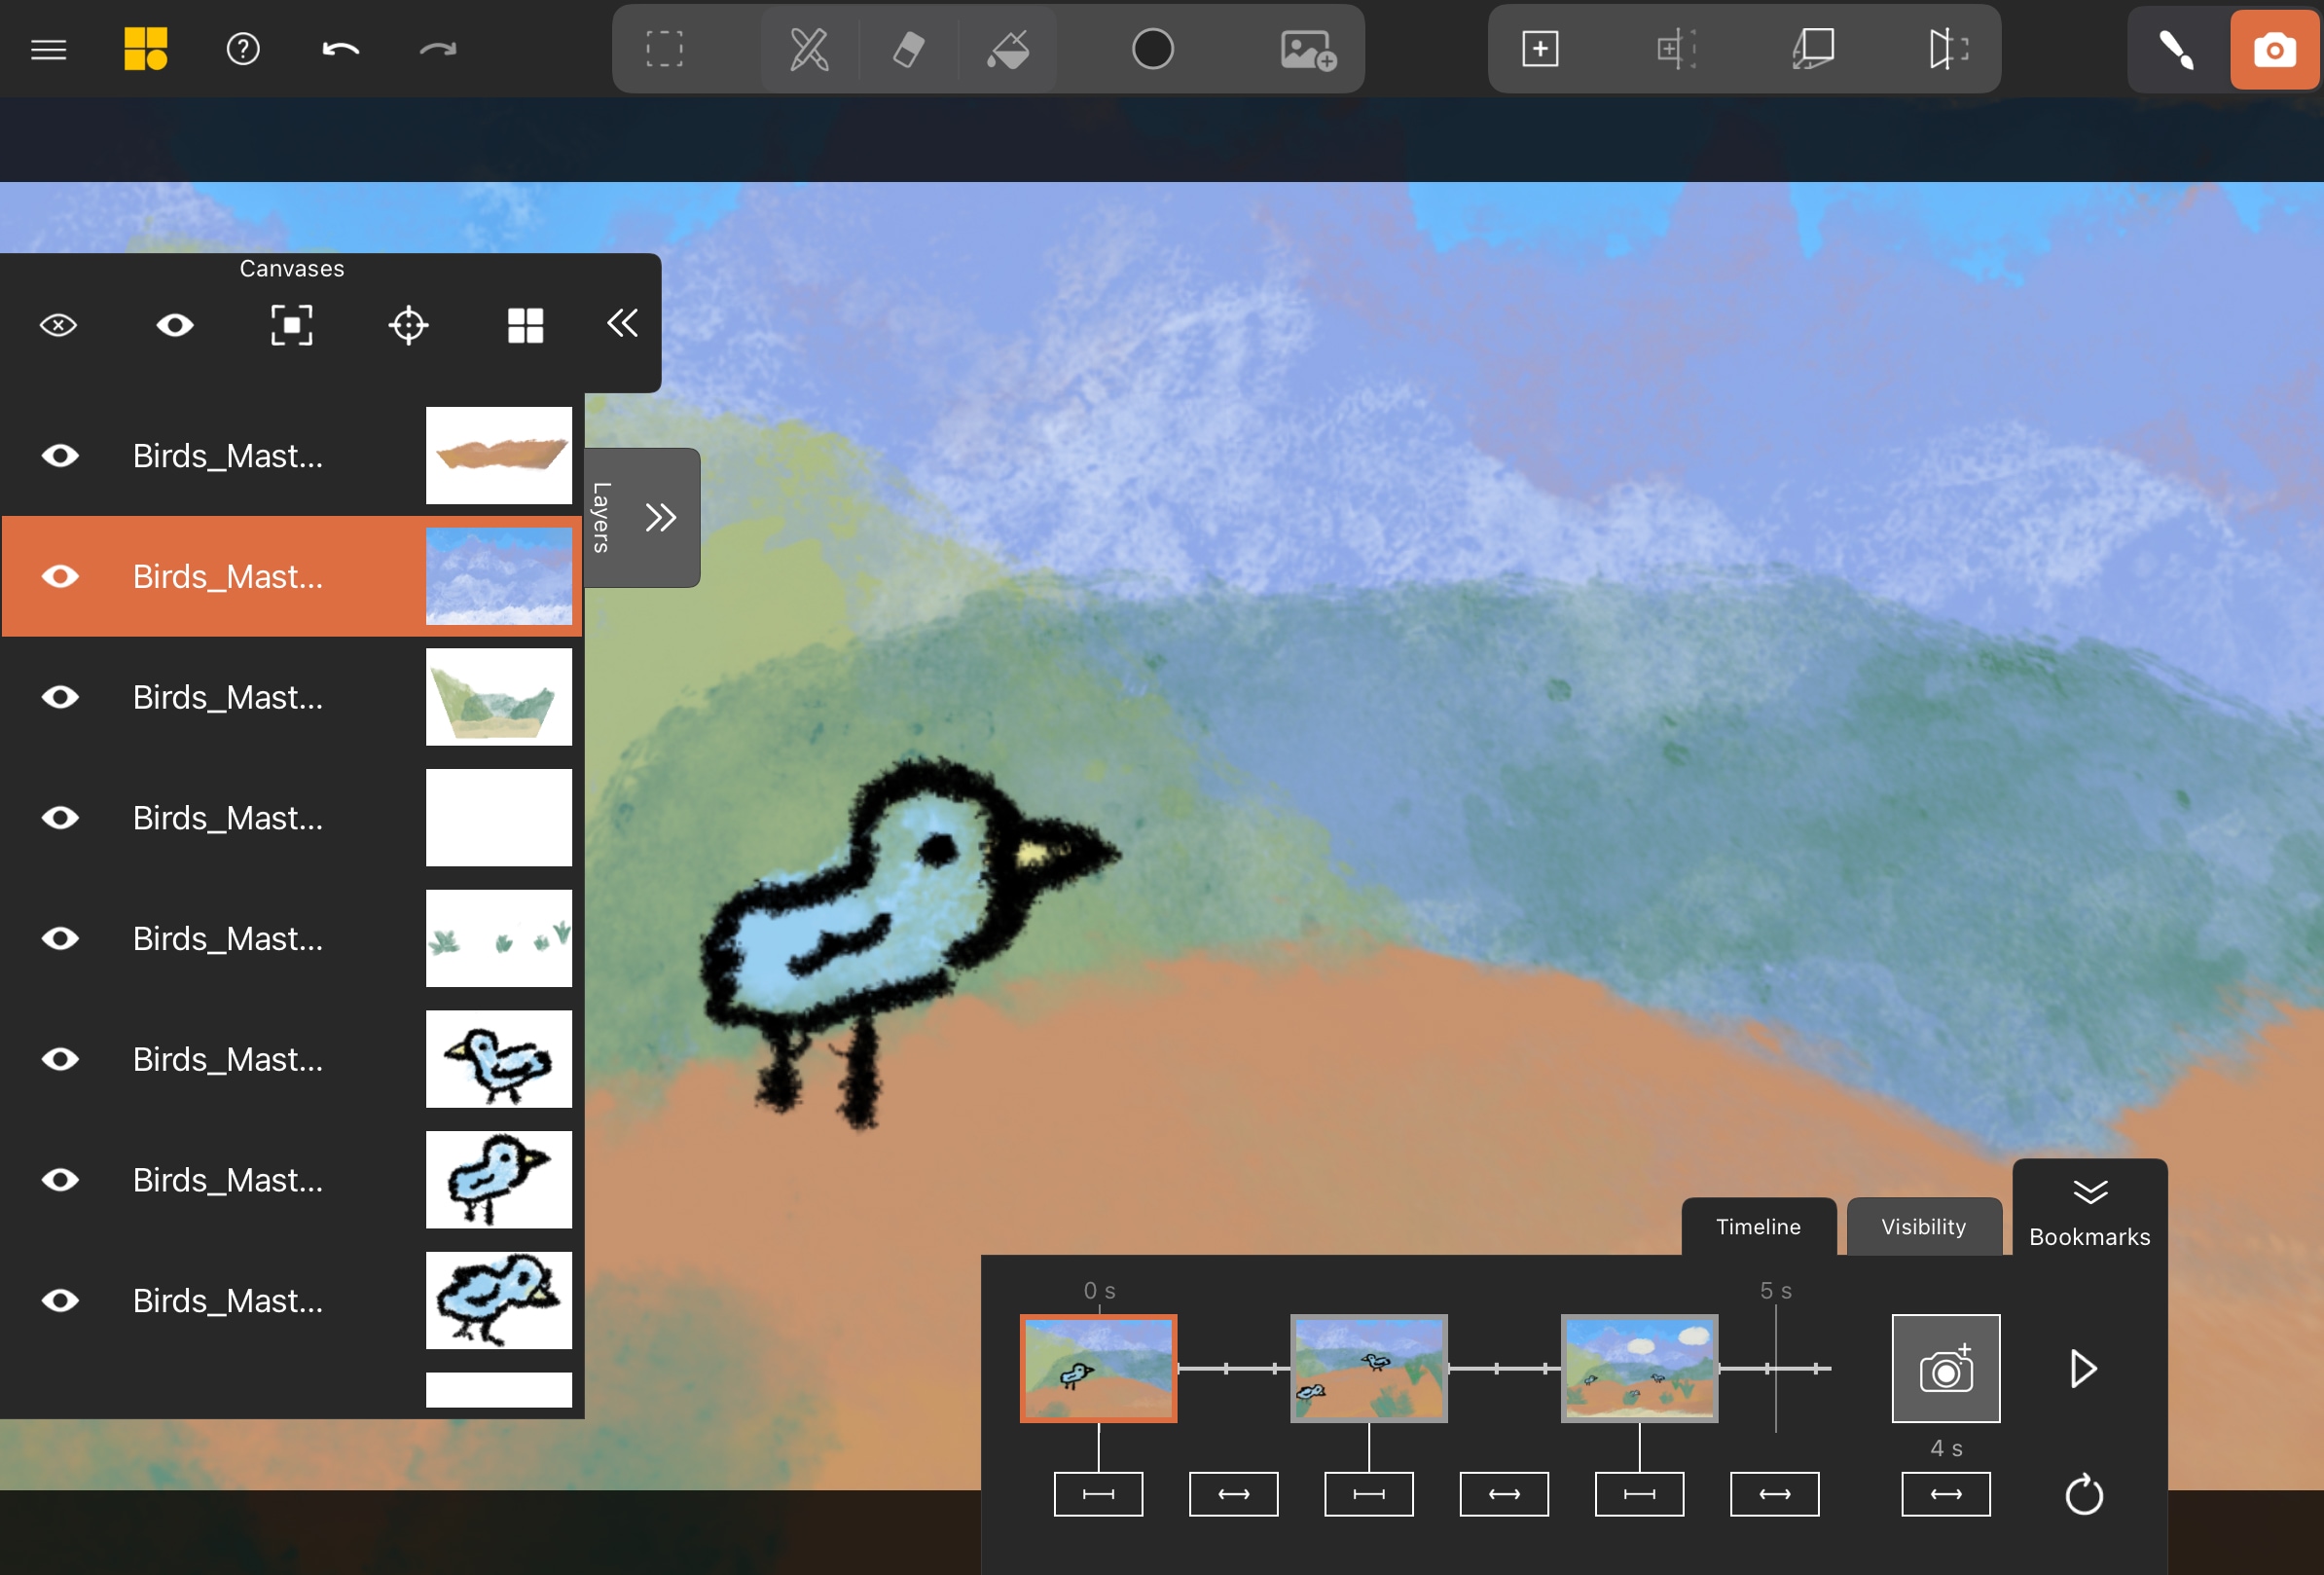
If you chose Separate Layers, your images populate the Layers List. Each has a picture icon indicating it’s an imported image.
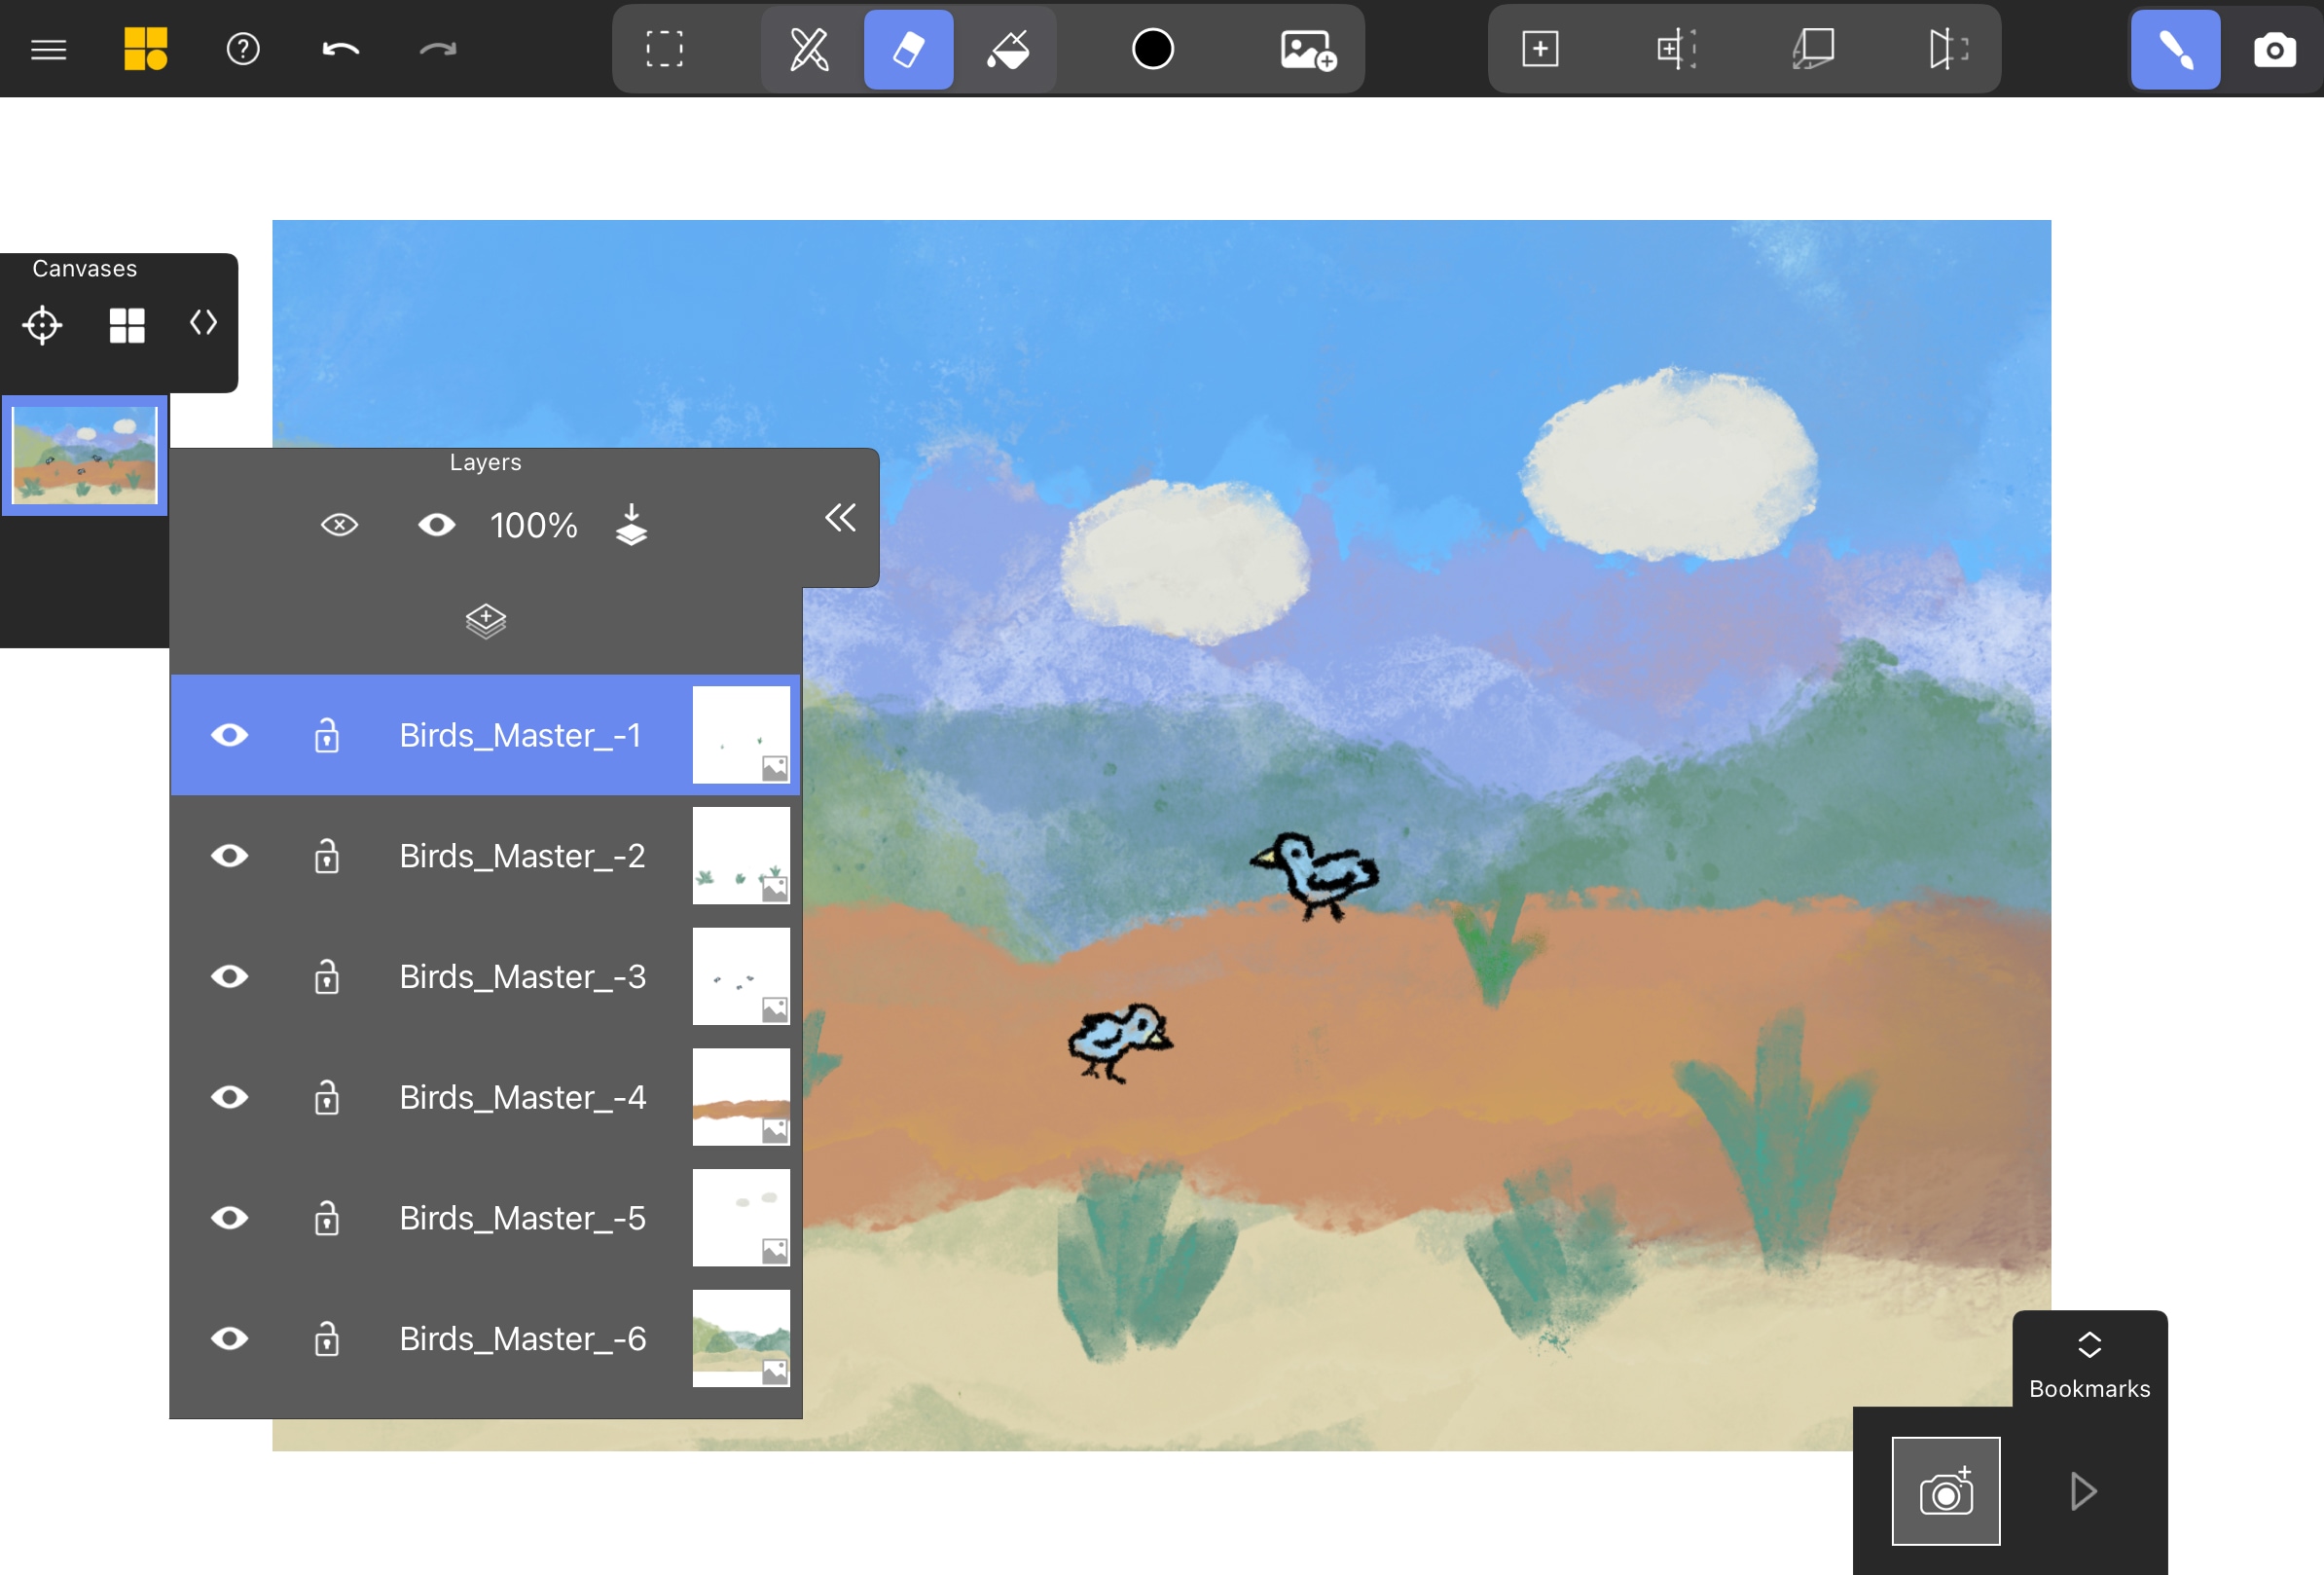
If you chose Separate Canvases, each image appears as a new canvas in the Canvas List at the same 3D position.
Set Up Your Scene
With your Procreate artwork now in Mental Canvas, a couple of setup steps will make the projection process smoother and more predictable.
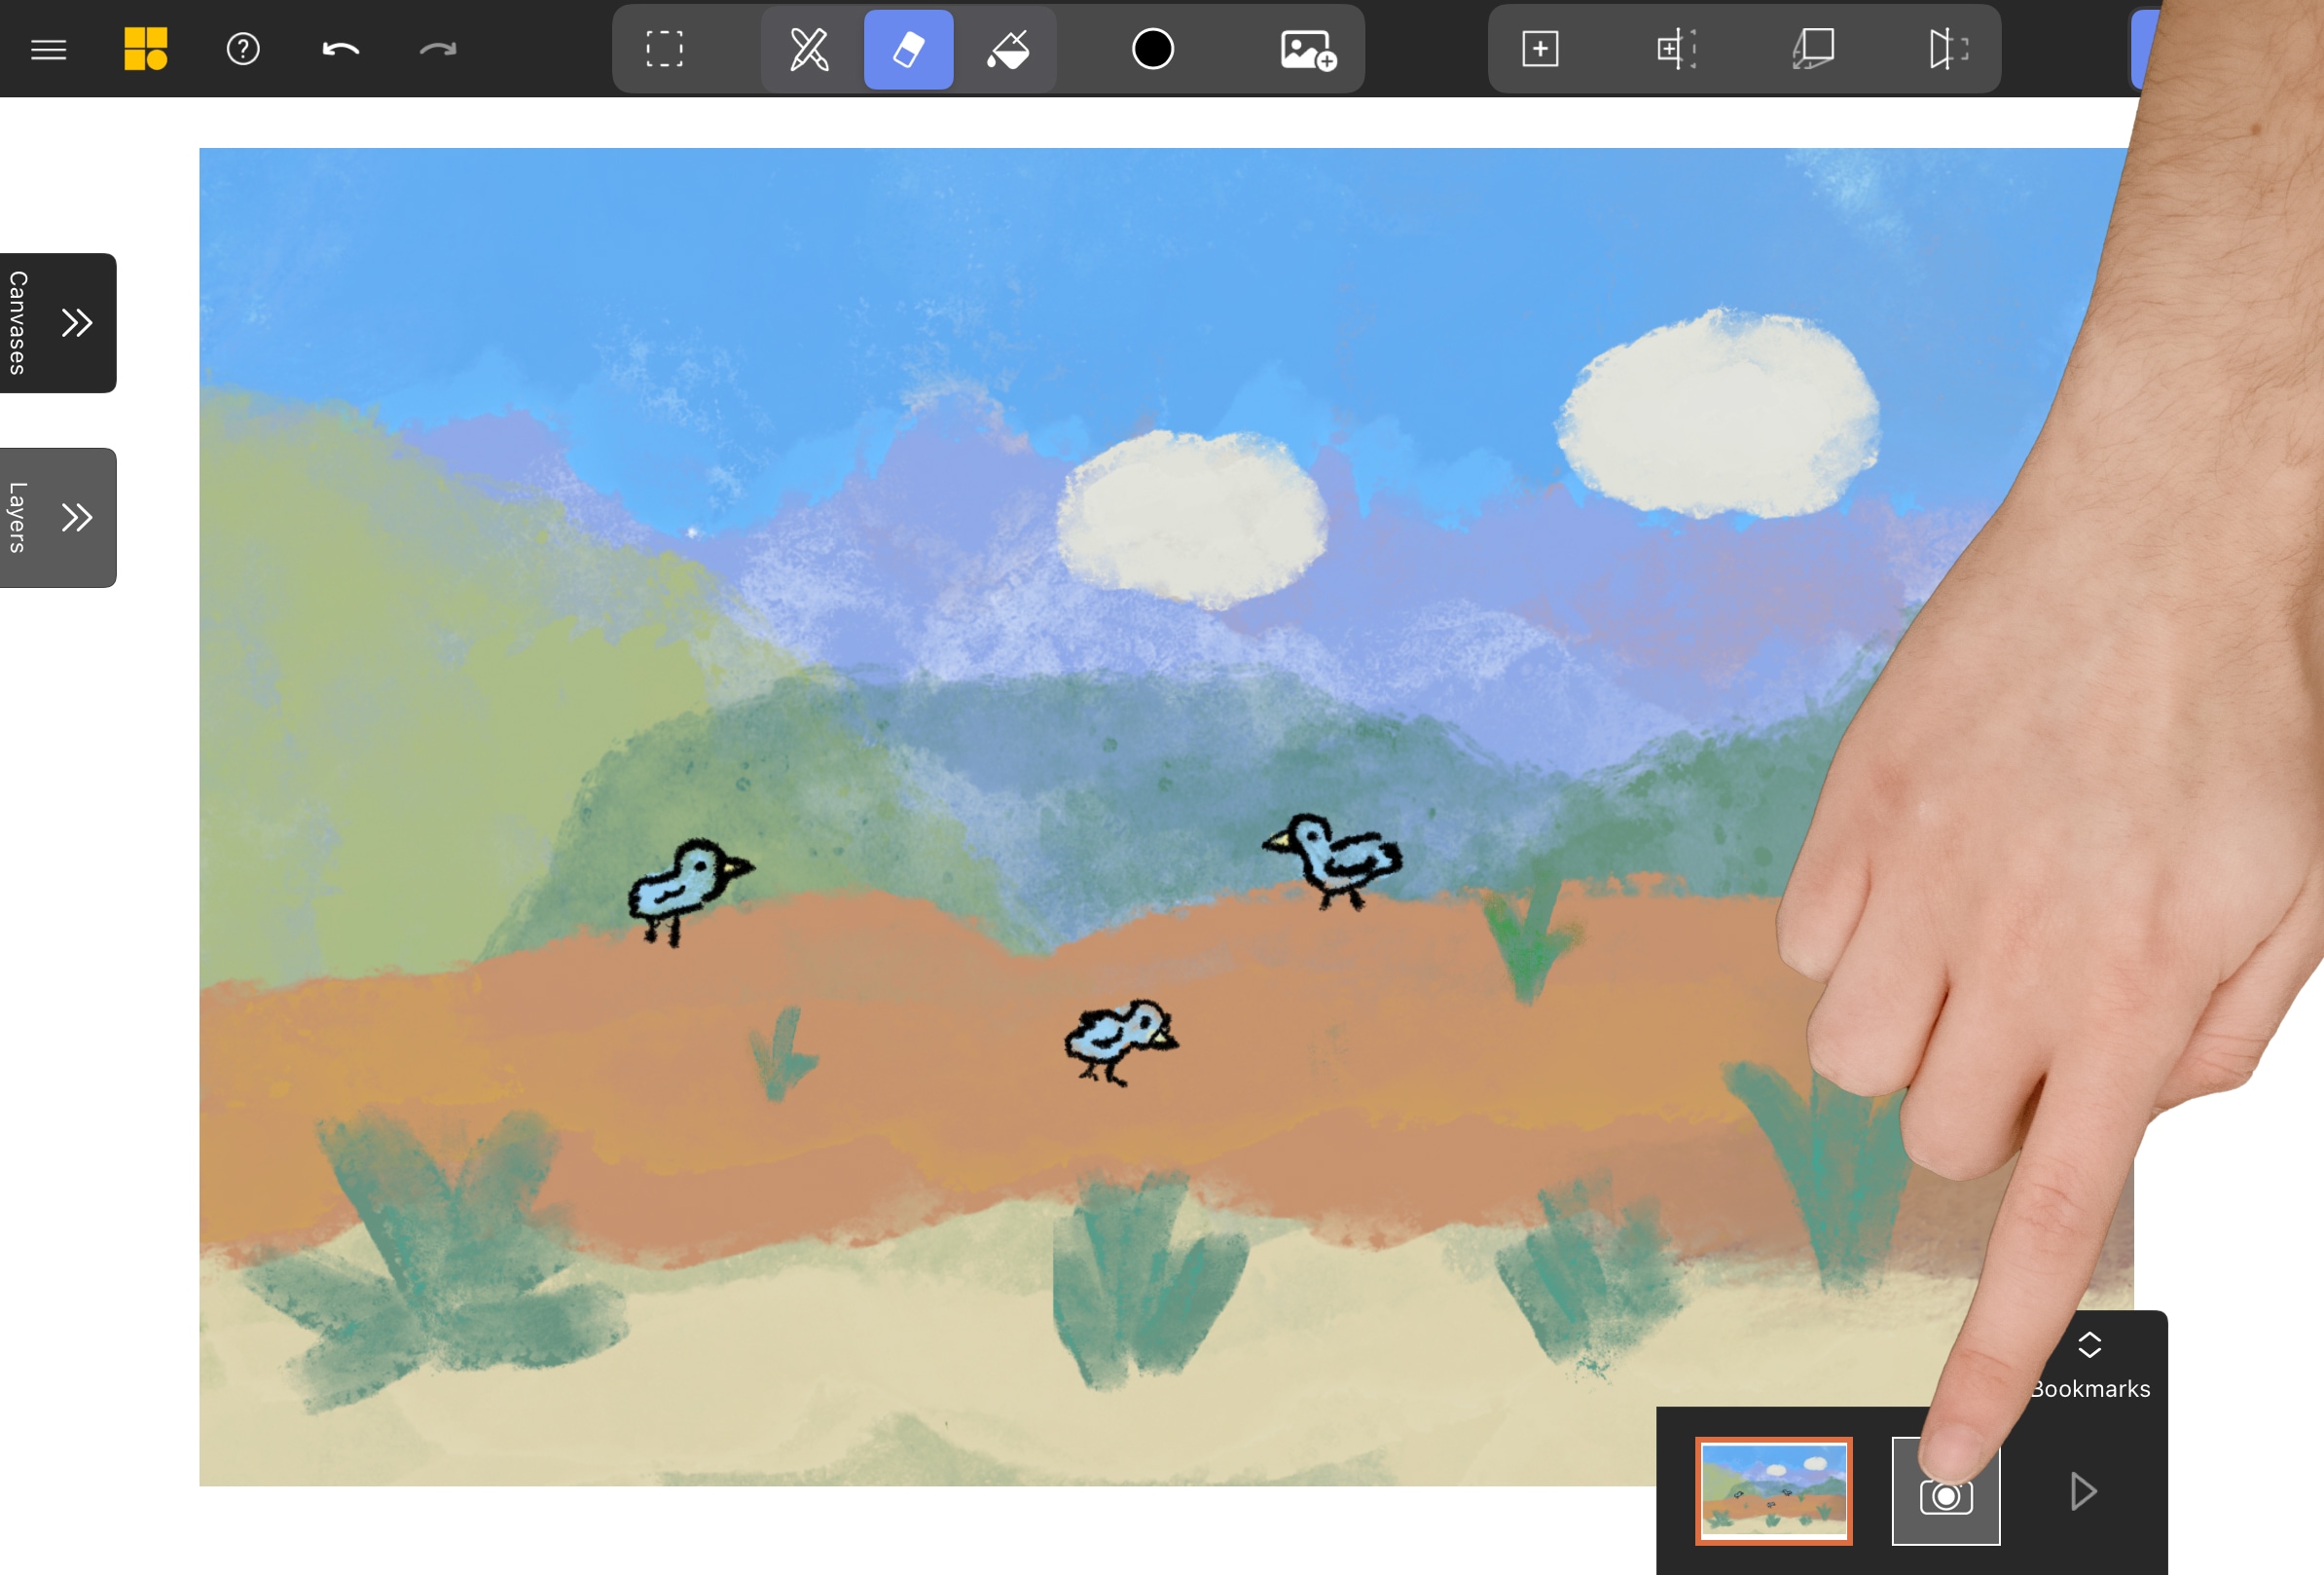
Save a Bookmark of your initial view to preserve the original composition. Navigate so your artwork matches the original Procreate view. Tap the camera icon in the Bookmarks Bar to save this view as your anchor point.
Define Export Boundaries (Optional)
Mental Canvas uses an infinite canvas with no fixed dimensions. If you plan to export as video with a specific aspect ratio, it’s helpful to set up visual boundaries before projecting. This helps you compose your scene within the intended frame.
Skip this step if creating an interactive web scene for free exploration.
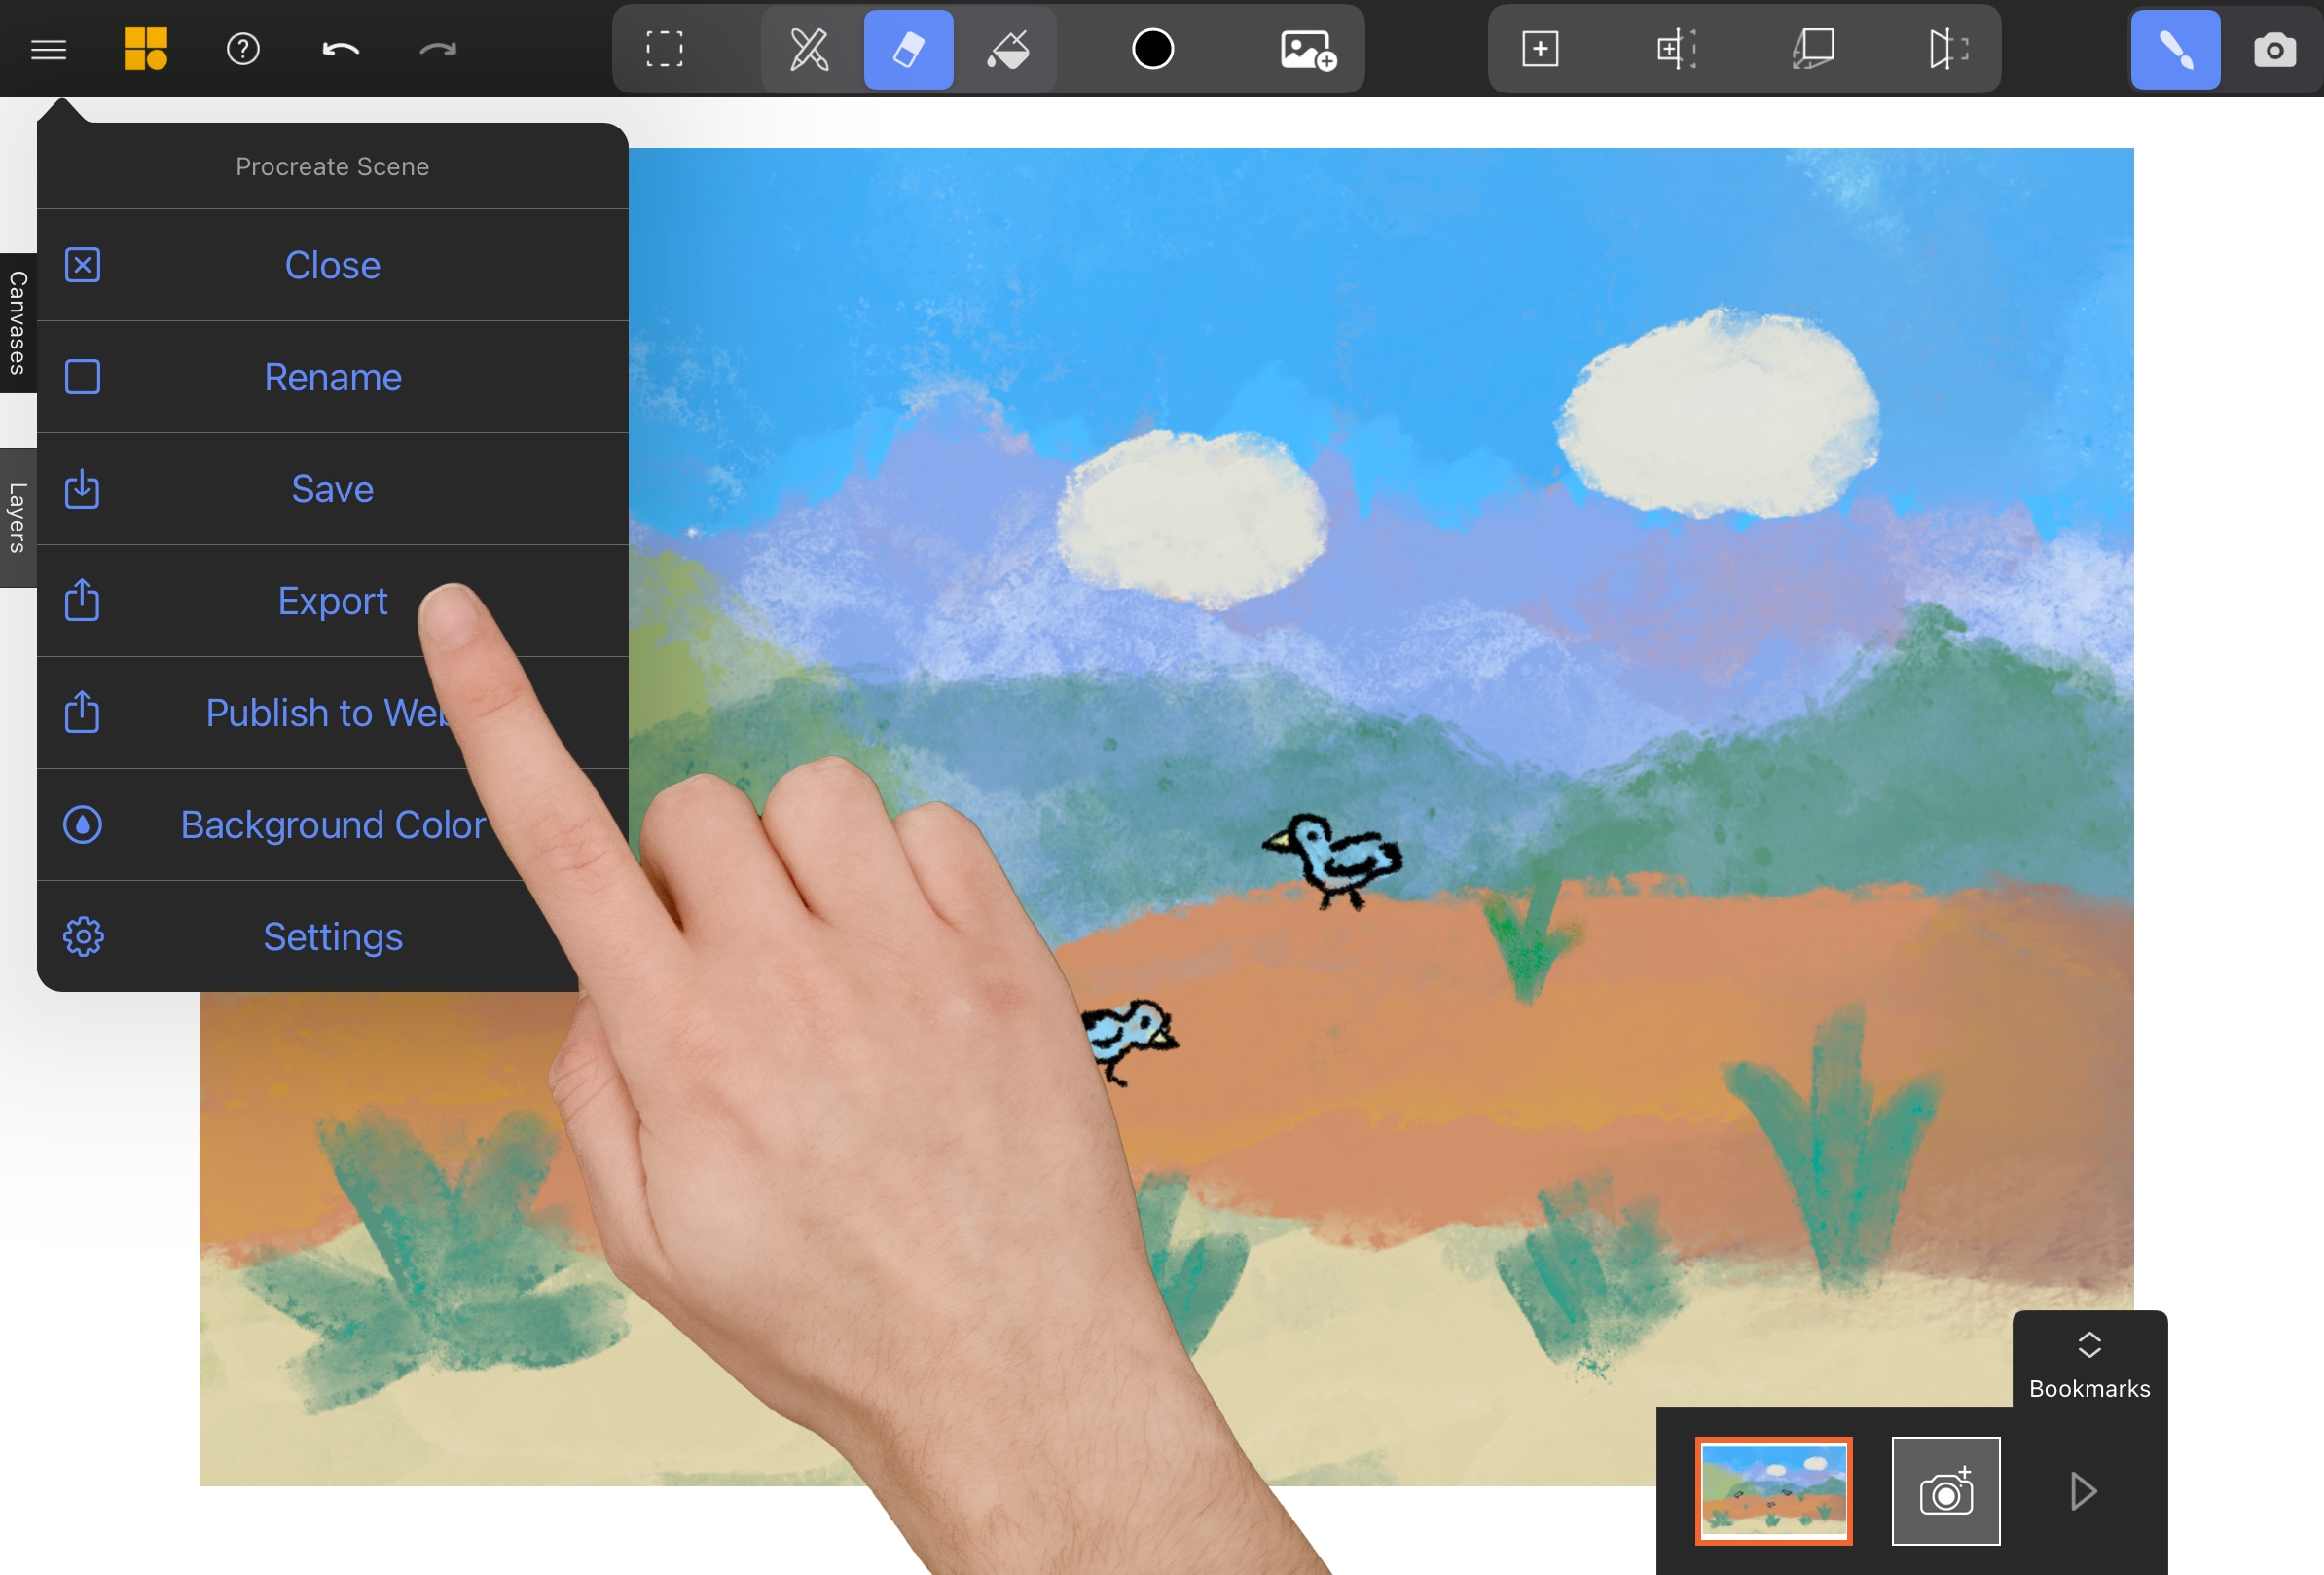
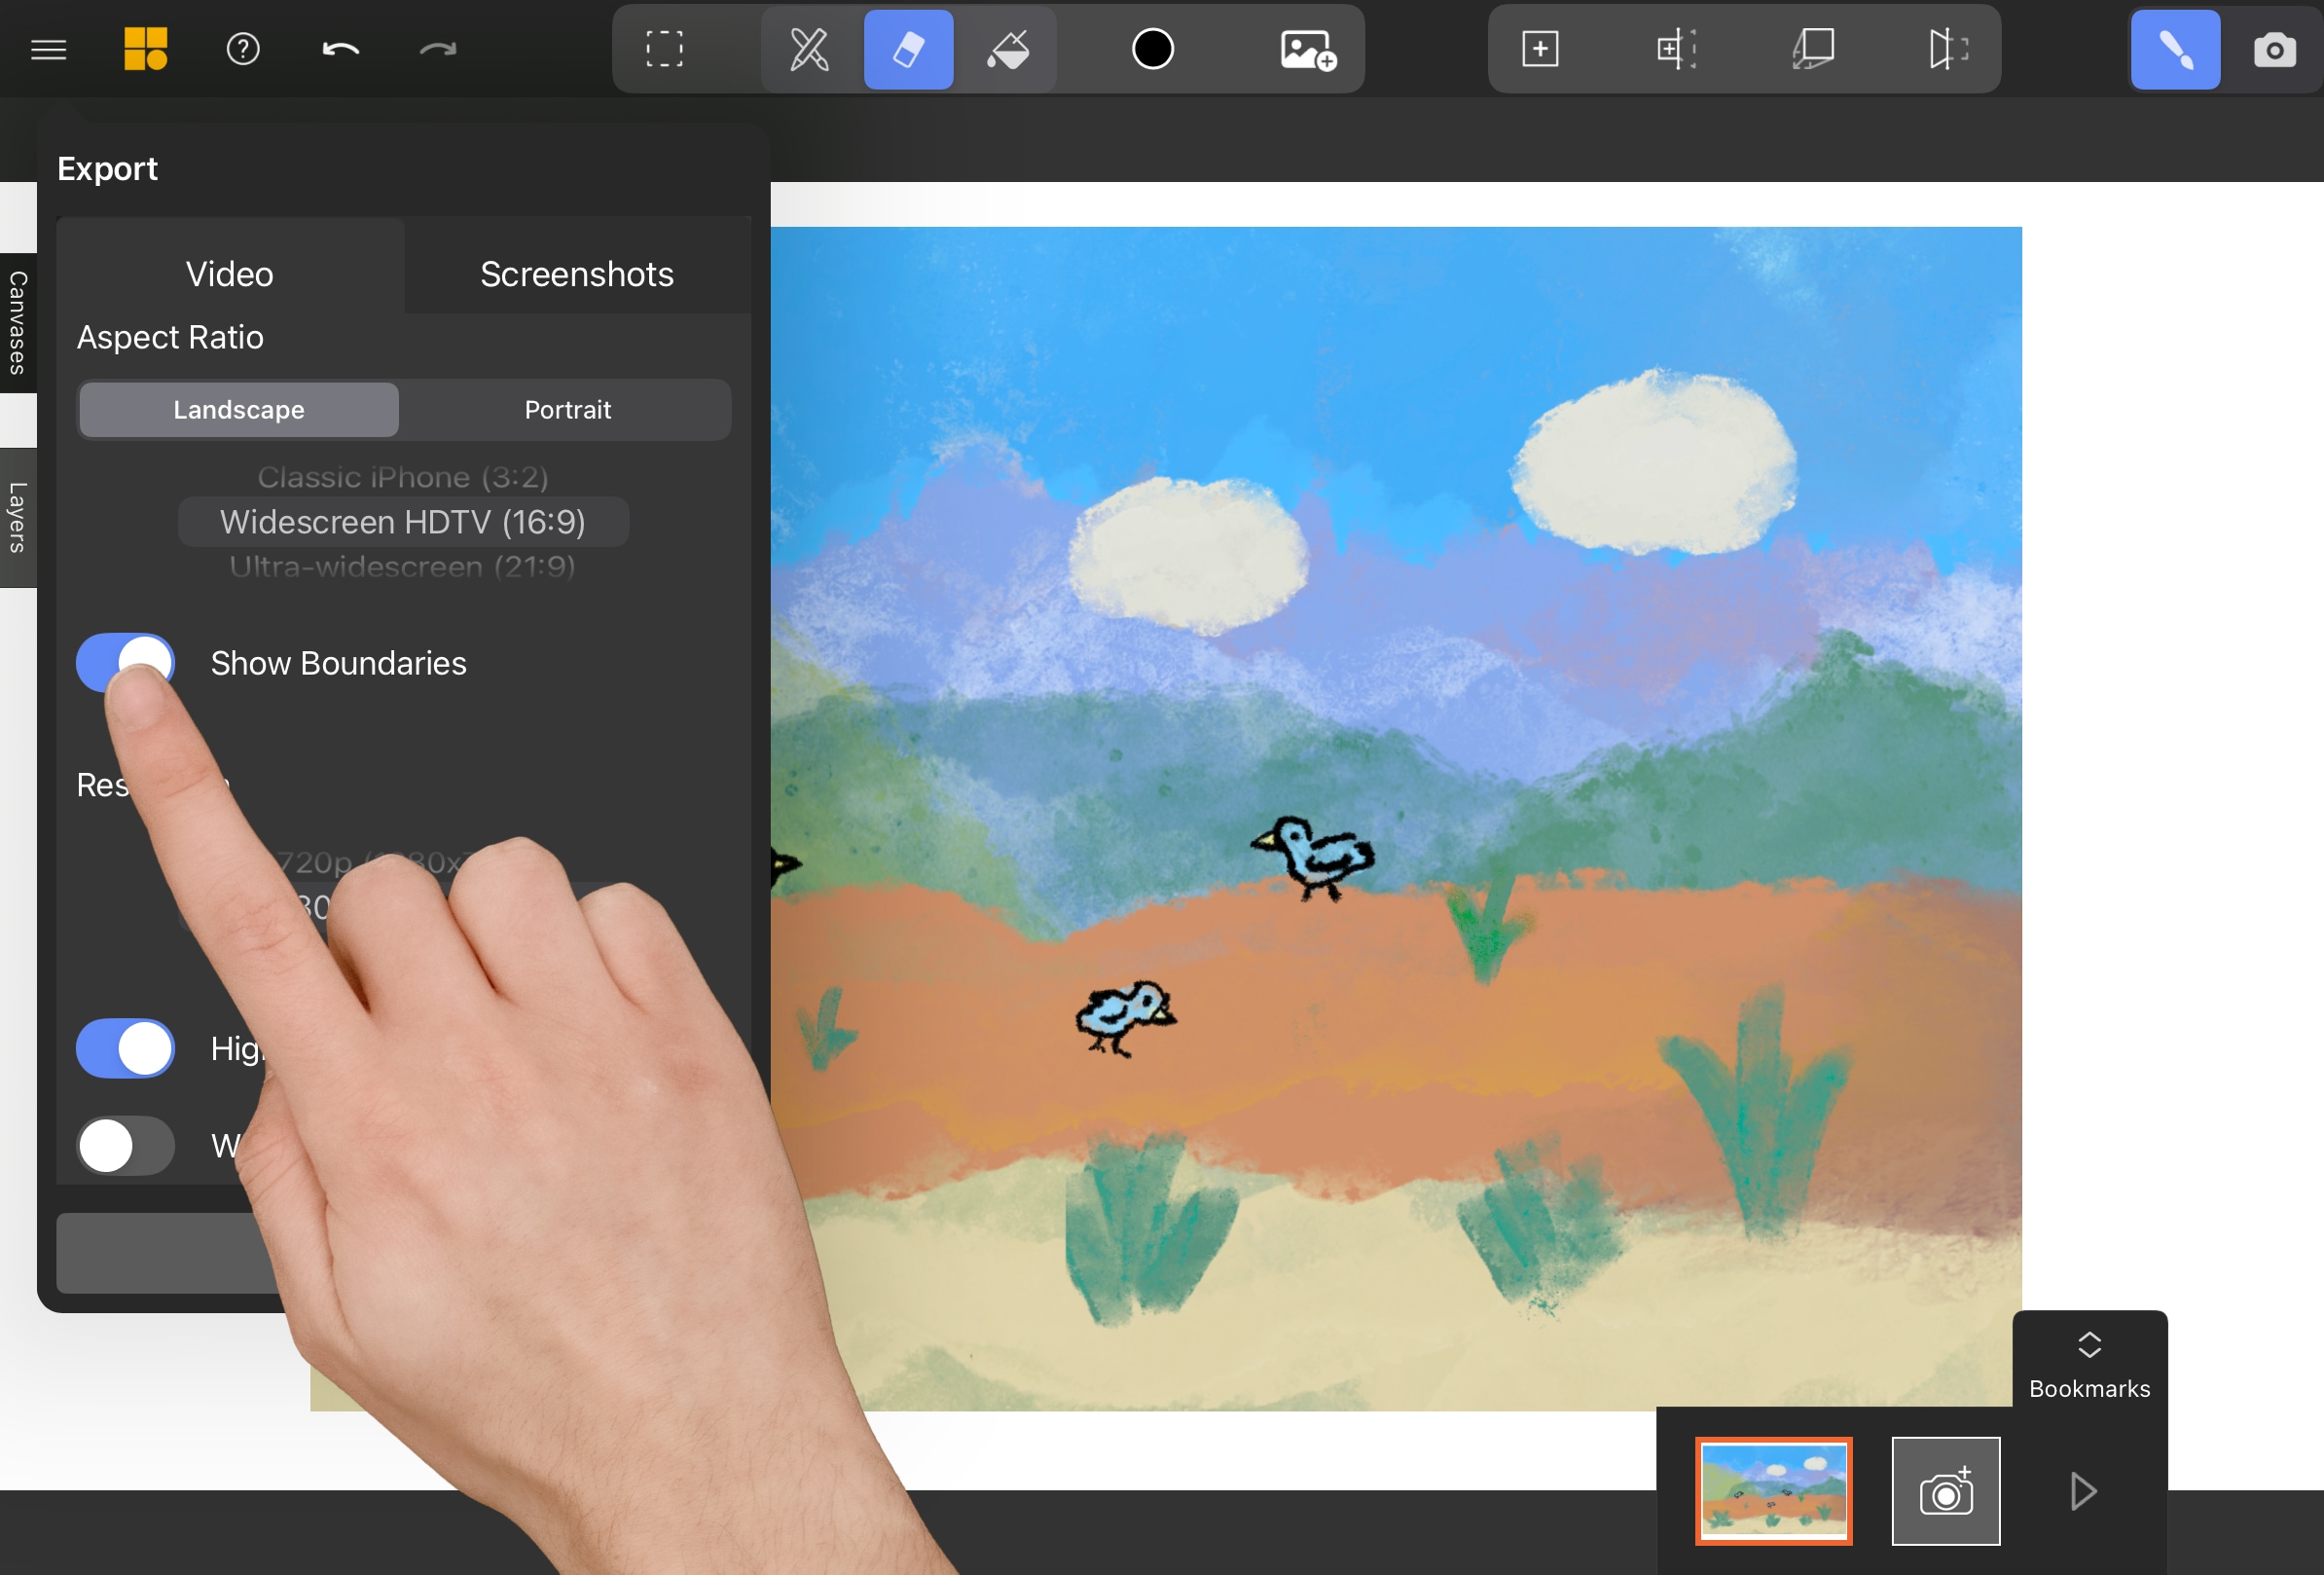
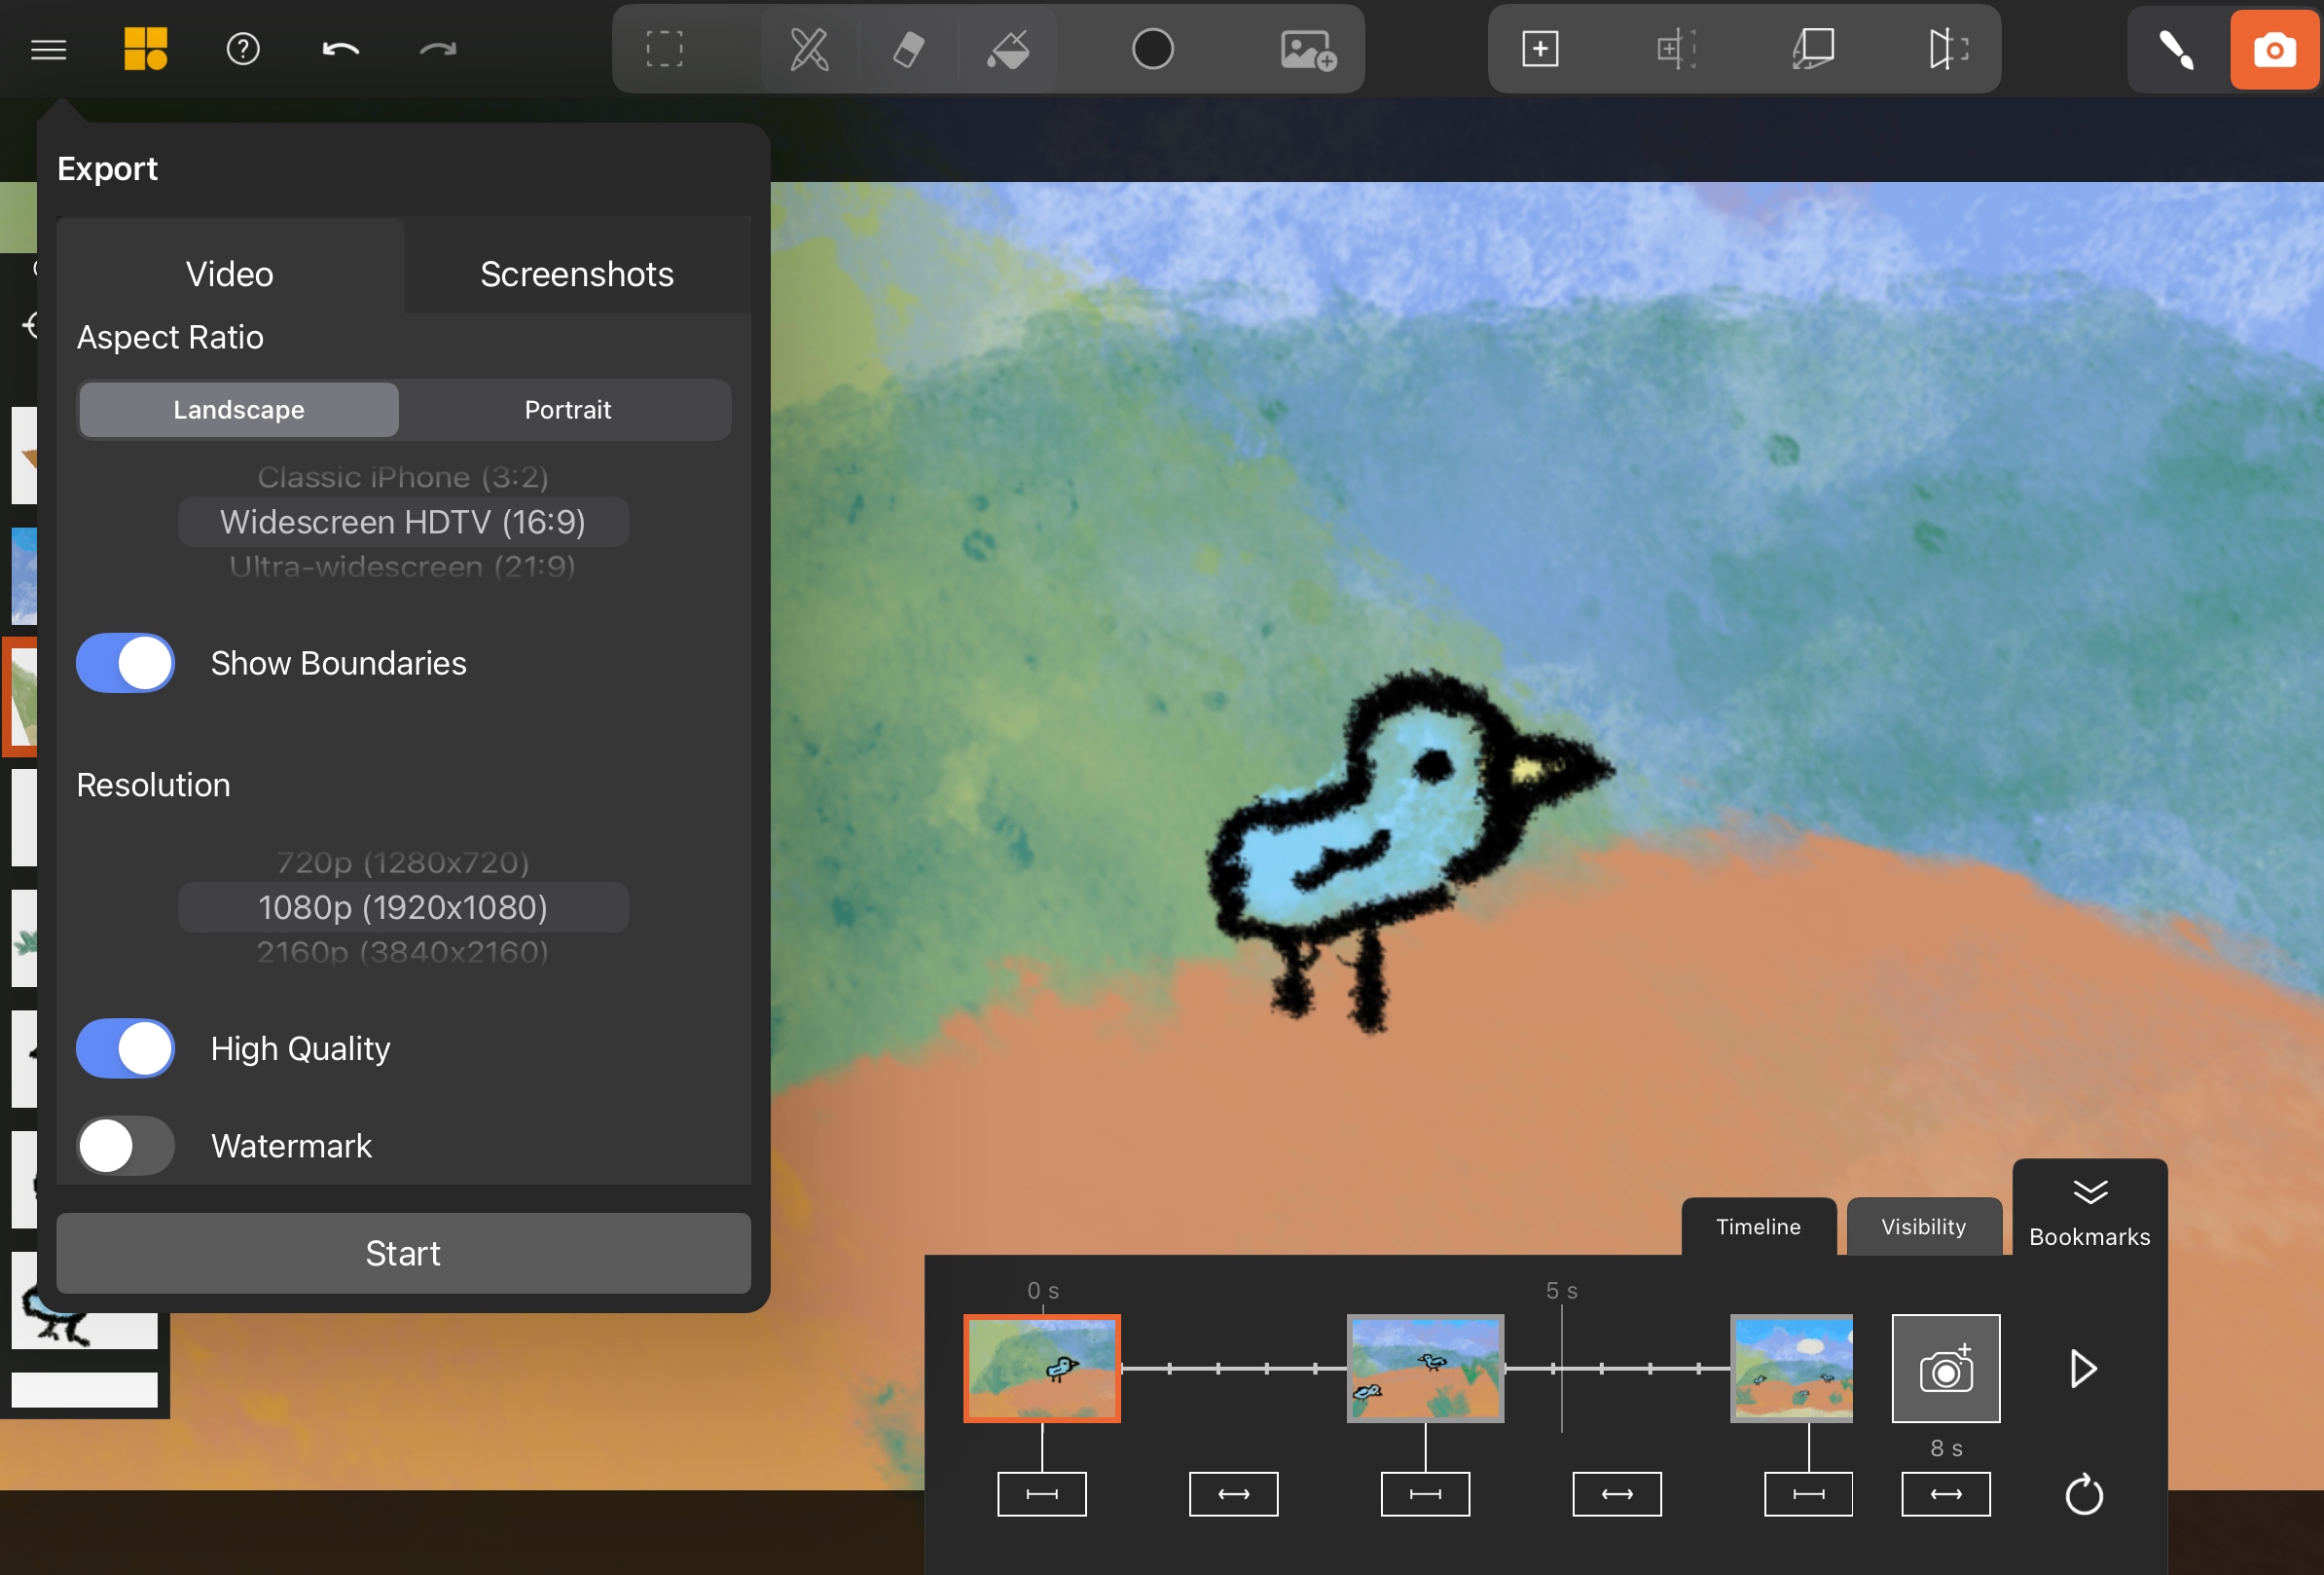
Open Export Settings
Tap the Options Menu in the top left of the toolbar and select Export.
Show Boundaries
Choose your target aspect ratio (16:9, 4:3, 1:1) and resolution. Tap Show Boundaries. A dark overlay shows what will be included in the final export.
Position Scene
Close the Export panel – the boundaries remain visible. Navigate and scale your artwork to fit within these guides. Ensure important parts aren’t cut off and eliminate empty space.
Consider saving another bookmark of this framed view.
Create Your Spatial Scene
Transform your flat Procreate layers into a dynamic 3D scene using the Parallel Projection and Hinge Projection tools in Mental Canvas.
Project the Ground Layer
Start by projecting the main ground plane or background layer to establish foundational depth.
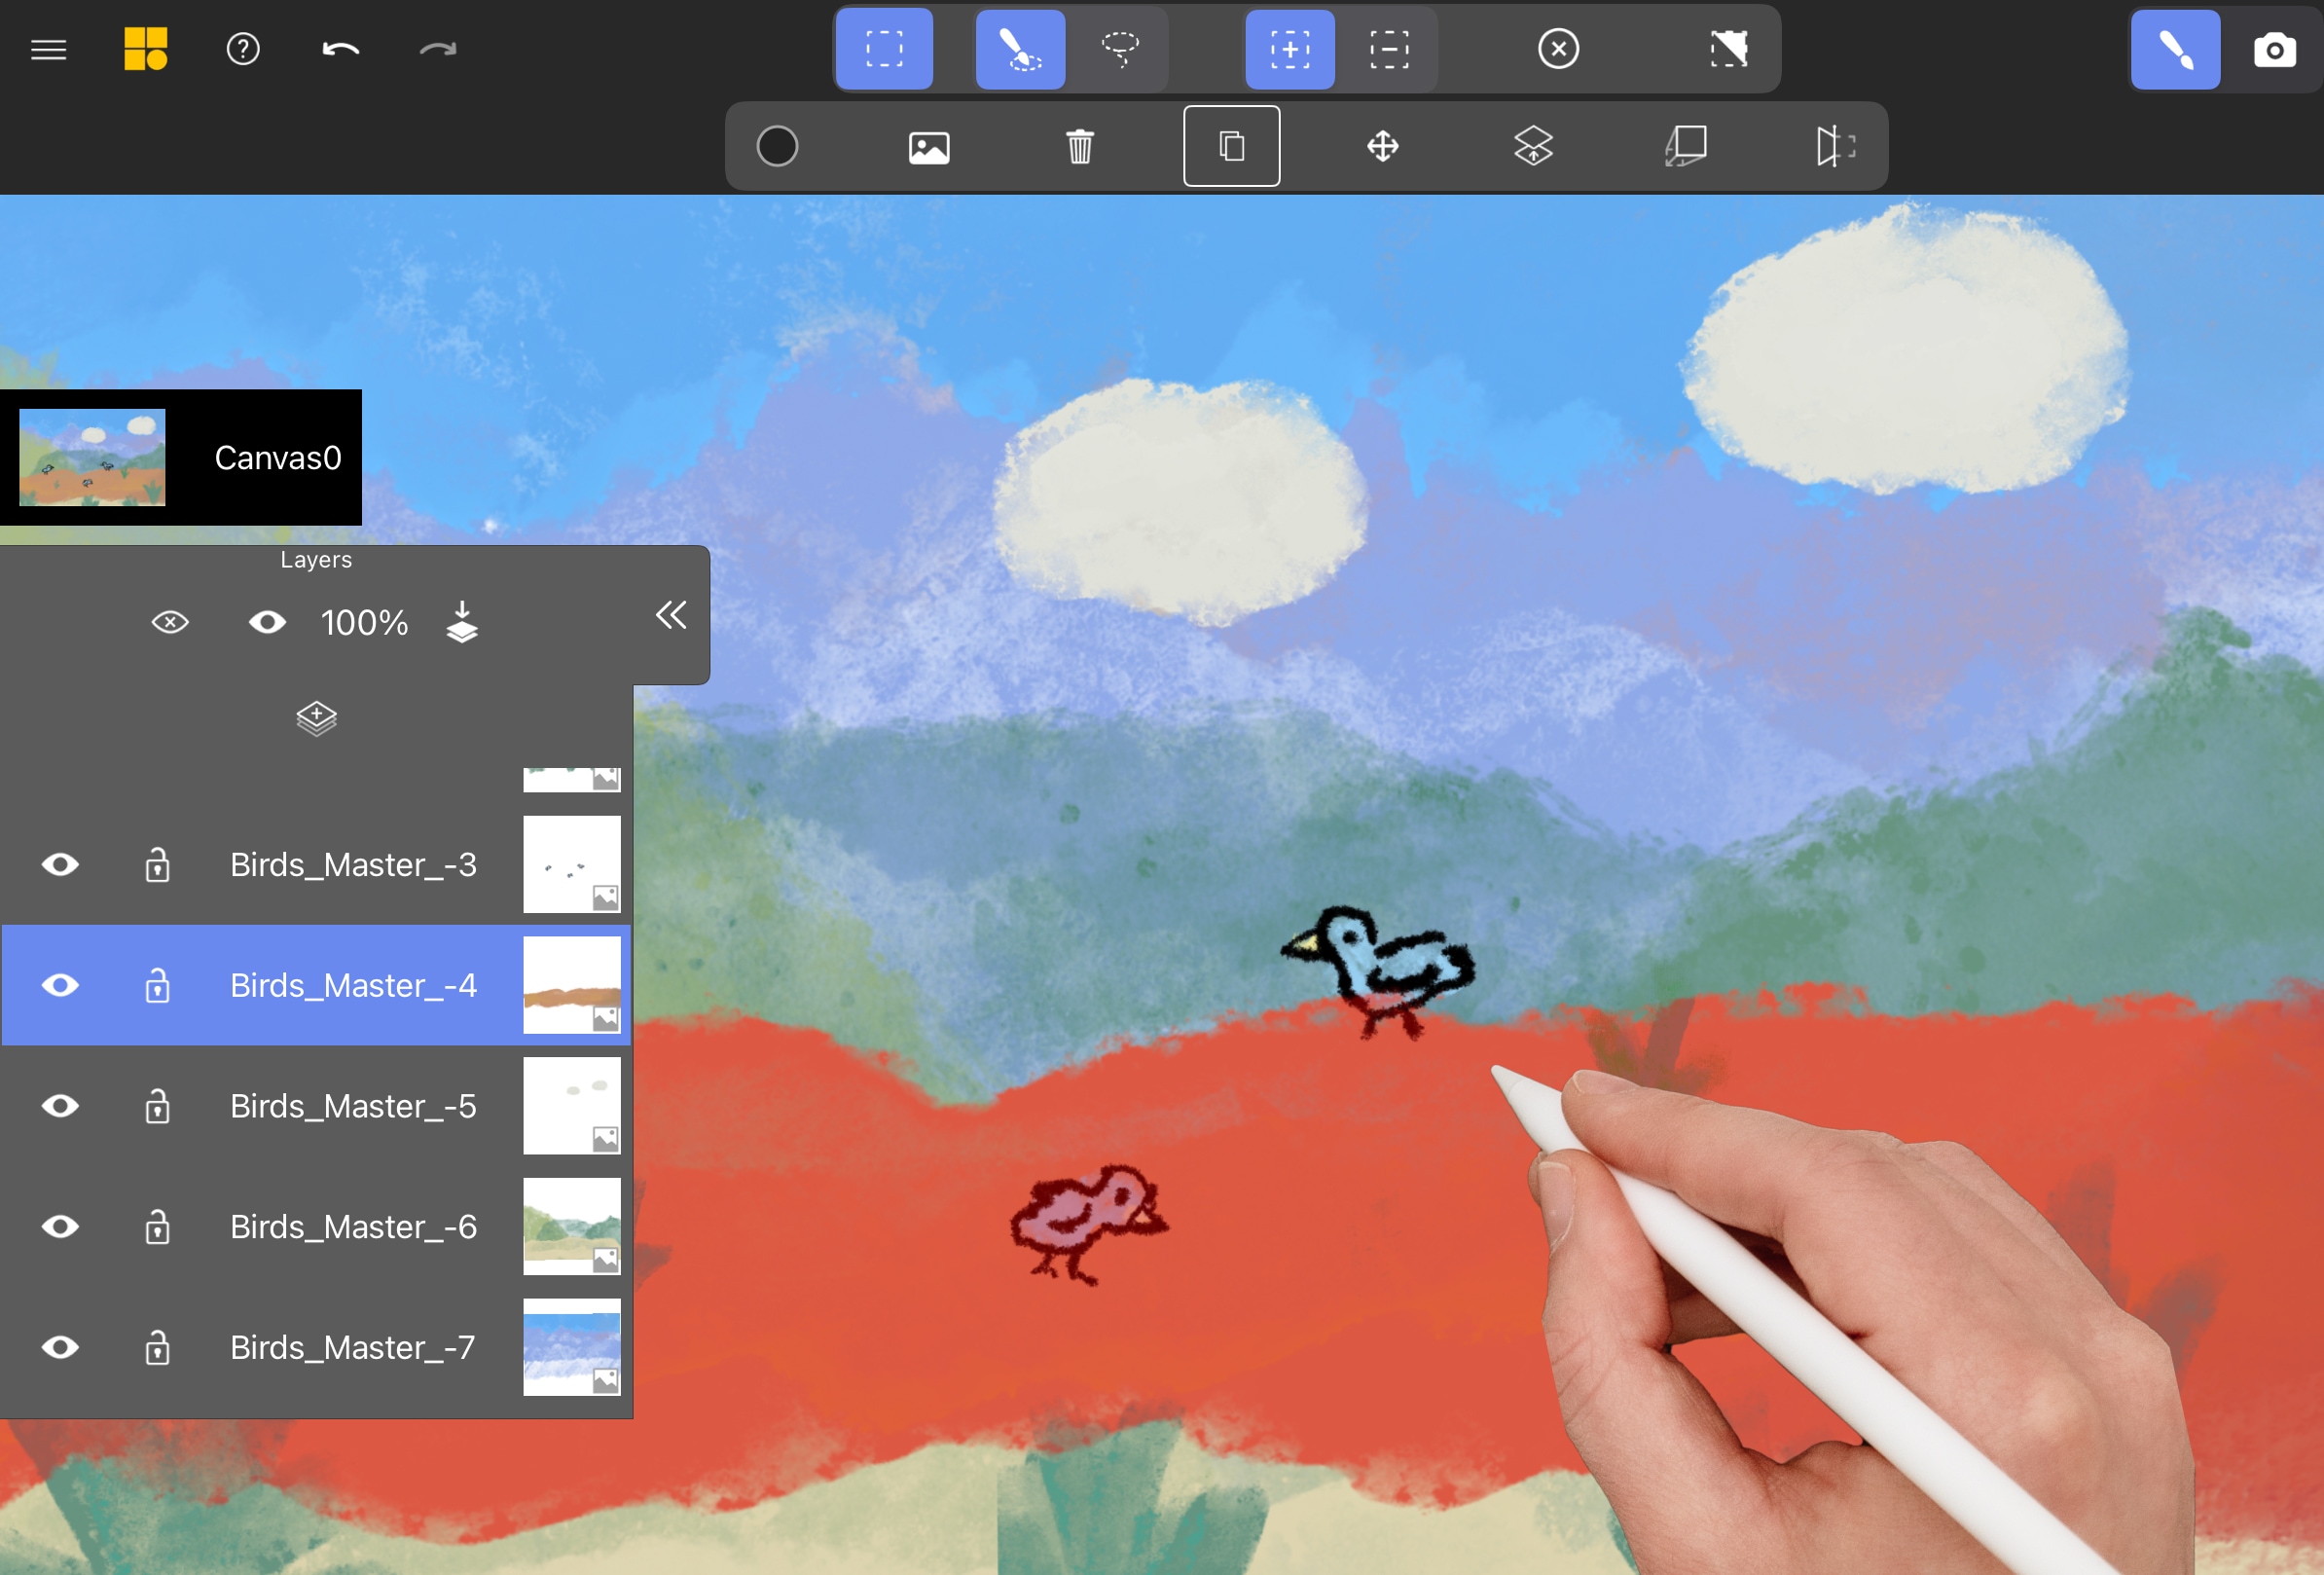
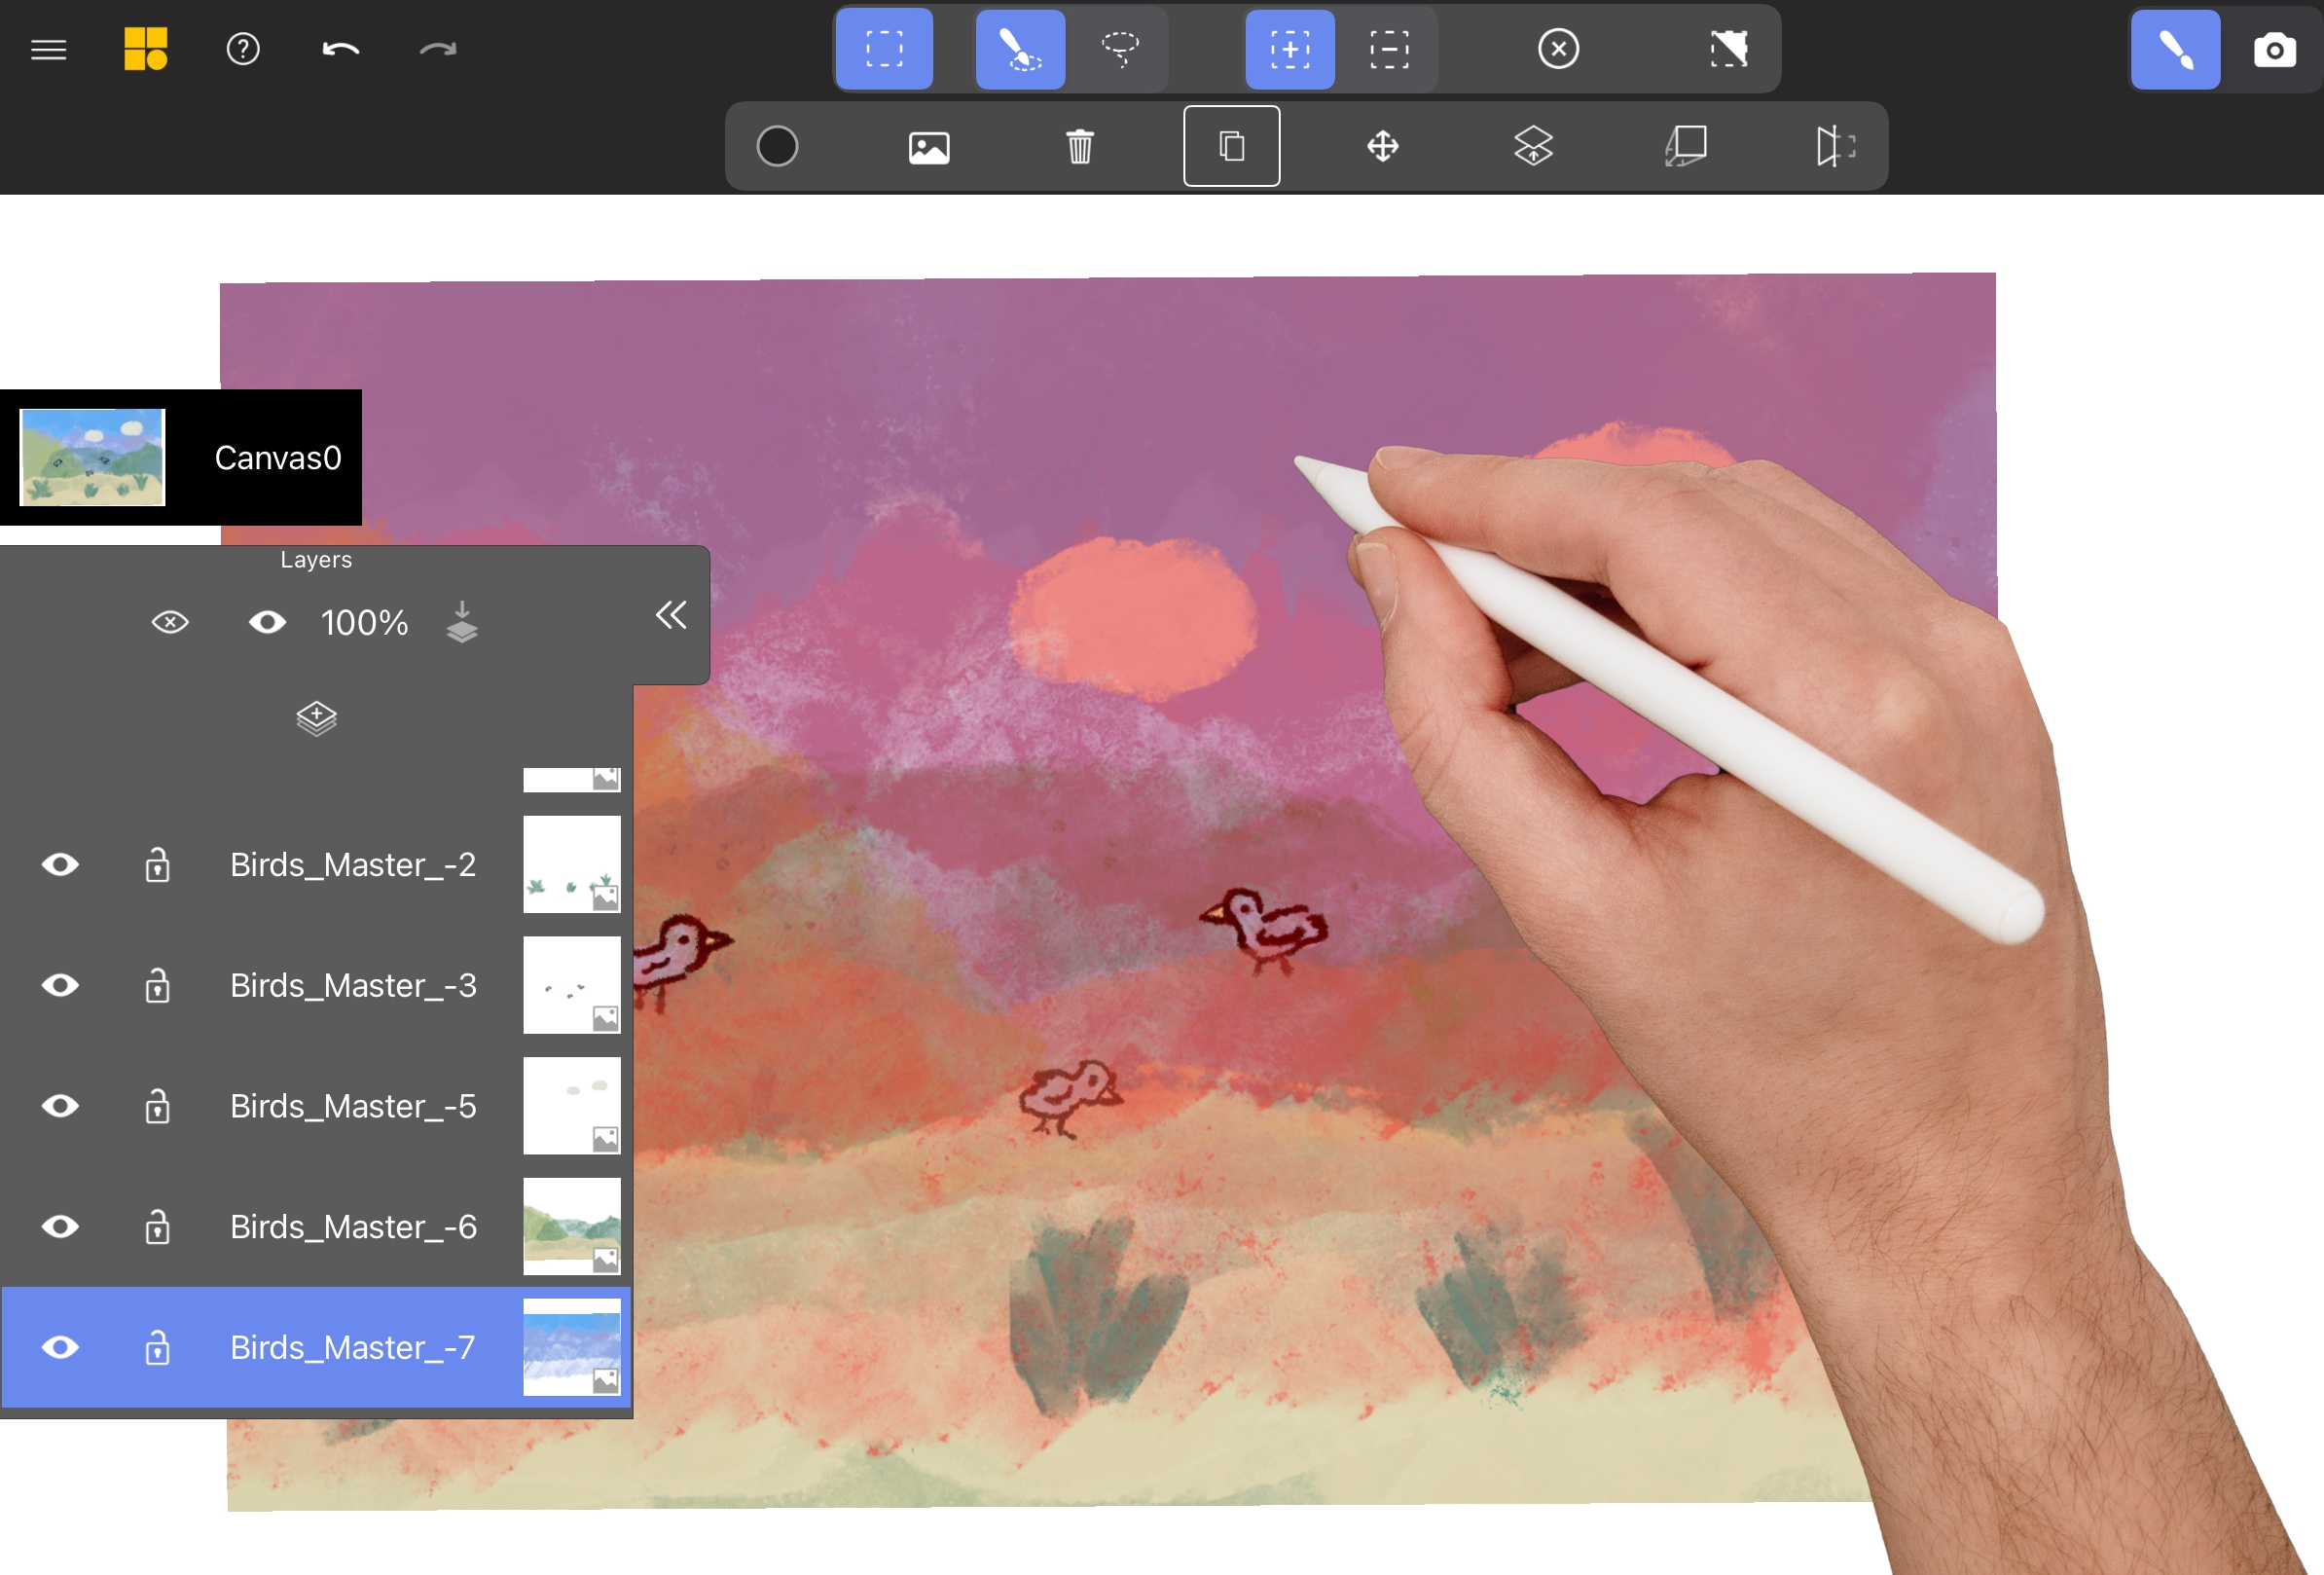
Select the Ground Layer
Enter Selection Mode from the main toolbar. Tap the layer representing your ground or background. The layer highlights in red.
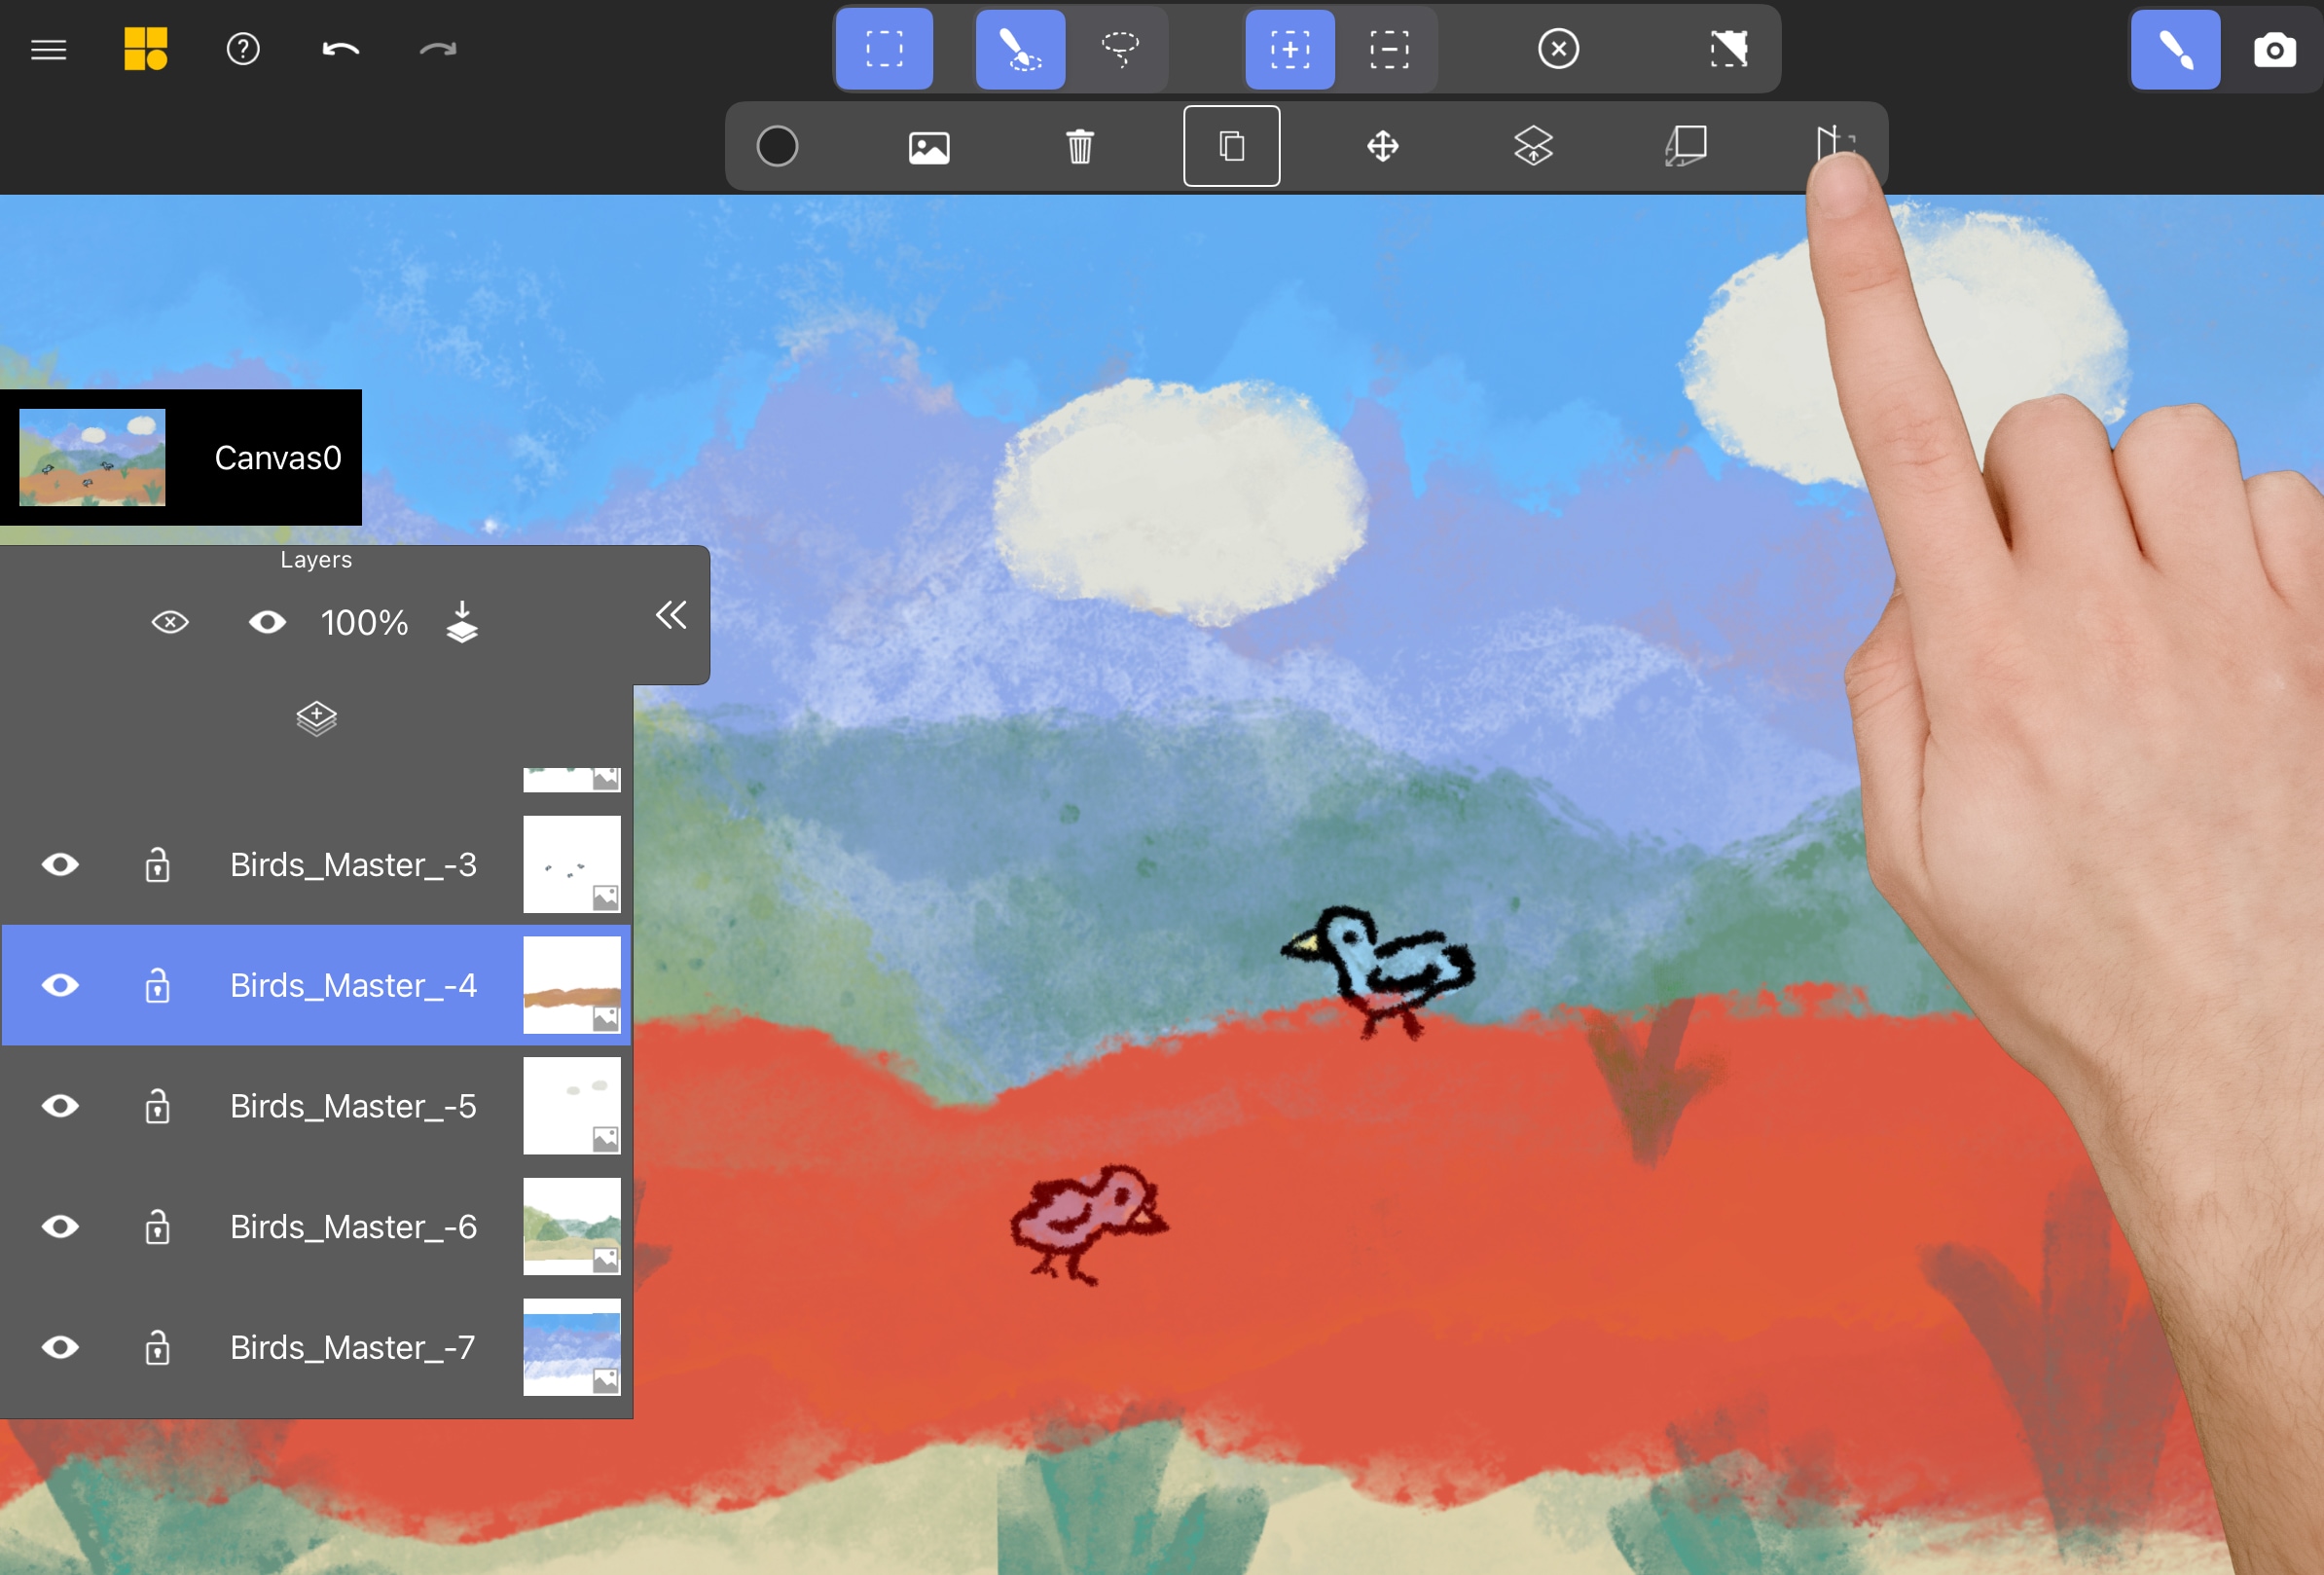
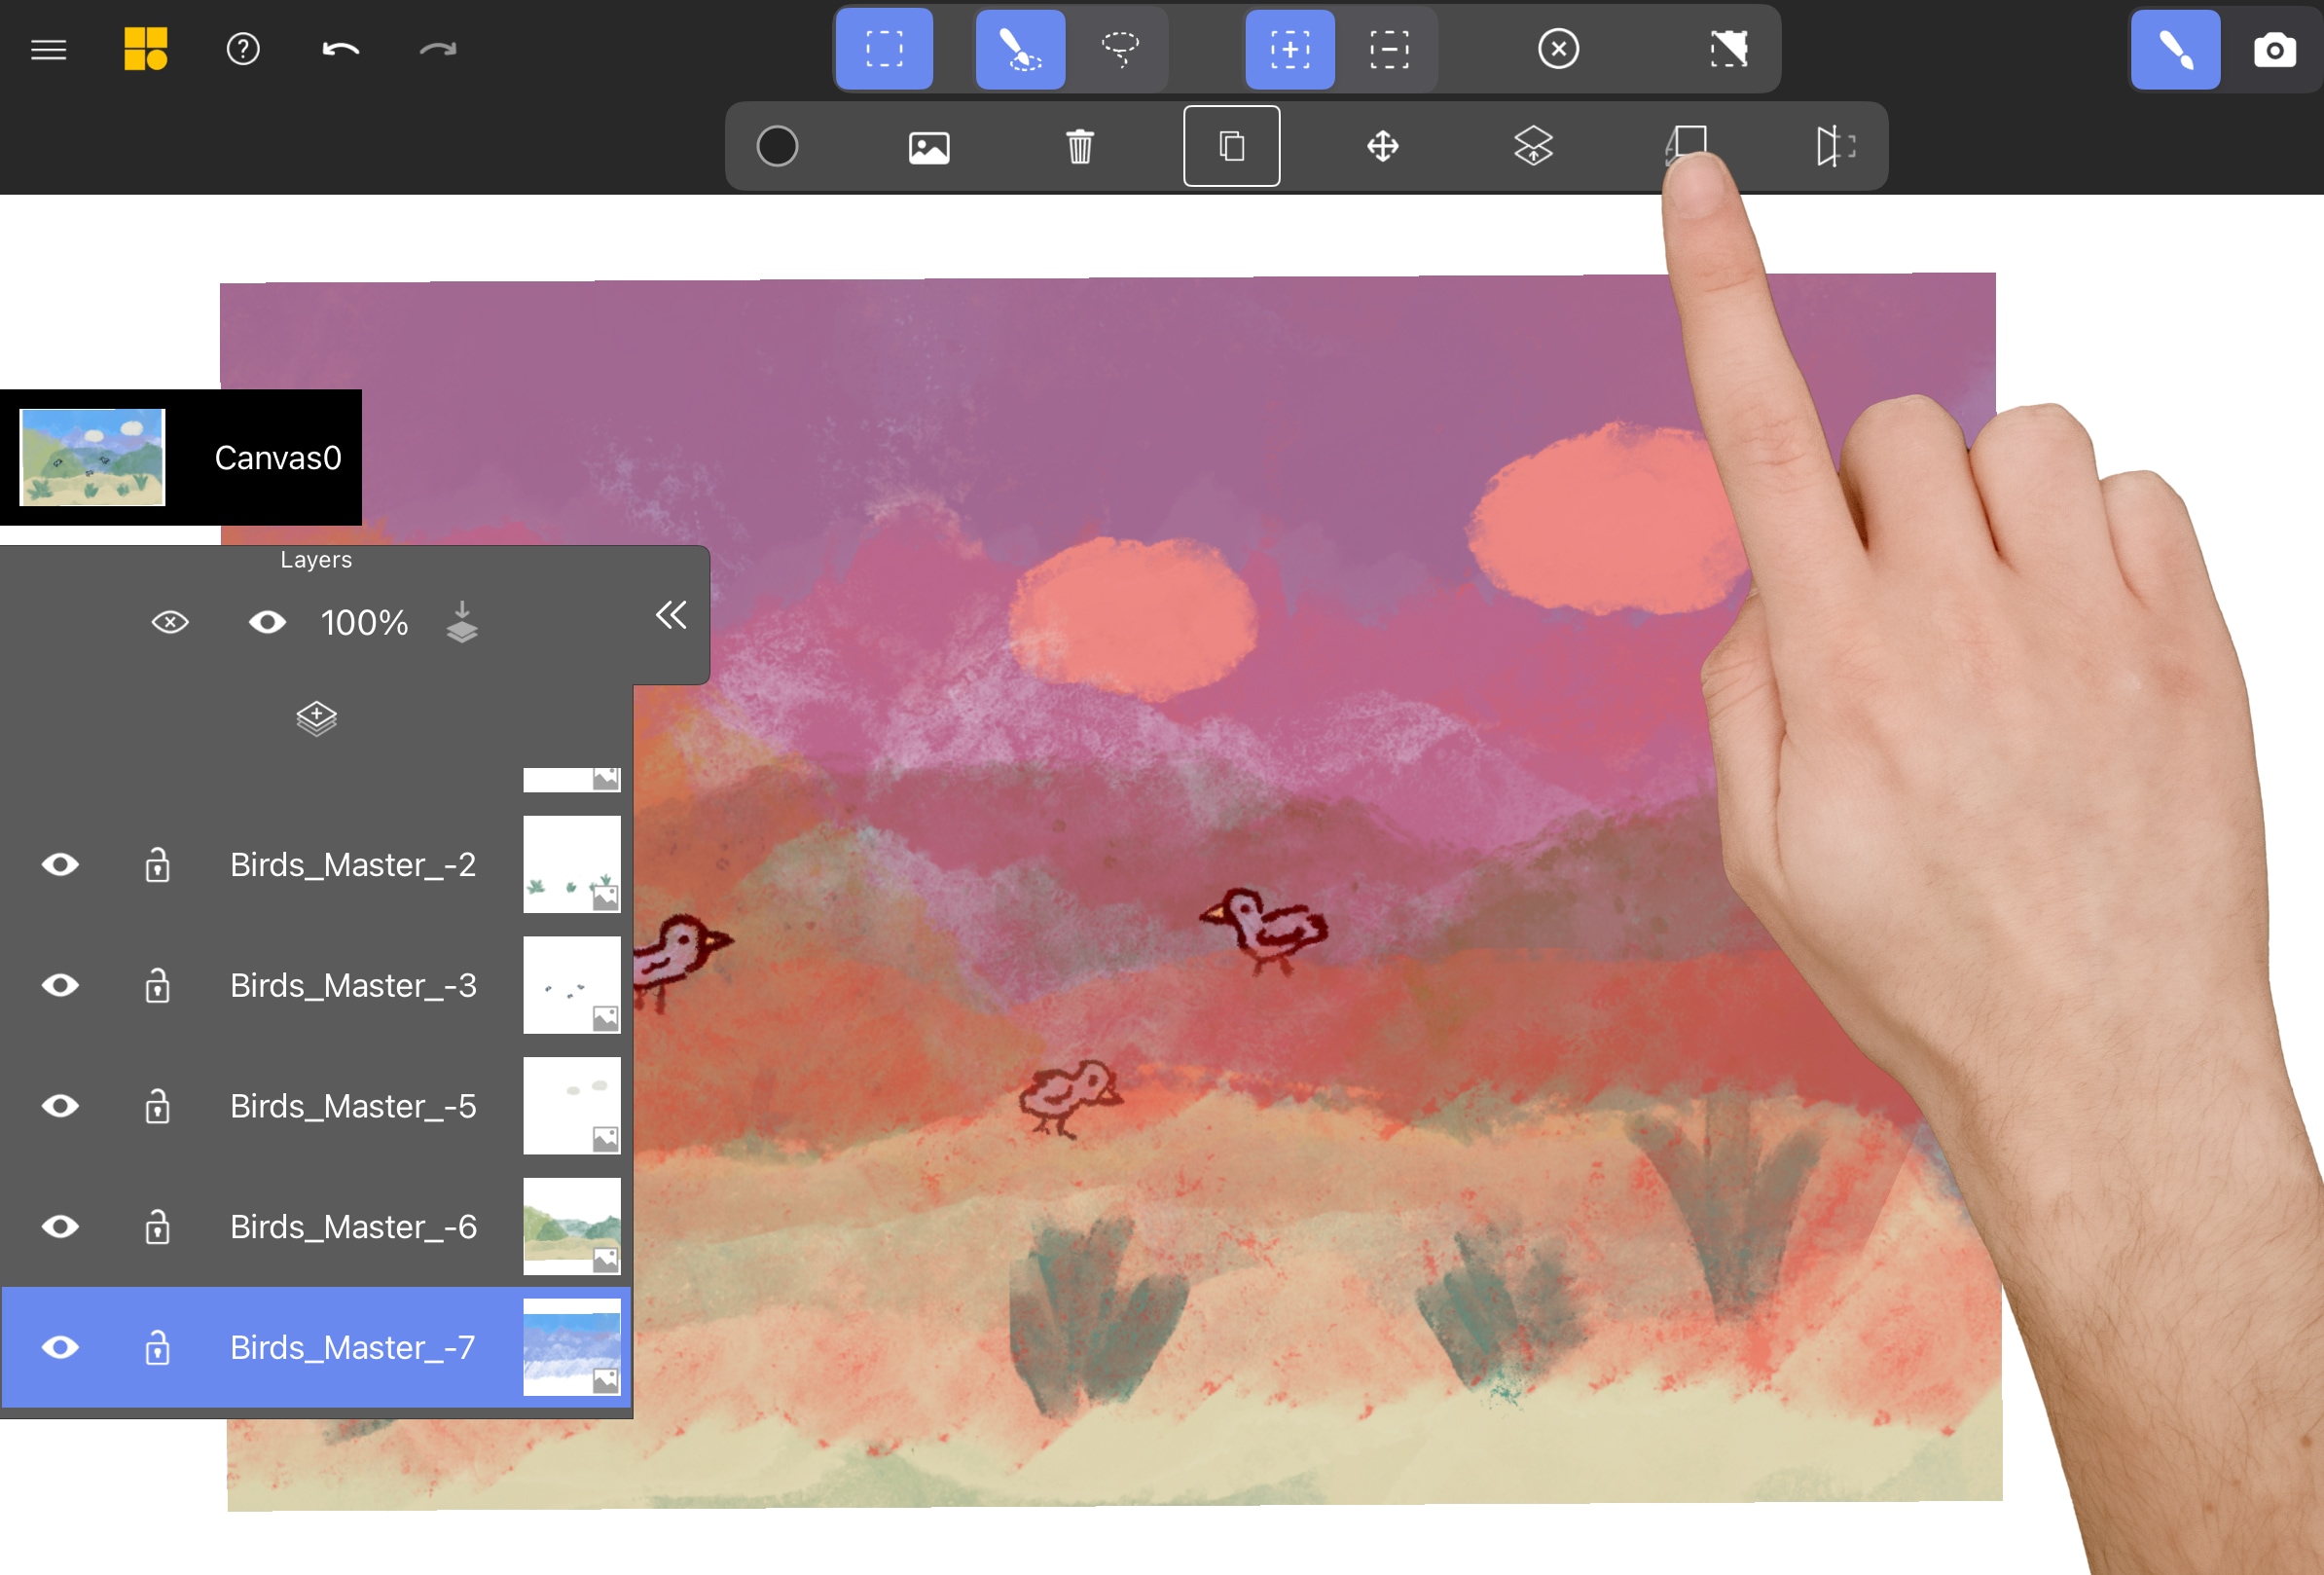
Choose Hinge Projection
With the ground layer selected, ensure you’re looking at your scene from your main bookmarked view. In the Actions section of the Selection toolbar (which becomes active when an object is selected), tap Hinge Projection .
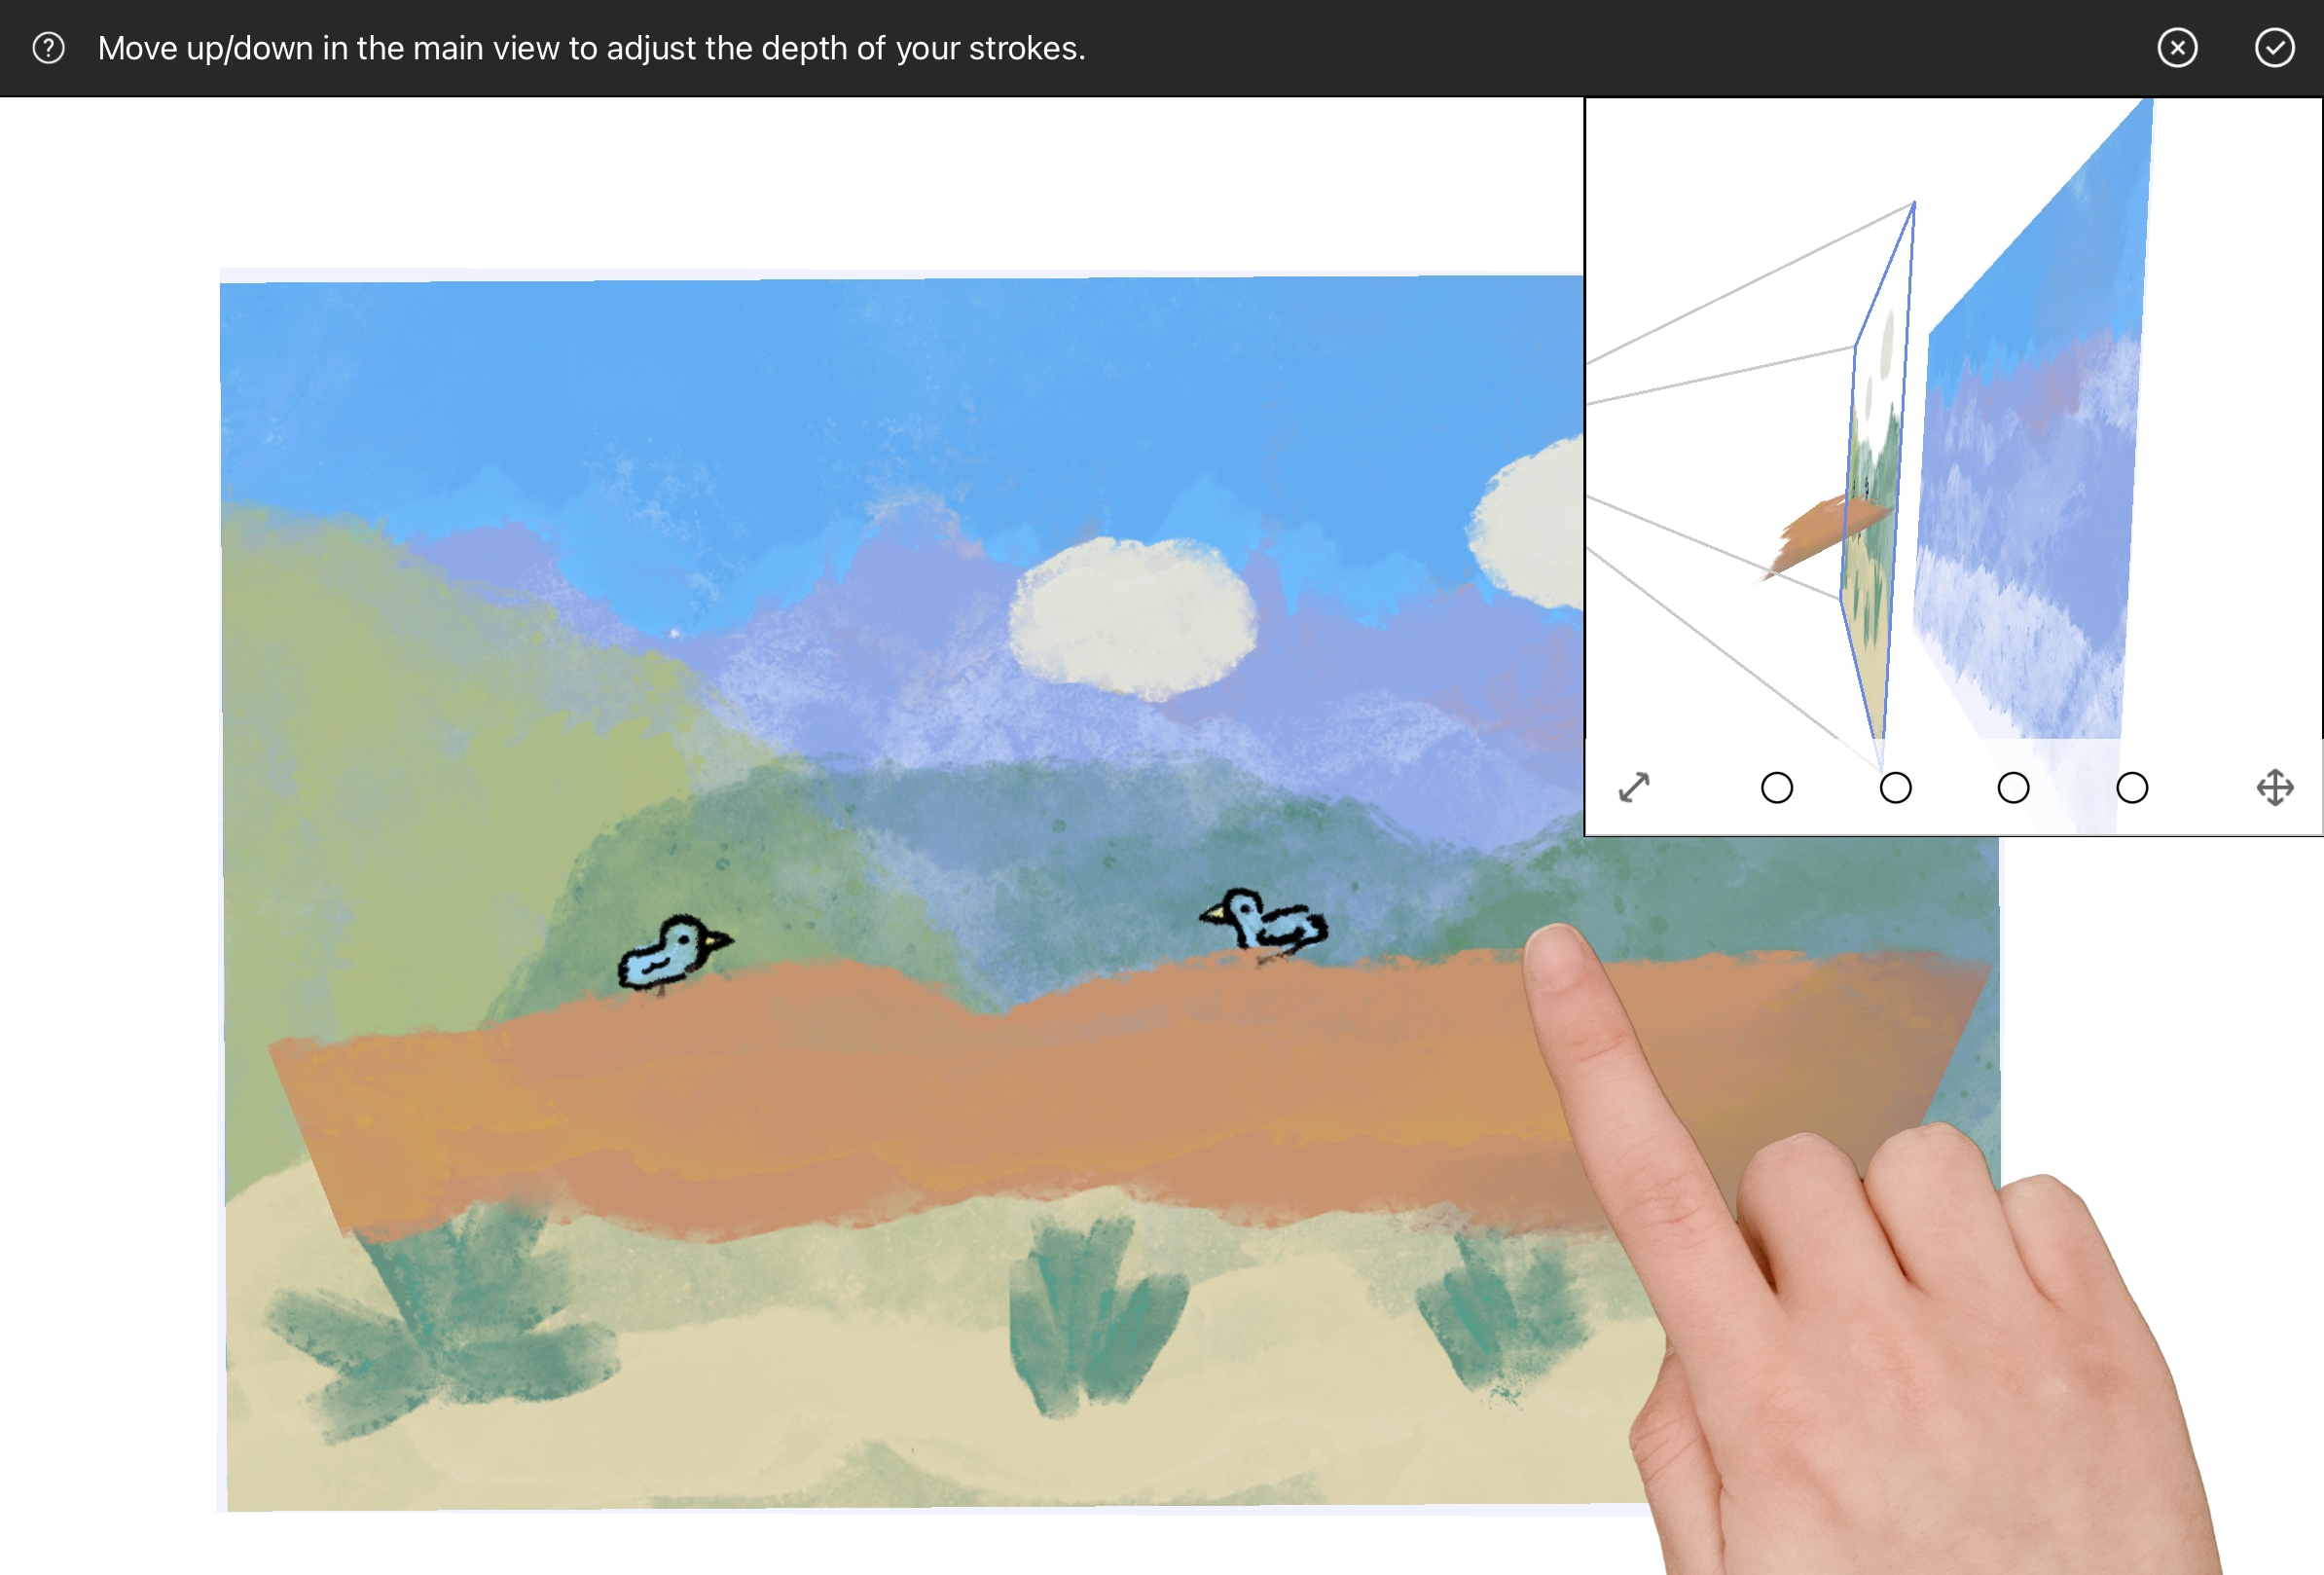
Position the Hinge Axis
Two circular handles will appear to help you define the hinge axis. Drag these handles to position the axis horizontally across your scene. A good placement is often where the ground plane would naturally recede or meet vertical elements.
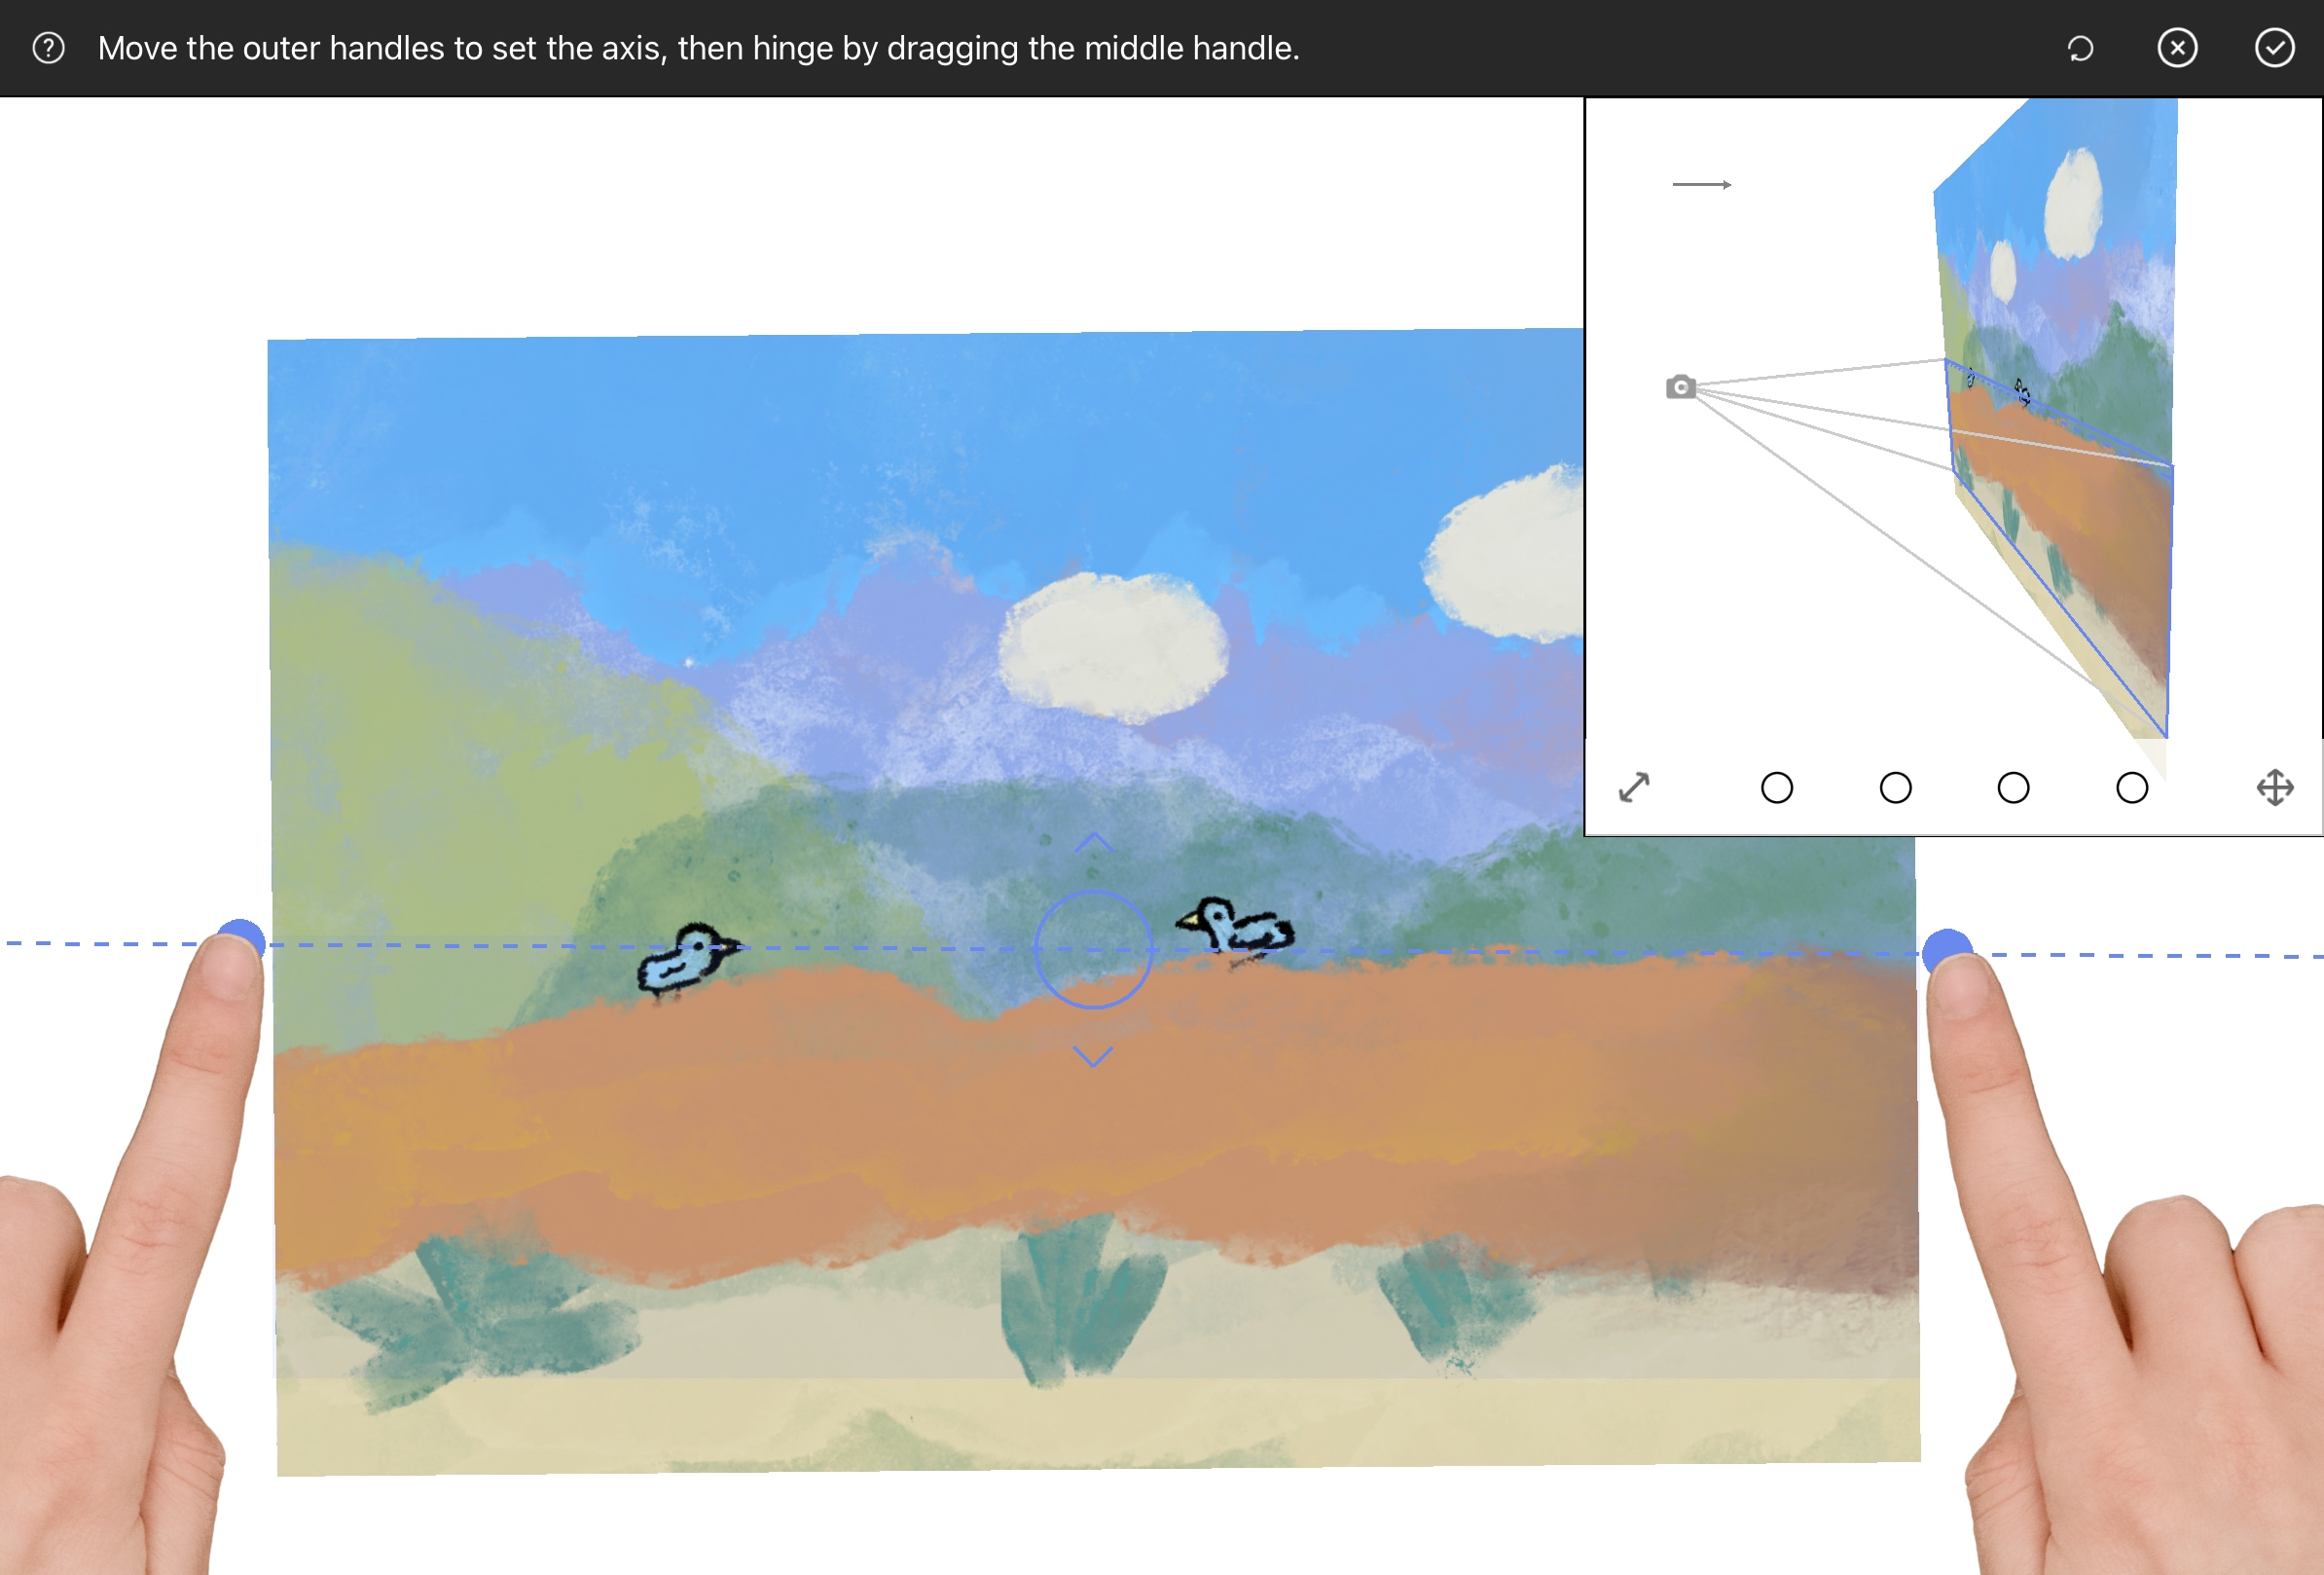
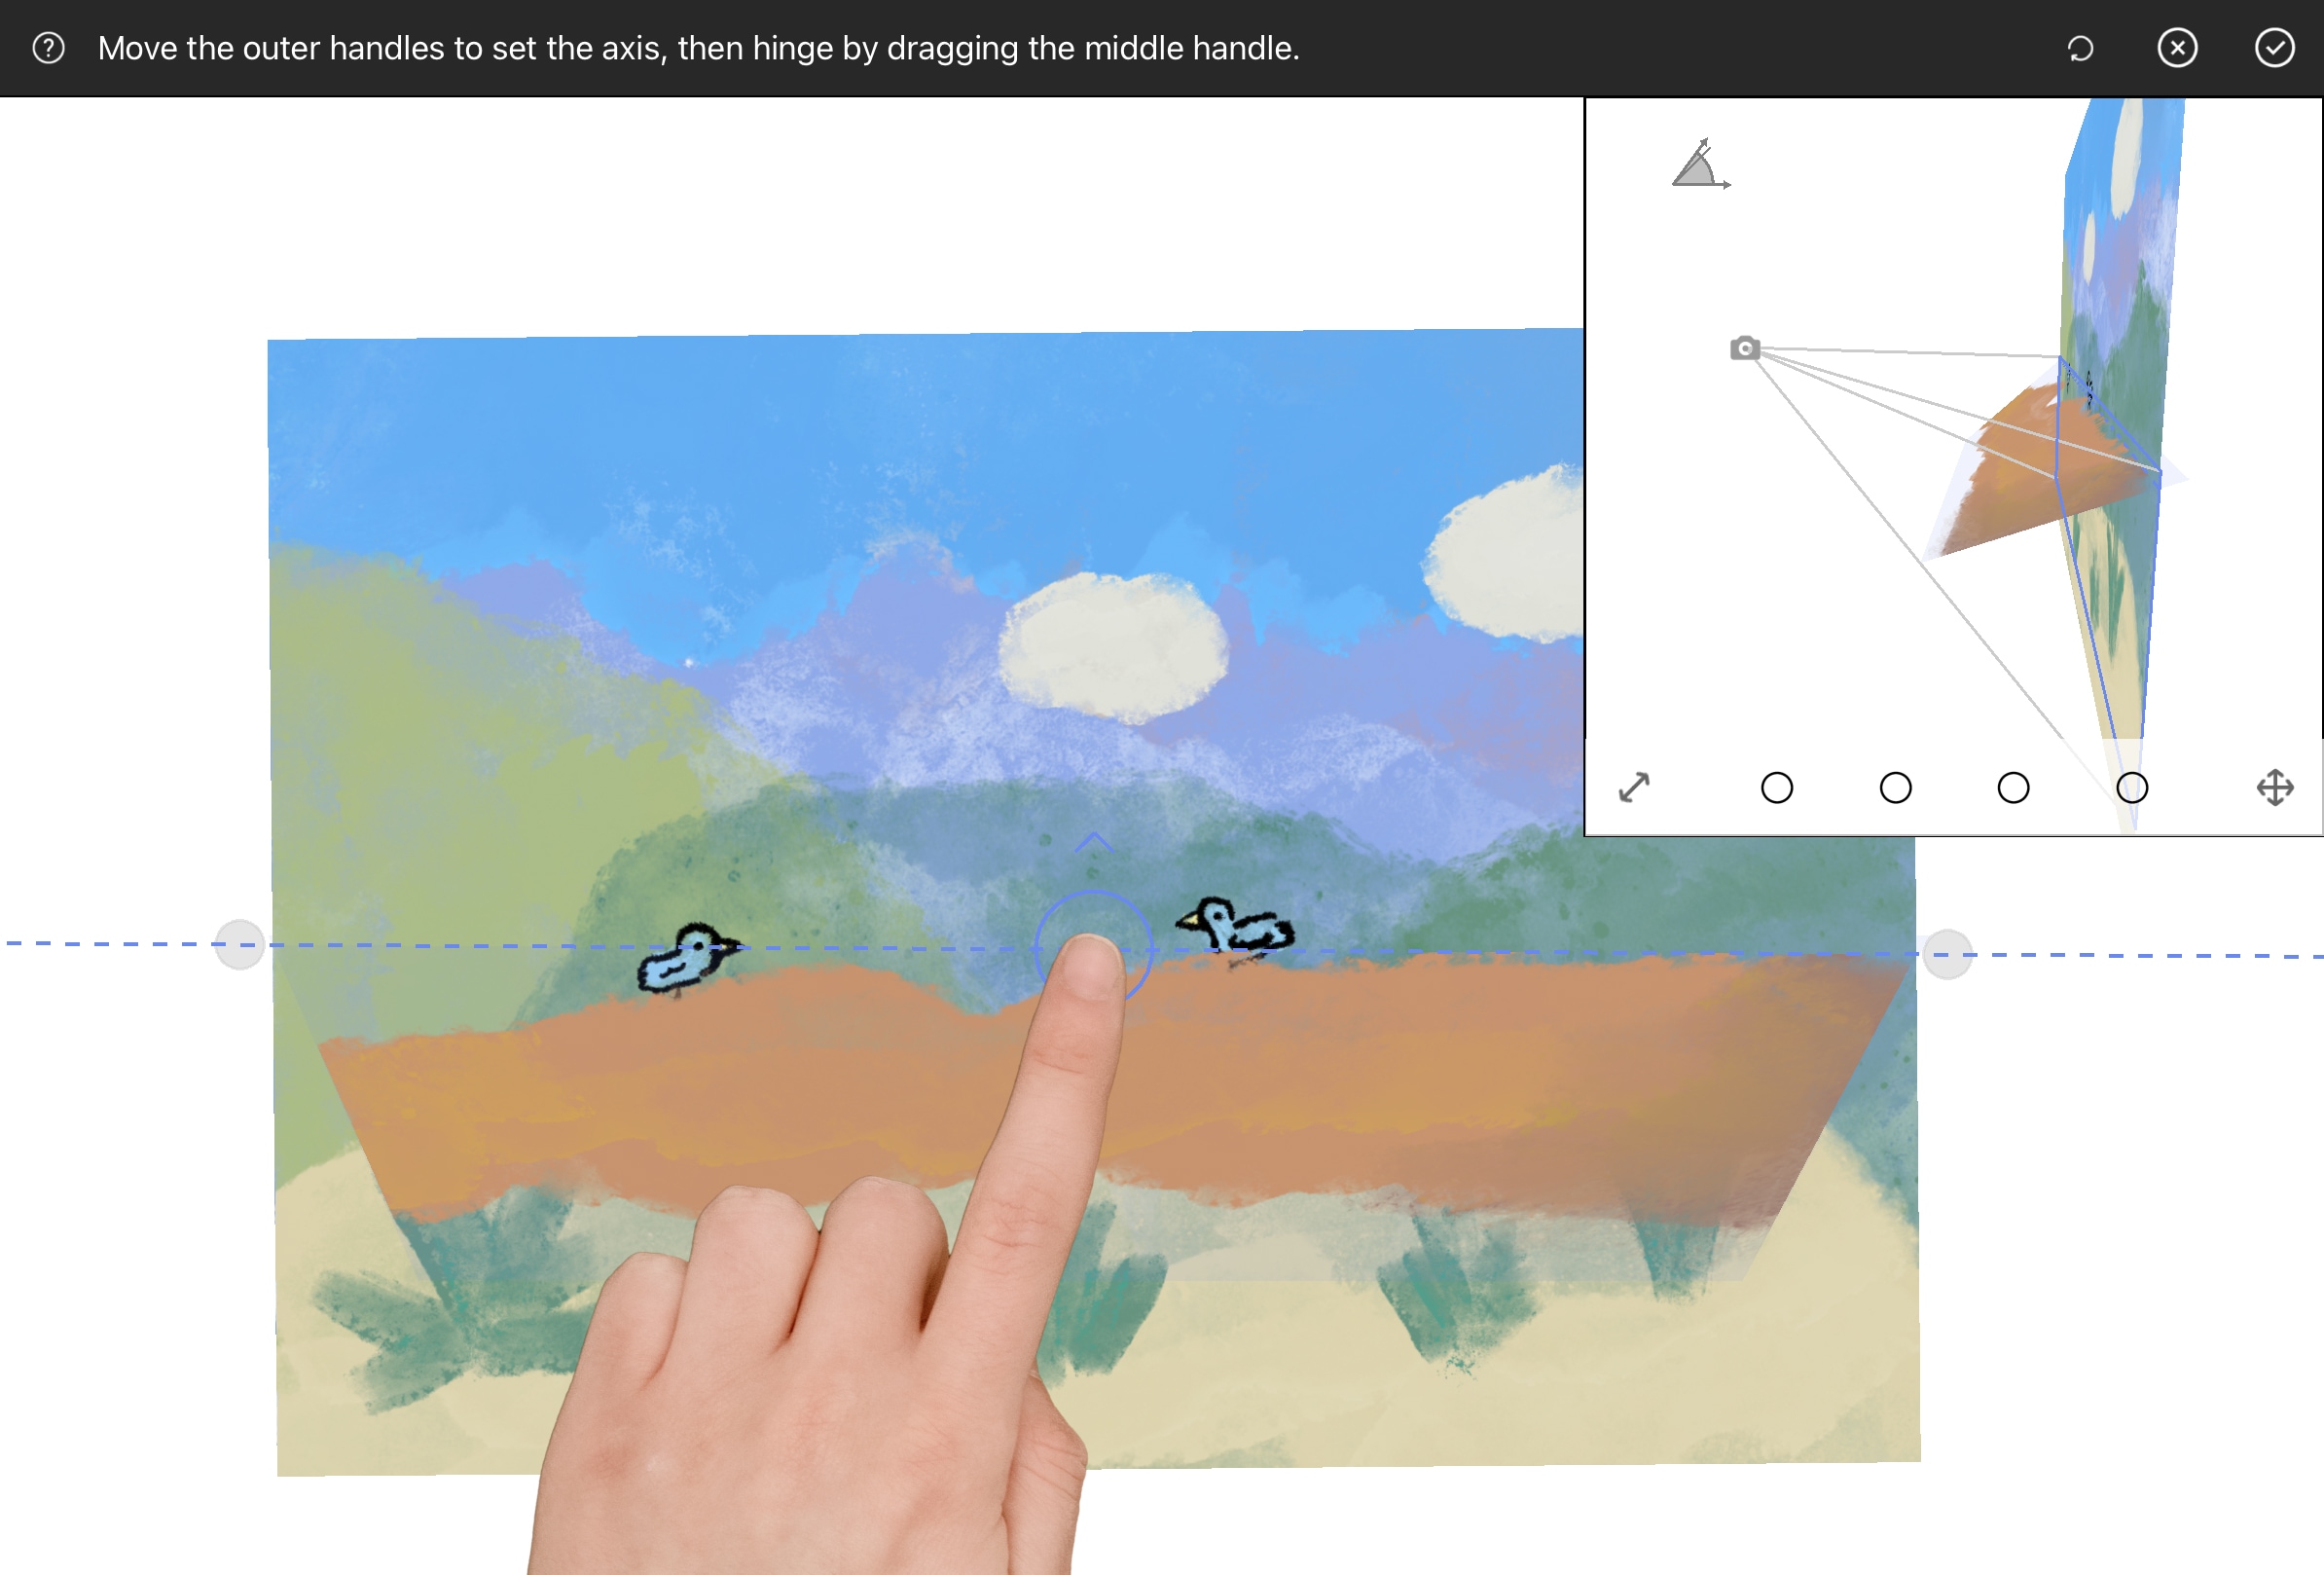
Perform the Projection
Drag your pen or finger up or down (or perpendicular to the hinge axis) on the selected layer. You’ll see the layer rotate around the hinge. Use the Bird’s Eye View window (the small preview window in the top-right corner) as a reference to gauge the angle and extent of the projection. The Hinge Projection tool allows you to angle the layer into 3D space while maintaining its appearance from your original viewpoint.
Tap Confirm to finalize the projection.
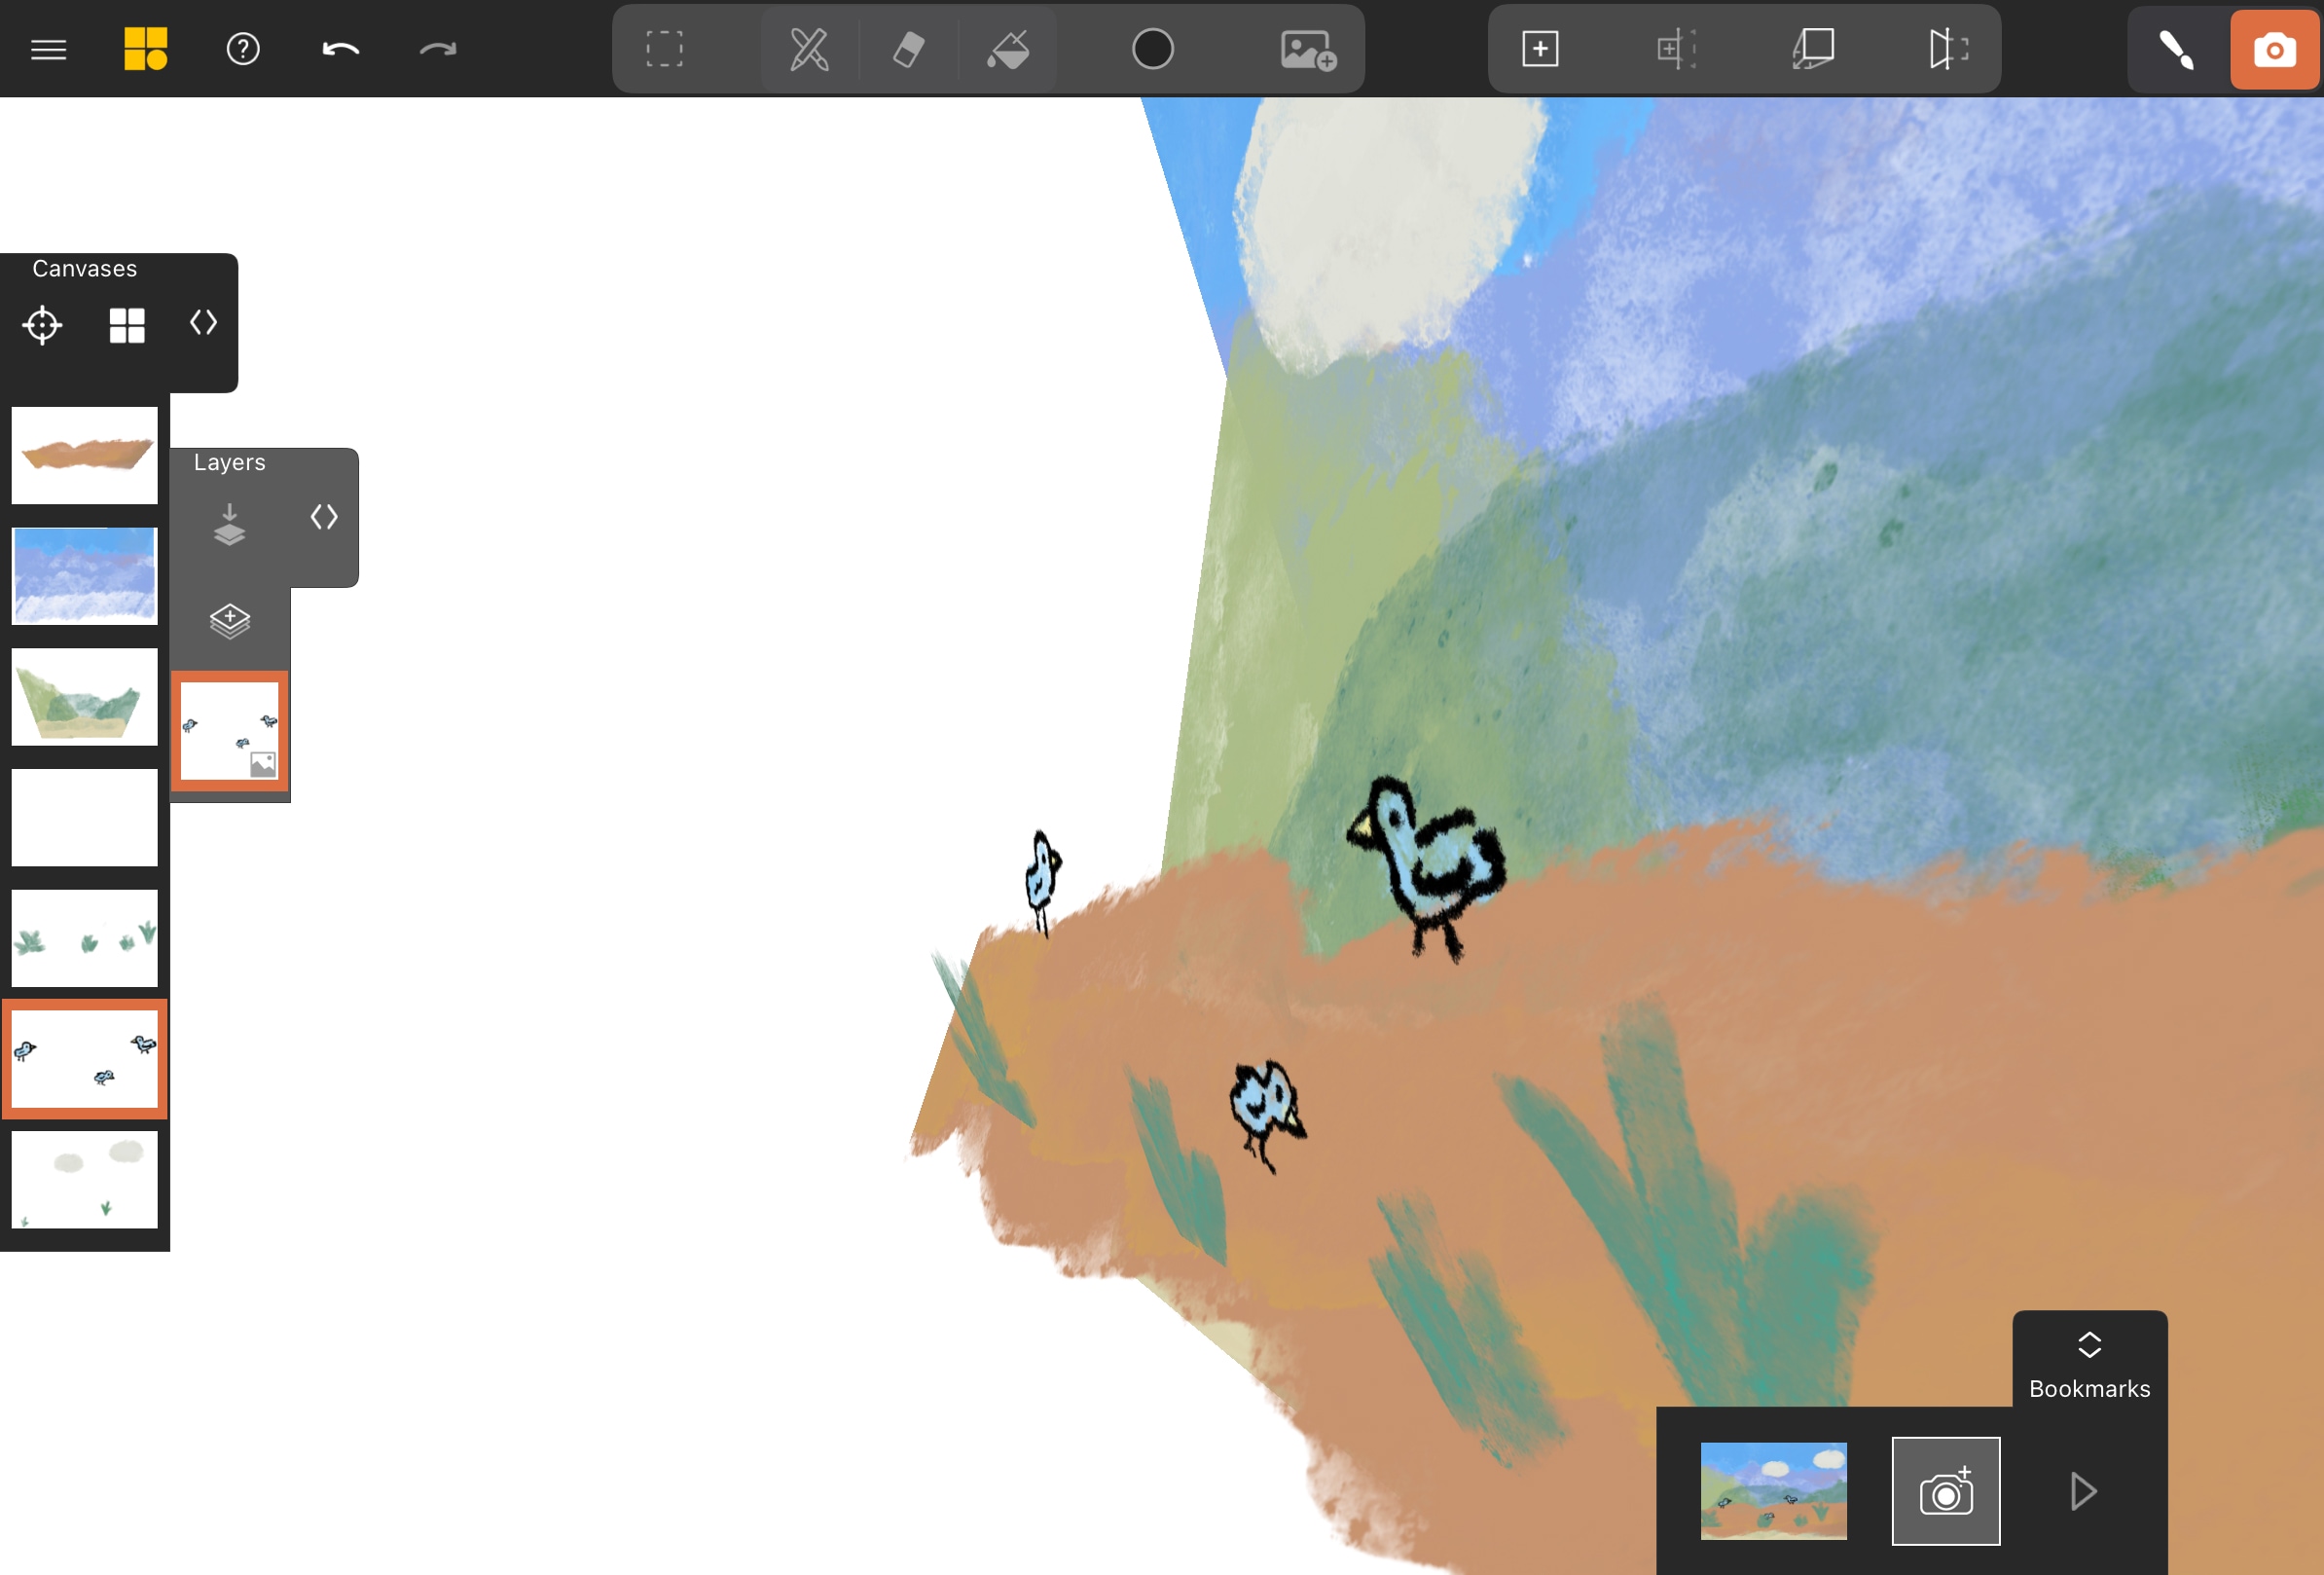
From your bookmarked view, the scene looks similar to your original flat artwork. Switch to View Mode and orbit to see the ground layer projected into 3D space on its own canvas.
Project Background Elements
Next, let’s project elements that sit further back in your scene, like distant mountains or a sky.
Select Background Elements
In Selection Mode , select the layer intended for the background.
Choose Parallel Projection
In the Actions toolbar, select Parallel Projection . This tool projects elements straight back or forward without rotation.
Project Elements Backward
Drag the selected layers to push them deeper into the scene, behind your ground plane or other foreground elements.
Tap Confirm . Check your bookmarked view to ensure composition remains consistent.
The projected layers now appear as separate canvases in the Canvas List. From the front, your scene looks the same, but orbiting in View Mode reveals the depth.
Continue Projecting Remaining Layers
Continue this process for remaining layers. Use Parallel Projection to move elements directly forward or backward. Use Hinge Projection for elements needing angles, like grounds, angled walls, or the arms of characters.
Use Lasso Selection to Refine Individual Elements
Sometimes, a single Procreate layer might contain multiple elements that you want to position at different depths. The Lasso Select tool allows you to select a specific part of an already imported image layer and then project just that part, effectively splitting it onto a new canvas.
Activate Lasso Select
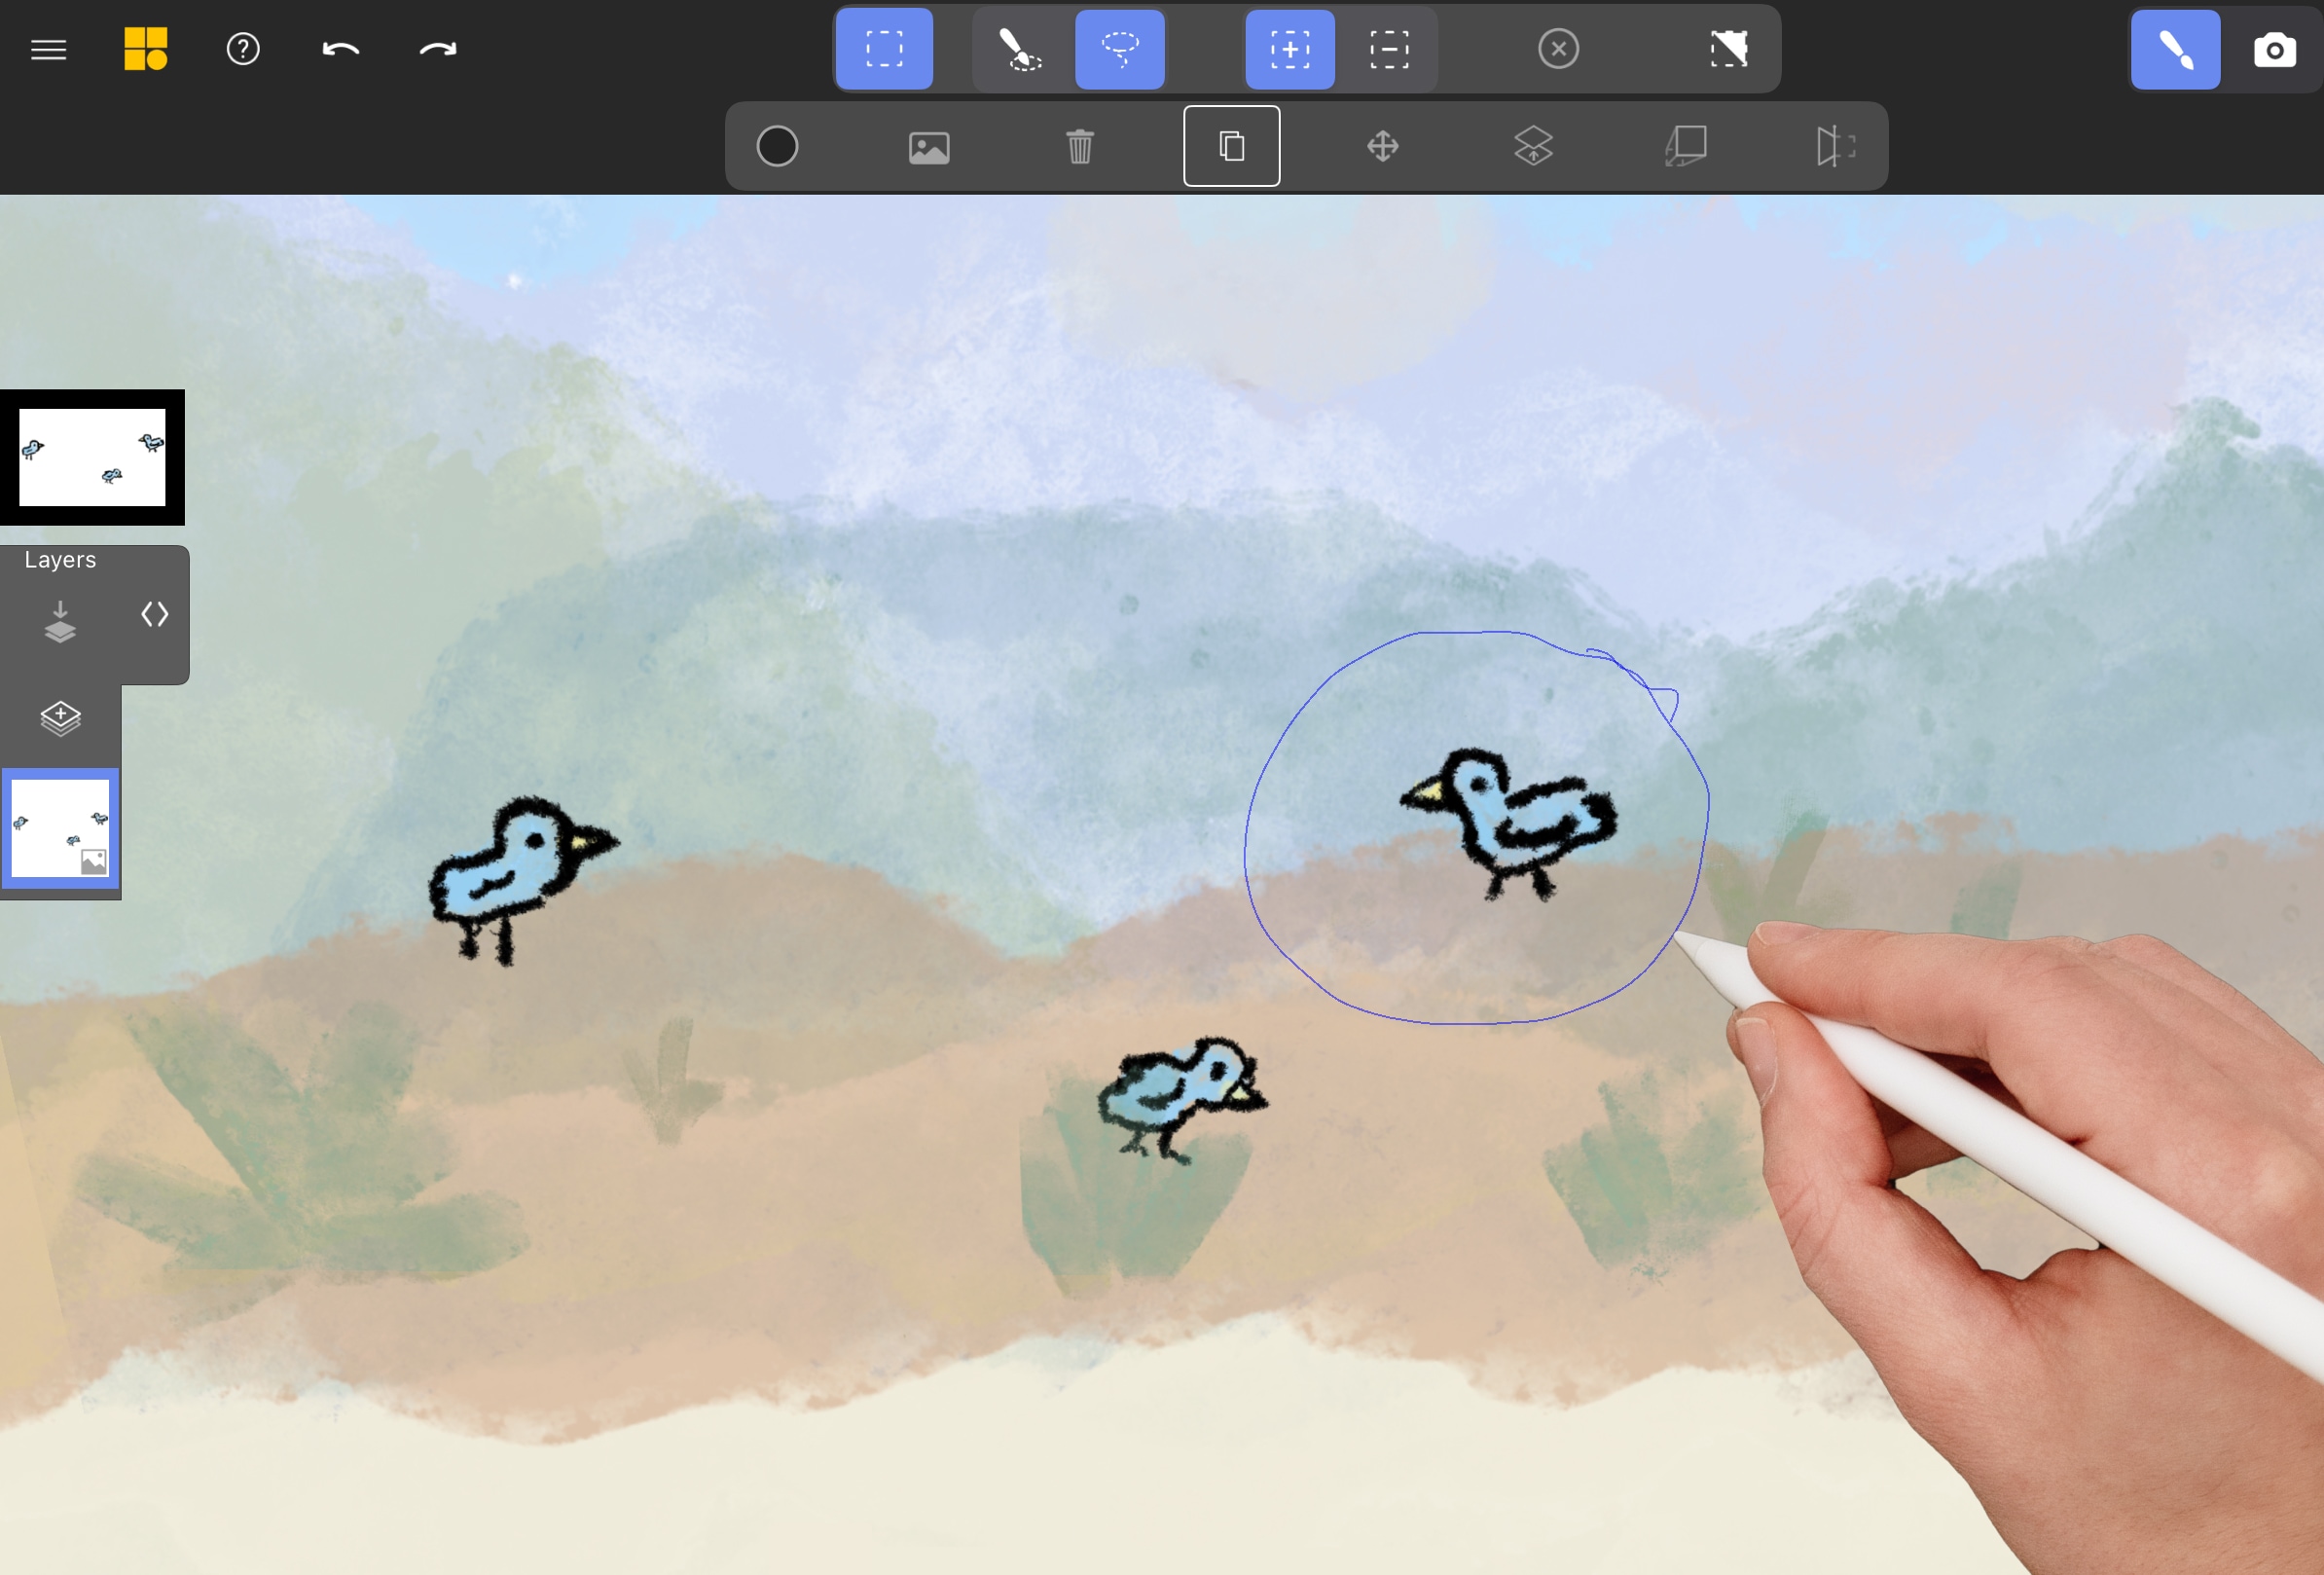
In Selection Mode , tap the Lasso Select icon in the toolbar.
Draw Your Selection
Draw a closed loop around the specific portion you want to isolate (e.g., a single bird in a flock). The selected area will show a red overlay.
Apply Projection
Choose Parallel Projection or Hinge Projection and move the lassoed element to its desired depth or angle.
When you tap Confirm, the lassoed portion will be separated from its original image layer and placed onto a new canvas as an independent element in your 3D scene.
Updating Imported Images
If you need to make a change to one of your Procreate layers after you’ve already imported and projected it in Mental Canvas, you can use the Select > Image Replace feature. This allows you to swap out an imported image with an updated version from Procreate (or any other app) while keeping all the projections, cuts, and transformations you’ve made in Mental Canvas intact. Just make sure the new image has the same aspect ratio as the one you’re replacing to avoid distortion.
Create an Animated Flythrough
Create a captivating animated flythrough to showcase your work.
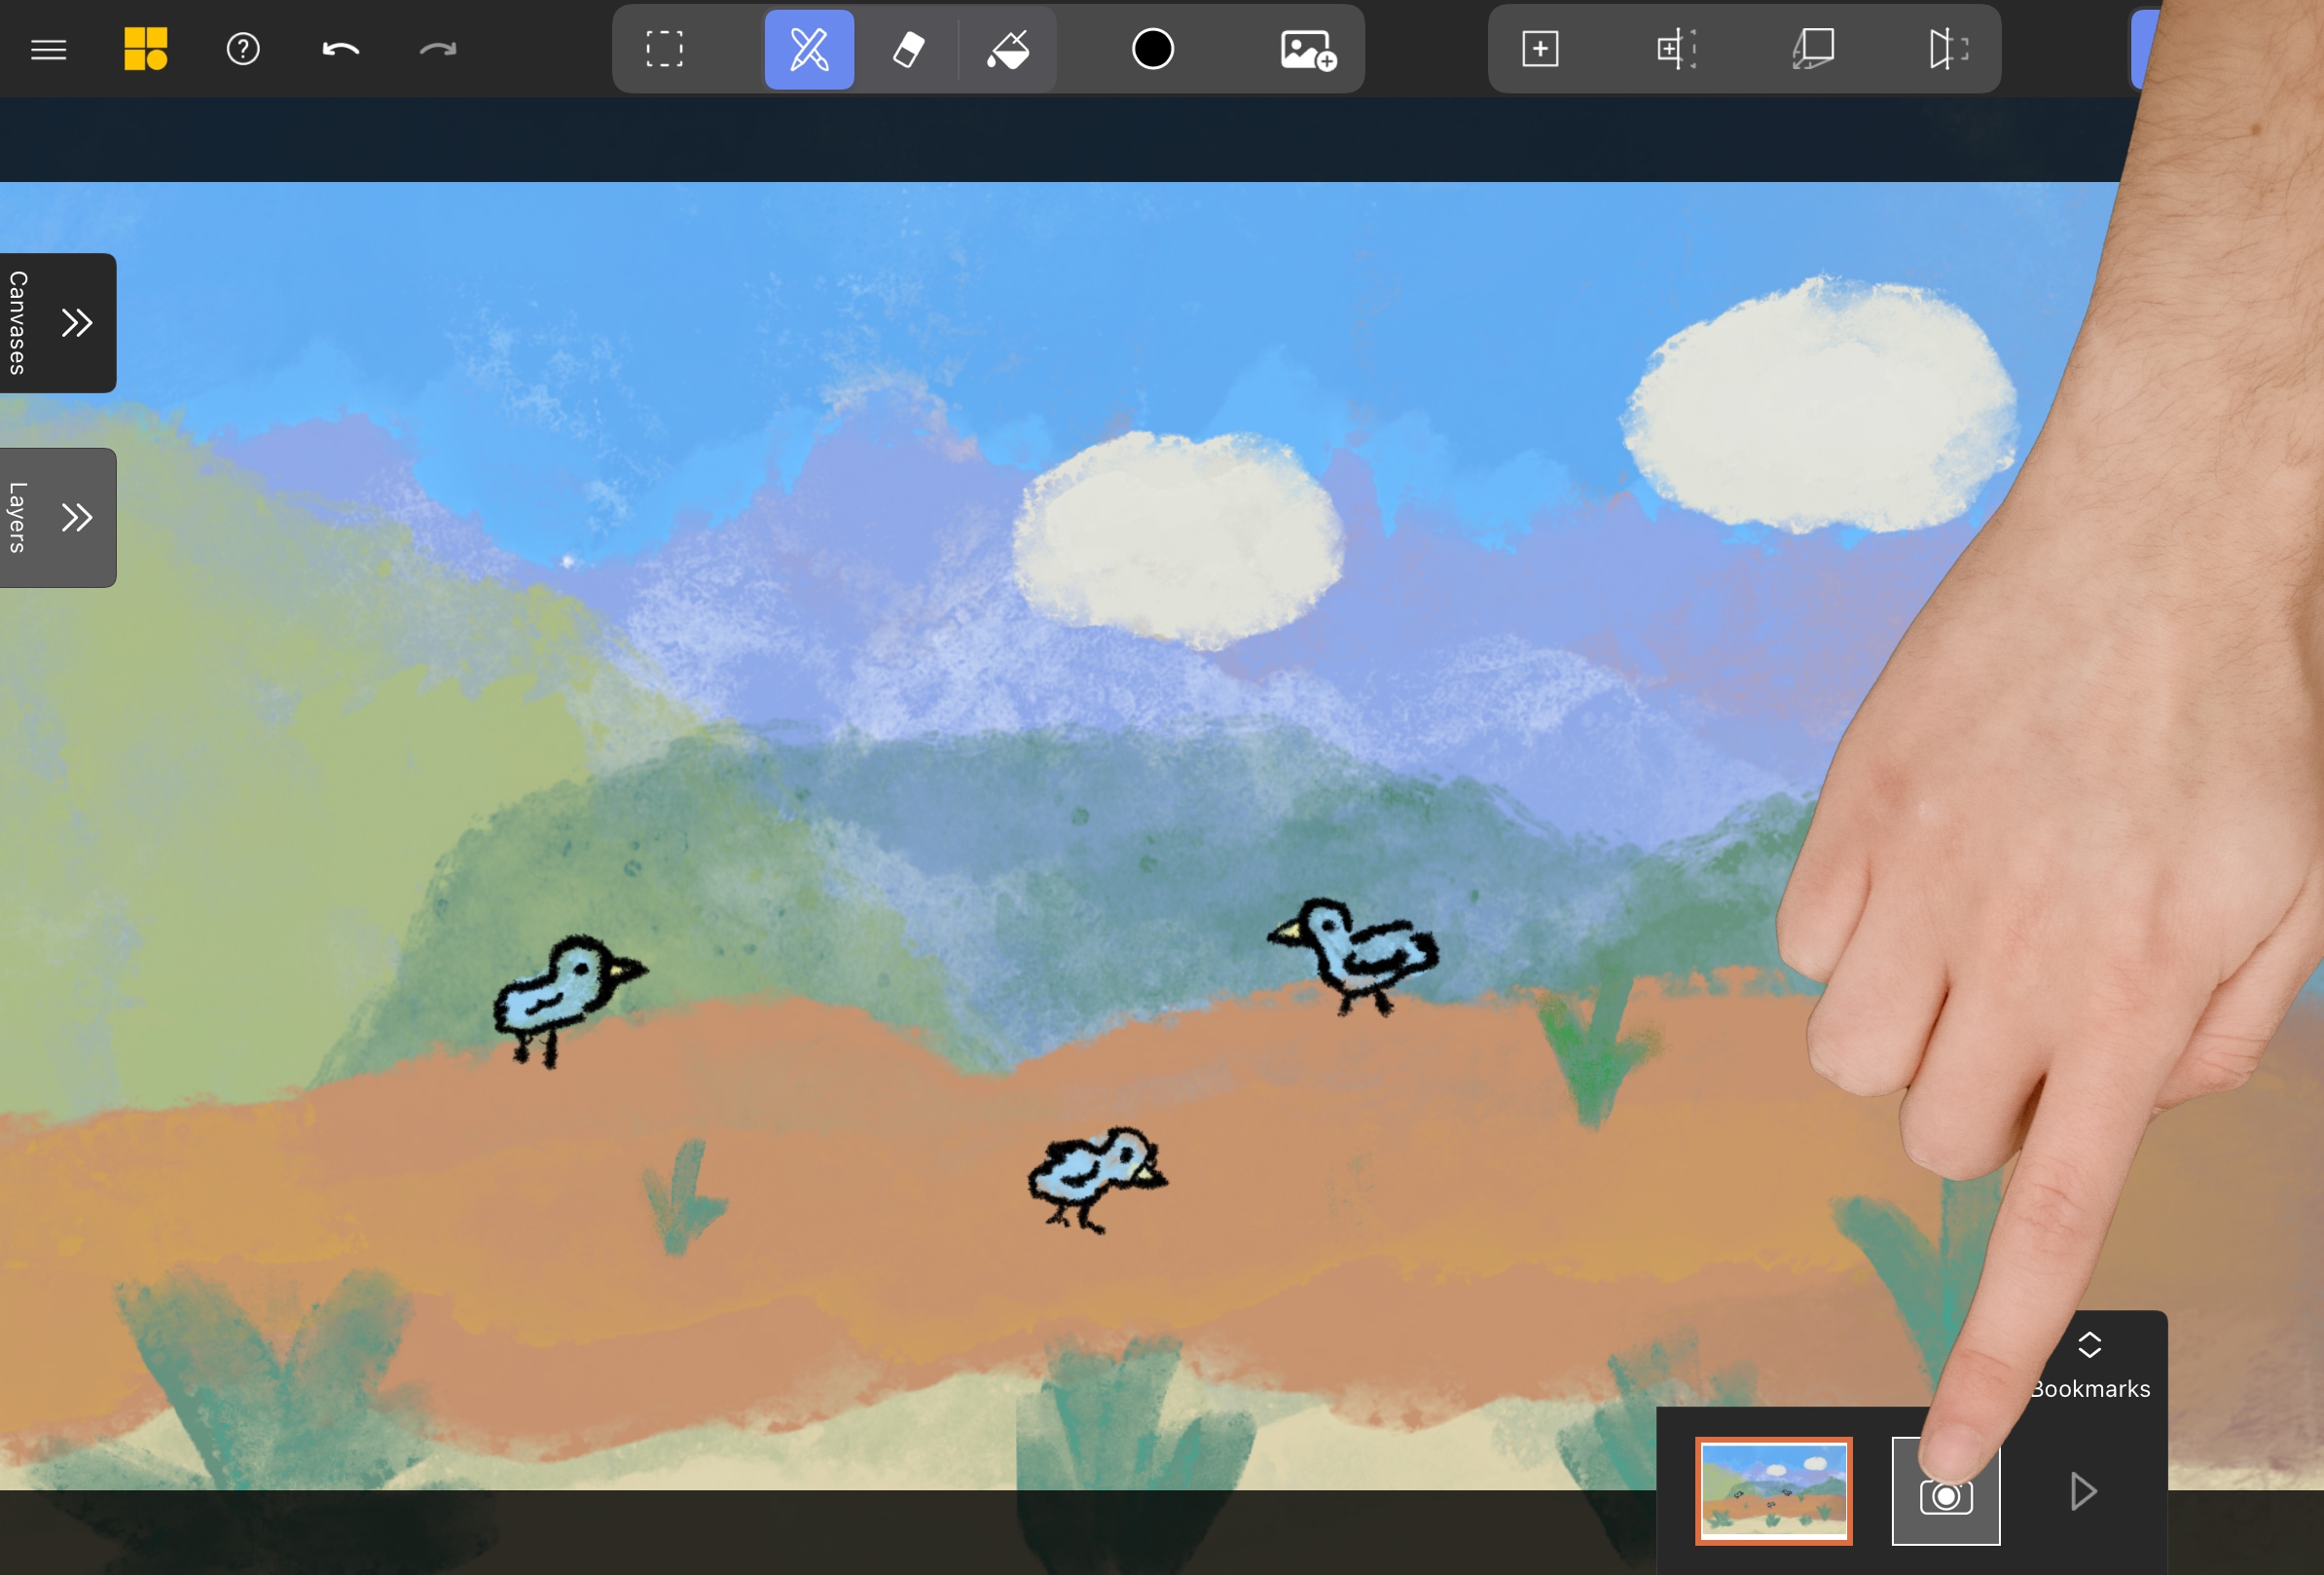
Save Key Views as Bookmarks
Navigate to various viewpoints that highlight the depth and composition of your scene. For each view you want in your animation, tap the camera icon in the bottom toolbar to save it as a bookmark. Create a visual narrative – start with the overall scene, then zoom into details, or pan across elements.
Arrange Bookmarks
Drag and drop bookmark thumbnails to arrange them in sequence. The camera will smoothly transition from one bookmark to the next in this order.
Preview Your Animation
Tap the Play button in the Timeline to preview your flythrough. Mental Canvas automatically generates smooth camera movements between your key views.
Fine-Tune Timing (Optional)
Expand the Timeline panel to adjust:
- Linger Time: How long the camera stays at each bookmark
- Transition Time: How long it takes to move between bookmarks
Export Your Video
When satisfied with your flythrough:
- Tap the Options Menu
- Select Export
- Choose Video as the export type
- Select your desired aspect ratio and resolution
- Tap Start to begin rendering
The result is a polished video that showcases the 3D nature of your scene, perfect for sharing on social media, in portfolios, or as part of a larger presentation.
Publish to the Web
Share your spatial scenes as interactive experiences on the web. Viewers can navigate and explore your 3D artwork from any device with a web browser.
Open the Options Menu and select Publish to Web. Follow the prompts to upload your scene. Once published, you’ll receive a unique web link. Share this link with anyone to let them explore your scene in their browser.