Drawing Your First Scene
In this guide, we’ll walk through the basics of Mental Canvas by drawing a simple cityscape and expanding it into a 3D scene.
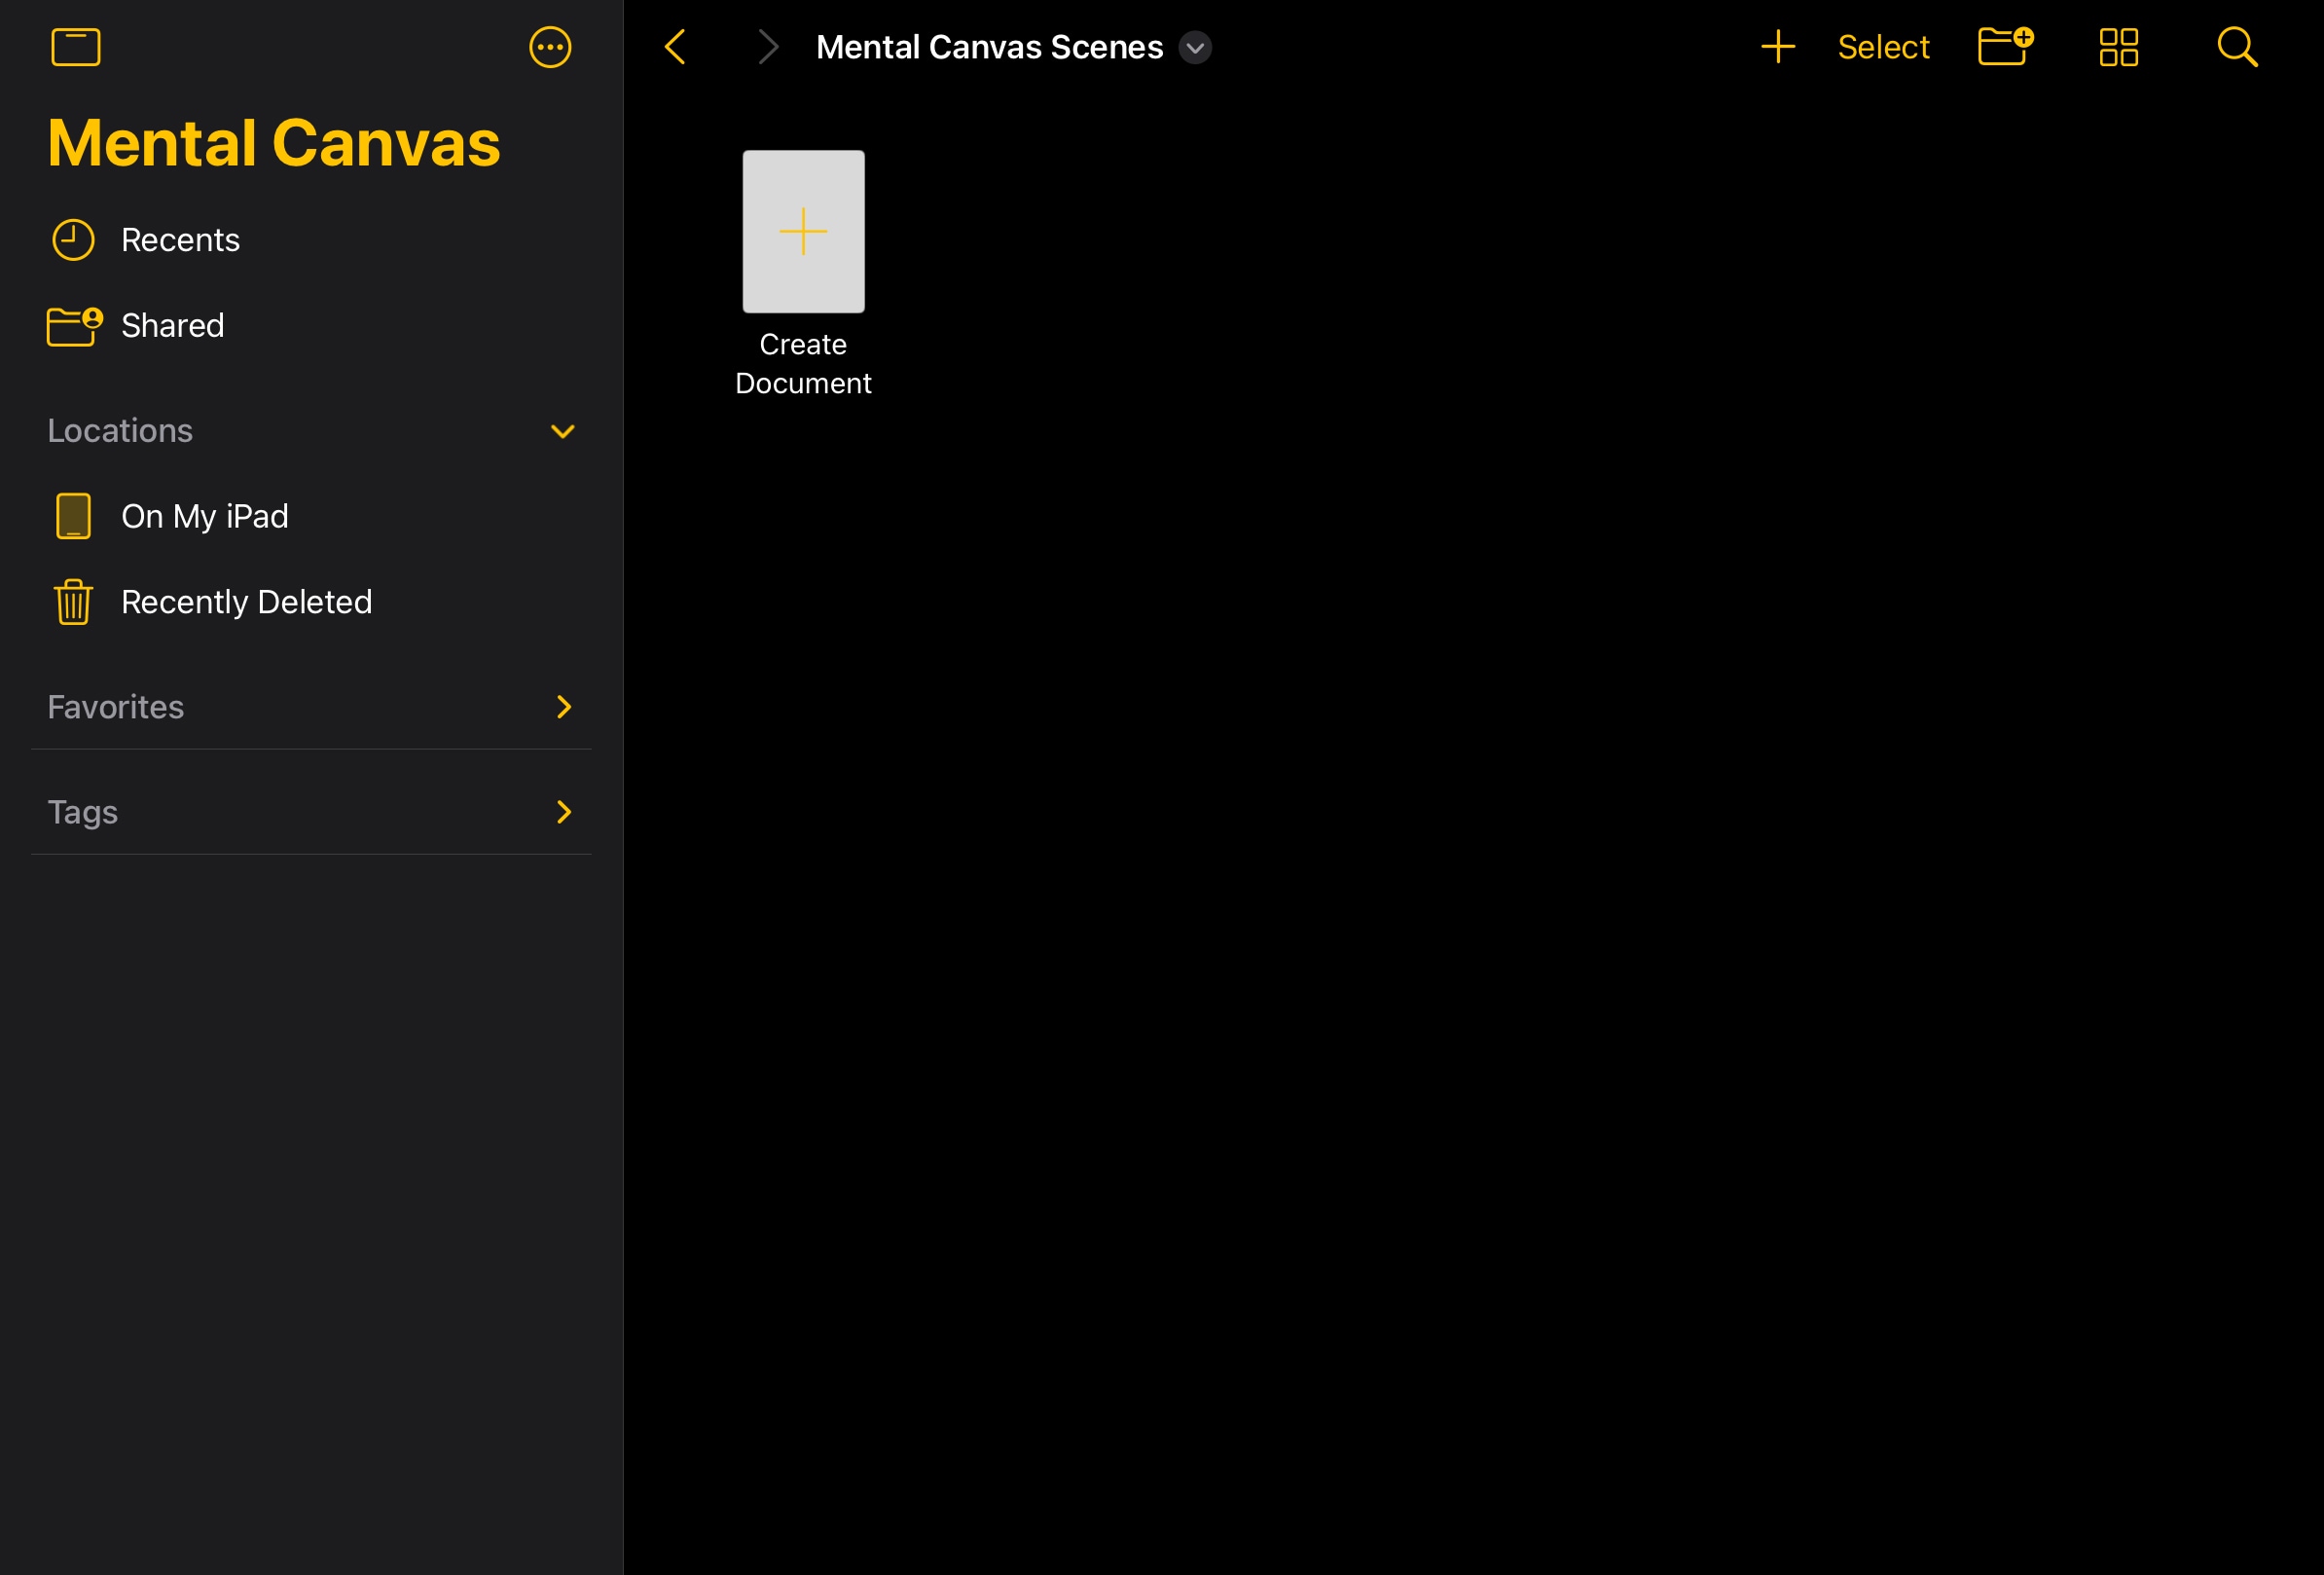
Get Started
When you open Mental Canvas, the document browser appears. Choose a folder to store your new file – creating a dedicated folder like “Mental Canvas Scenes” is a good way to keep your projects organized.
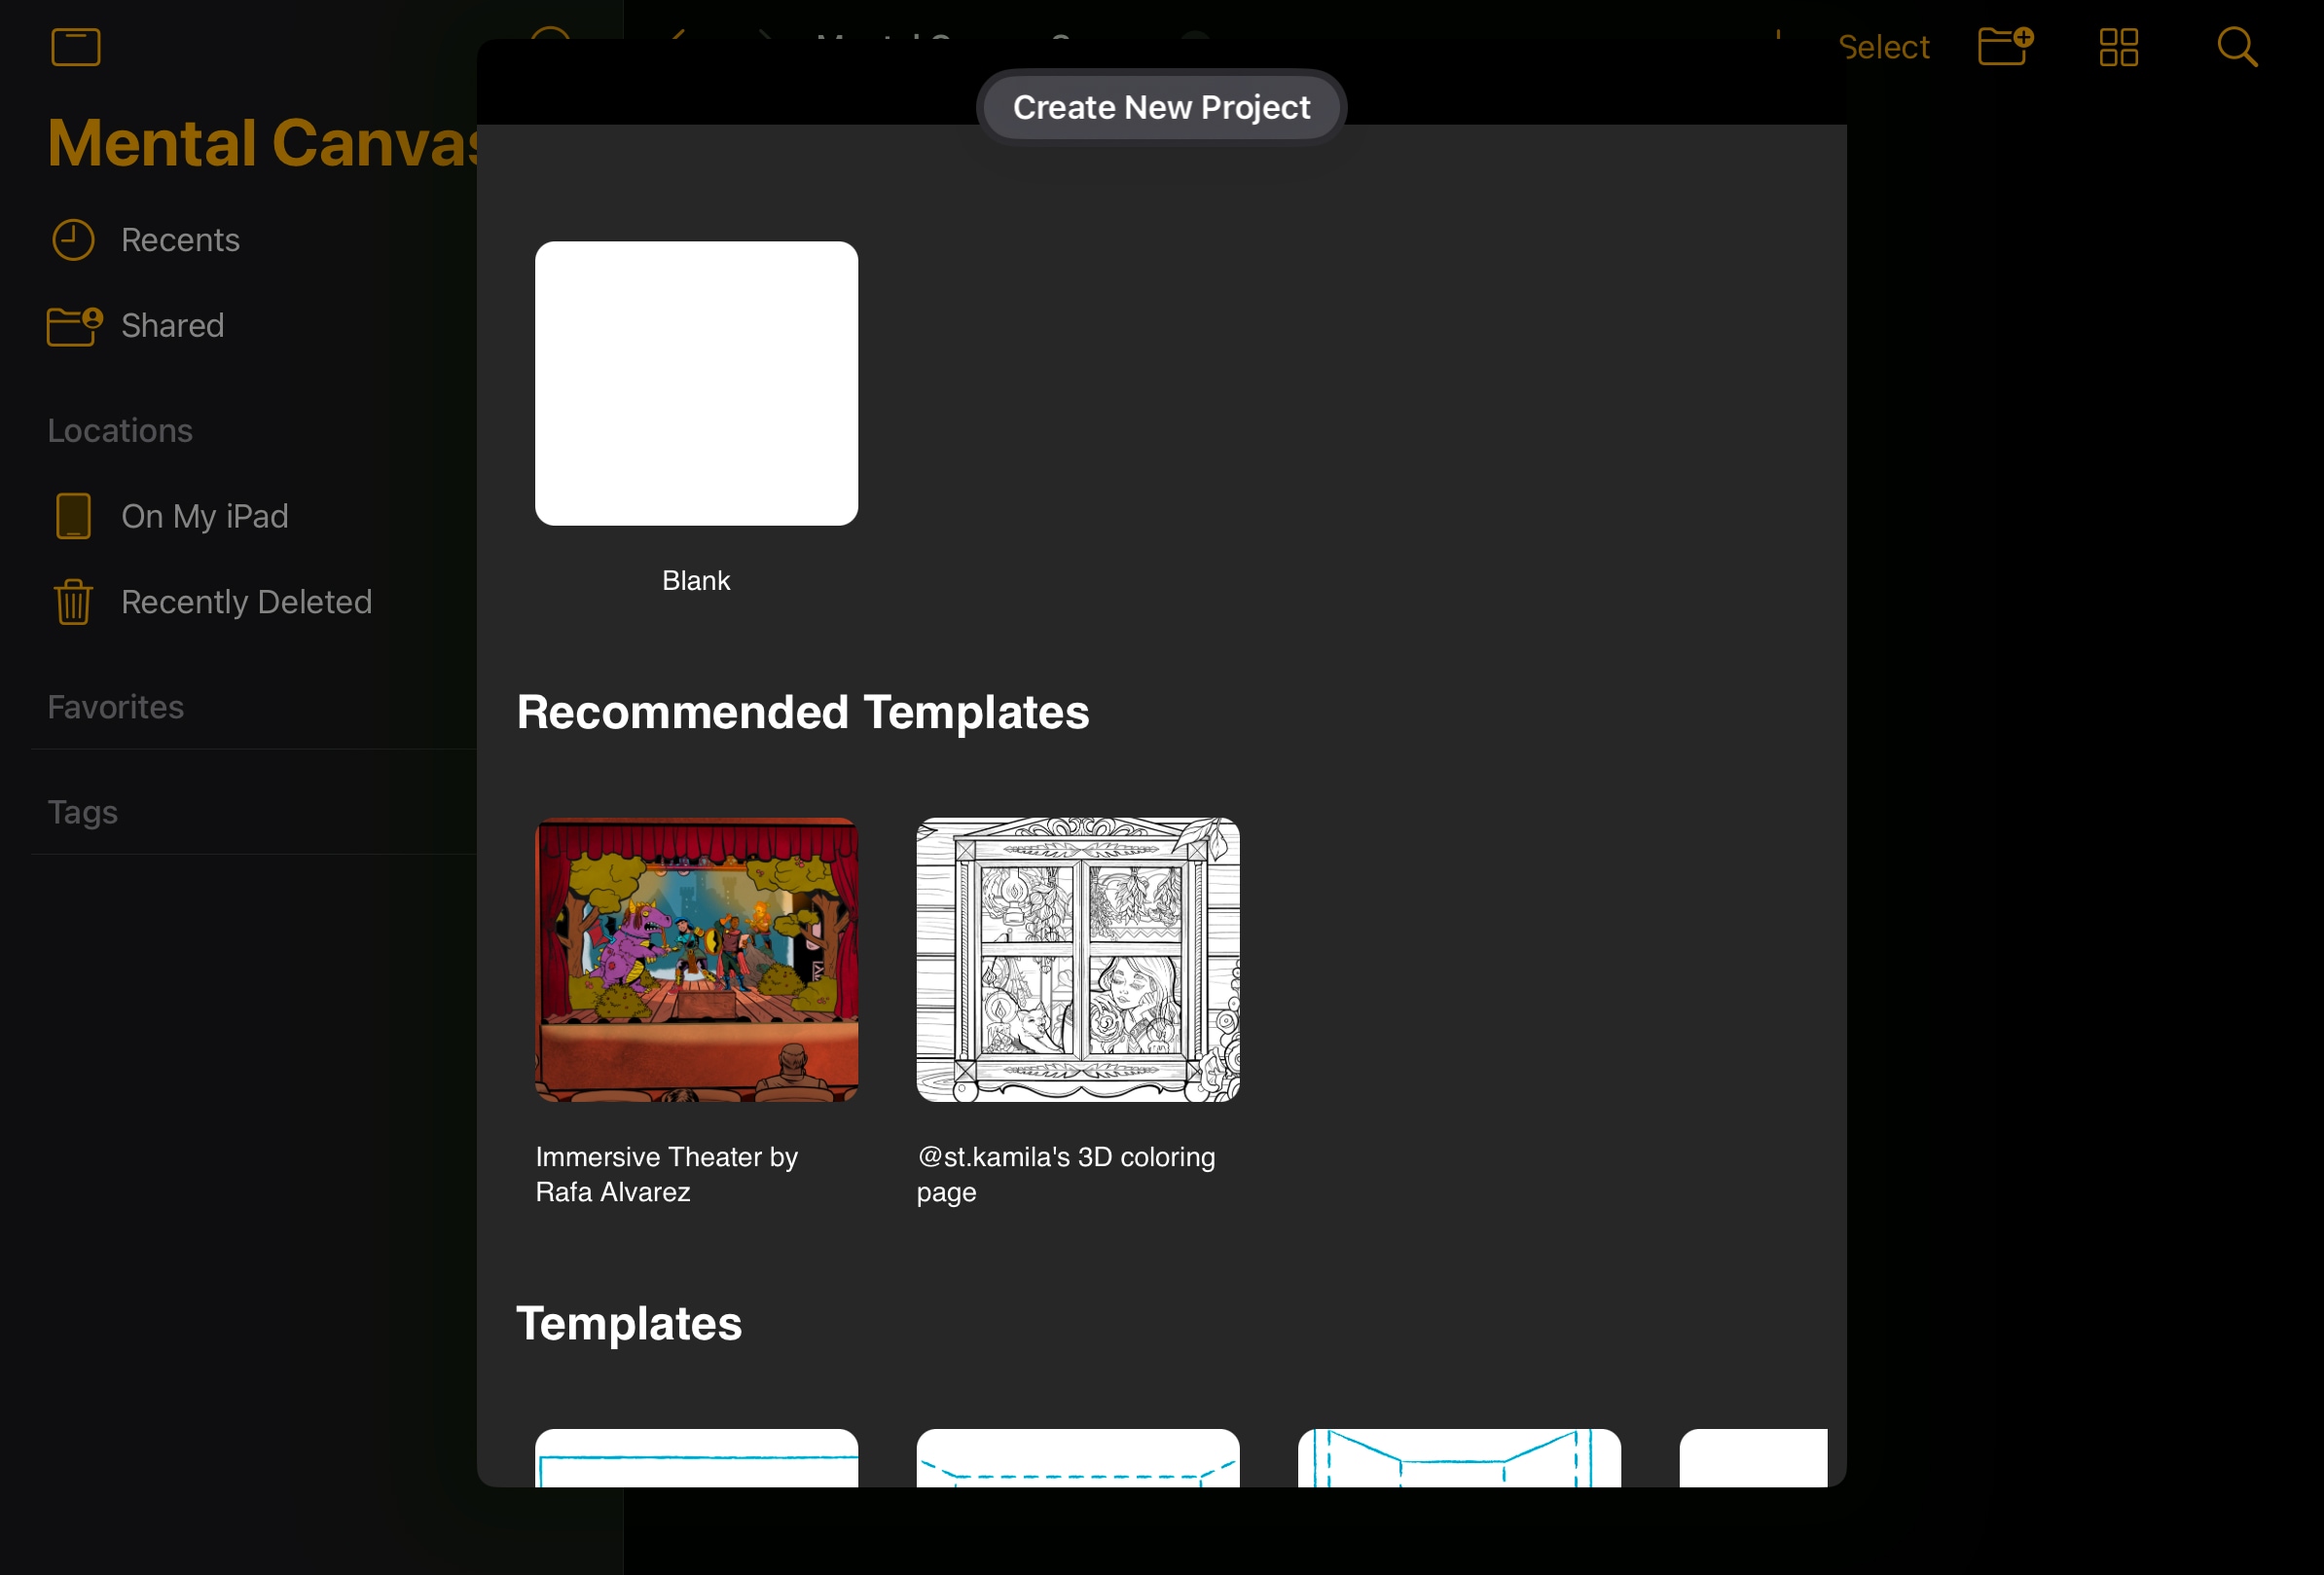
Create a Blank Scene
Tap Create Document and select Blank to start fresh. Give your scene a descriptive name.
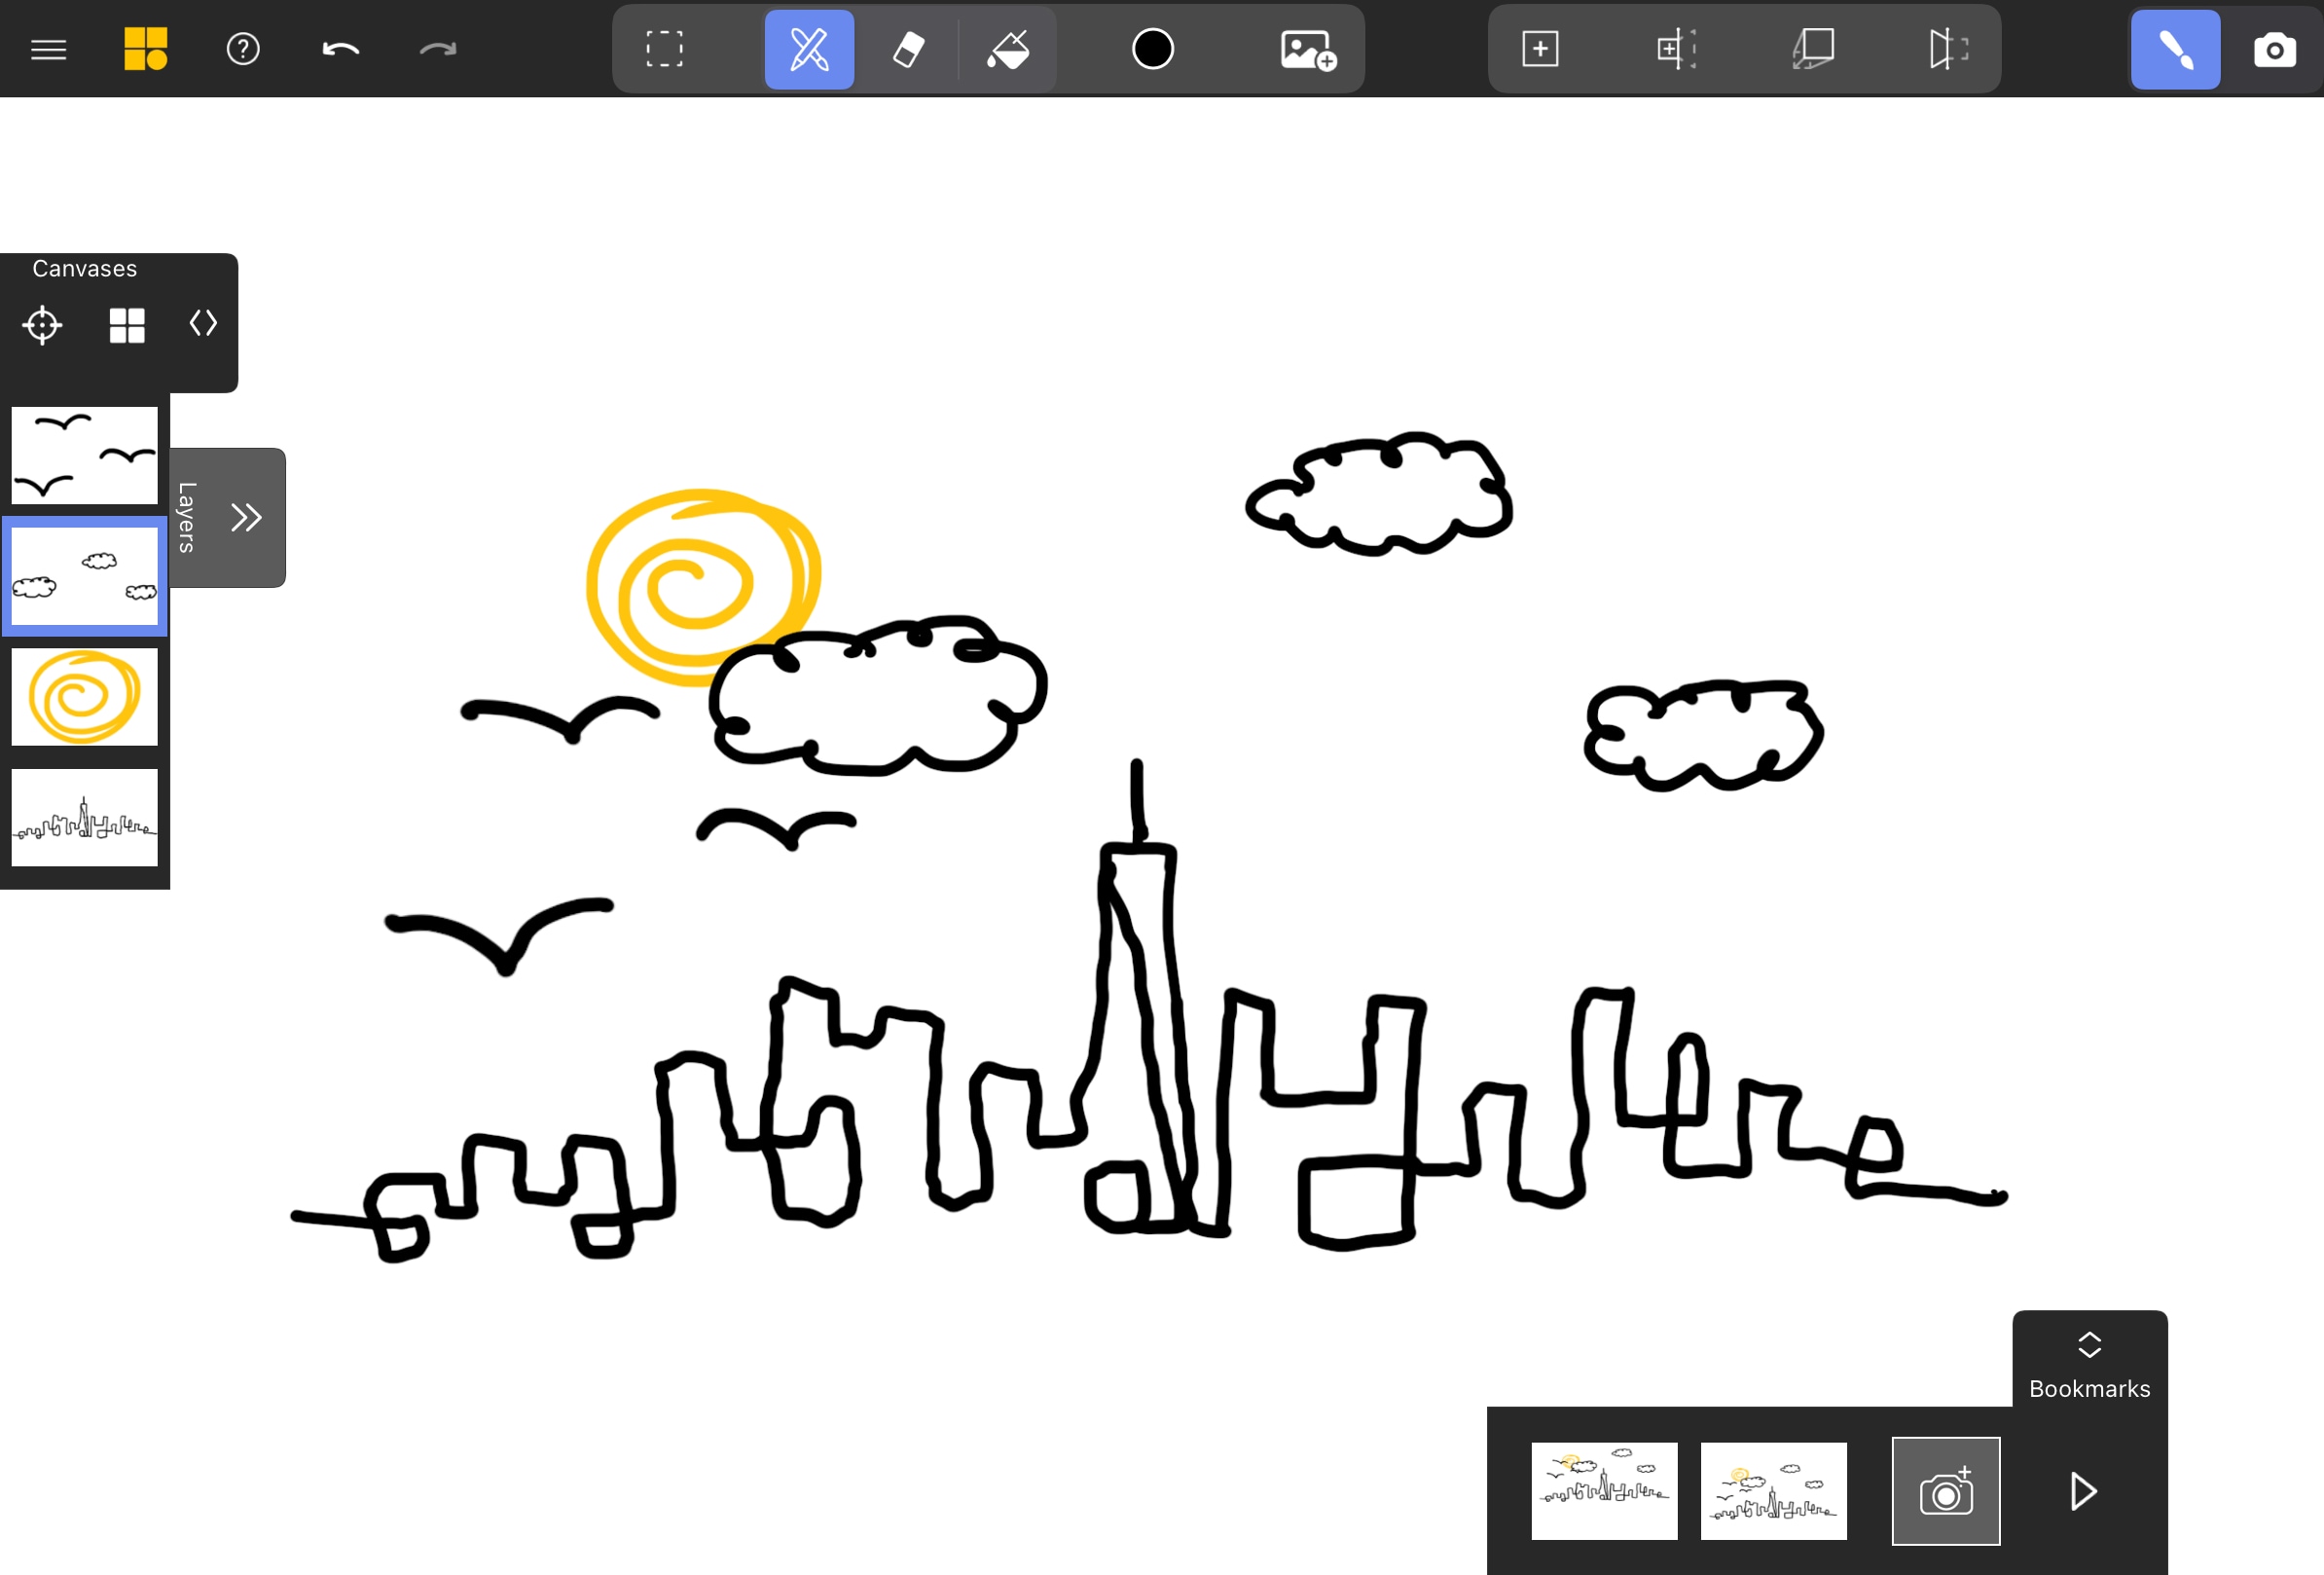
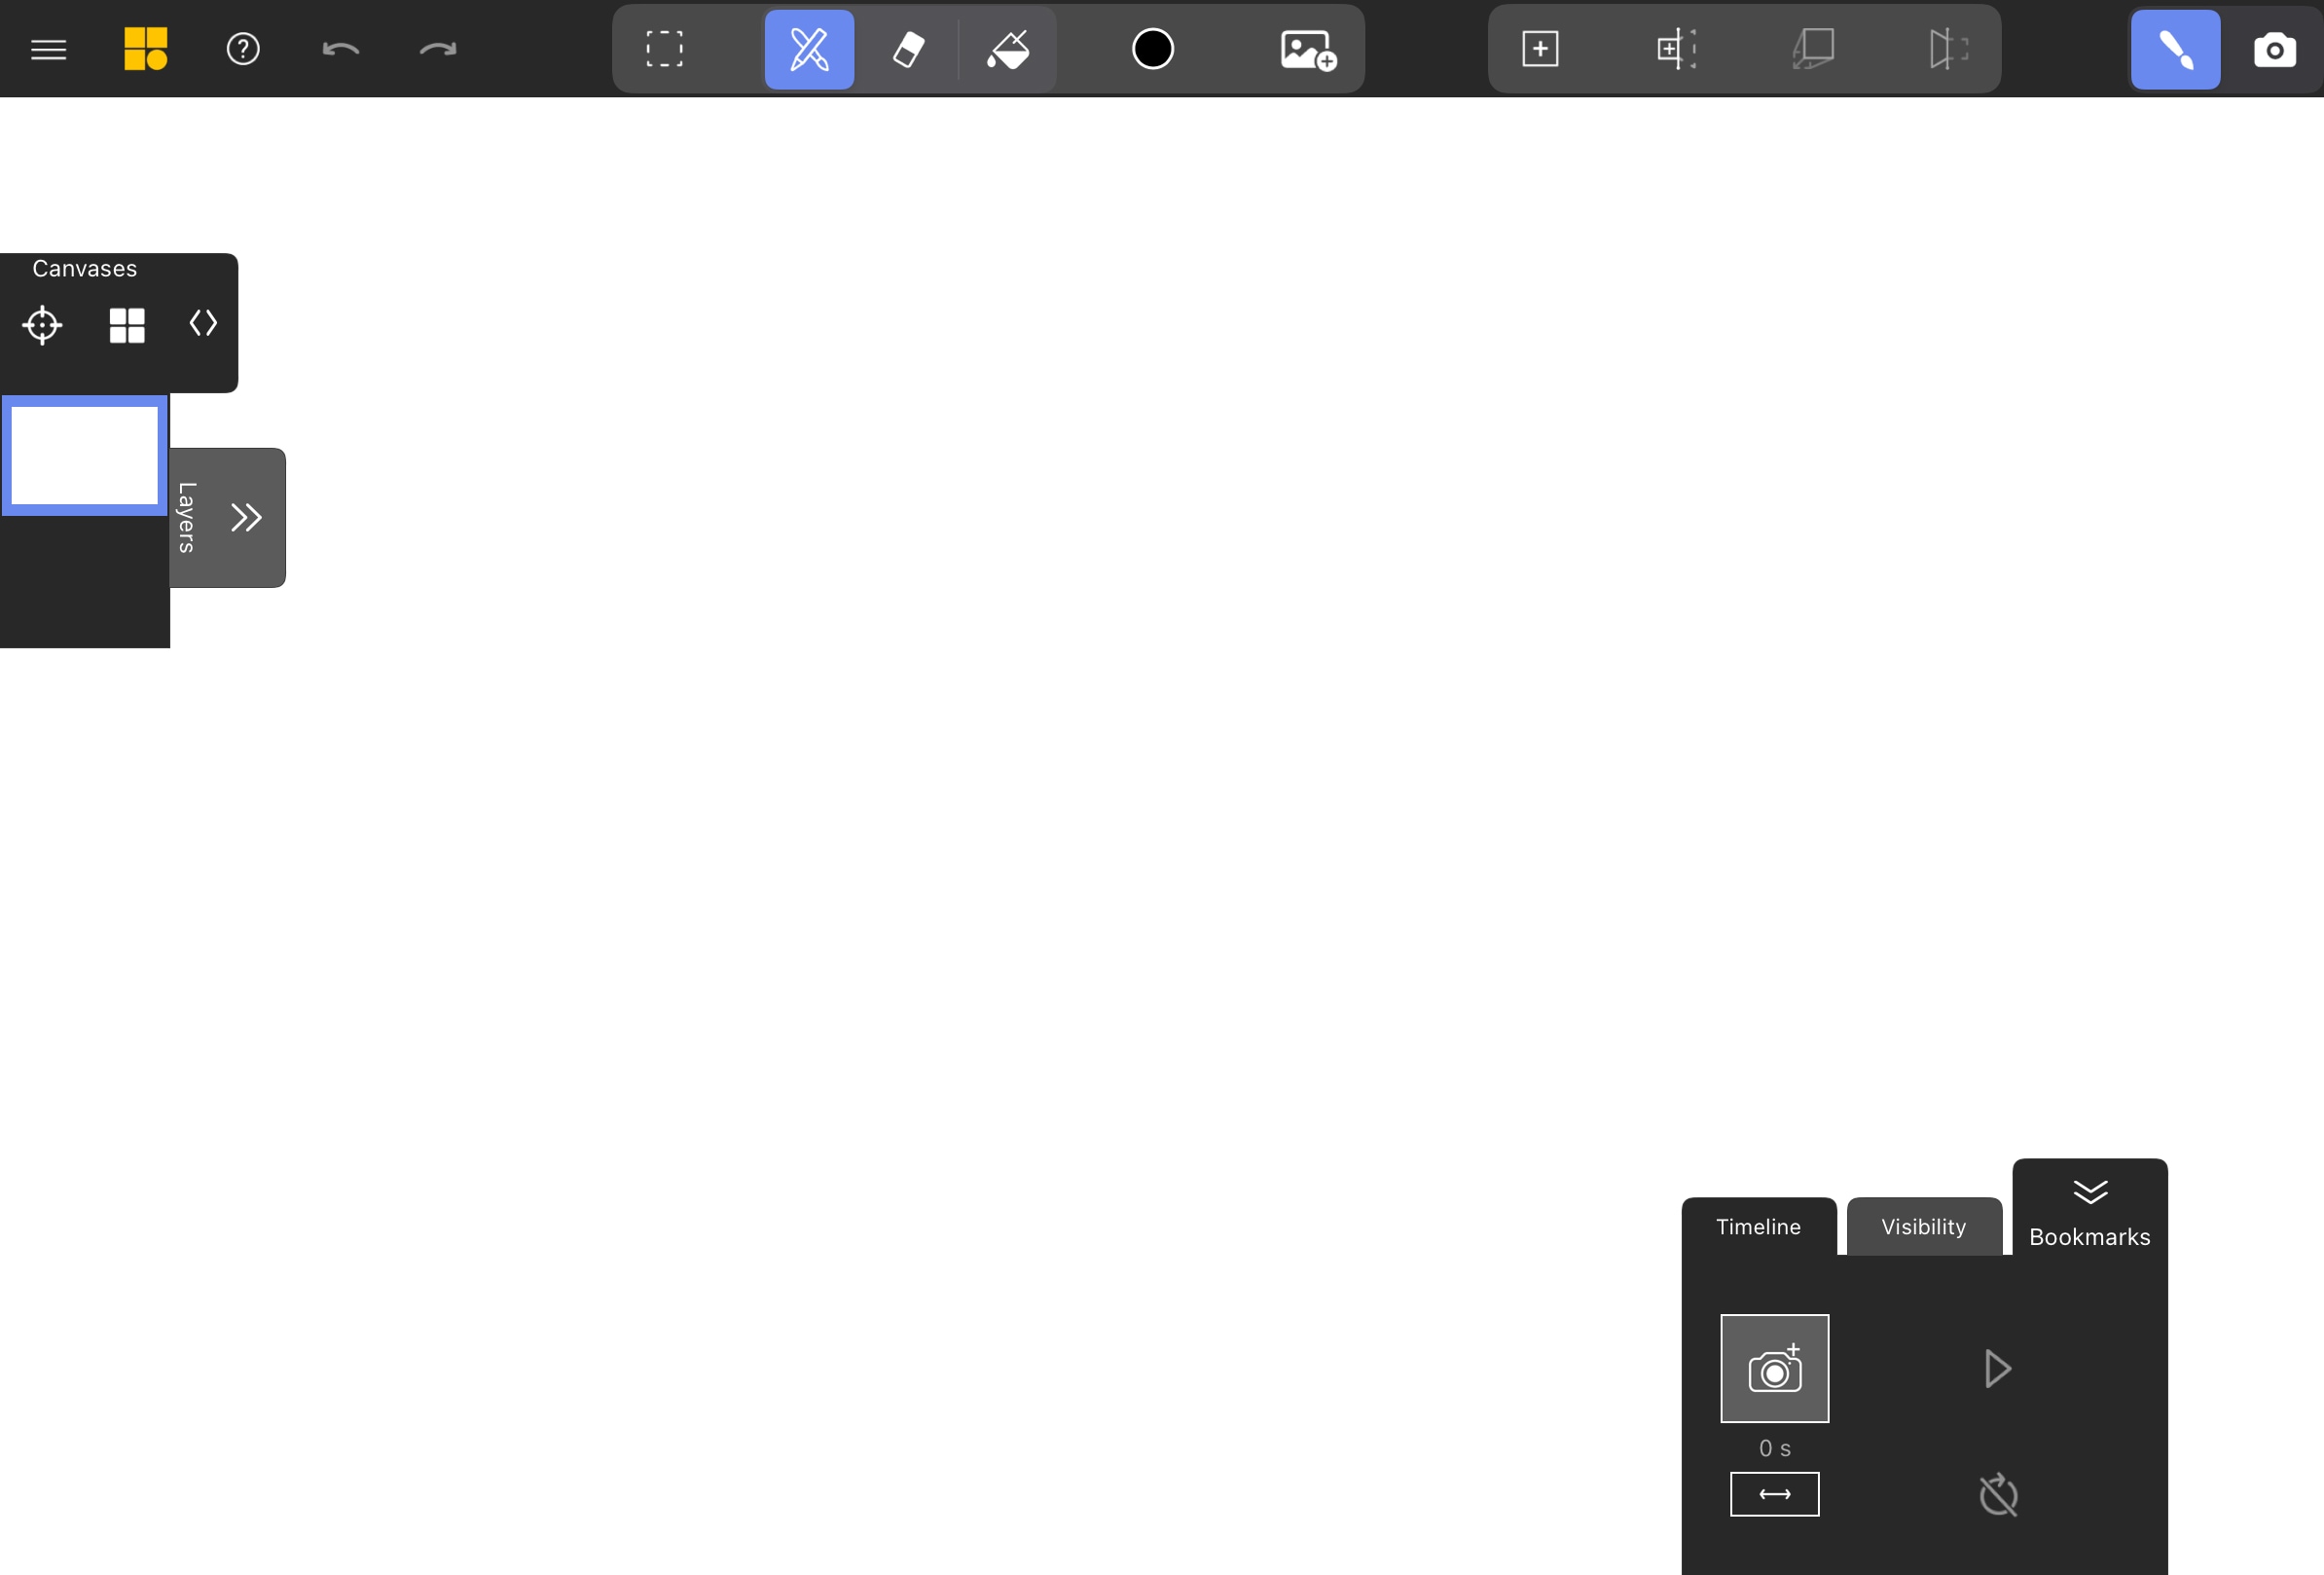
Enter Drawing Mode
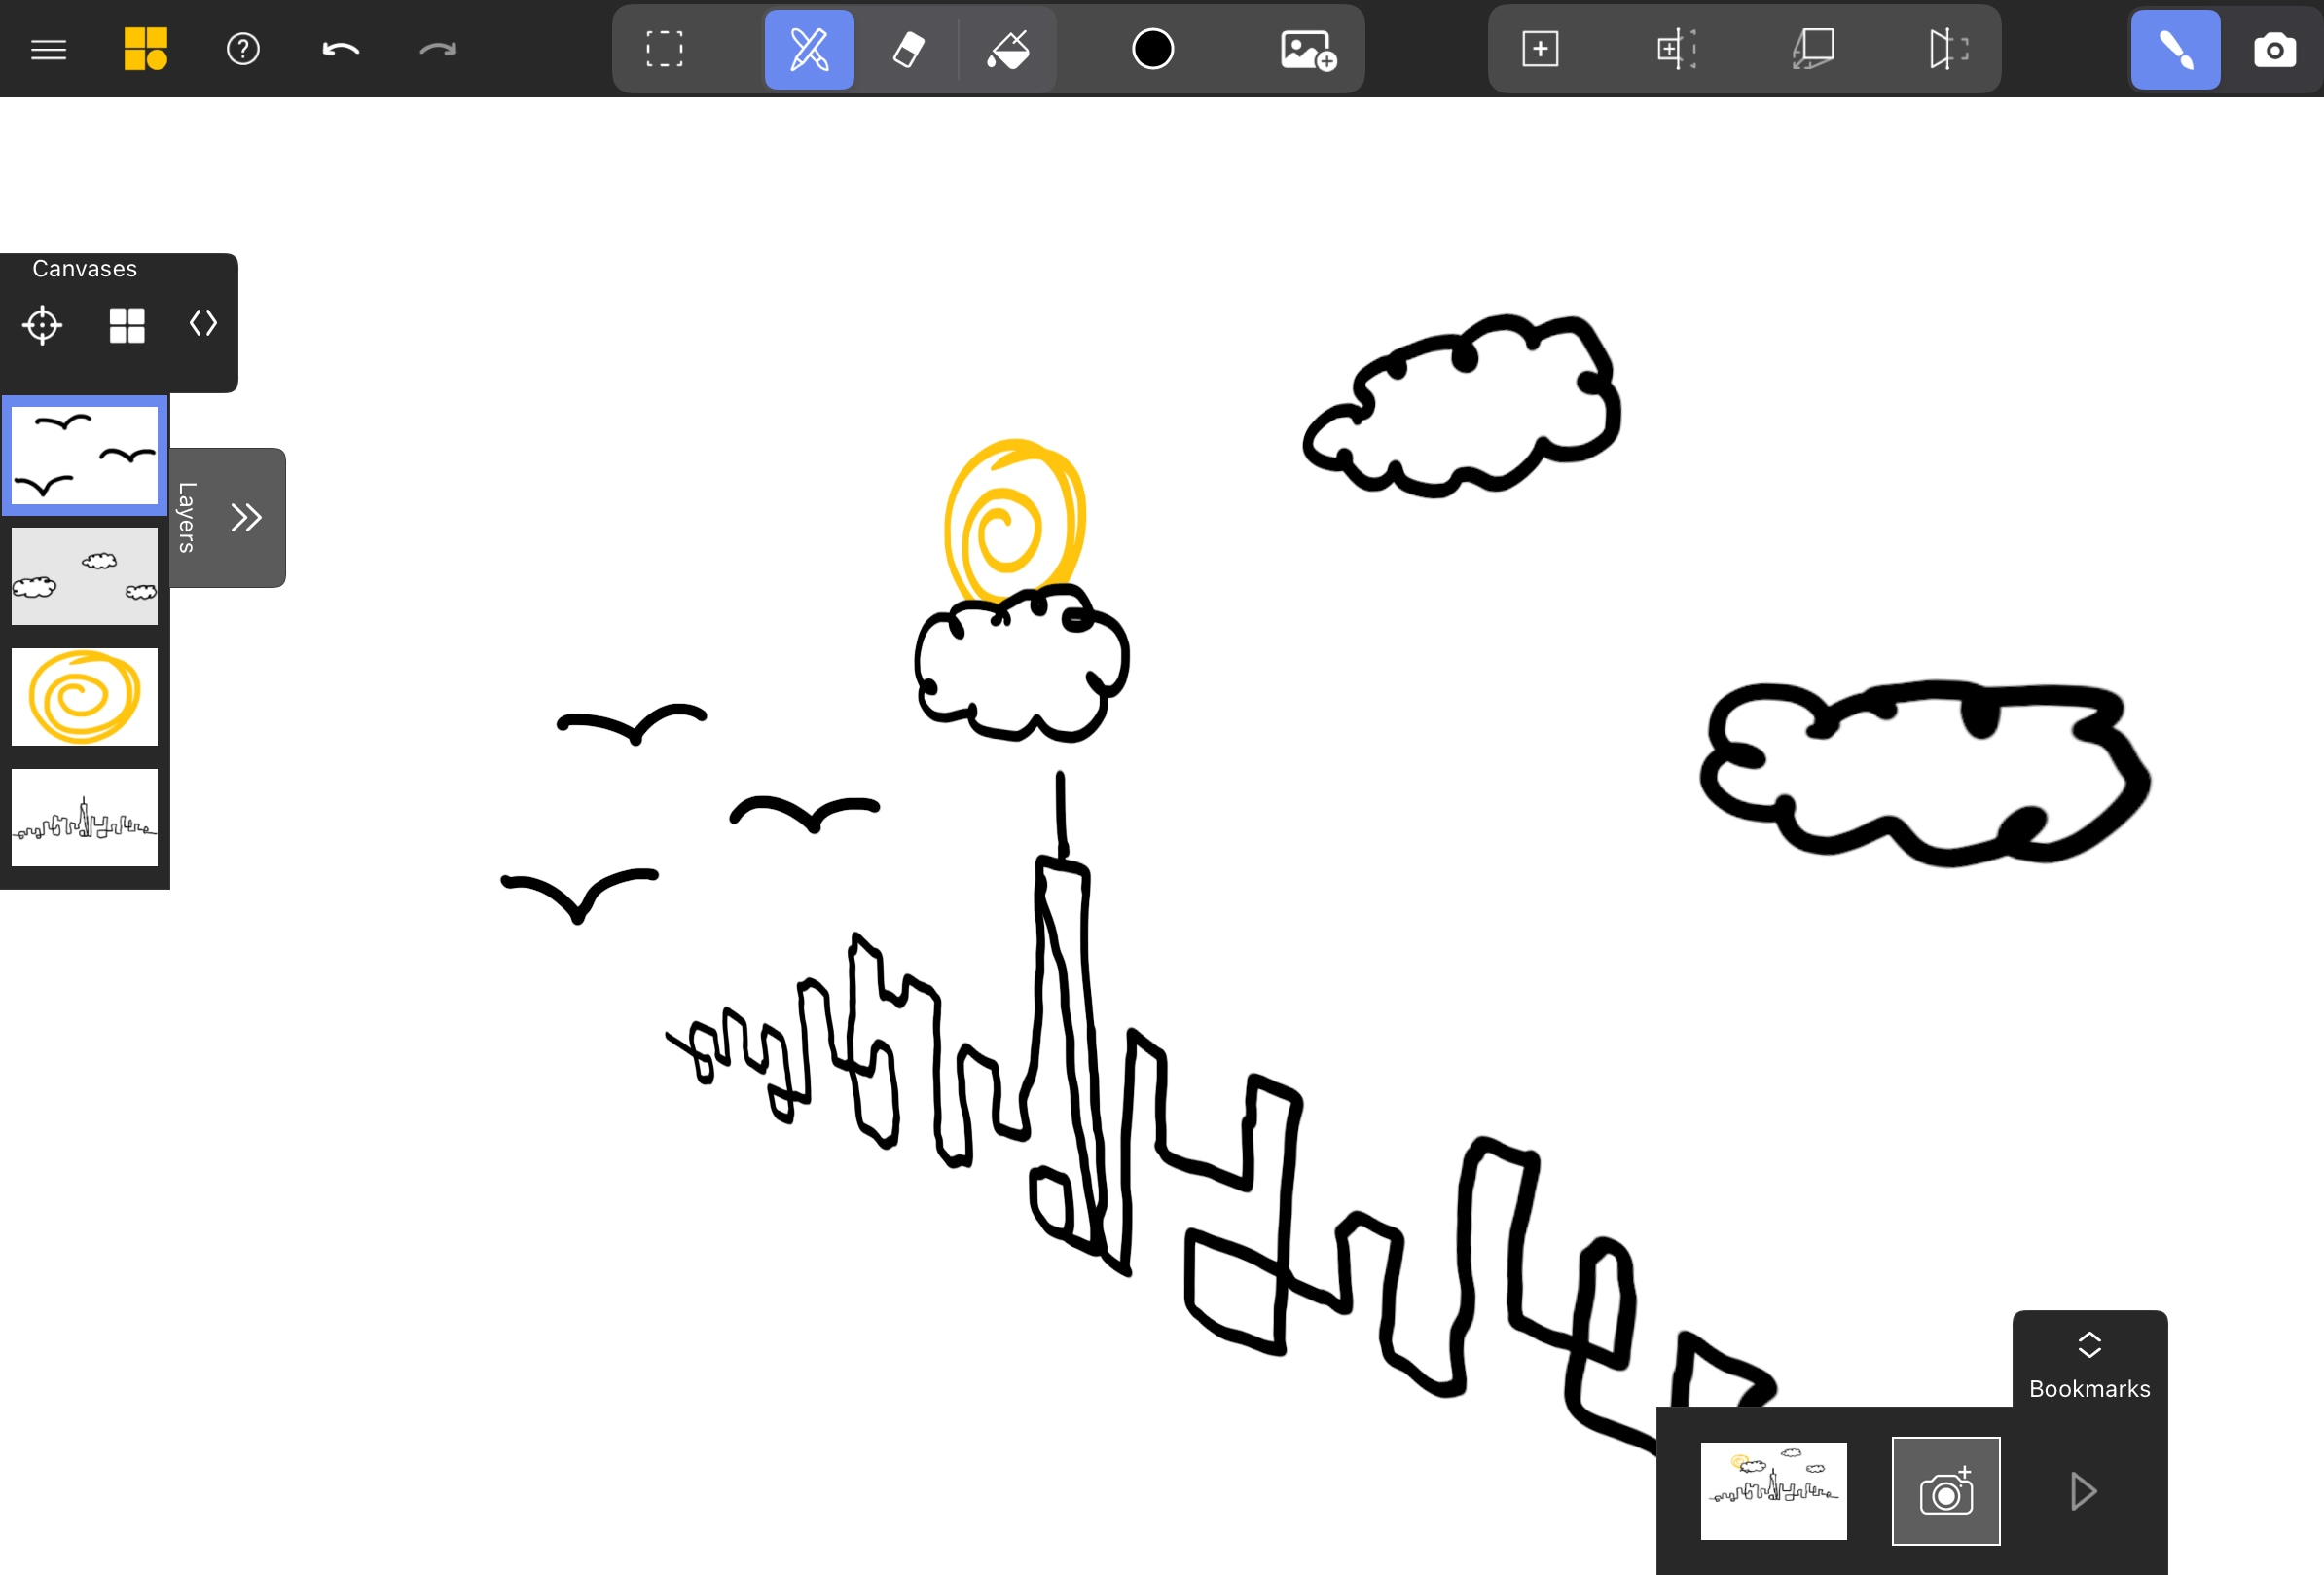
Once your scene opens, you’ll see a single canvas in the Canvas List. This is your starting point. To begin sketching, switch to Draw Mode — you’ll know it’s active when the icons turn blue. The workspace is infinite, so you can zoom and pan freely, placing your drawings anywhere.
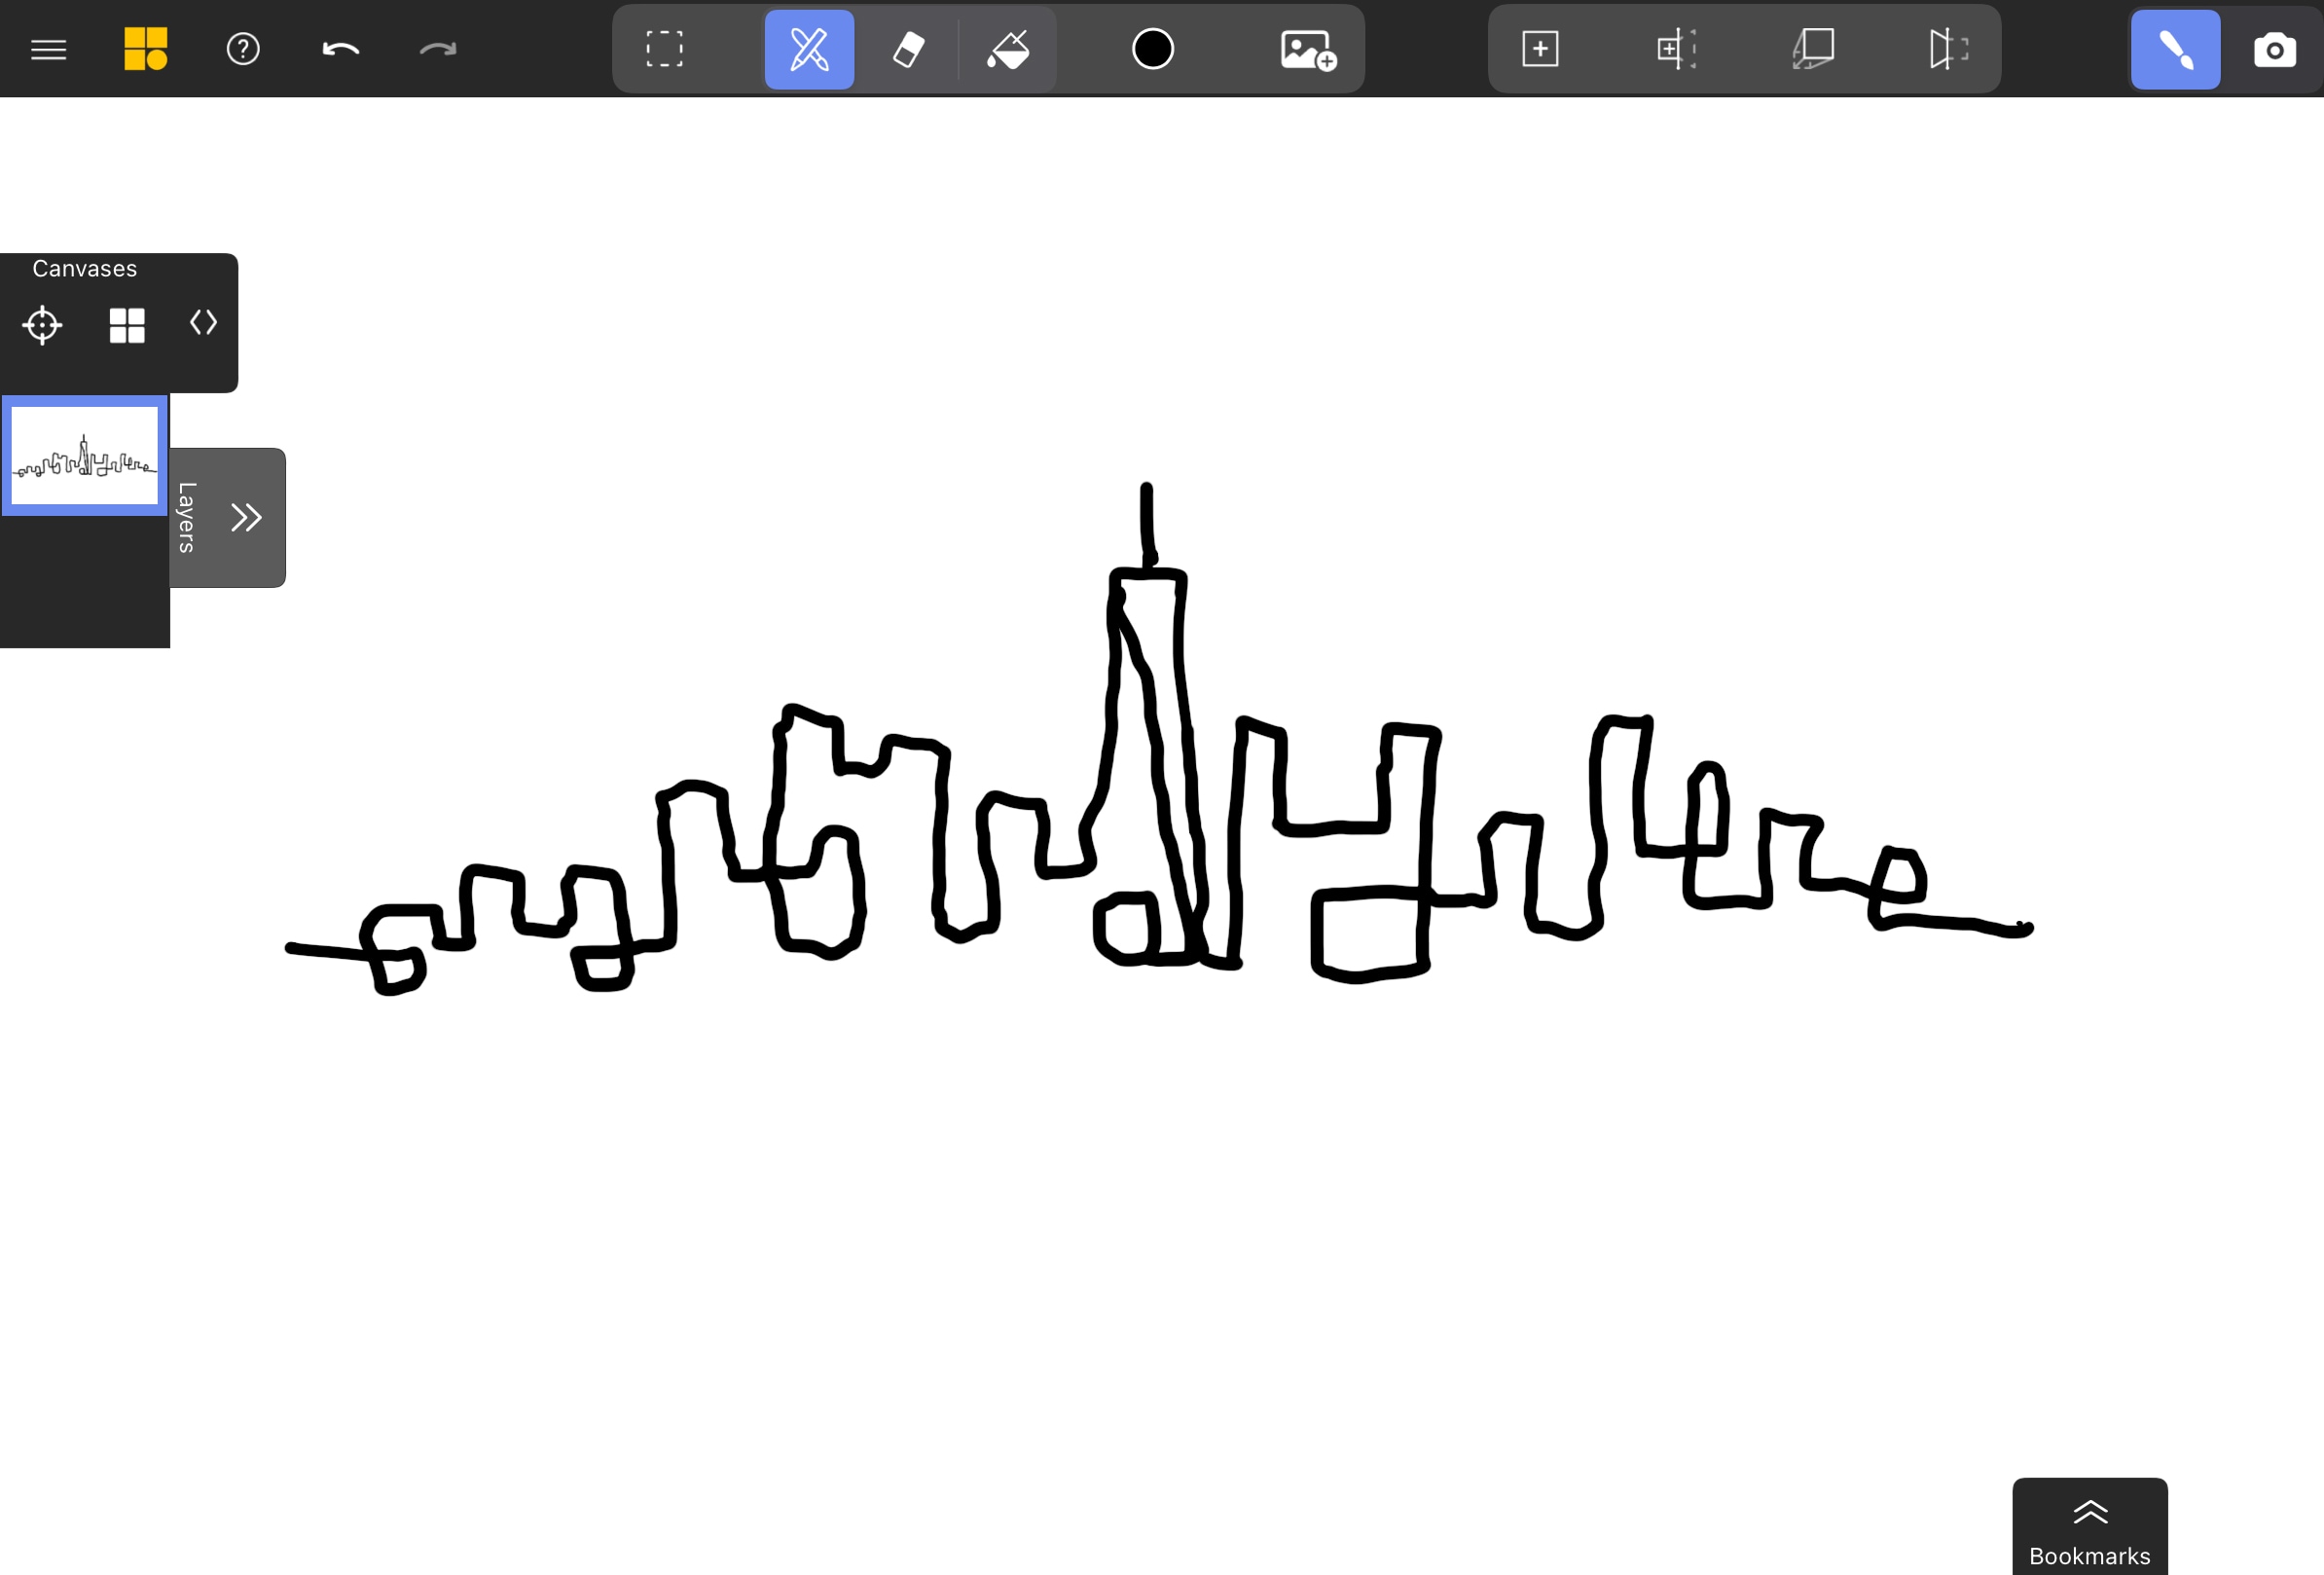
Draw a City Skyline
Start by sketching a simple city skyline. Select a Brush and Color from the menu and experiment with different options. Use the Fill Bucket if you want to quickly block in solid shapes—just make sure your outlines are closed so the fill works properly. If you make a mistake, you can tap the undo arrow or the Eraser
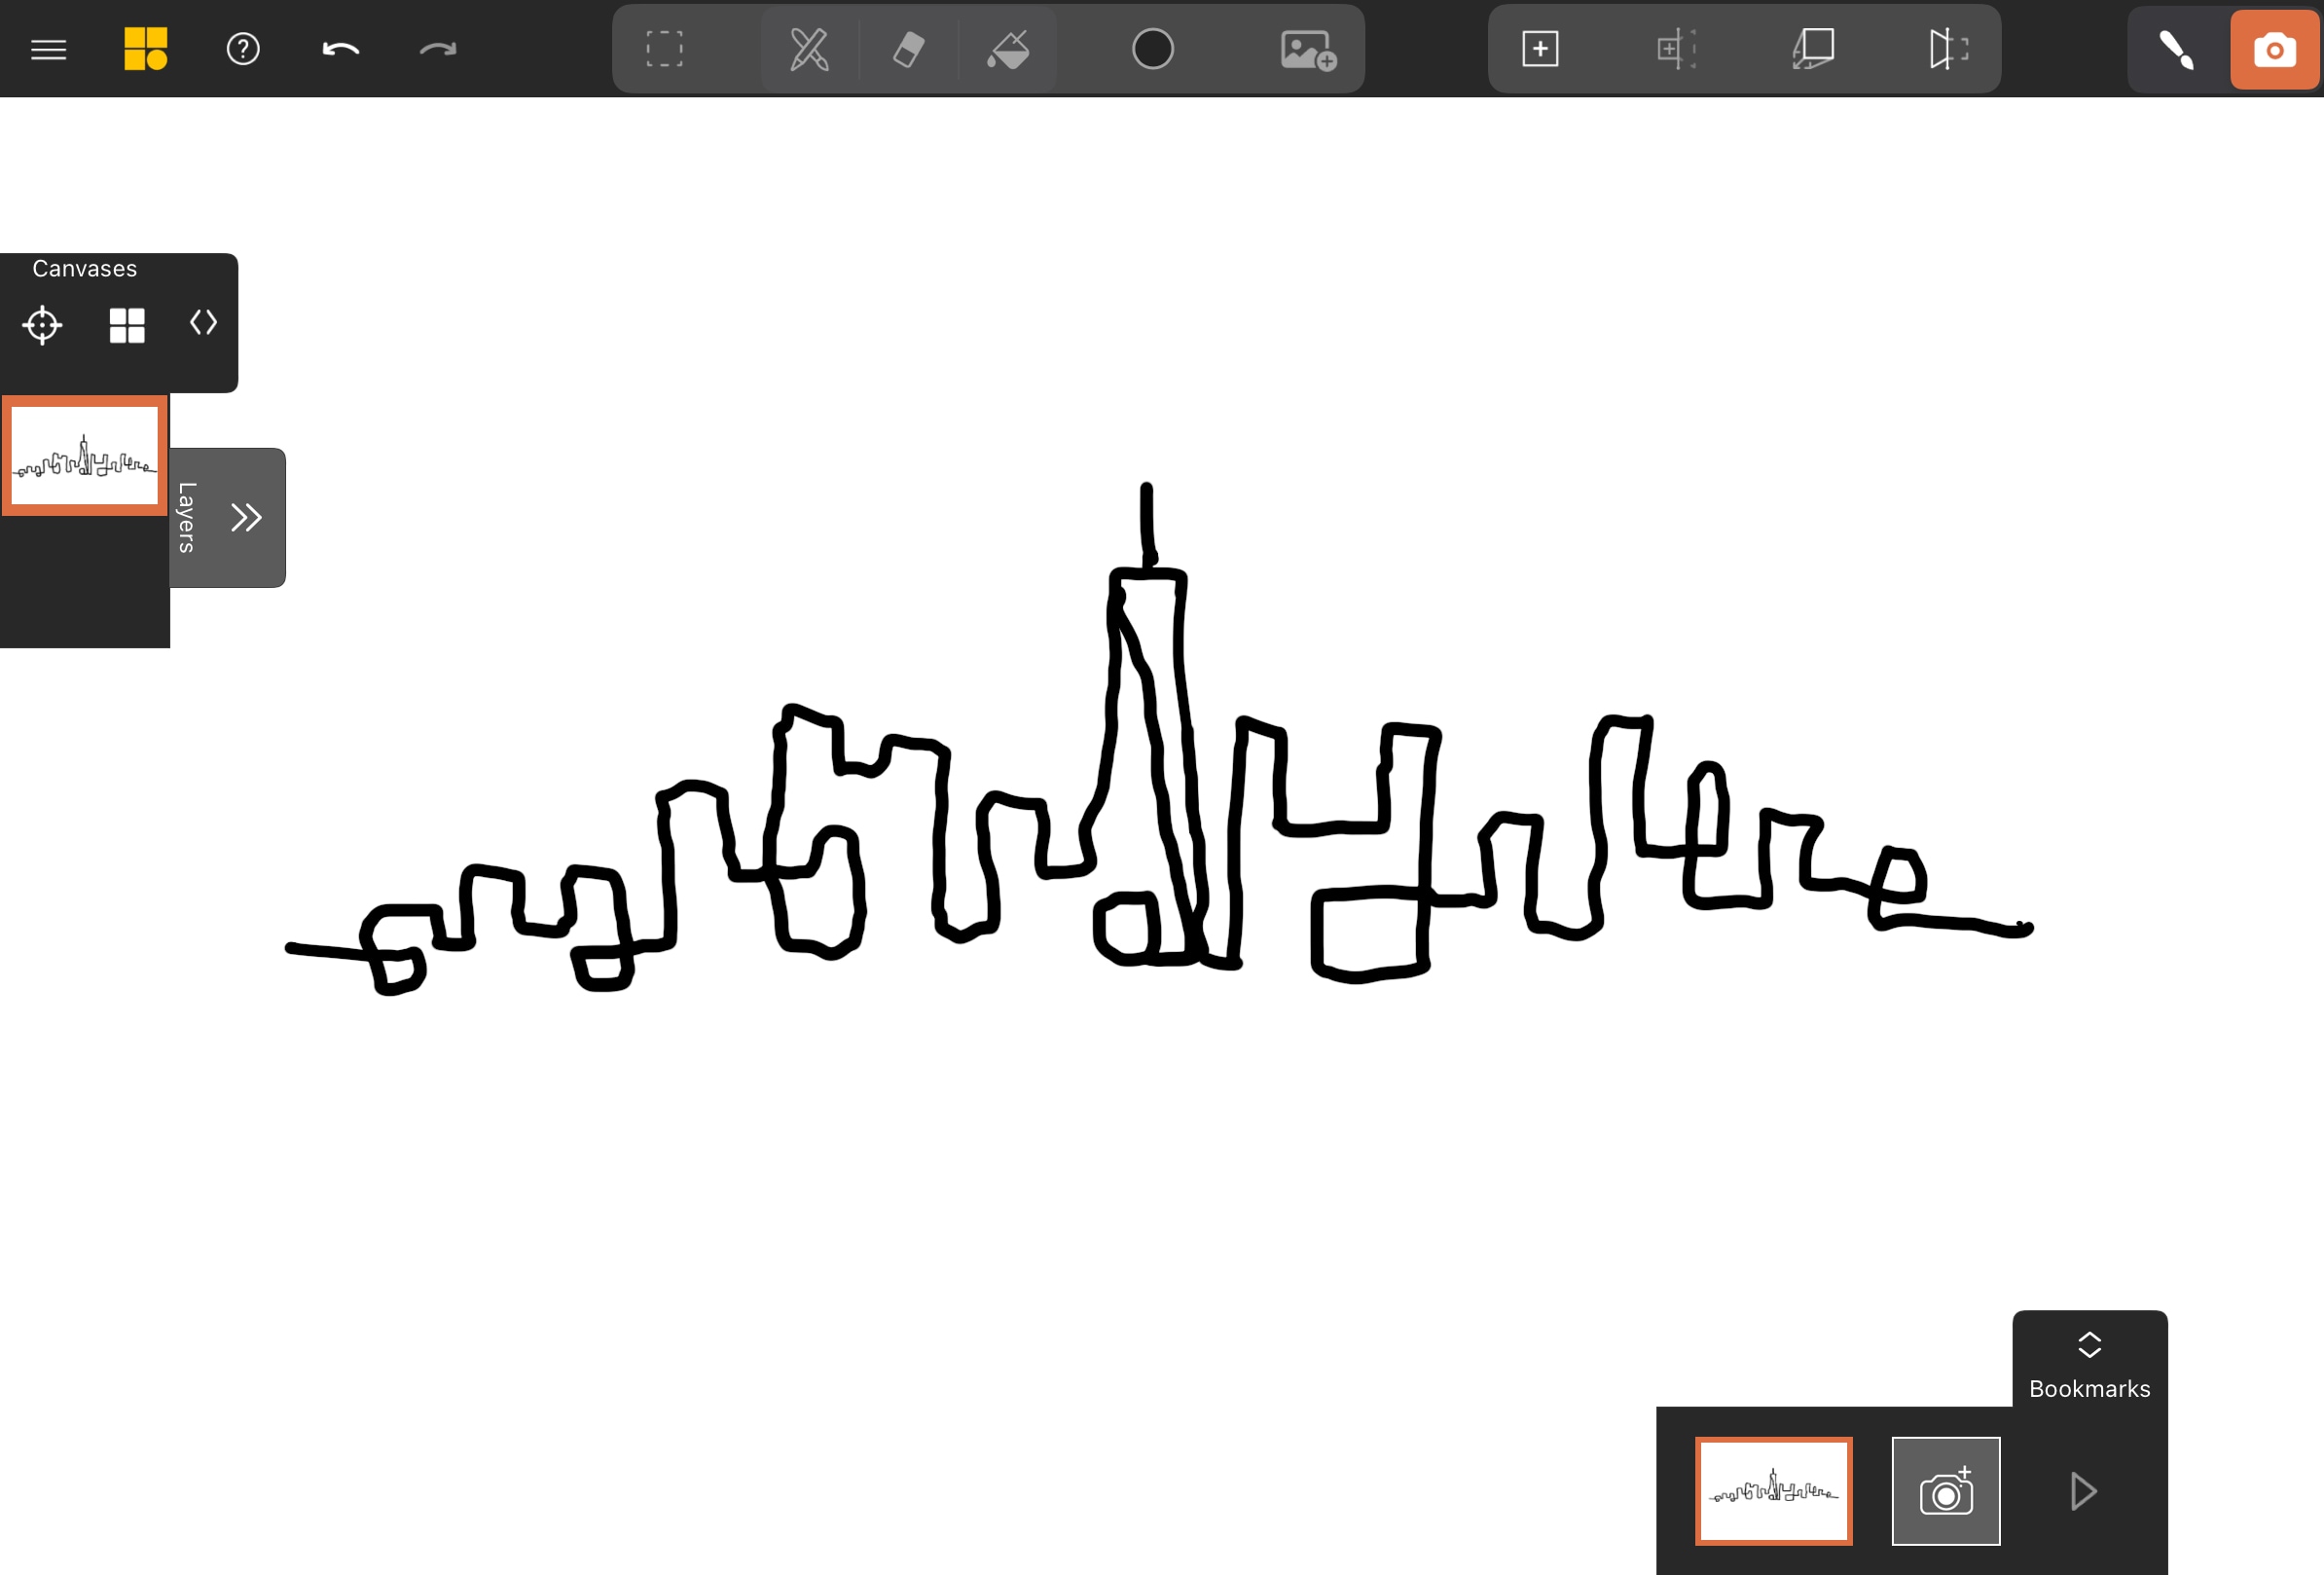
Save Your View
Once you’ve drawn your city, switch to View Mode to explore your scene from different angles. When you return to Draw Mode your perspective will automatically align to the active canvas, making it easy to continue sketching.
Since you’ll be adding more layers to this scene, it’s a good idea to save a bookmark of this view. Open the Bookmarks List, adjust the camera until the city is framed the way you want, and tap the camera icon to save. Now, no matter how much you move around, you can always return to this original view.
Add New Canvases
Now that the city is in place, let’s add more depth by layering additional canvases using the Add New Canvas tool .
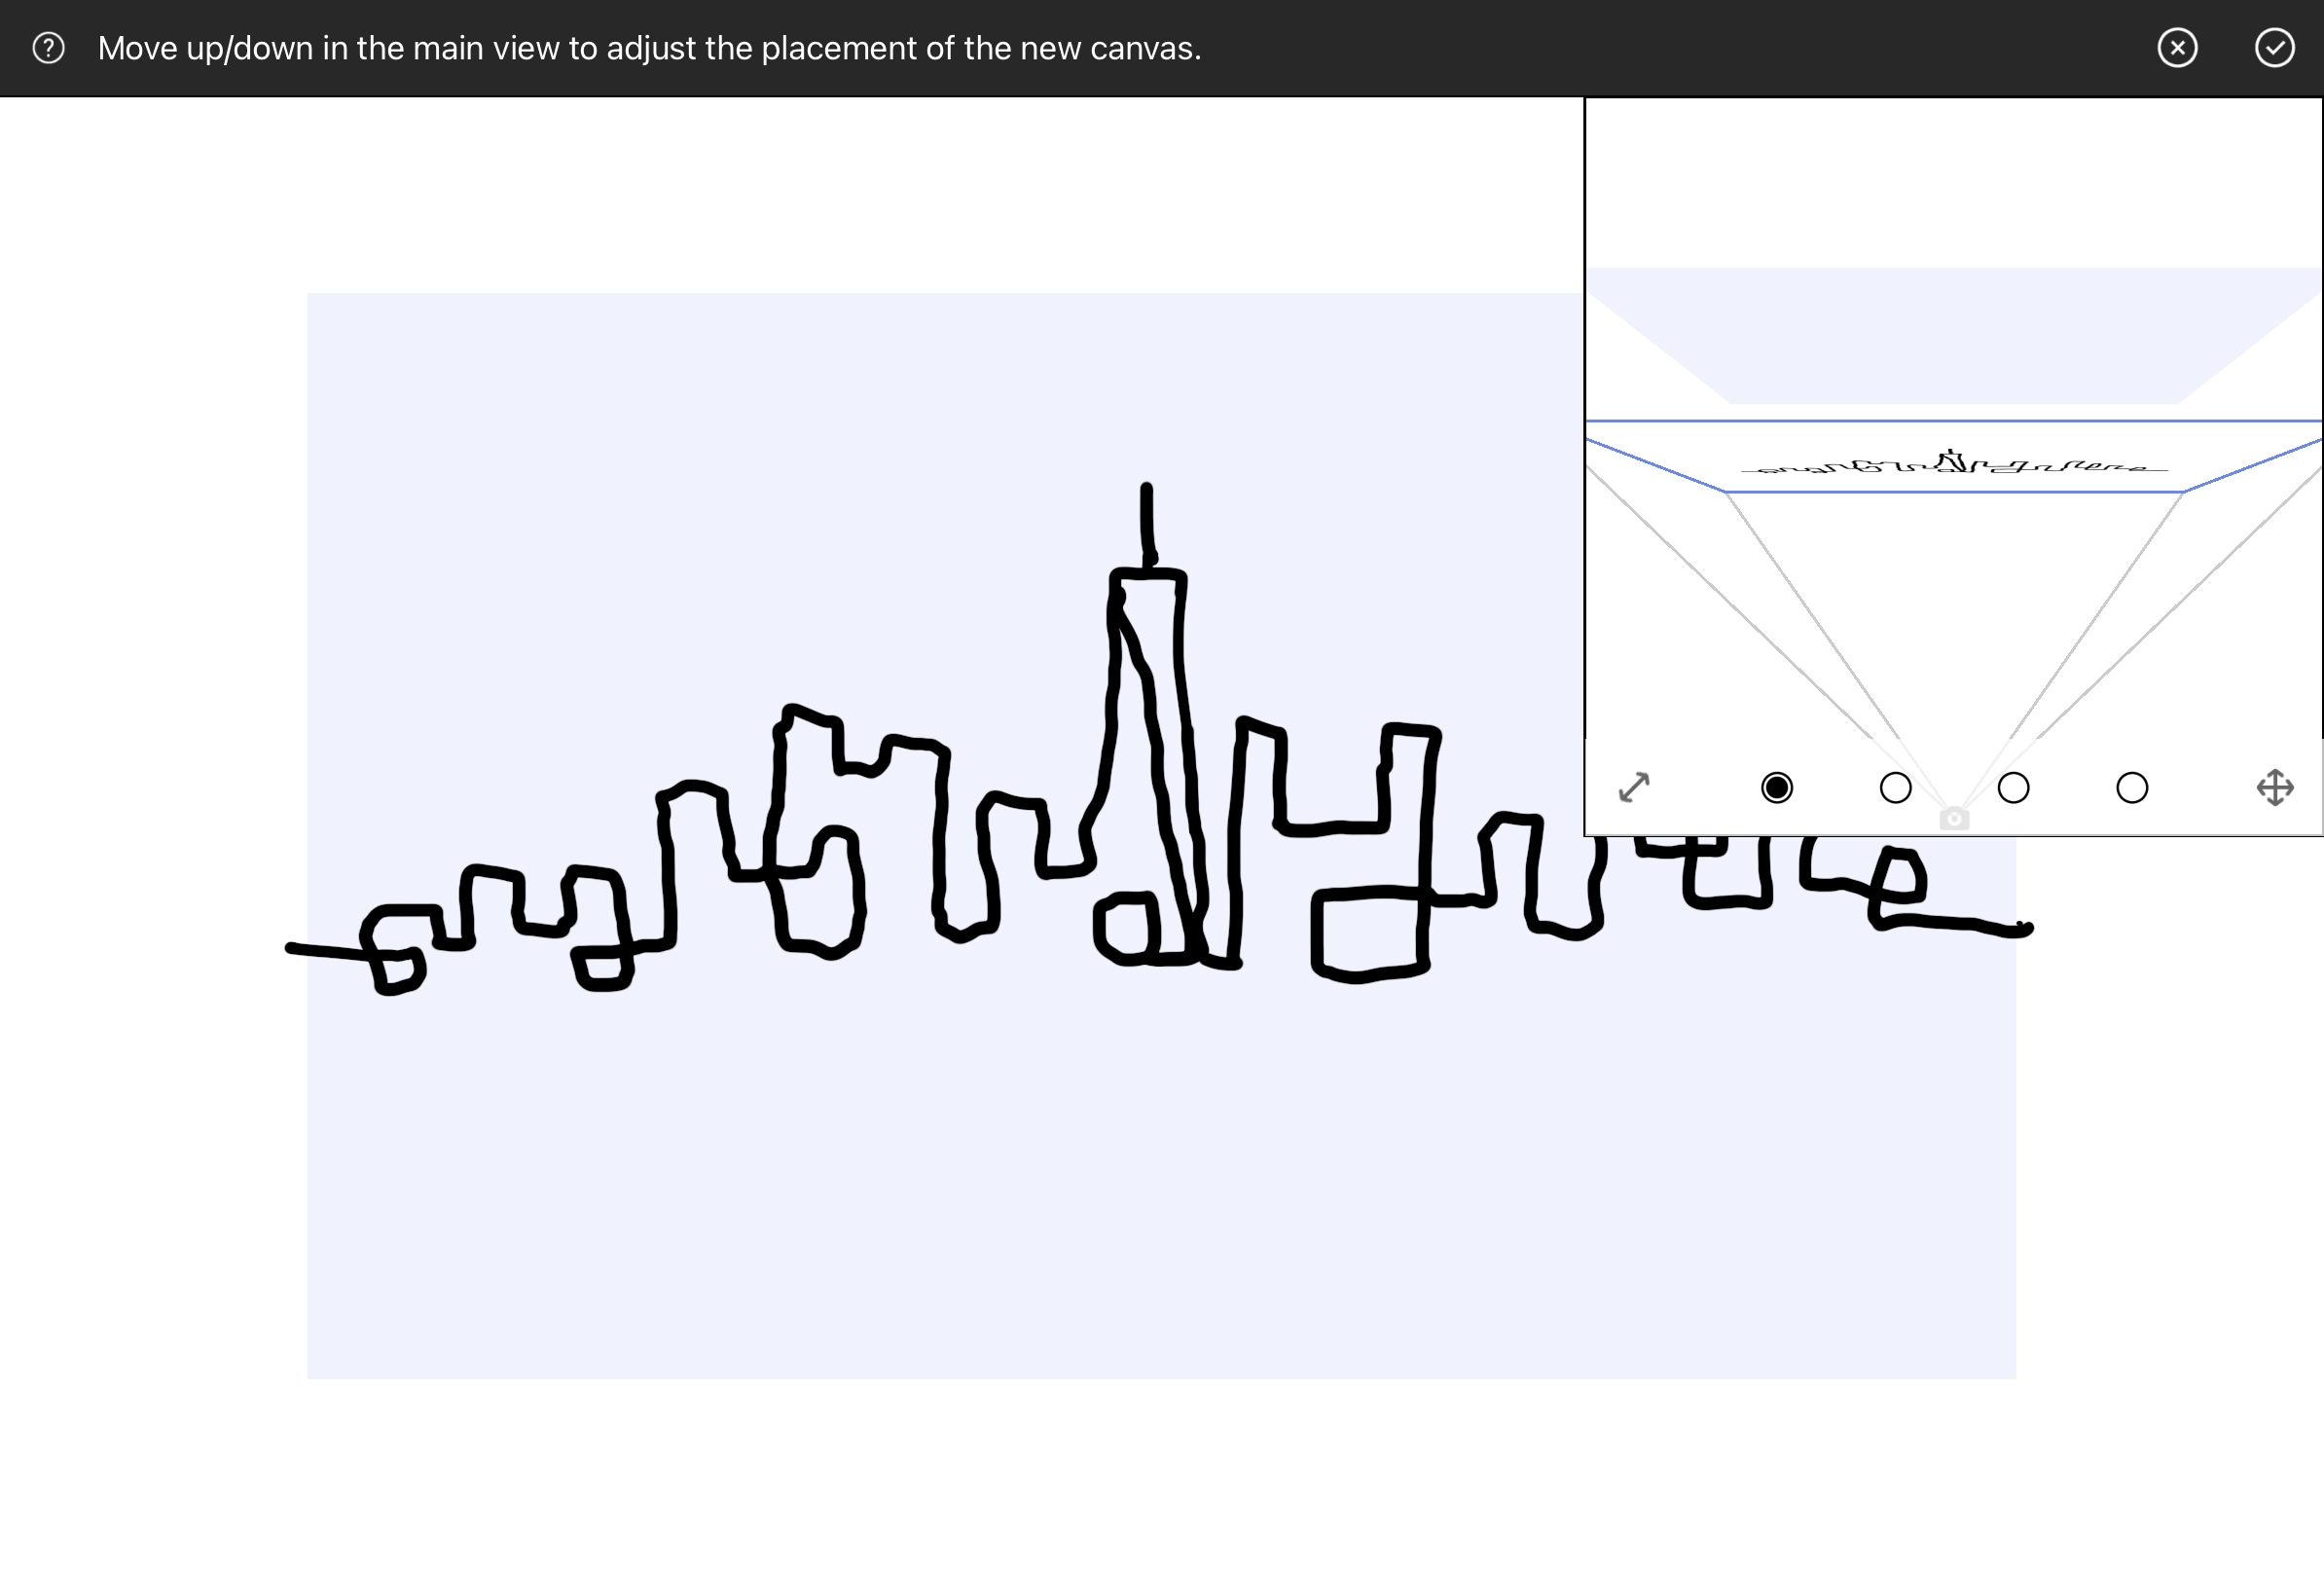
Add a Canvas Behind the City
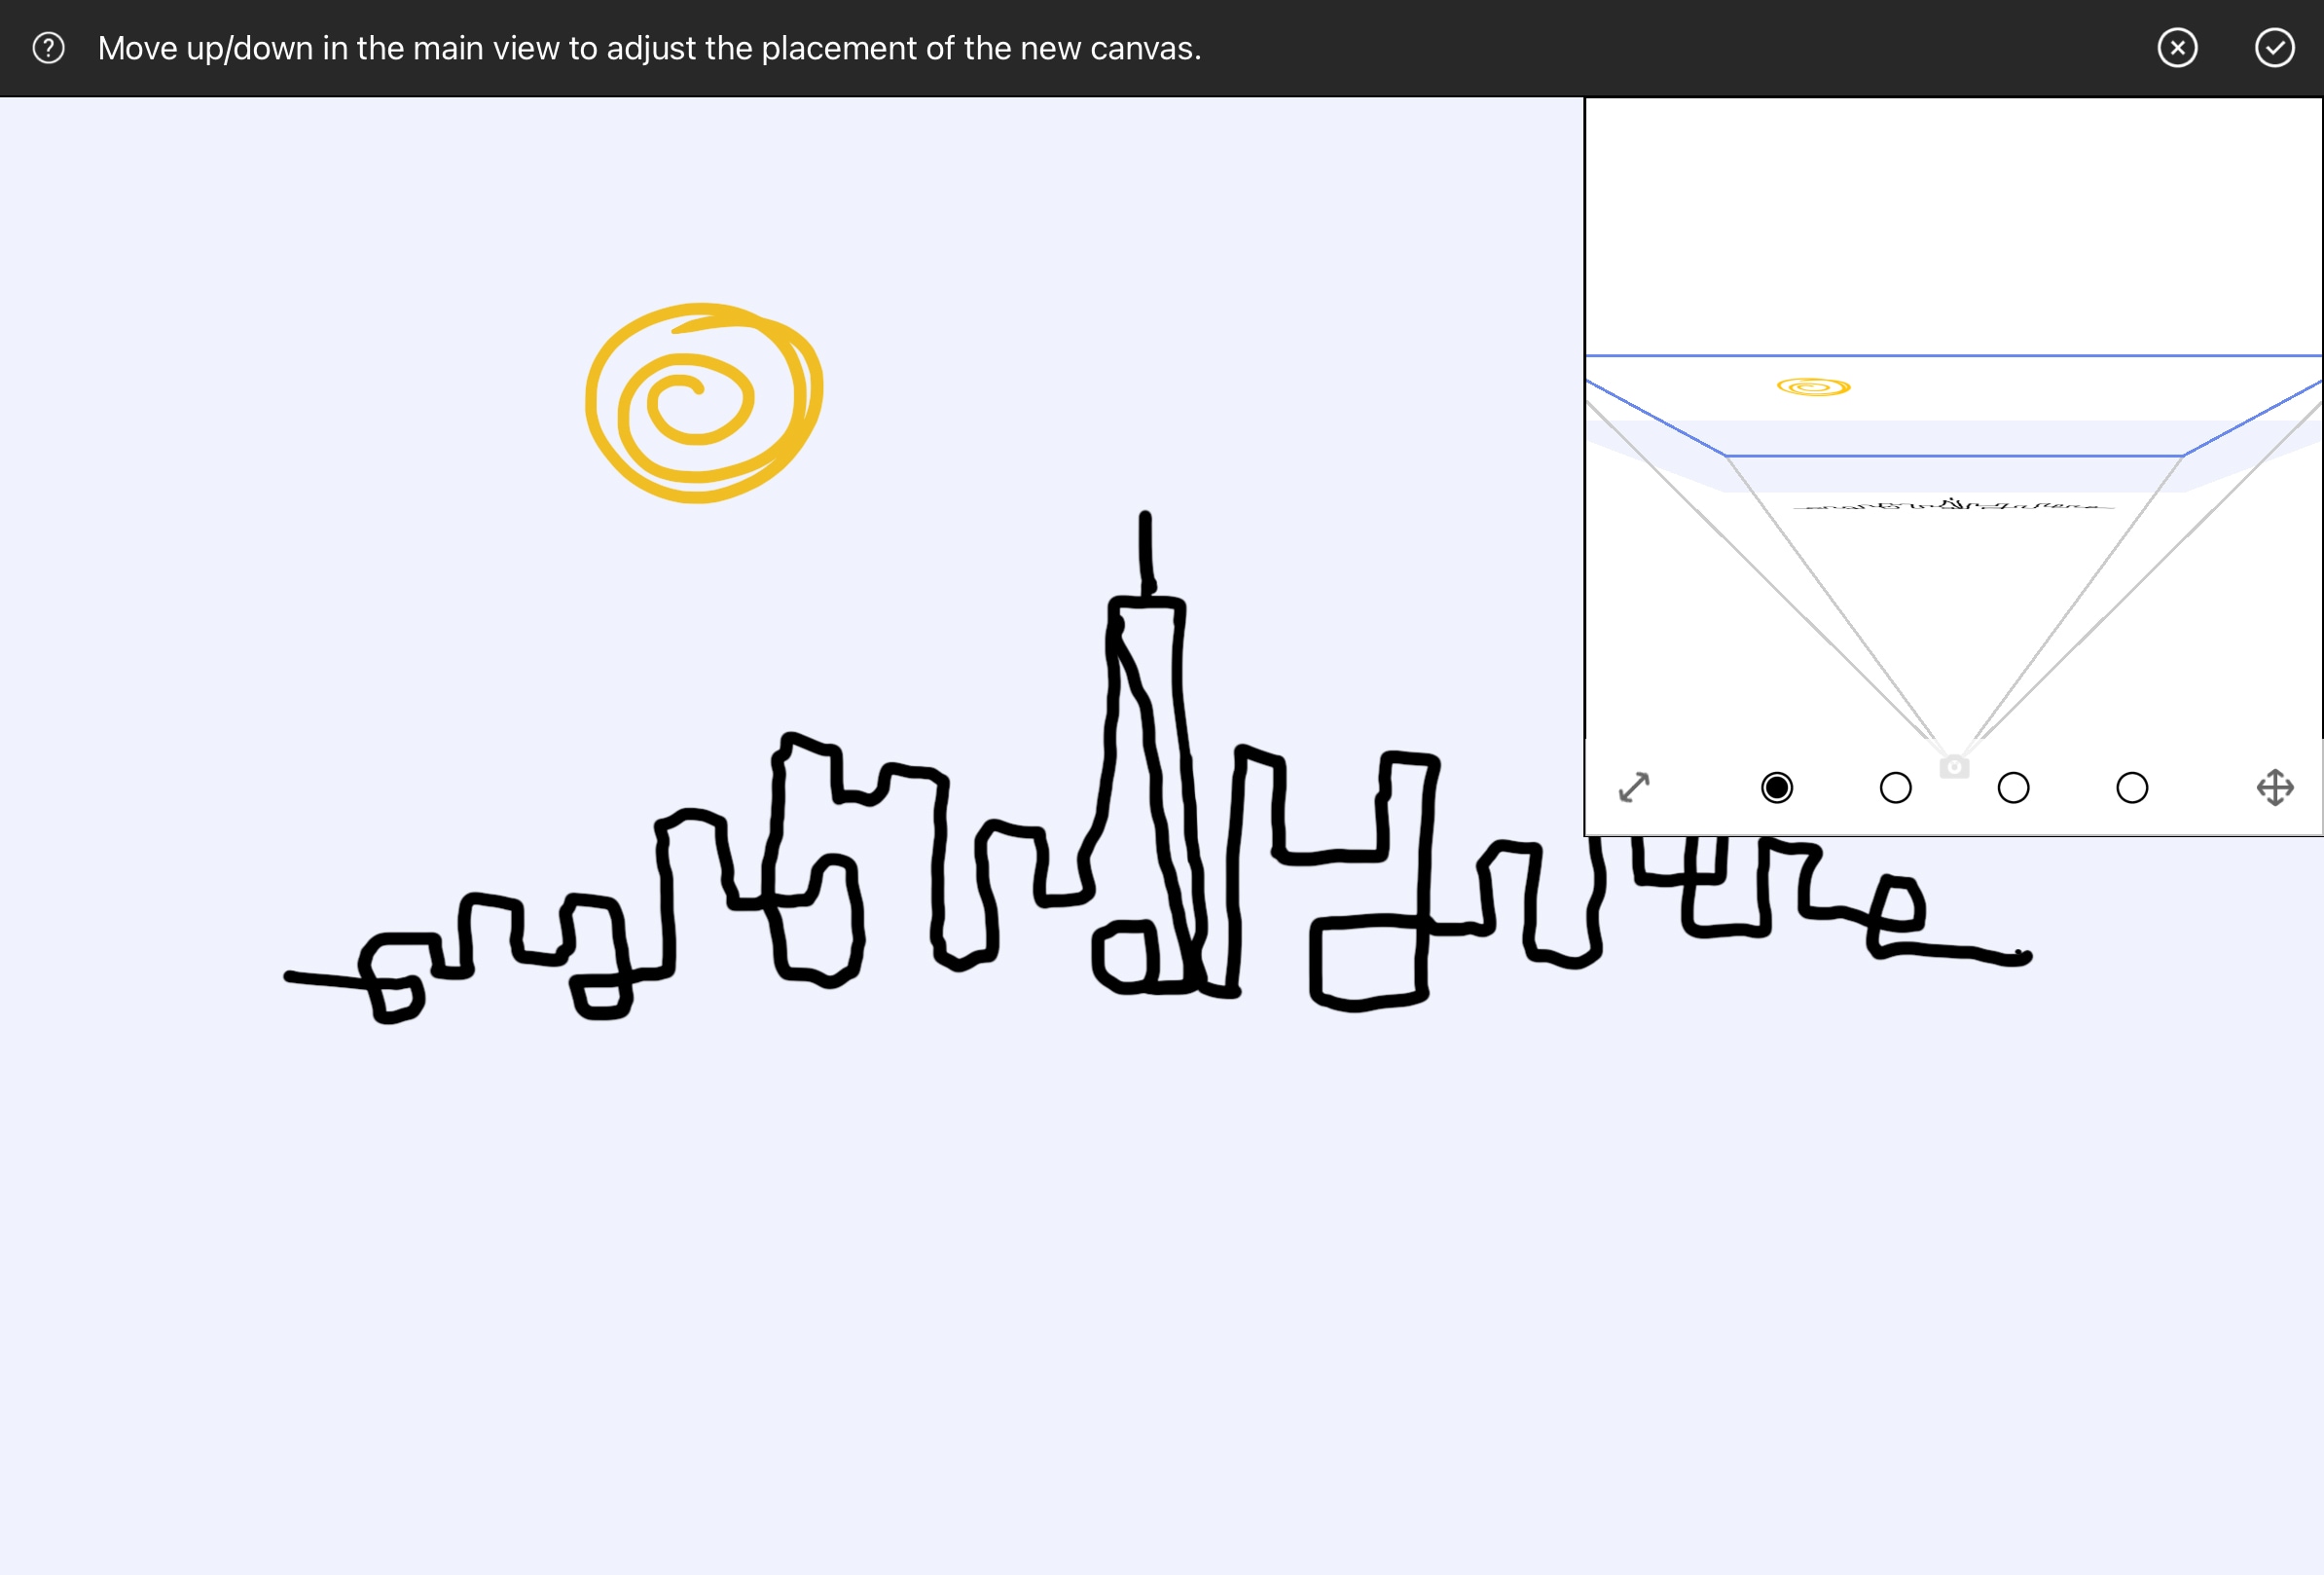
Let’s add a sun to shine over our city. We’ll start by switching to Draw Mode to get our camera to automatically face the city. Open the Add New Canvas tool and position a new canvas behind your city. The preview window will show its placement - drag to adjust the depth, then tap Confirm.
At first, this new canvas is invisible, but you can now select it, choose a brush, and draw a sun in the background. Now, if you switch to View Mode and move around the scene, you’ll notice the sun is further back than the city.

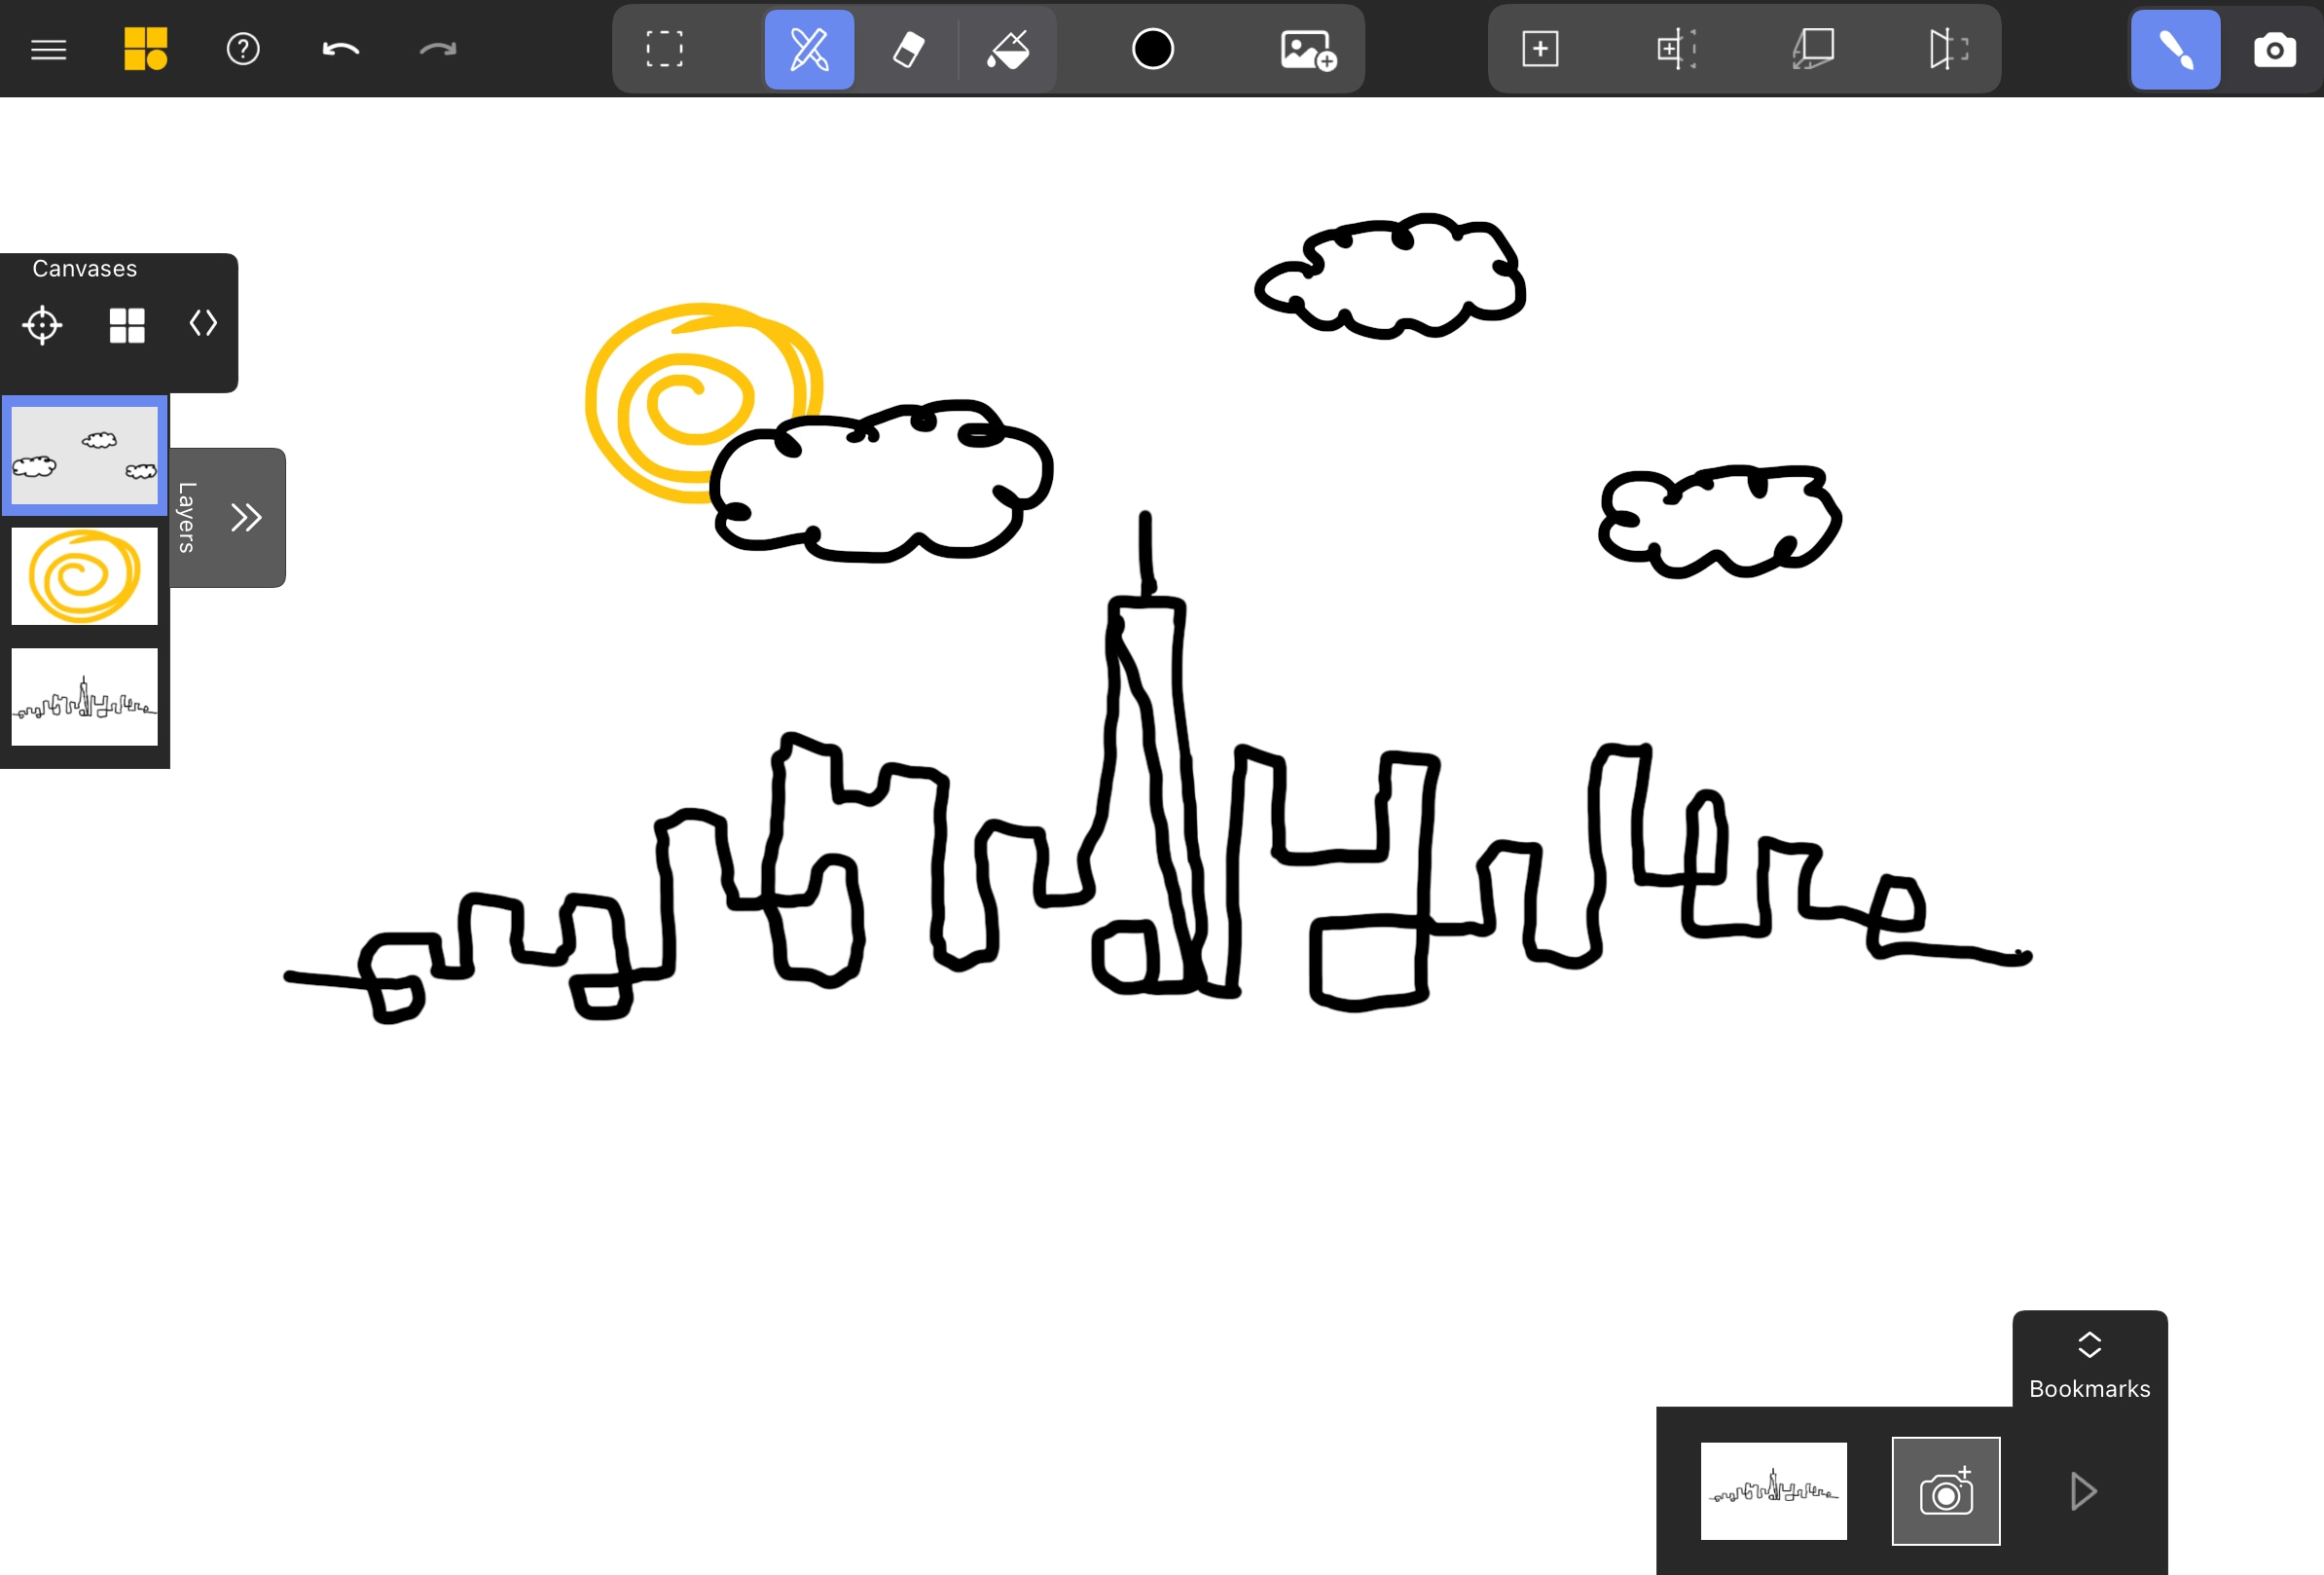
Add More Depth with Clouds
Let’s add more layers to make the sky feel more dynamic. Create another canvas behind the city, this time for clouds. Follow the same process as before: place a new canvas between the city and the sun, and hit Confirm.
You can draw one of the clouds in a way that covers the sun a little bit. You can use the Fill Bucket to add a solid white fill to its inside, so it occludes the sun behind it.
Add a Canvas at an Angle
Let’s add some birds at a slight angle to our city. Switch to View Mode and find an angle that gives you a good sense of depth.
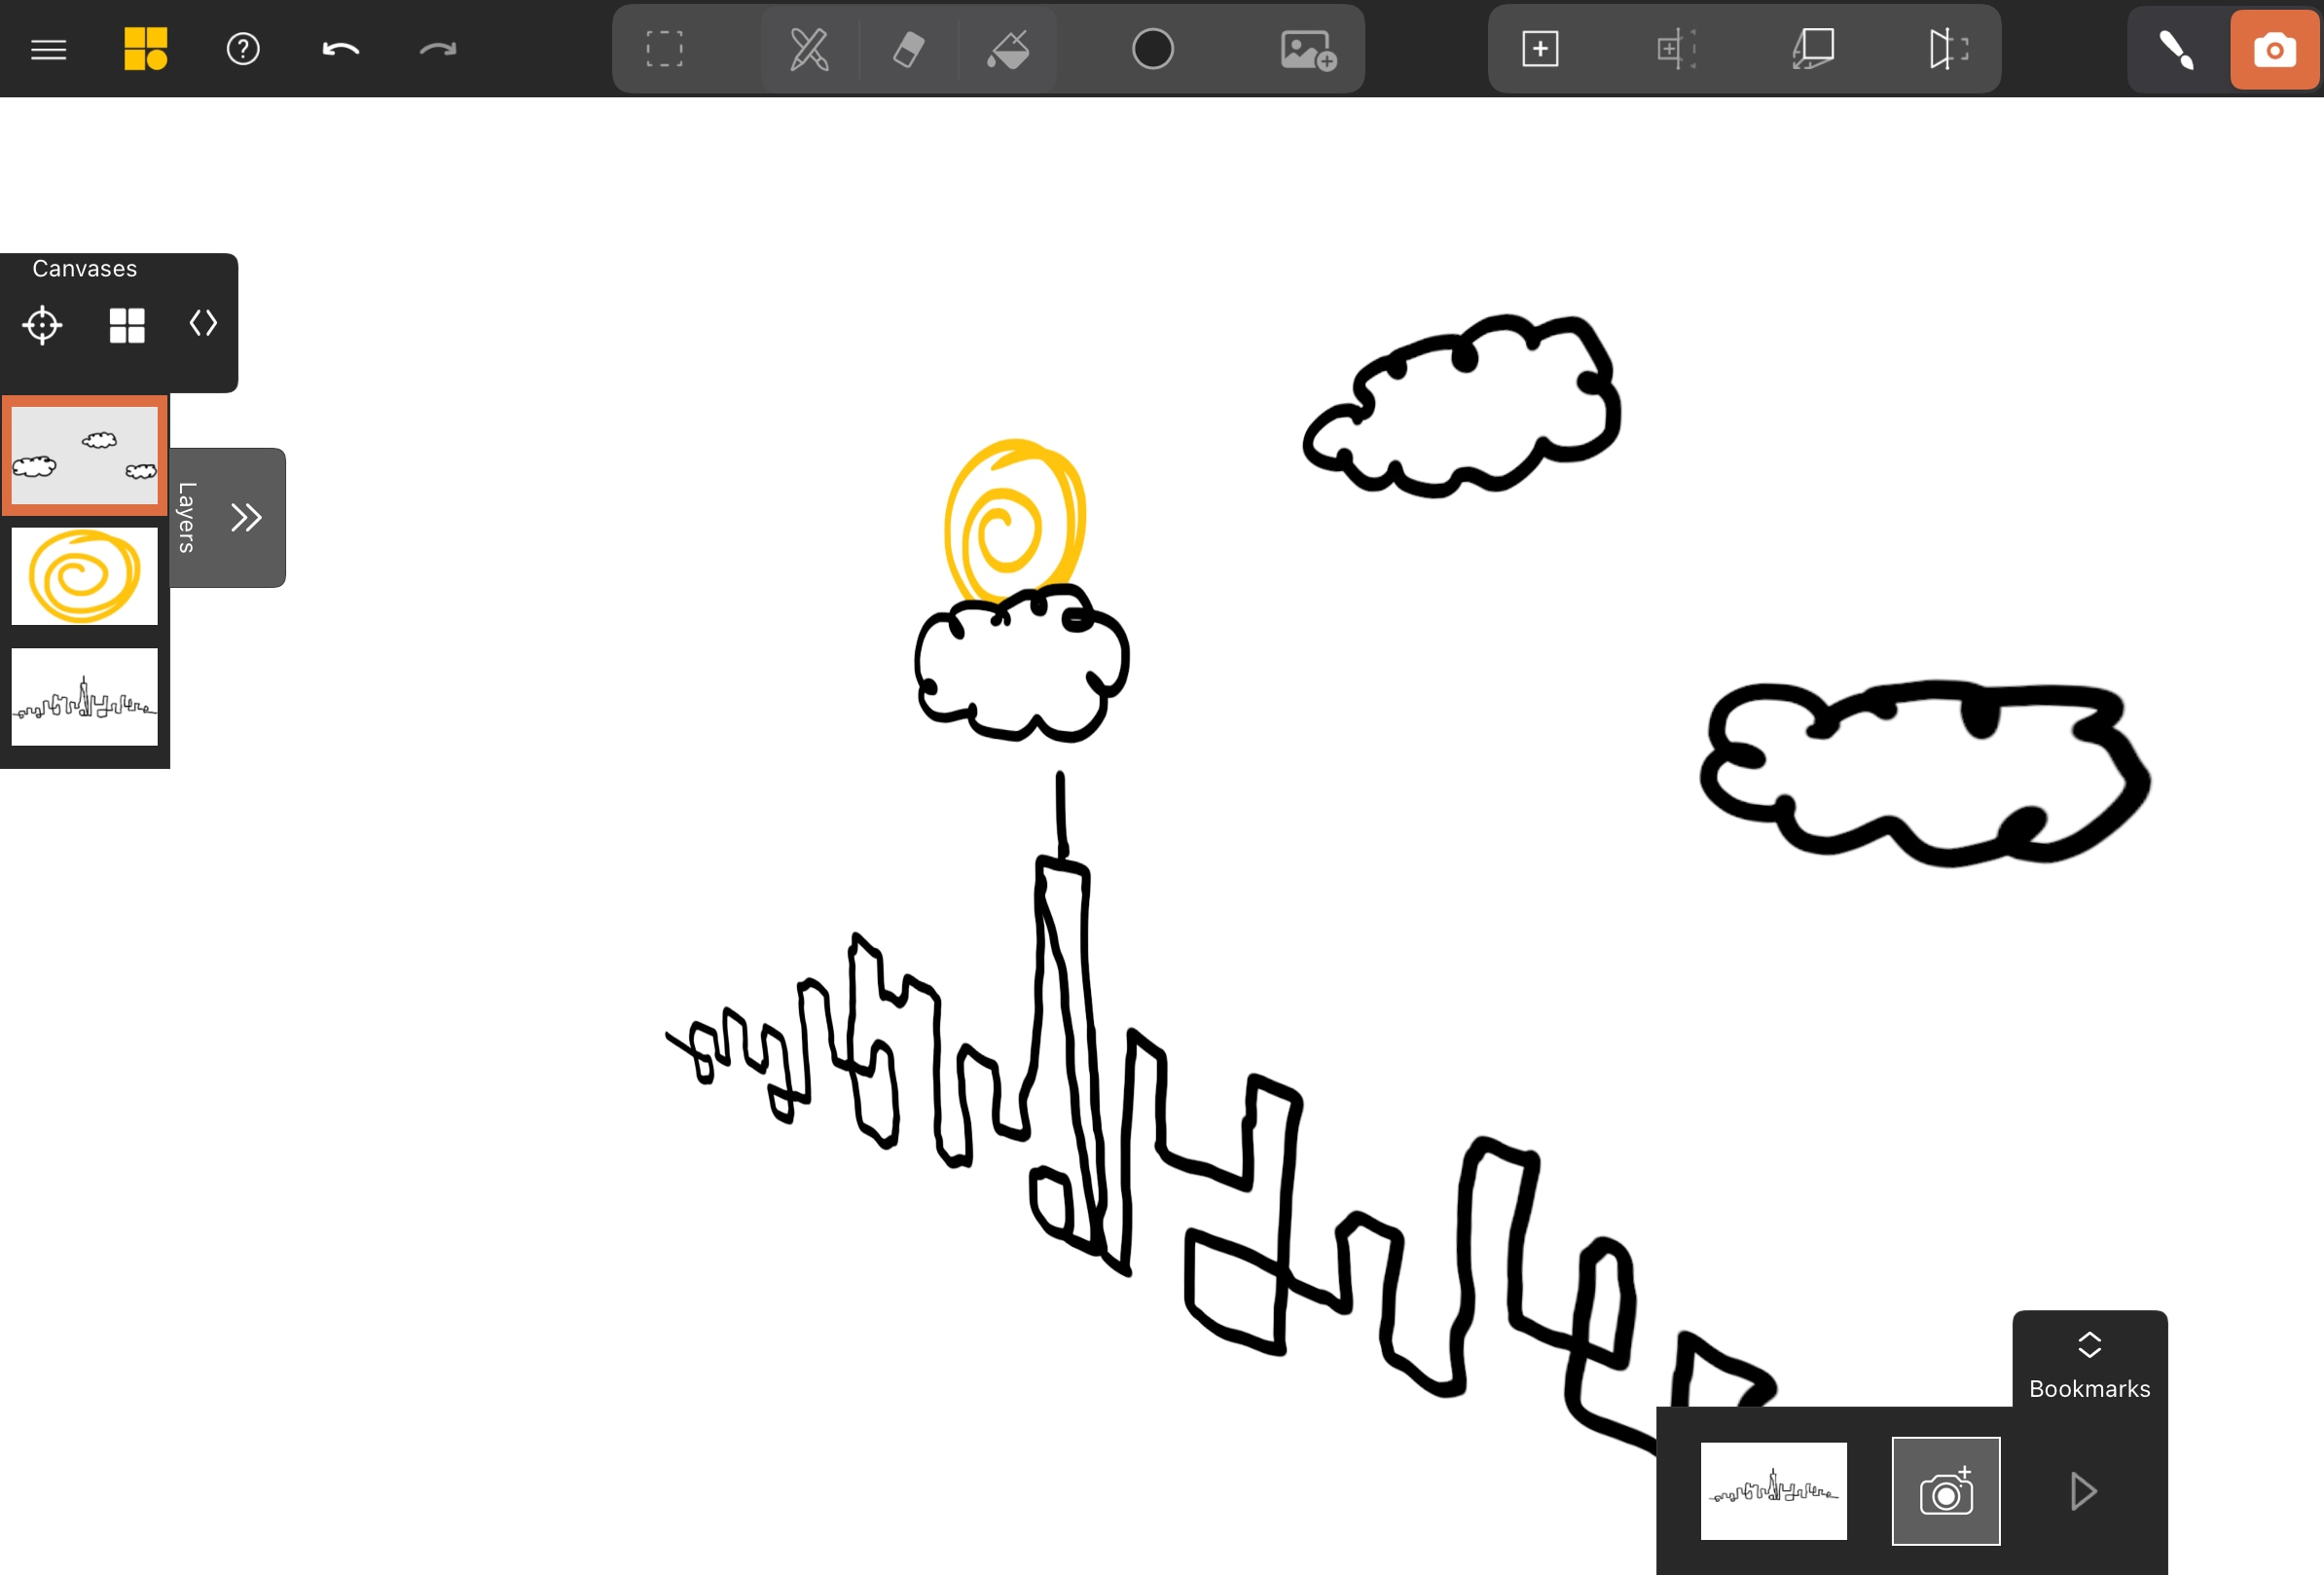
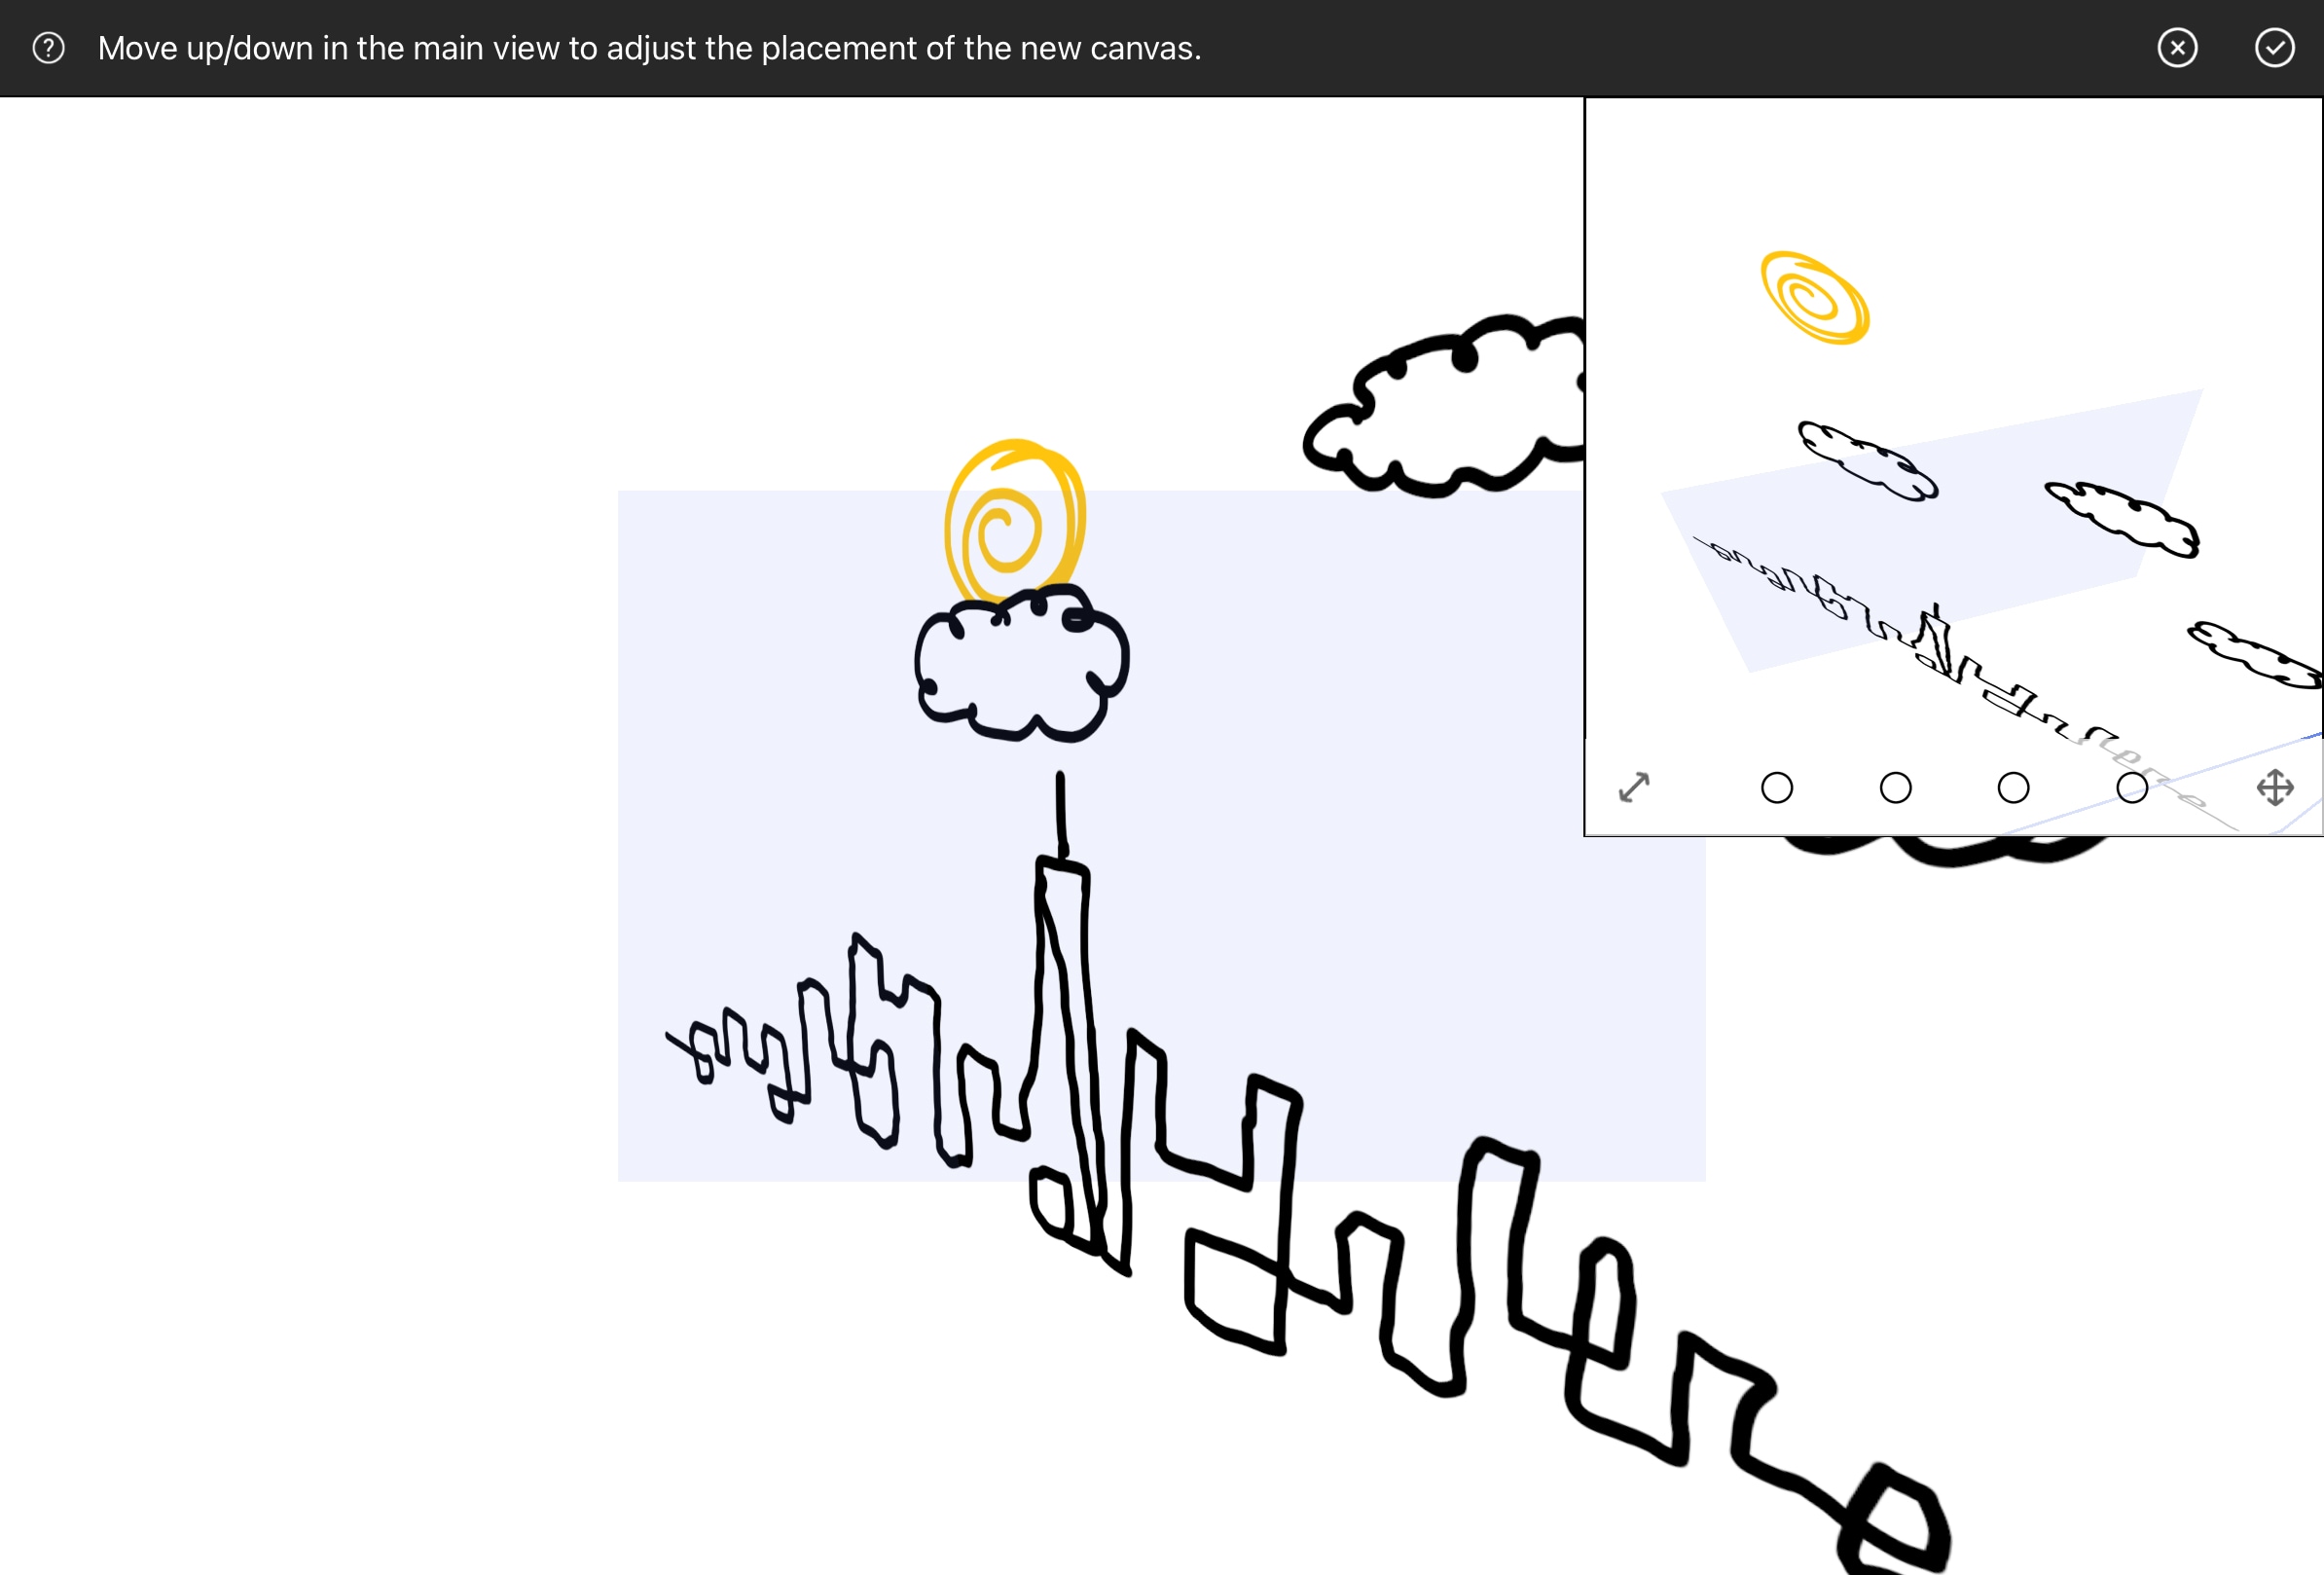
Tap the Add New Canvas tool to create a new canvas from that perspective. Drag on the main screen to move your canvas so it intersects with one of your other canvases.
Once confirmed, draw the birds – they’ll appear angled in 3D space rather than just being parallel to the background.
Move a Canvas with Projection
If any element feels out of place, you can use parallel projection to adjust its position without distorting the drawing.
Adjust the Clouds’ Position
For example, if the clouds look too far away, select their canvas and open the Parallel Projection Tool . Drag up or down to move the clouds closer or farther while keeping their original size.
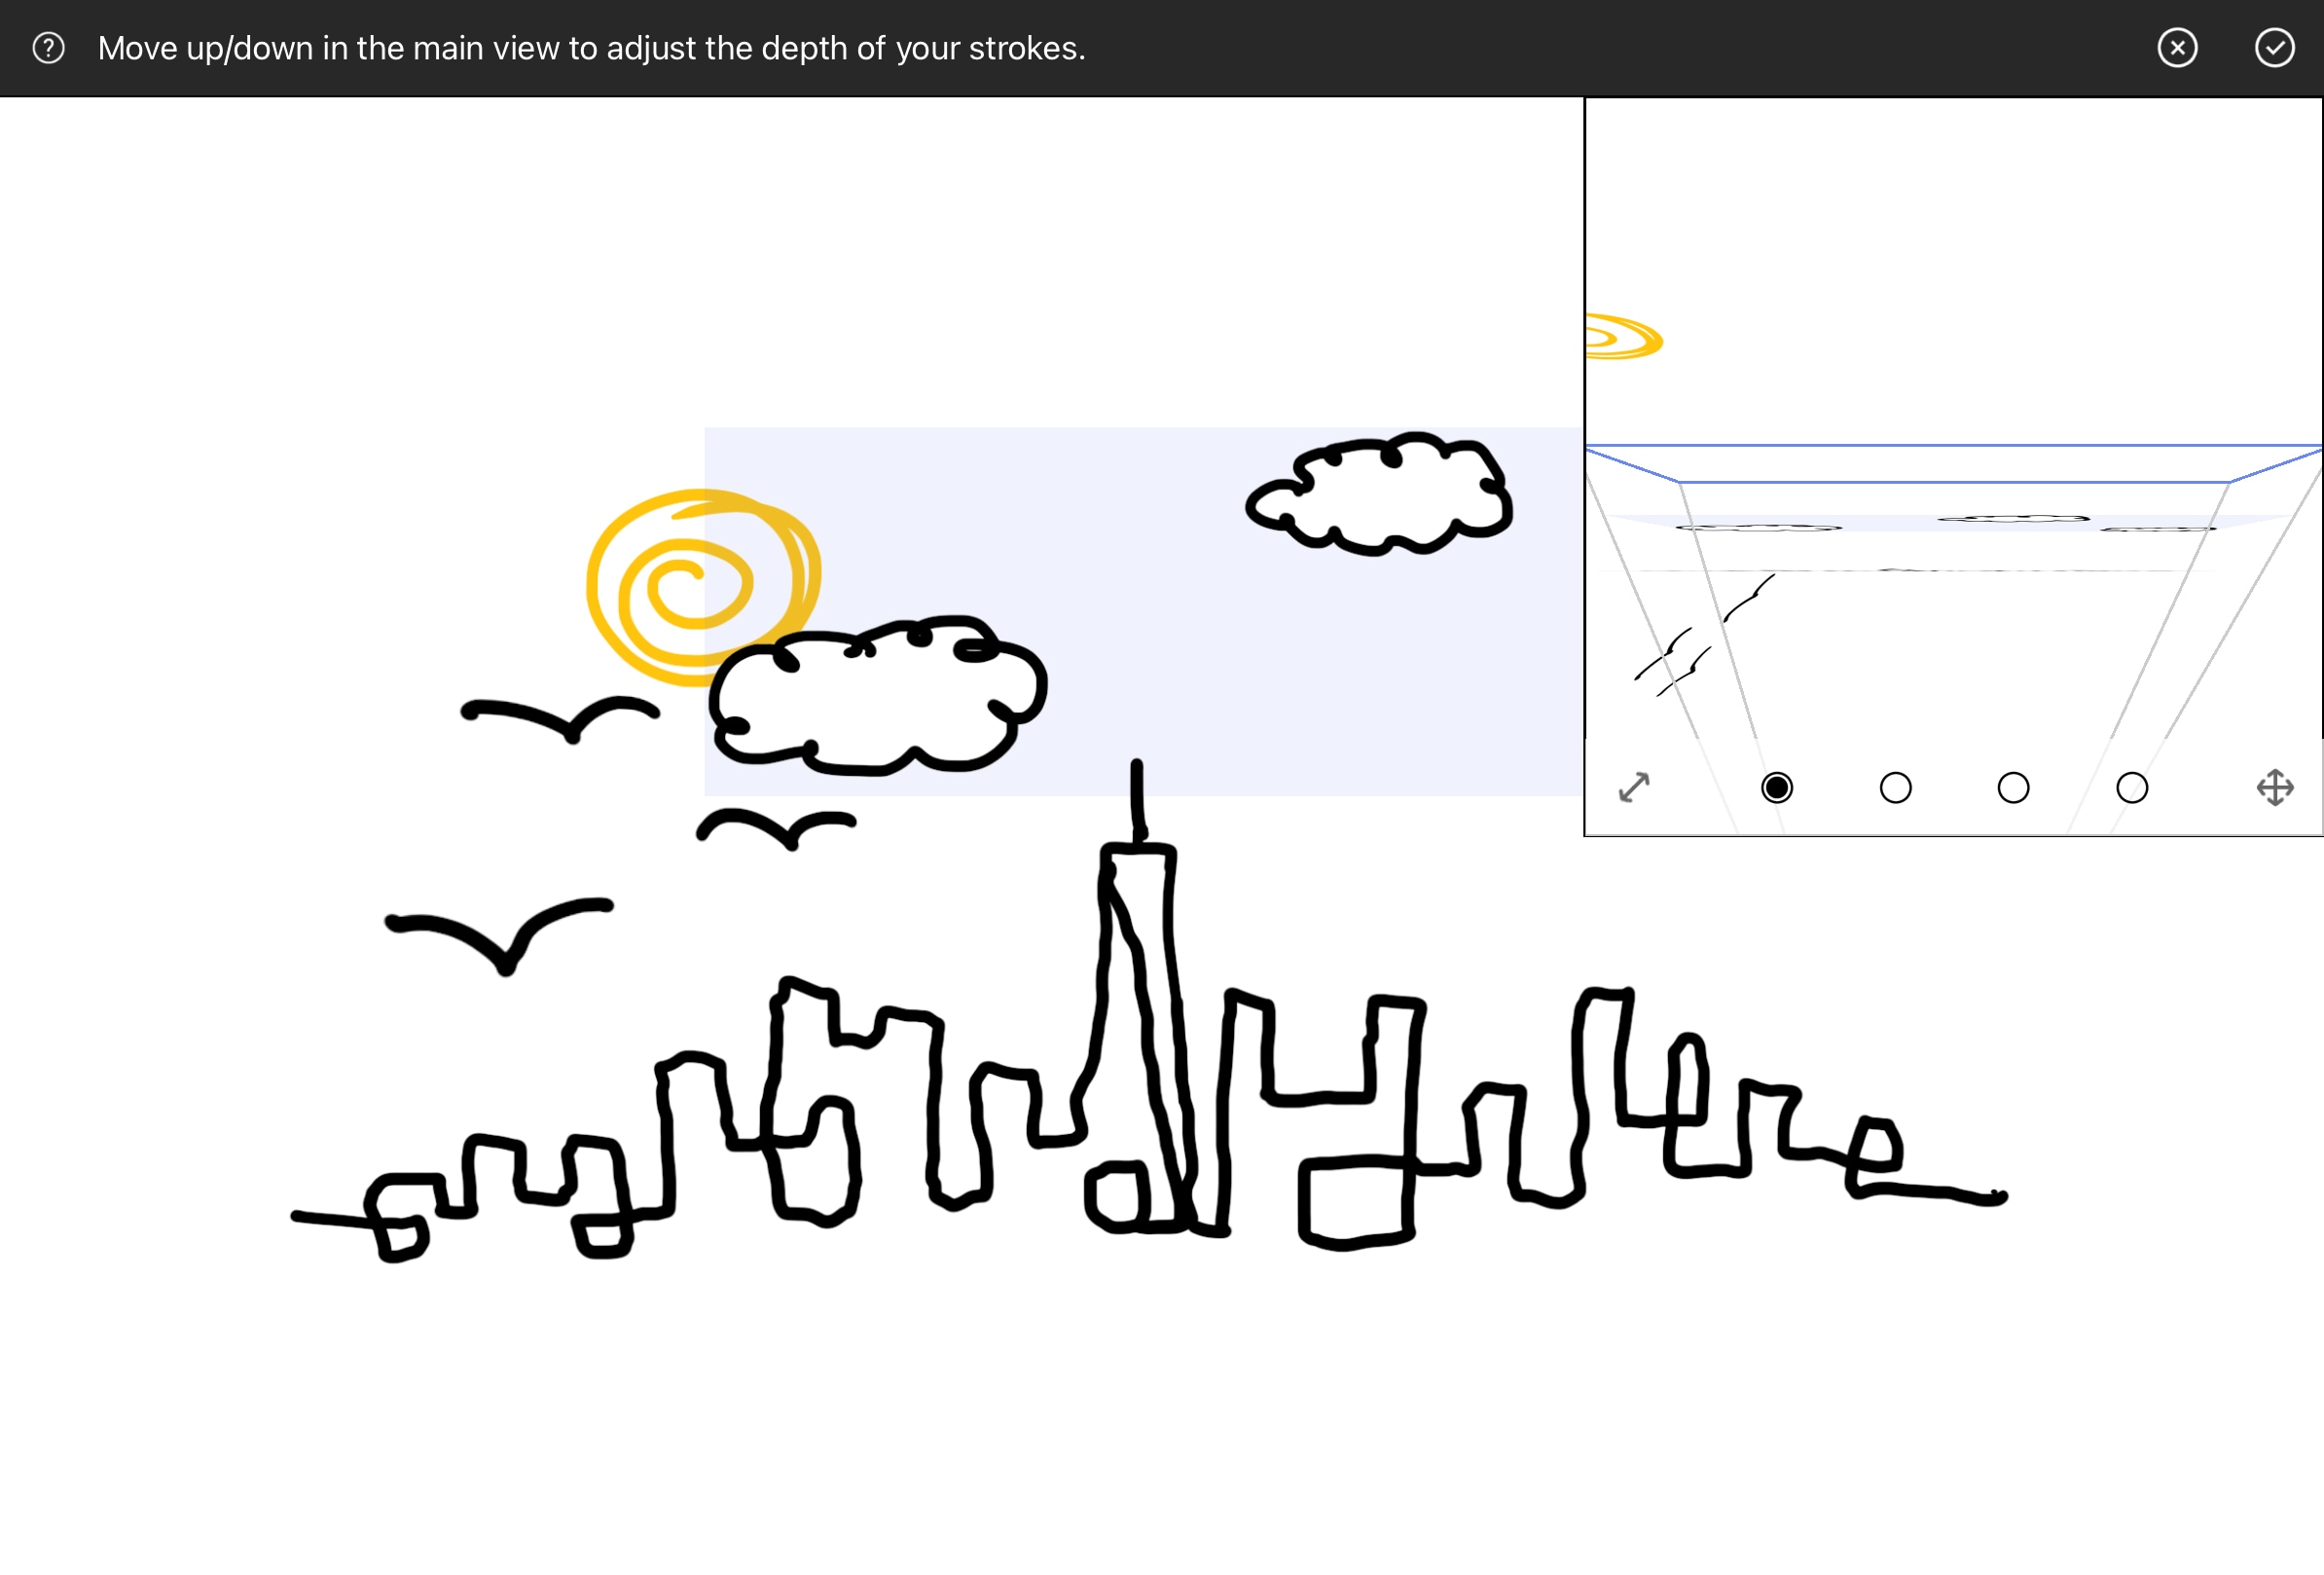
Once you’re satisfied with the position, tap Confirm. The change will be locked in, but the scene will still look the same from your original viewpoint.
Projection Preserves the Right Perspective
If you look at the scene from above, however, you’ll see that the clouds have moved closer to the city.
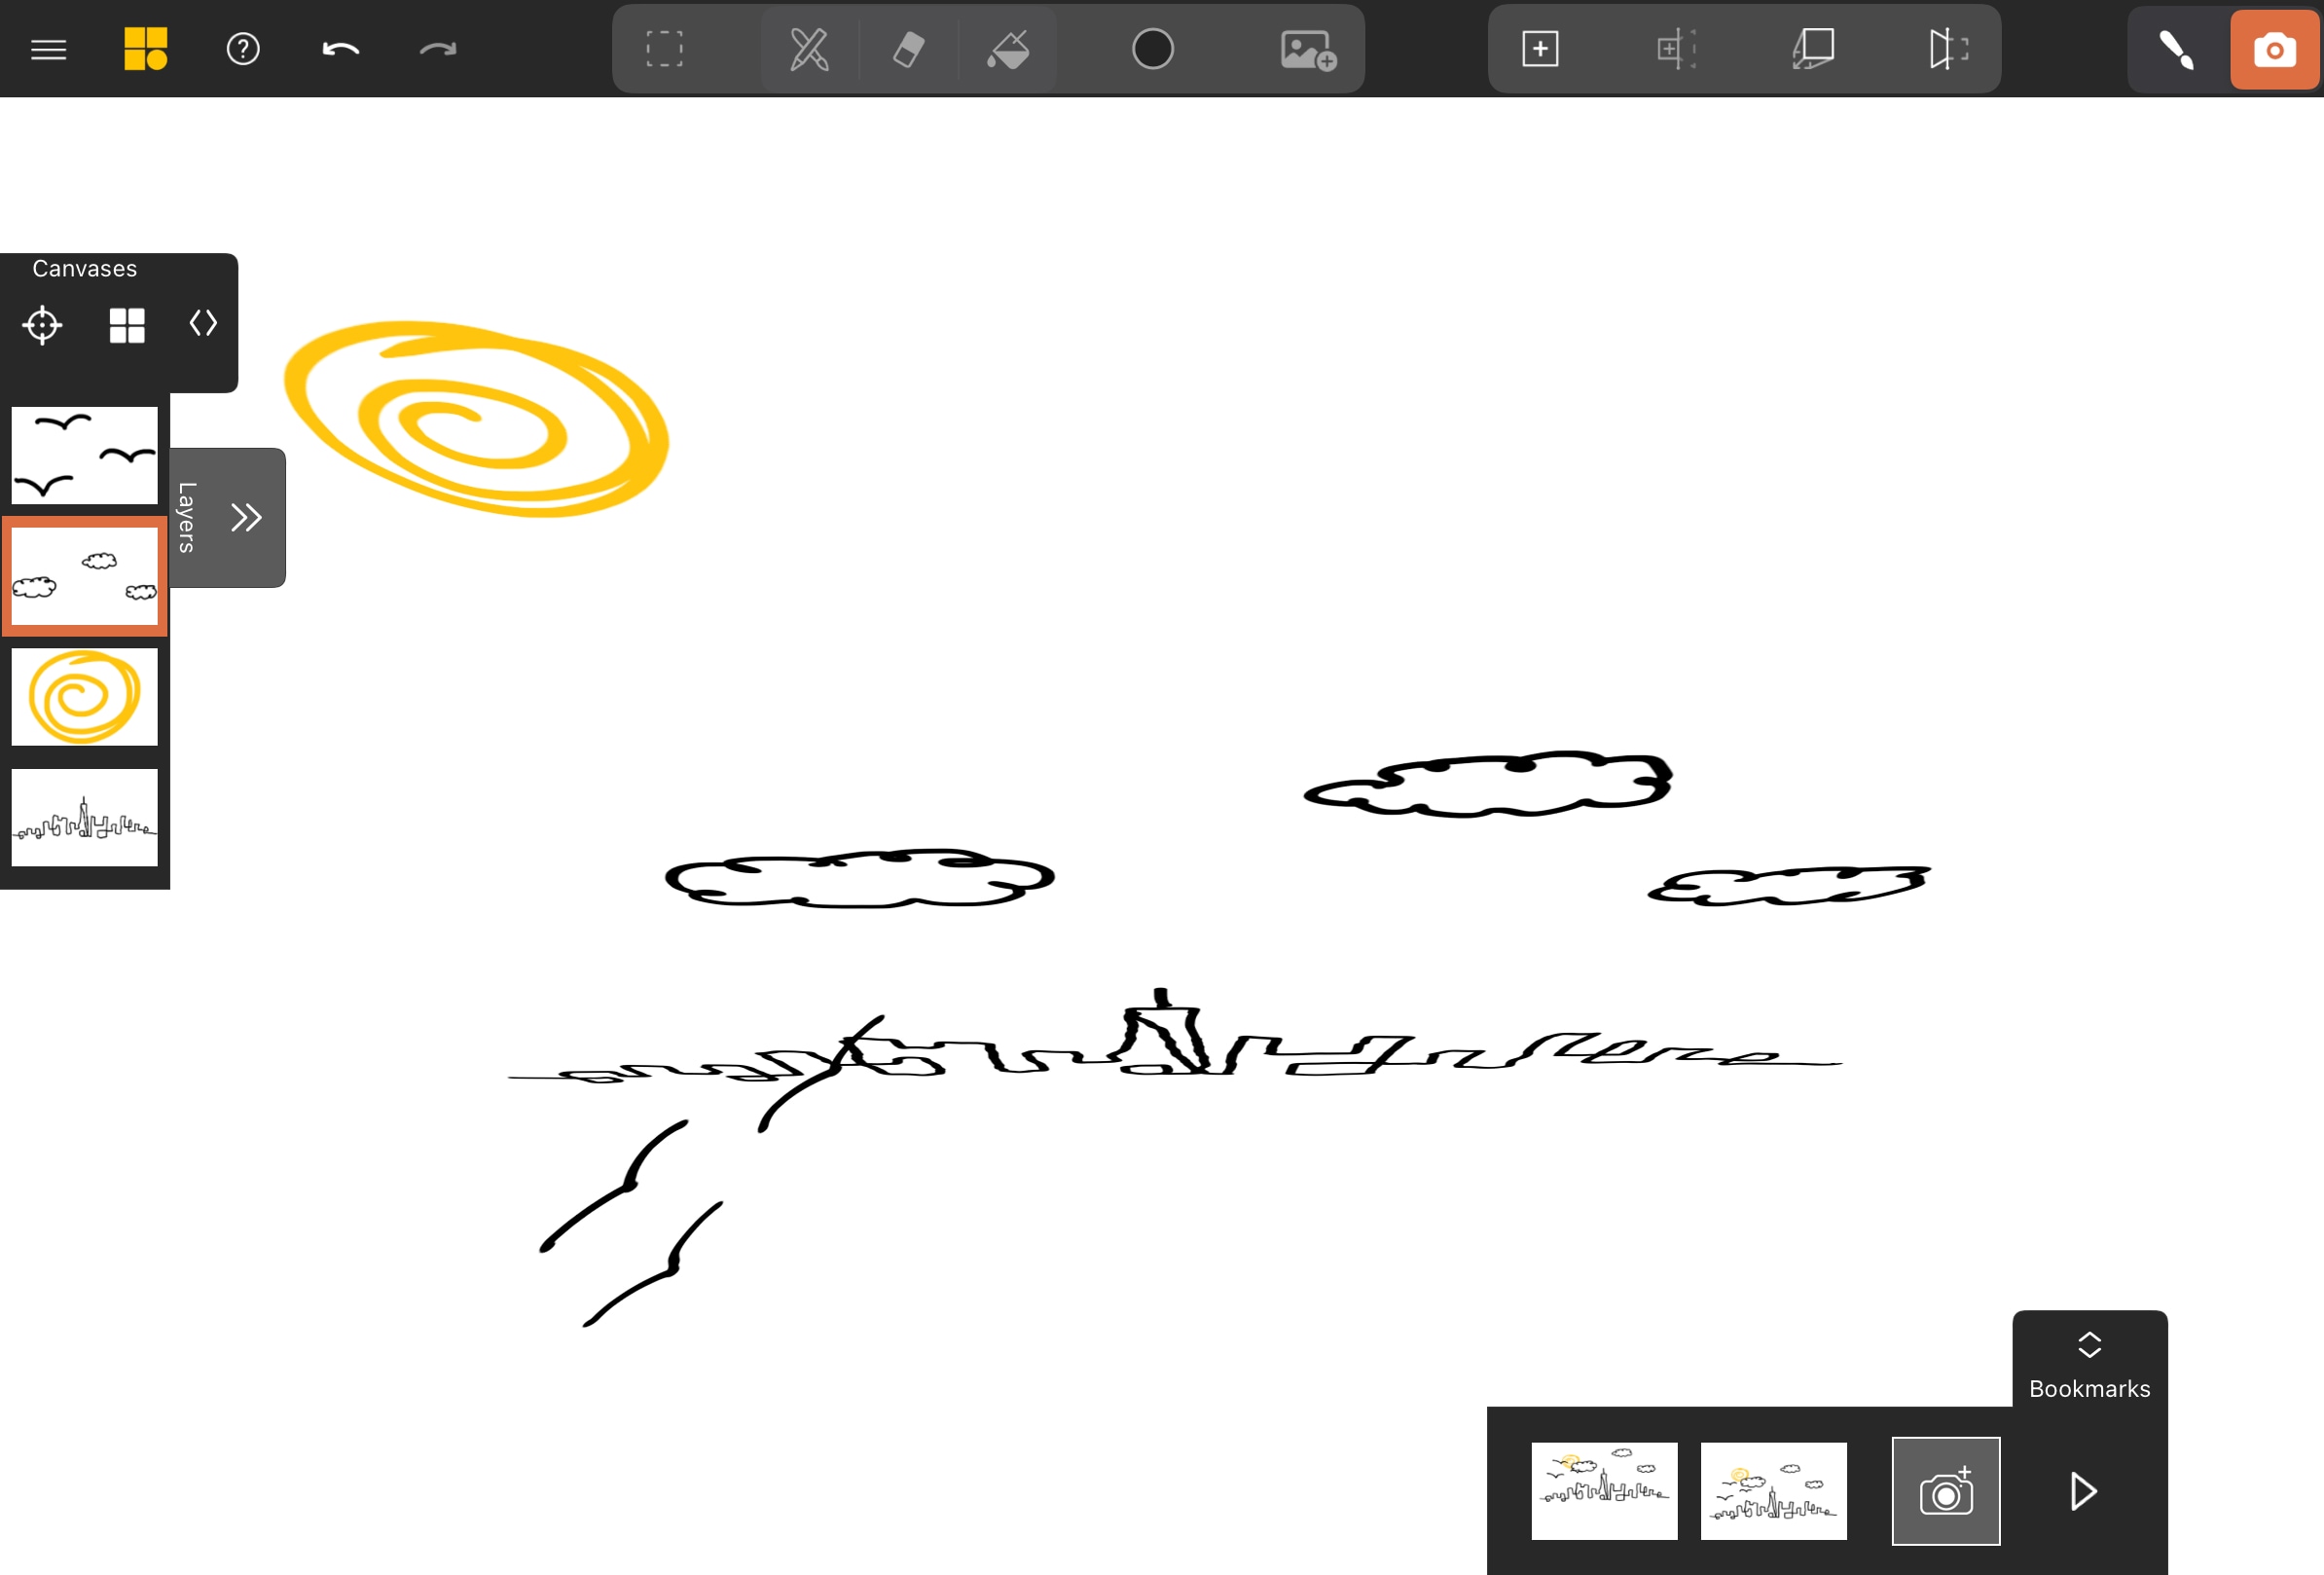
Projection works by preserving the view you start with, so always begin from an angle that looks correct. If you project from a skewed view, the result may not align as expected. To prevent this, save a bookmark of your preferred perspective before making adjustments.
Try moving the sun farther away or bring the birds closer to see how projection affects depth.
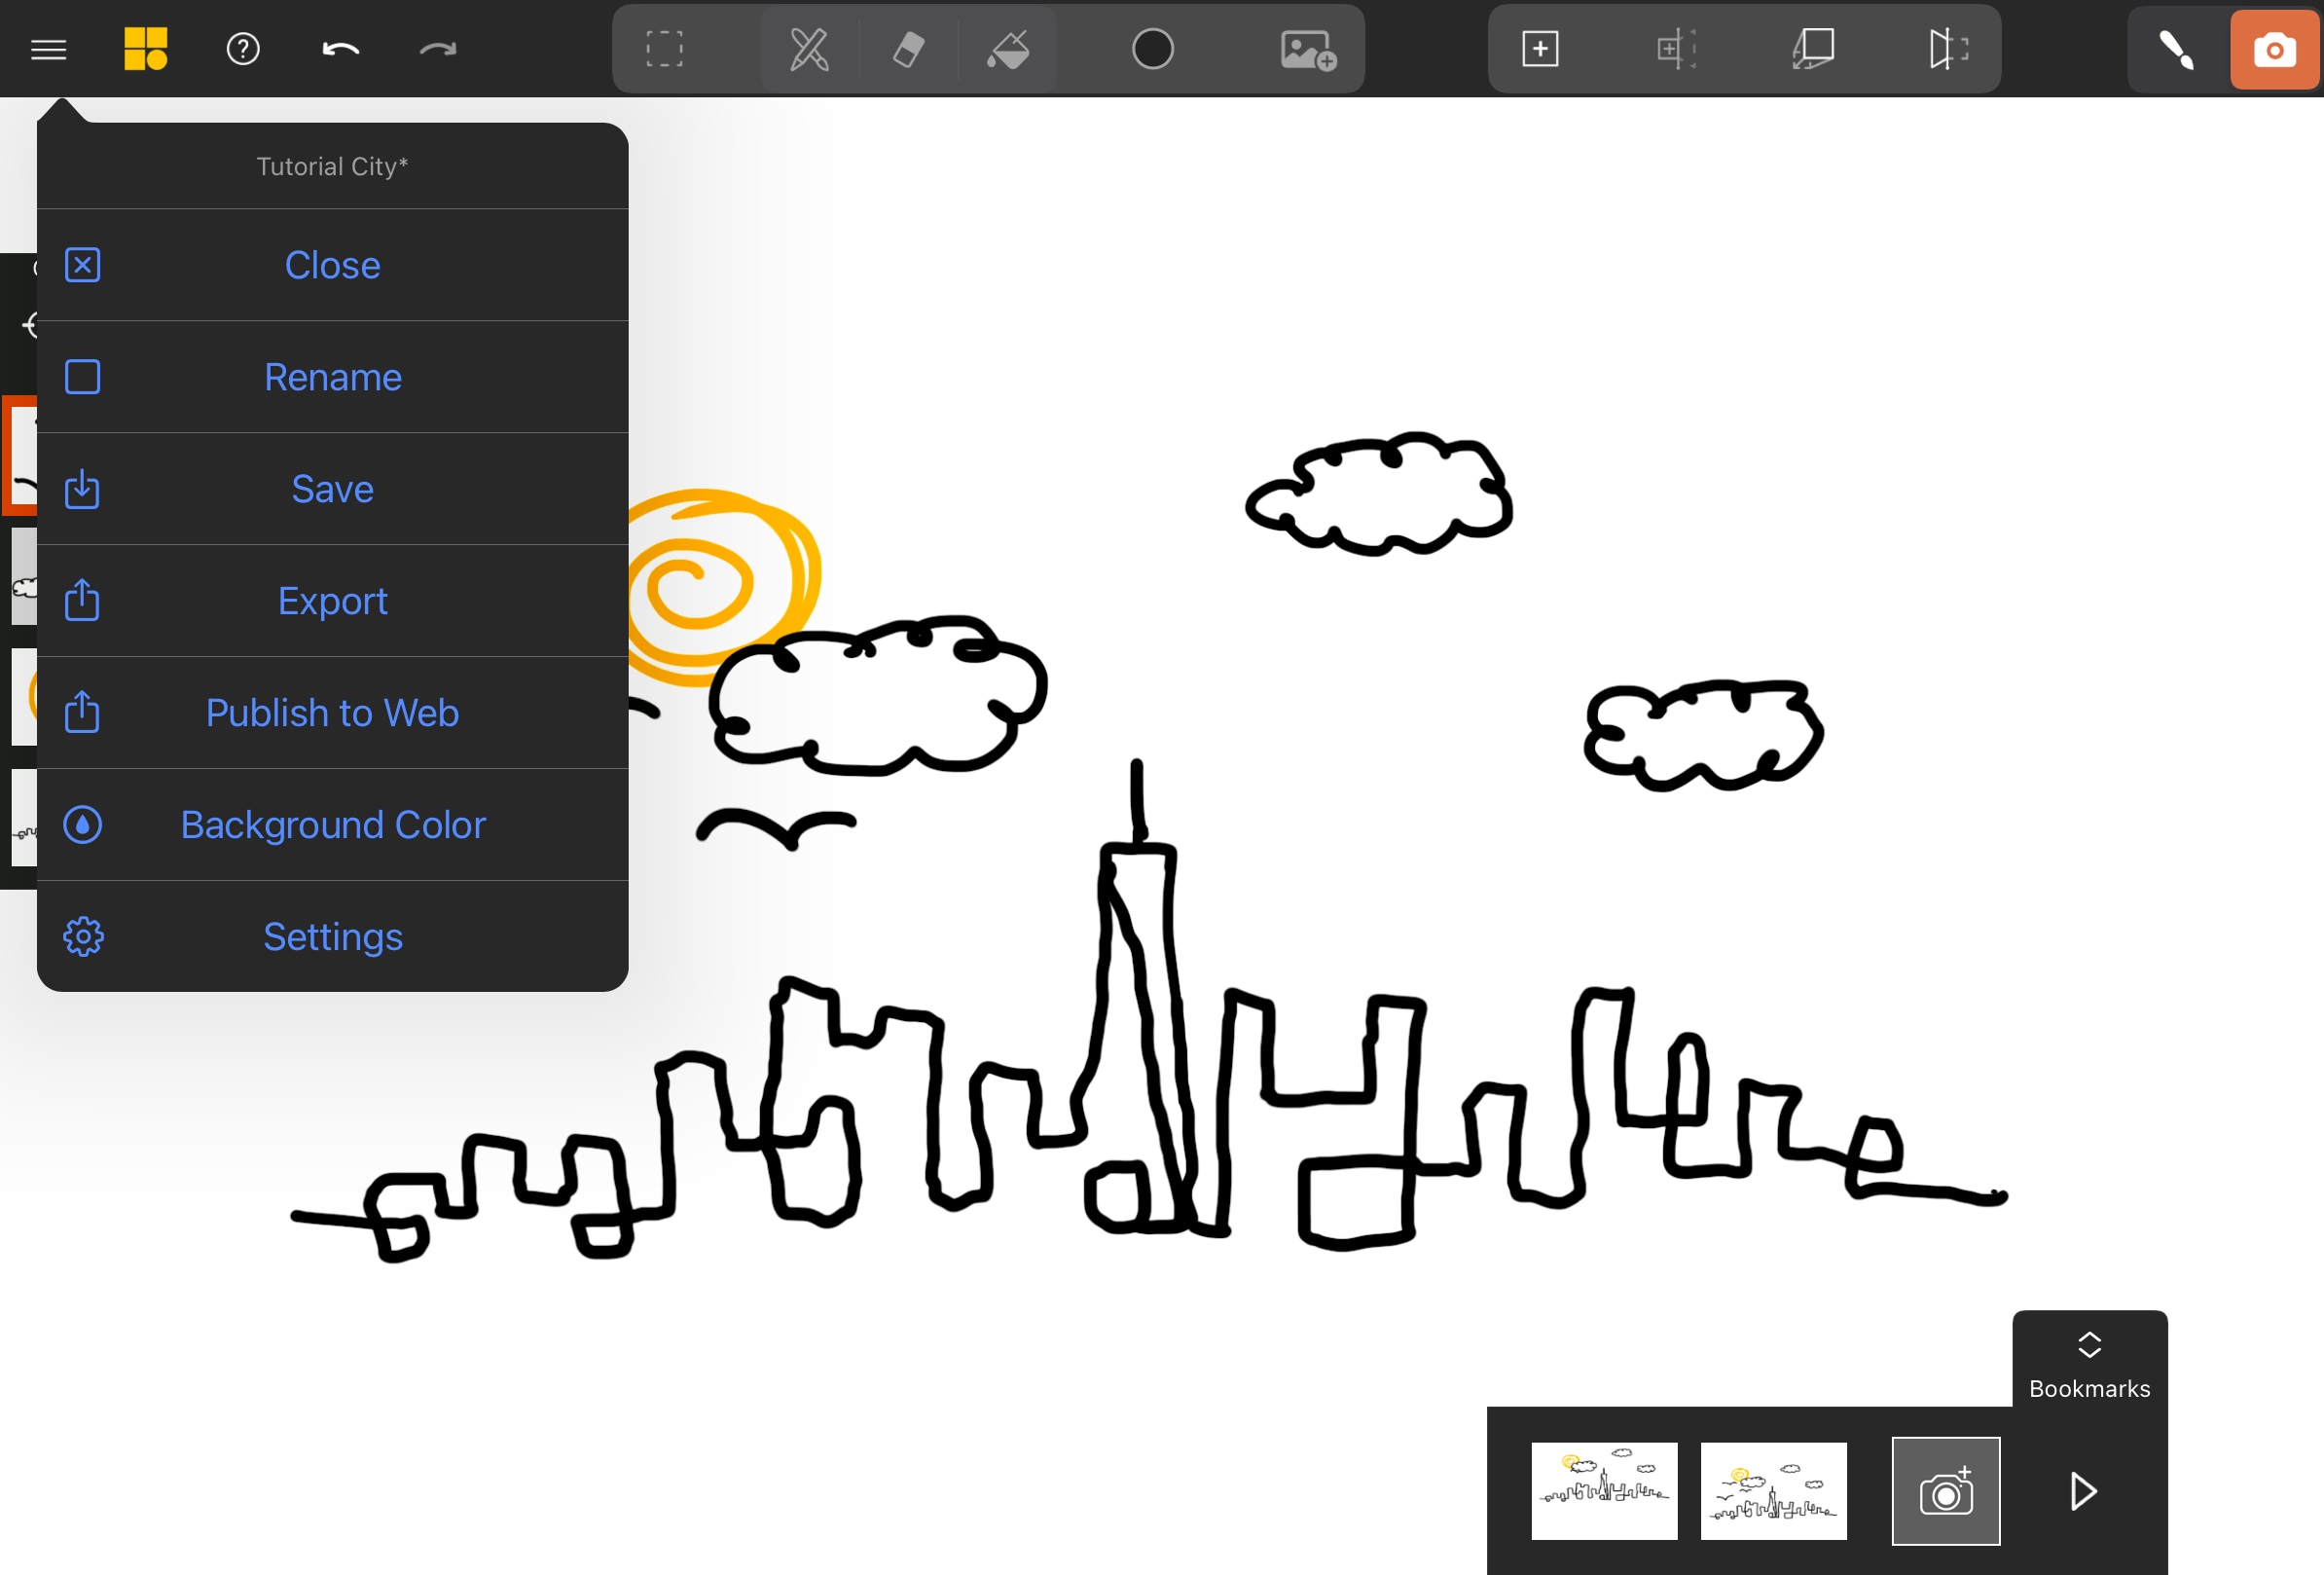
Save Your Progress
Don’t forget to save your progress by opening the Options Menu and tapping Save.