Add a New Blank Parallel Canvas
The Add a New Canvas tool in the Main Toolbar allows you to add a blank canvas to your scene. By default, this new canvas is parallel to the camera — it faces you directly.
Placing your New Canvas
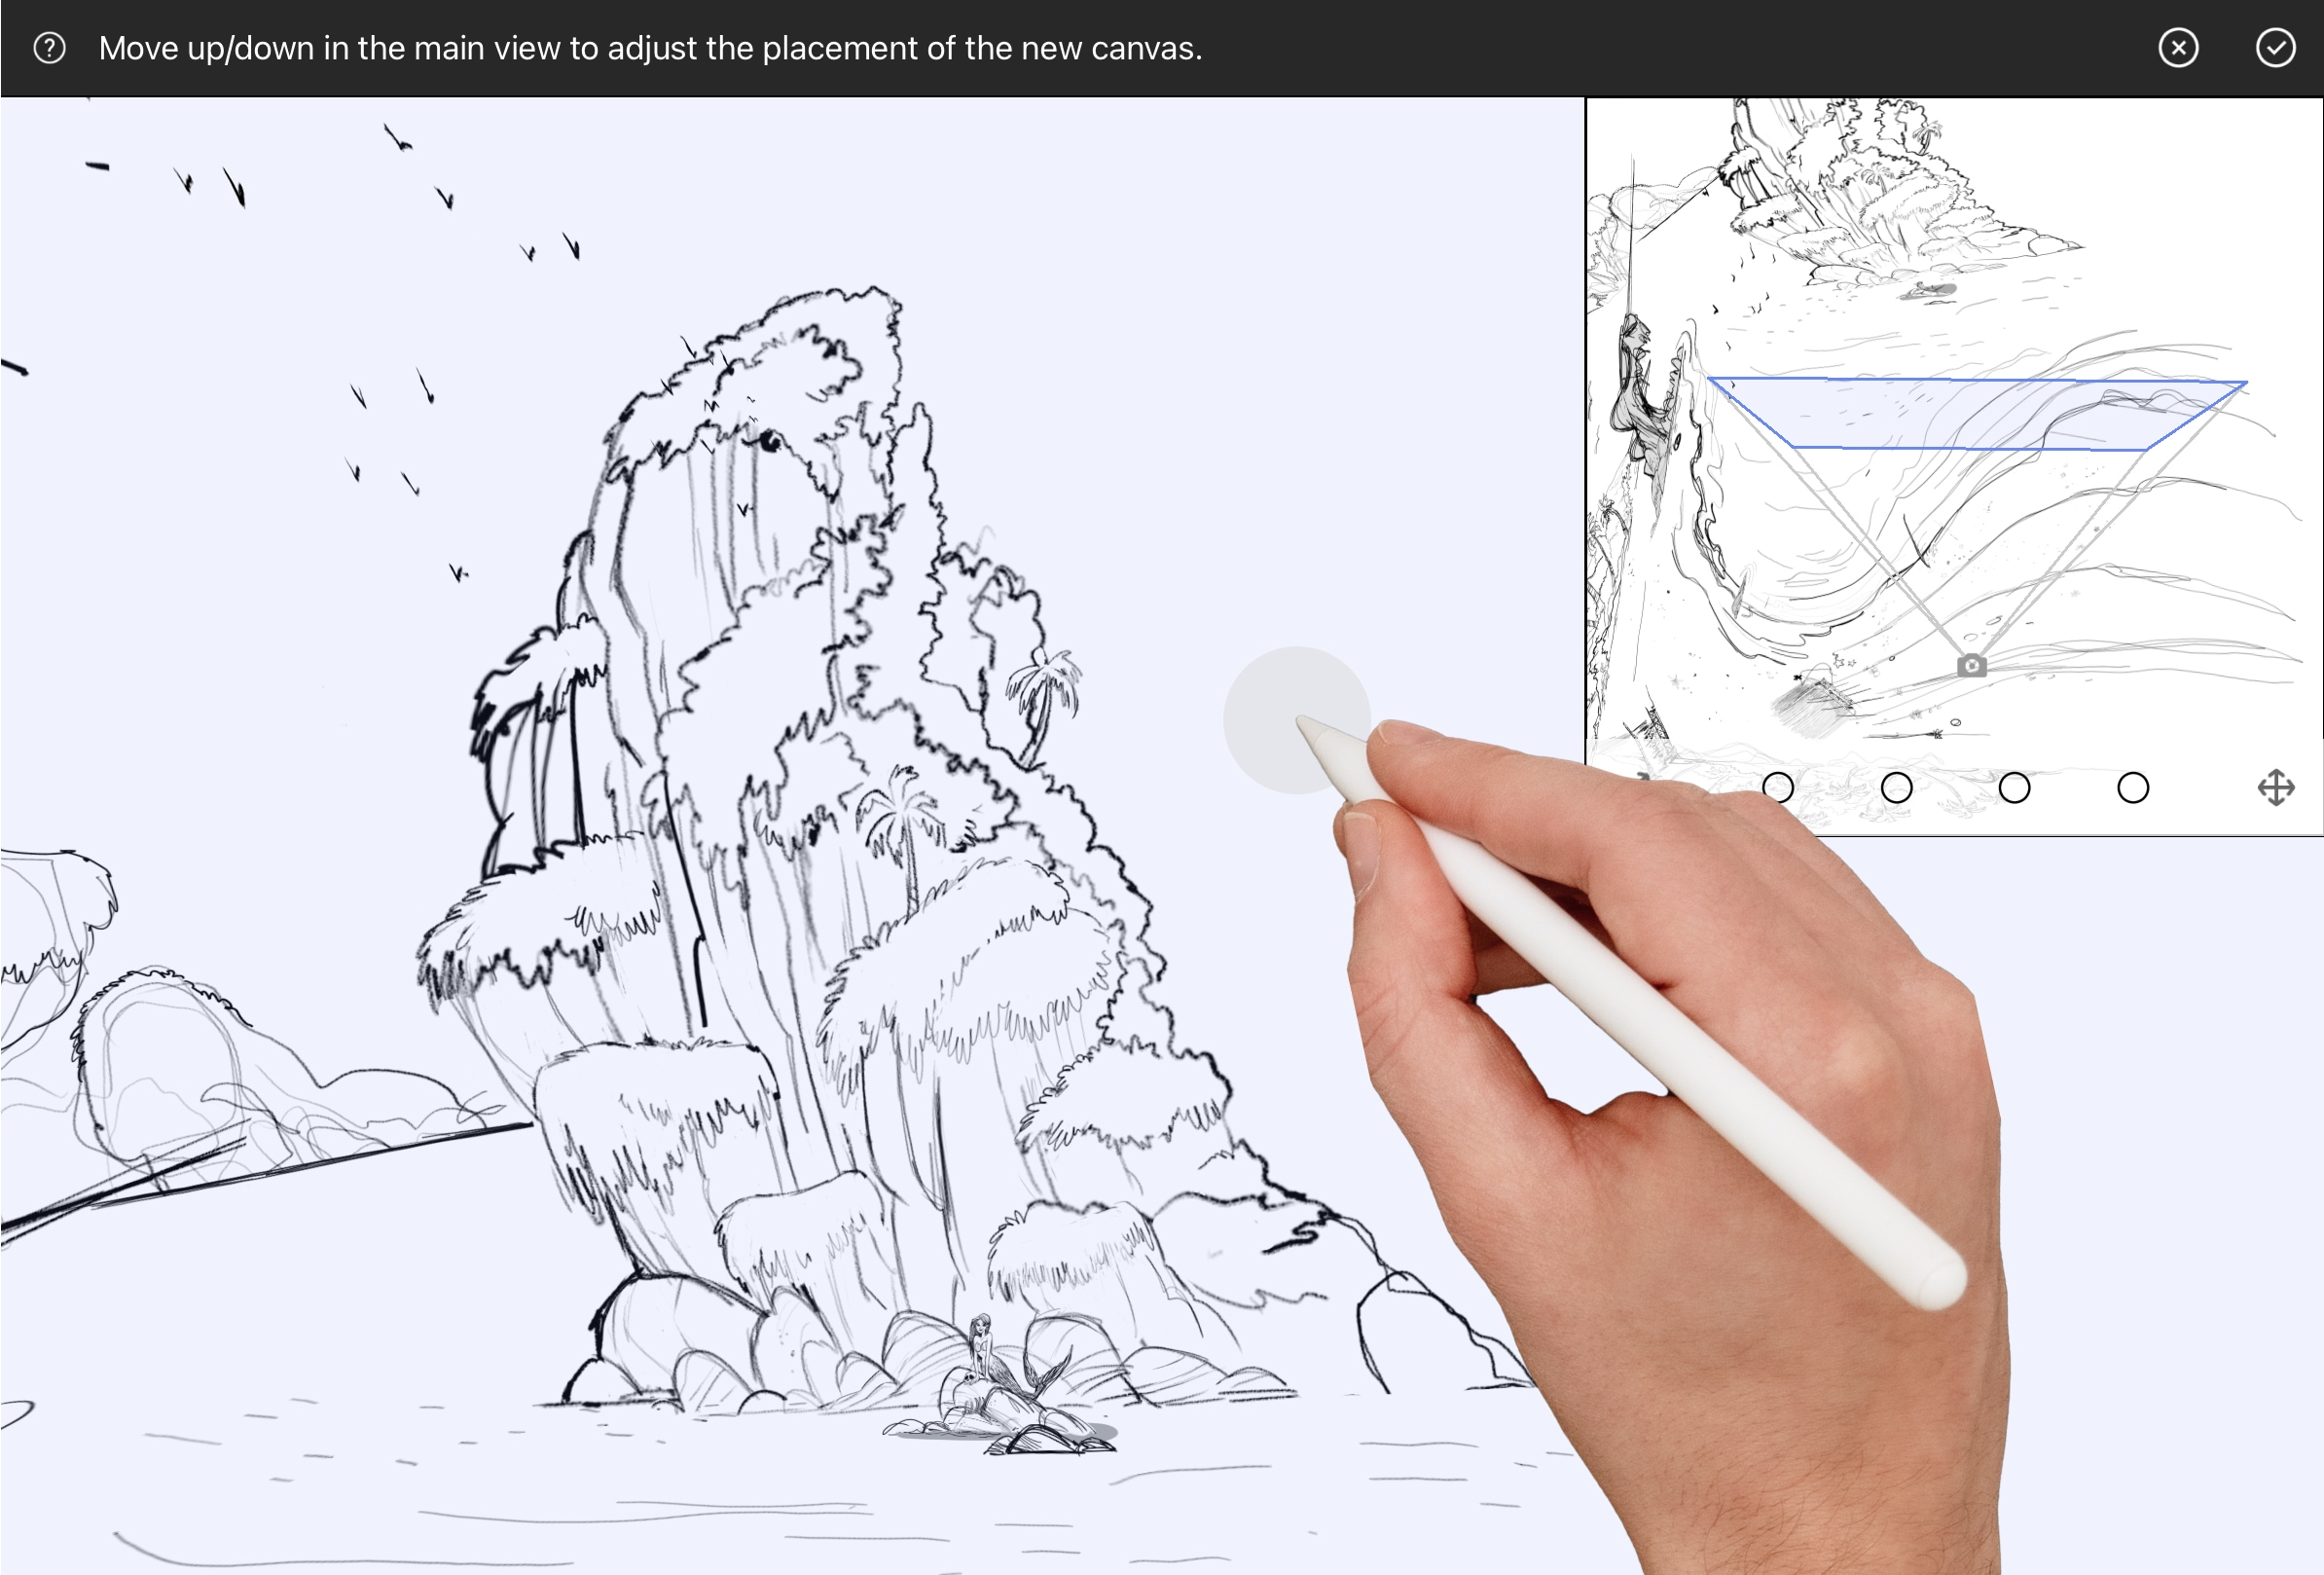
Move the canvas in space
Drag your finger or pen in the main view to pull your canvas forward or backward in space. You can drag horizontally or vertically.
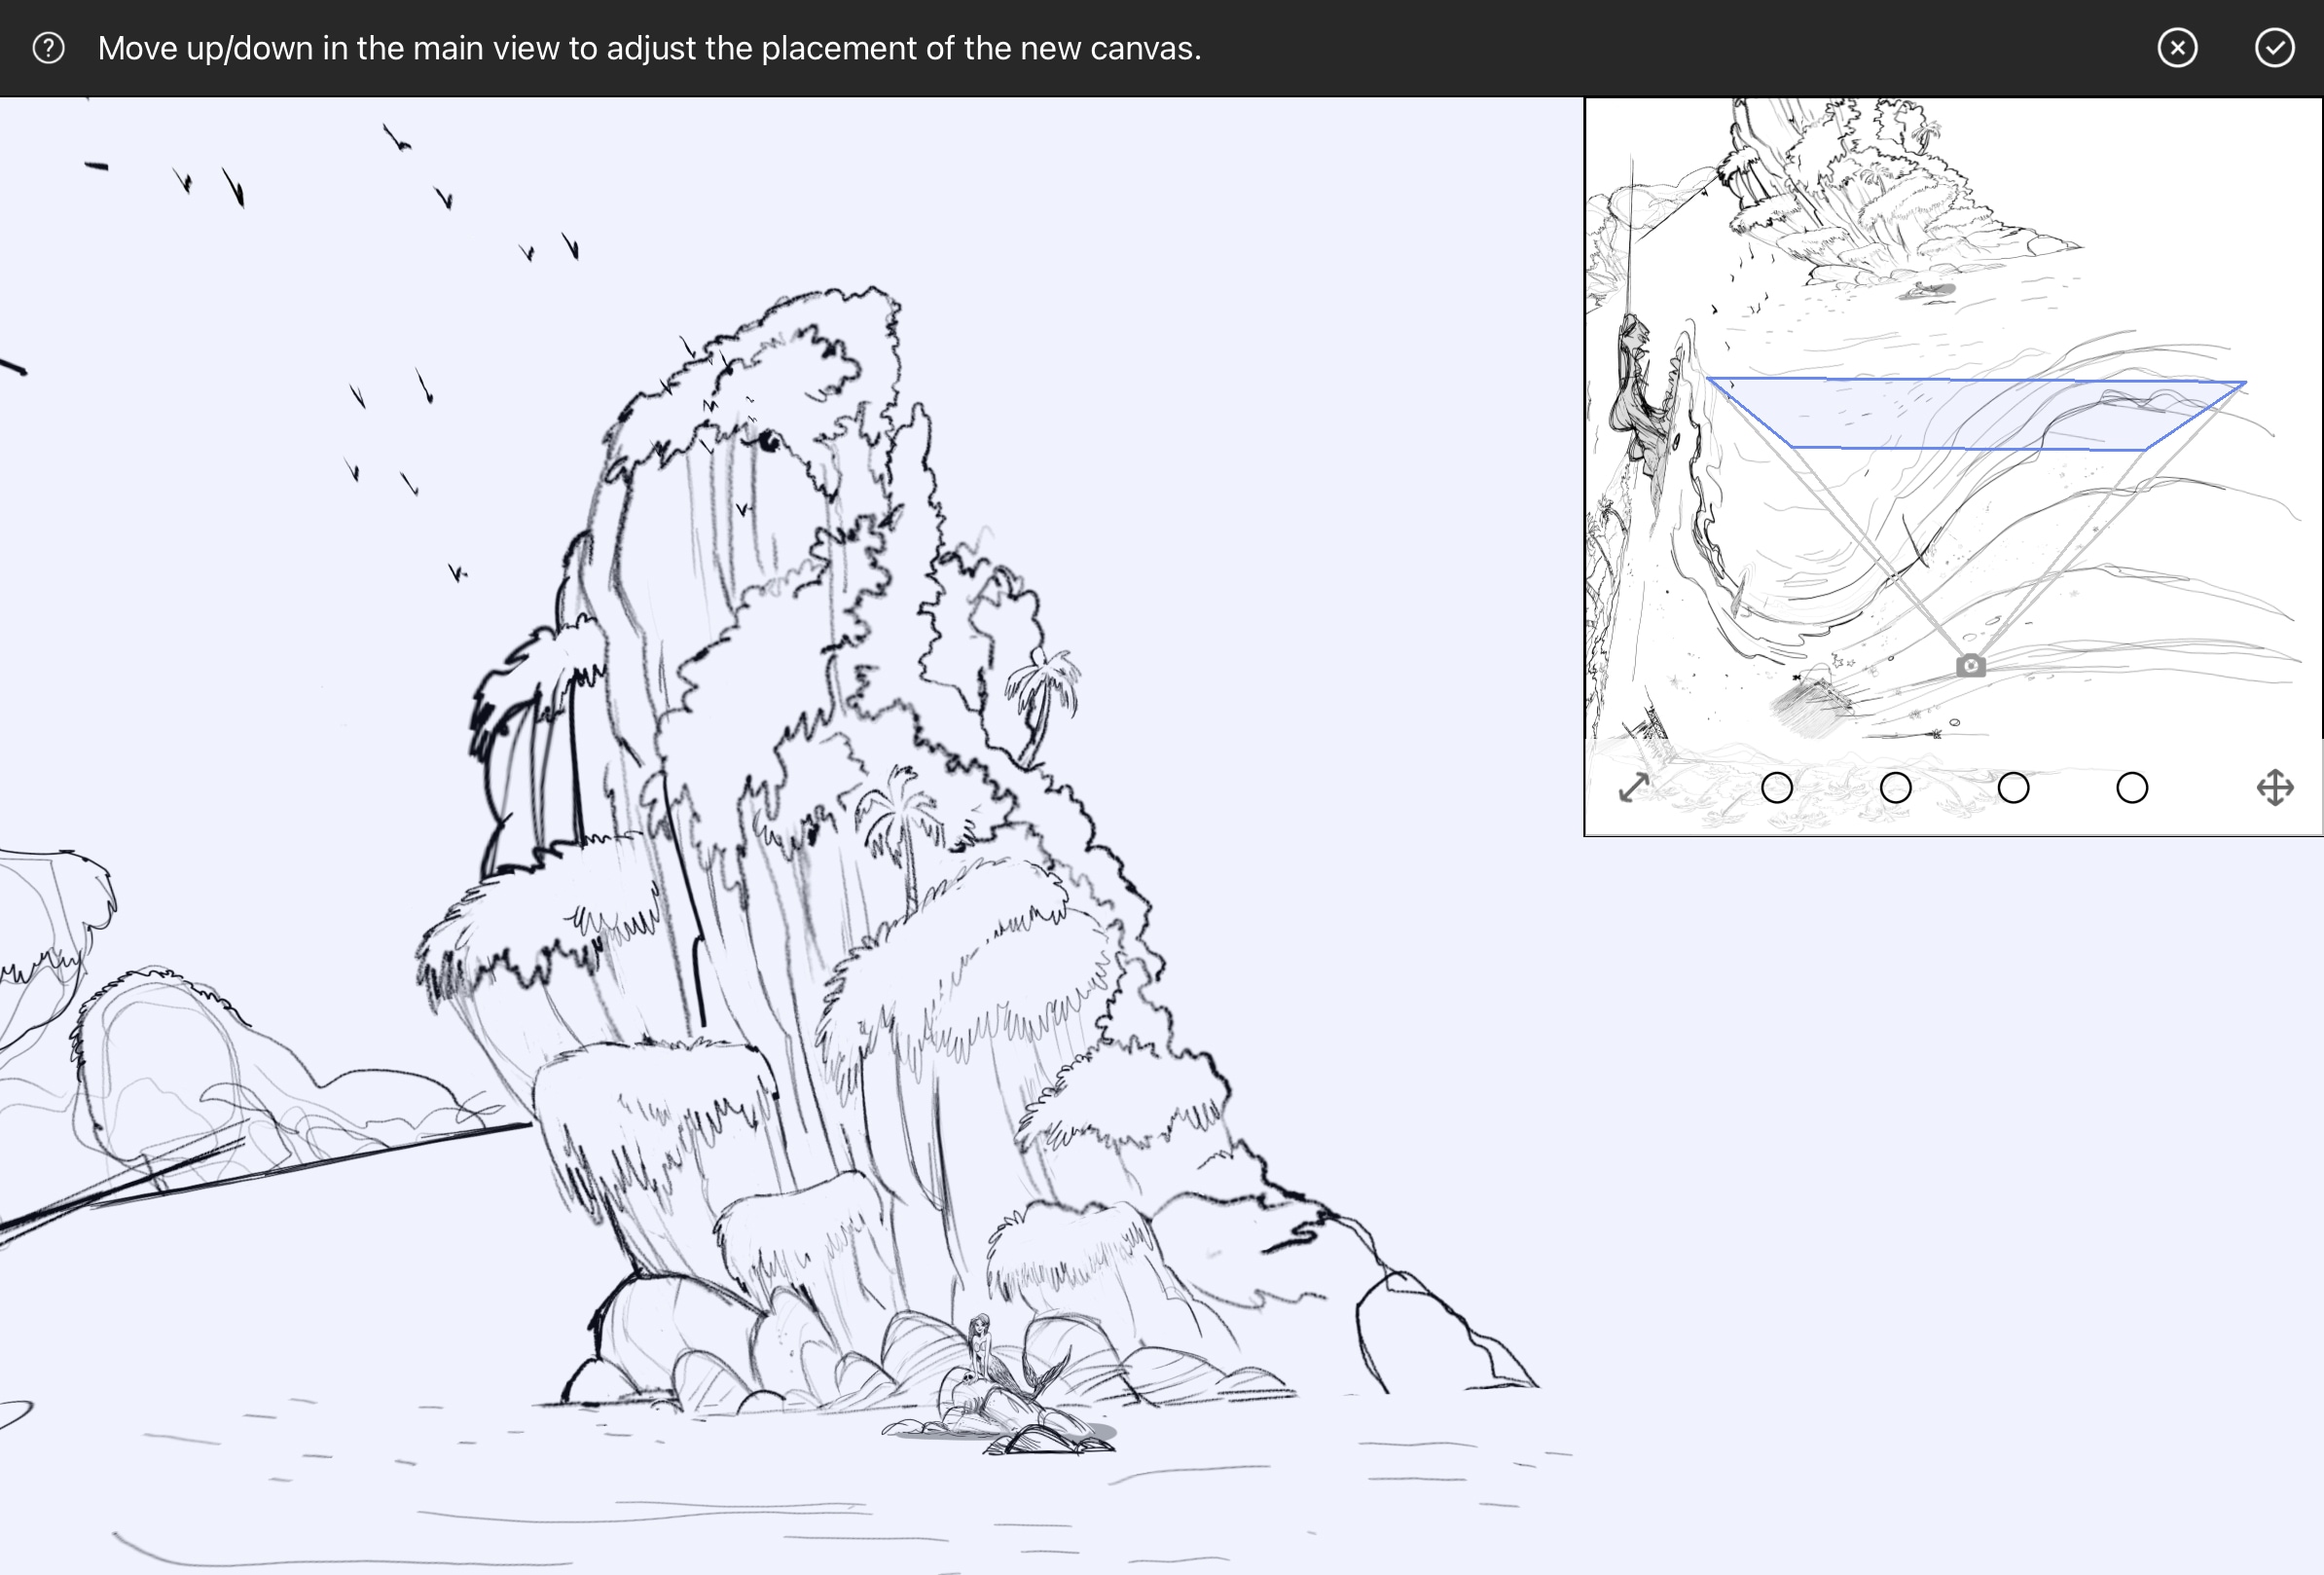
Use the Bird’s Eye view to orient yourself
The Bird’s Eye View in the top-right corner provides an interactive overview of your scene.

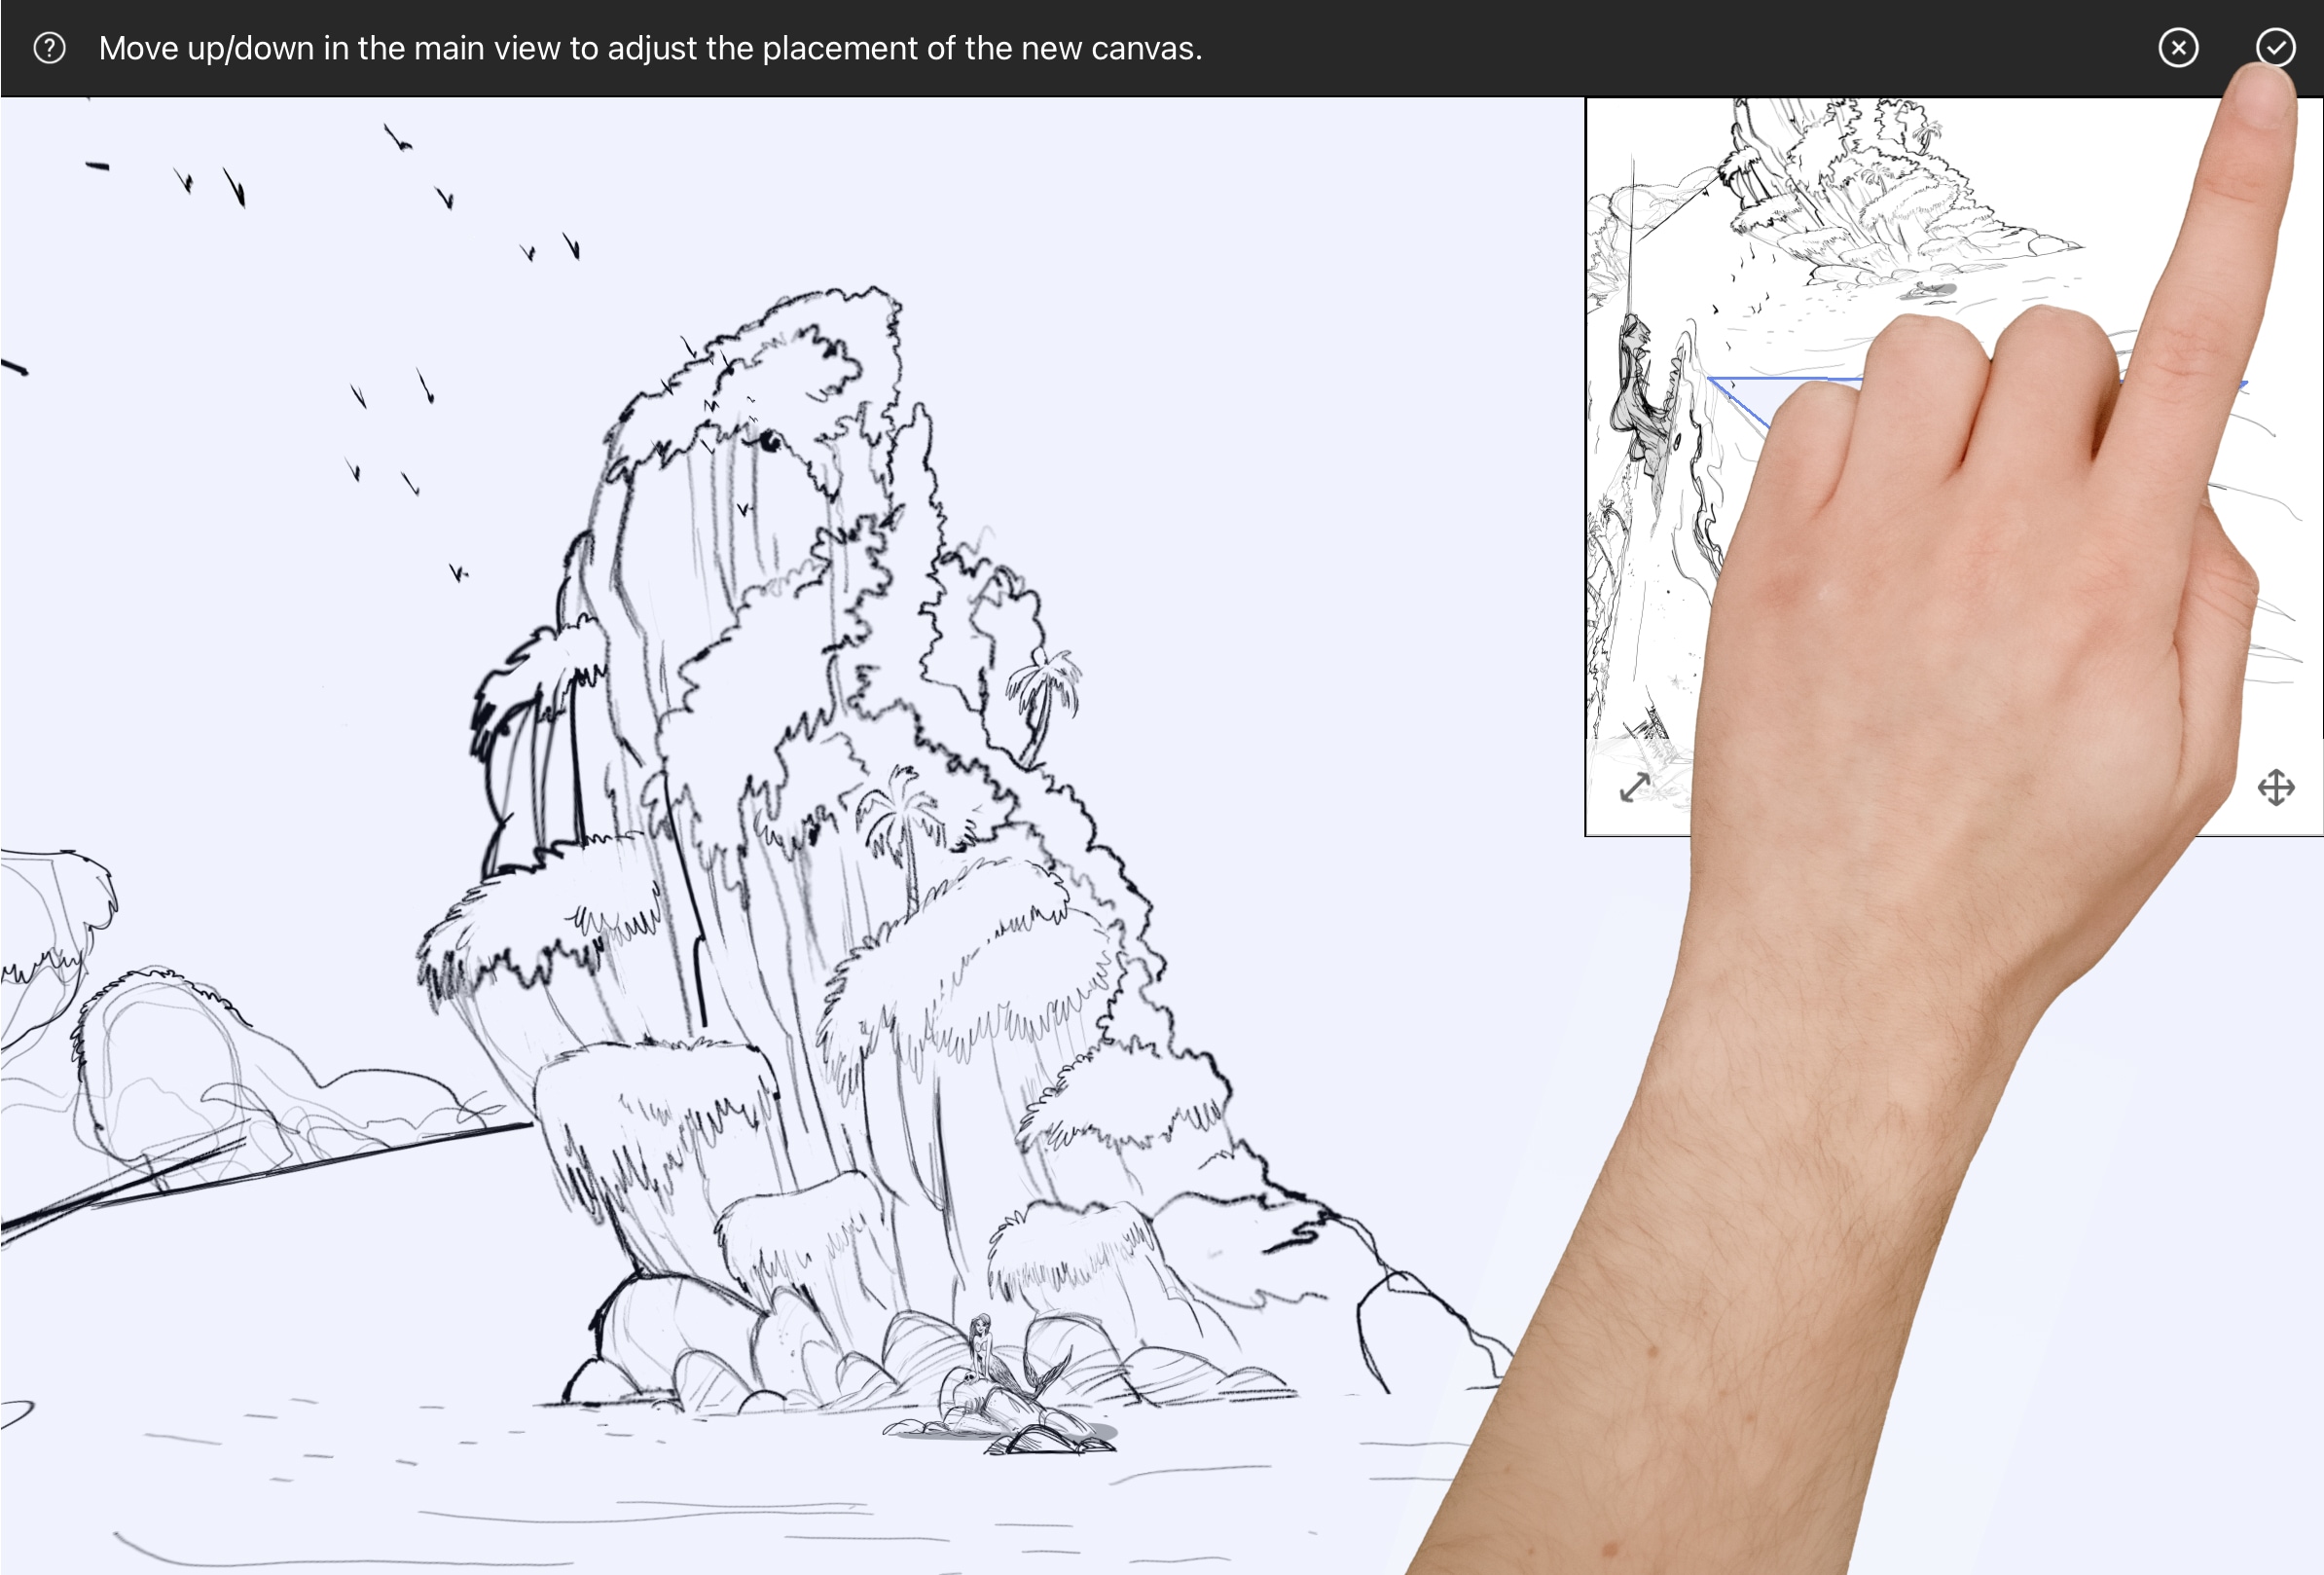
Confirm the position
Once the canvas is positioned, hit the checkmark on the right side of the toolbar to confirm its location.
The new canvas will become the active canvas and appear at the top of the Canvas List.
Examples of Canvas Placement

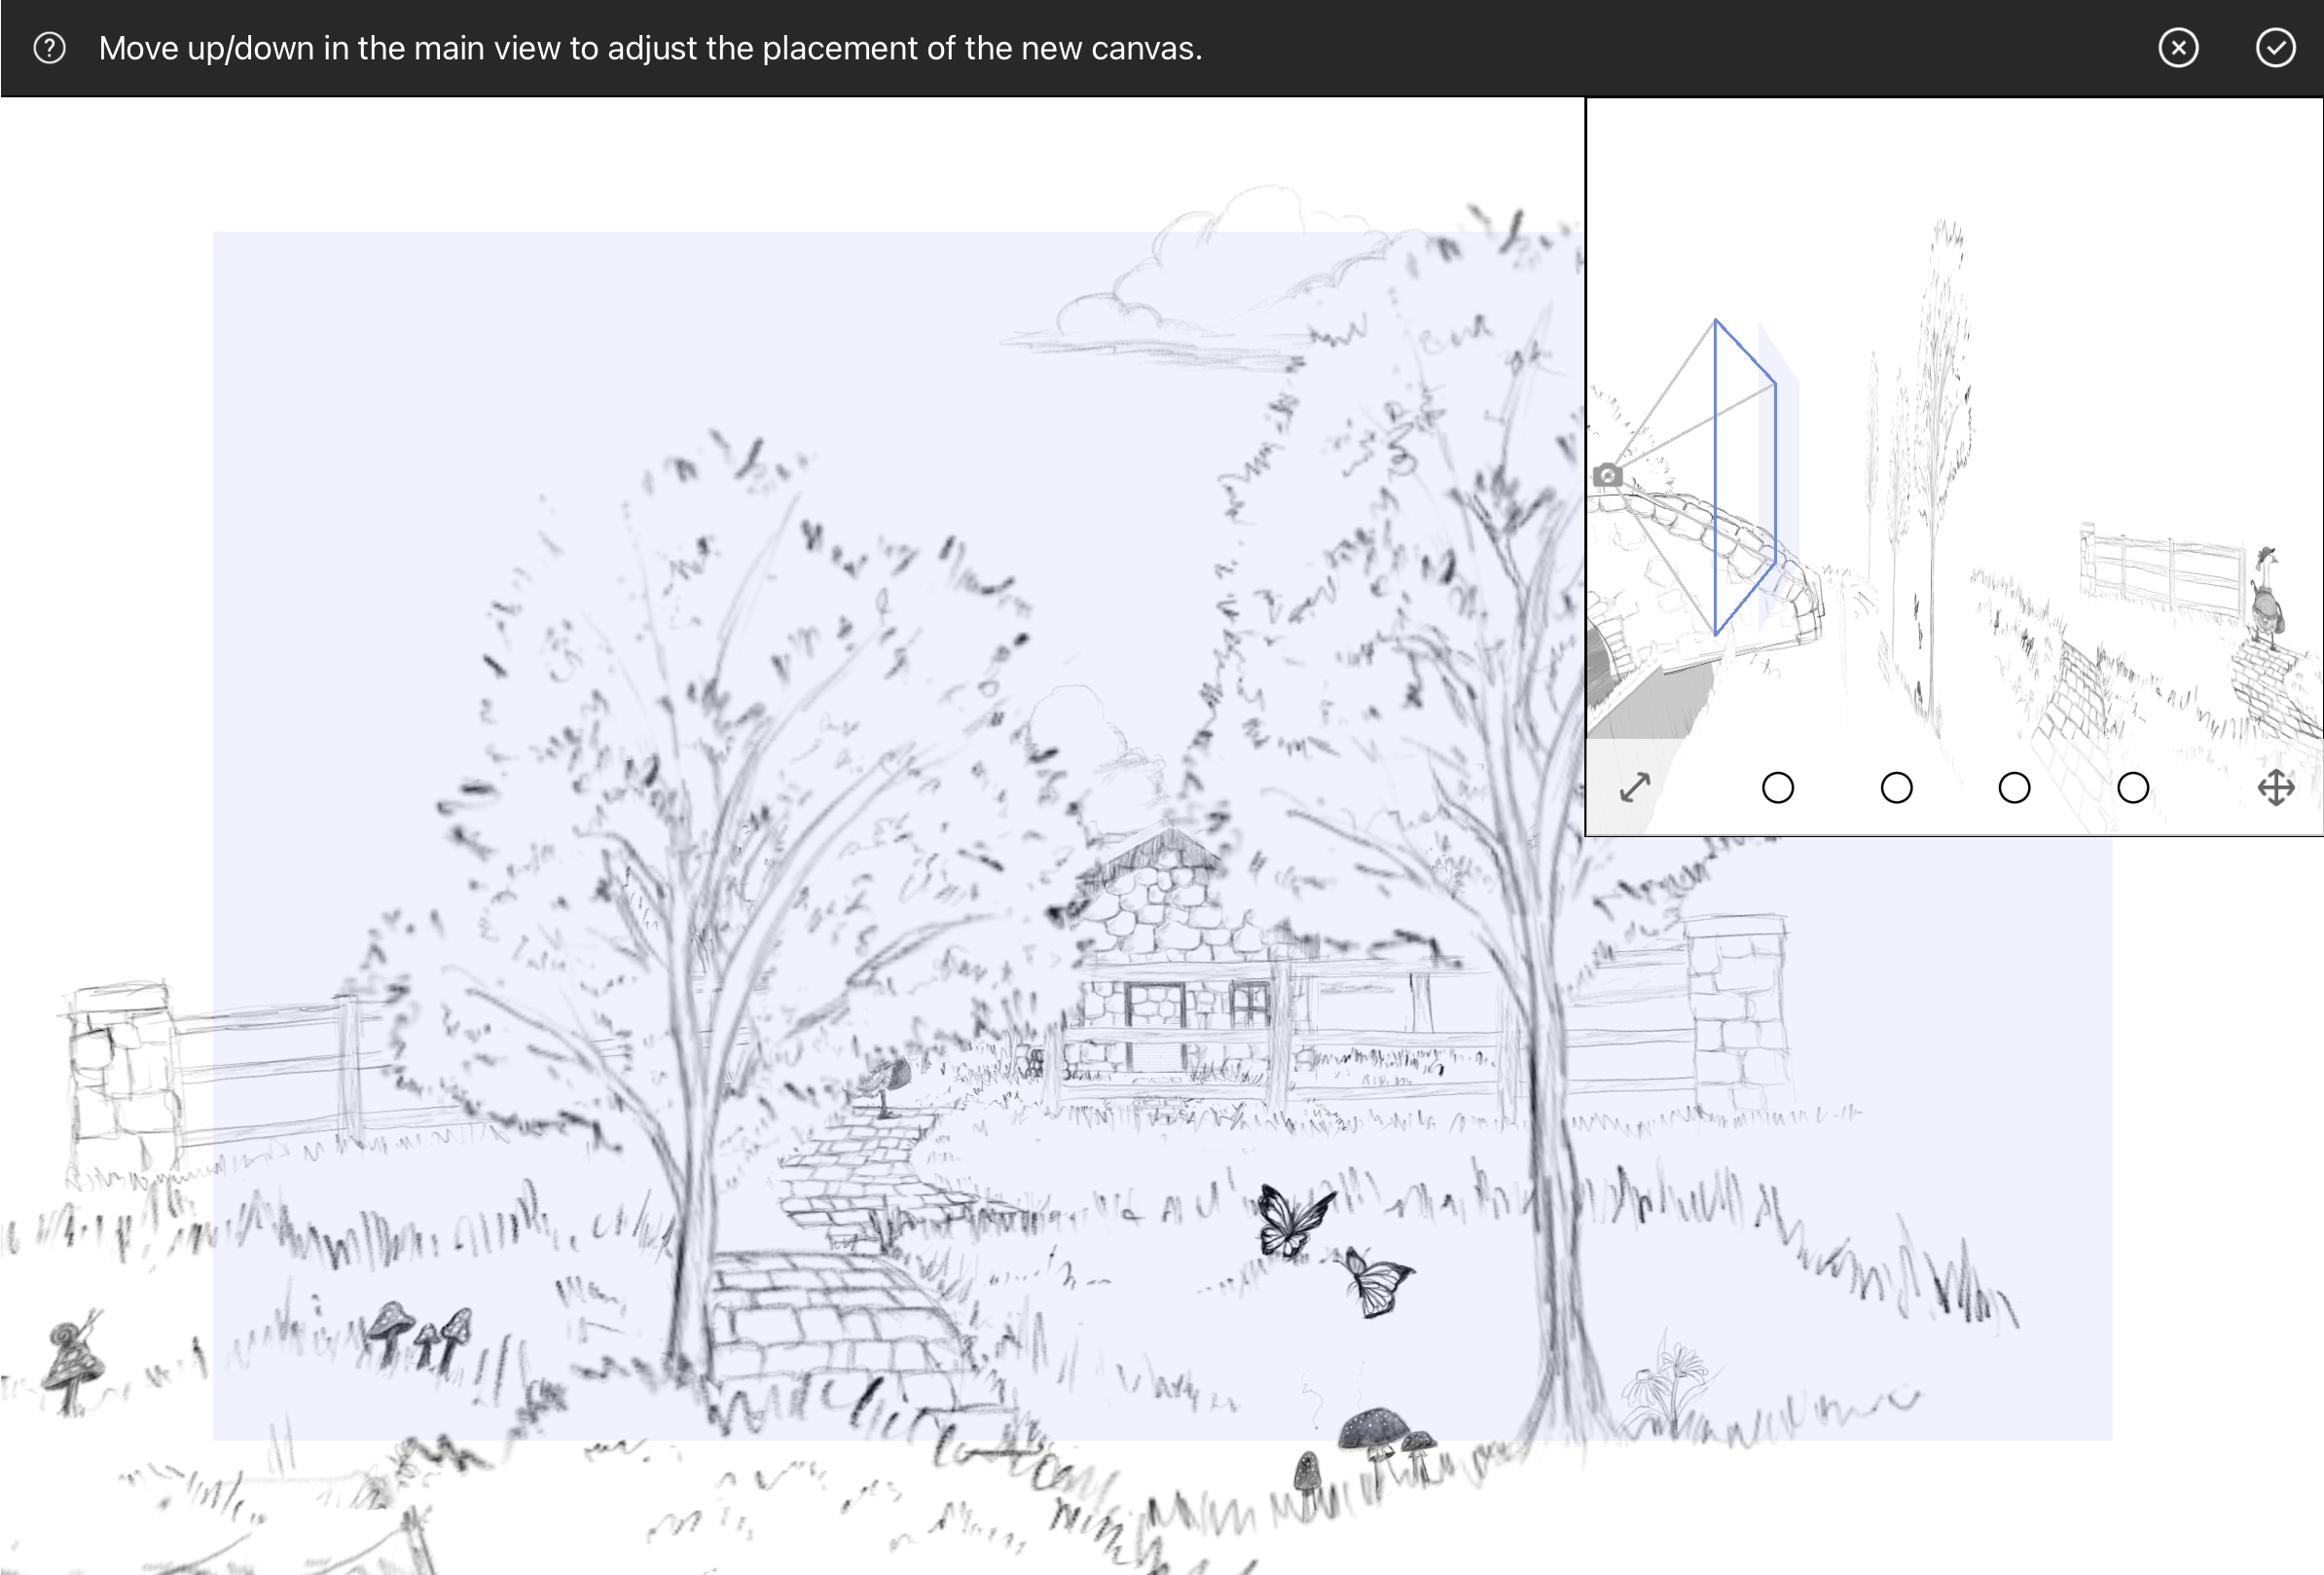
When your new canvas is behind the trees, you’ll see that the trees are bright and fully opaque but the house in the back is faded out. This means your new canvas is in between them – the fading comes from seeing the house through the transparent blue field representing your new canvas.
When your new canvas is in front of the trees, you’ll see that everything is slightly faded – you’ll know that the canvas is in front of the tree without even having to look at the bird’s eye.
Understanding the Bird’s Eye View
The Bird’s Eye View appears in the top-right corner when you move a canvas. This reference window helps you visualize your scene structure and ensures precise placement of canvases.
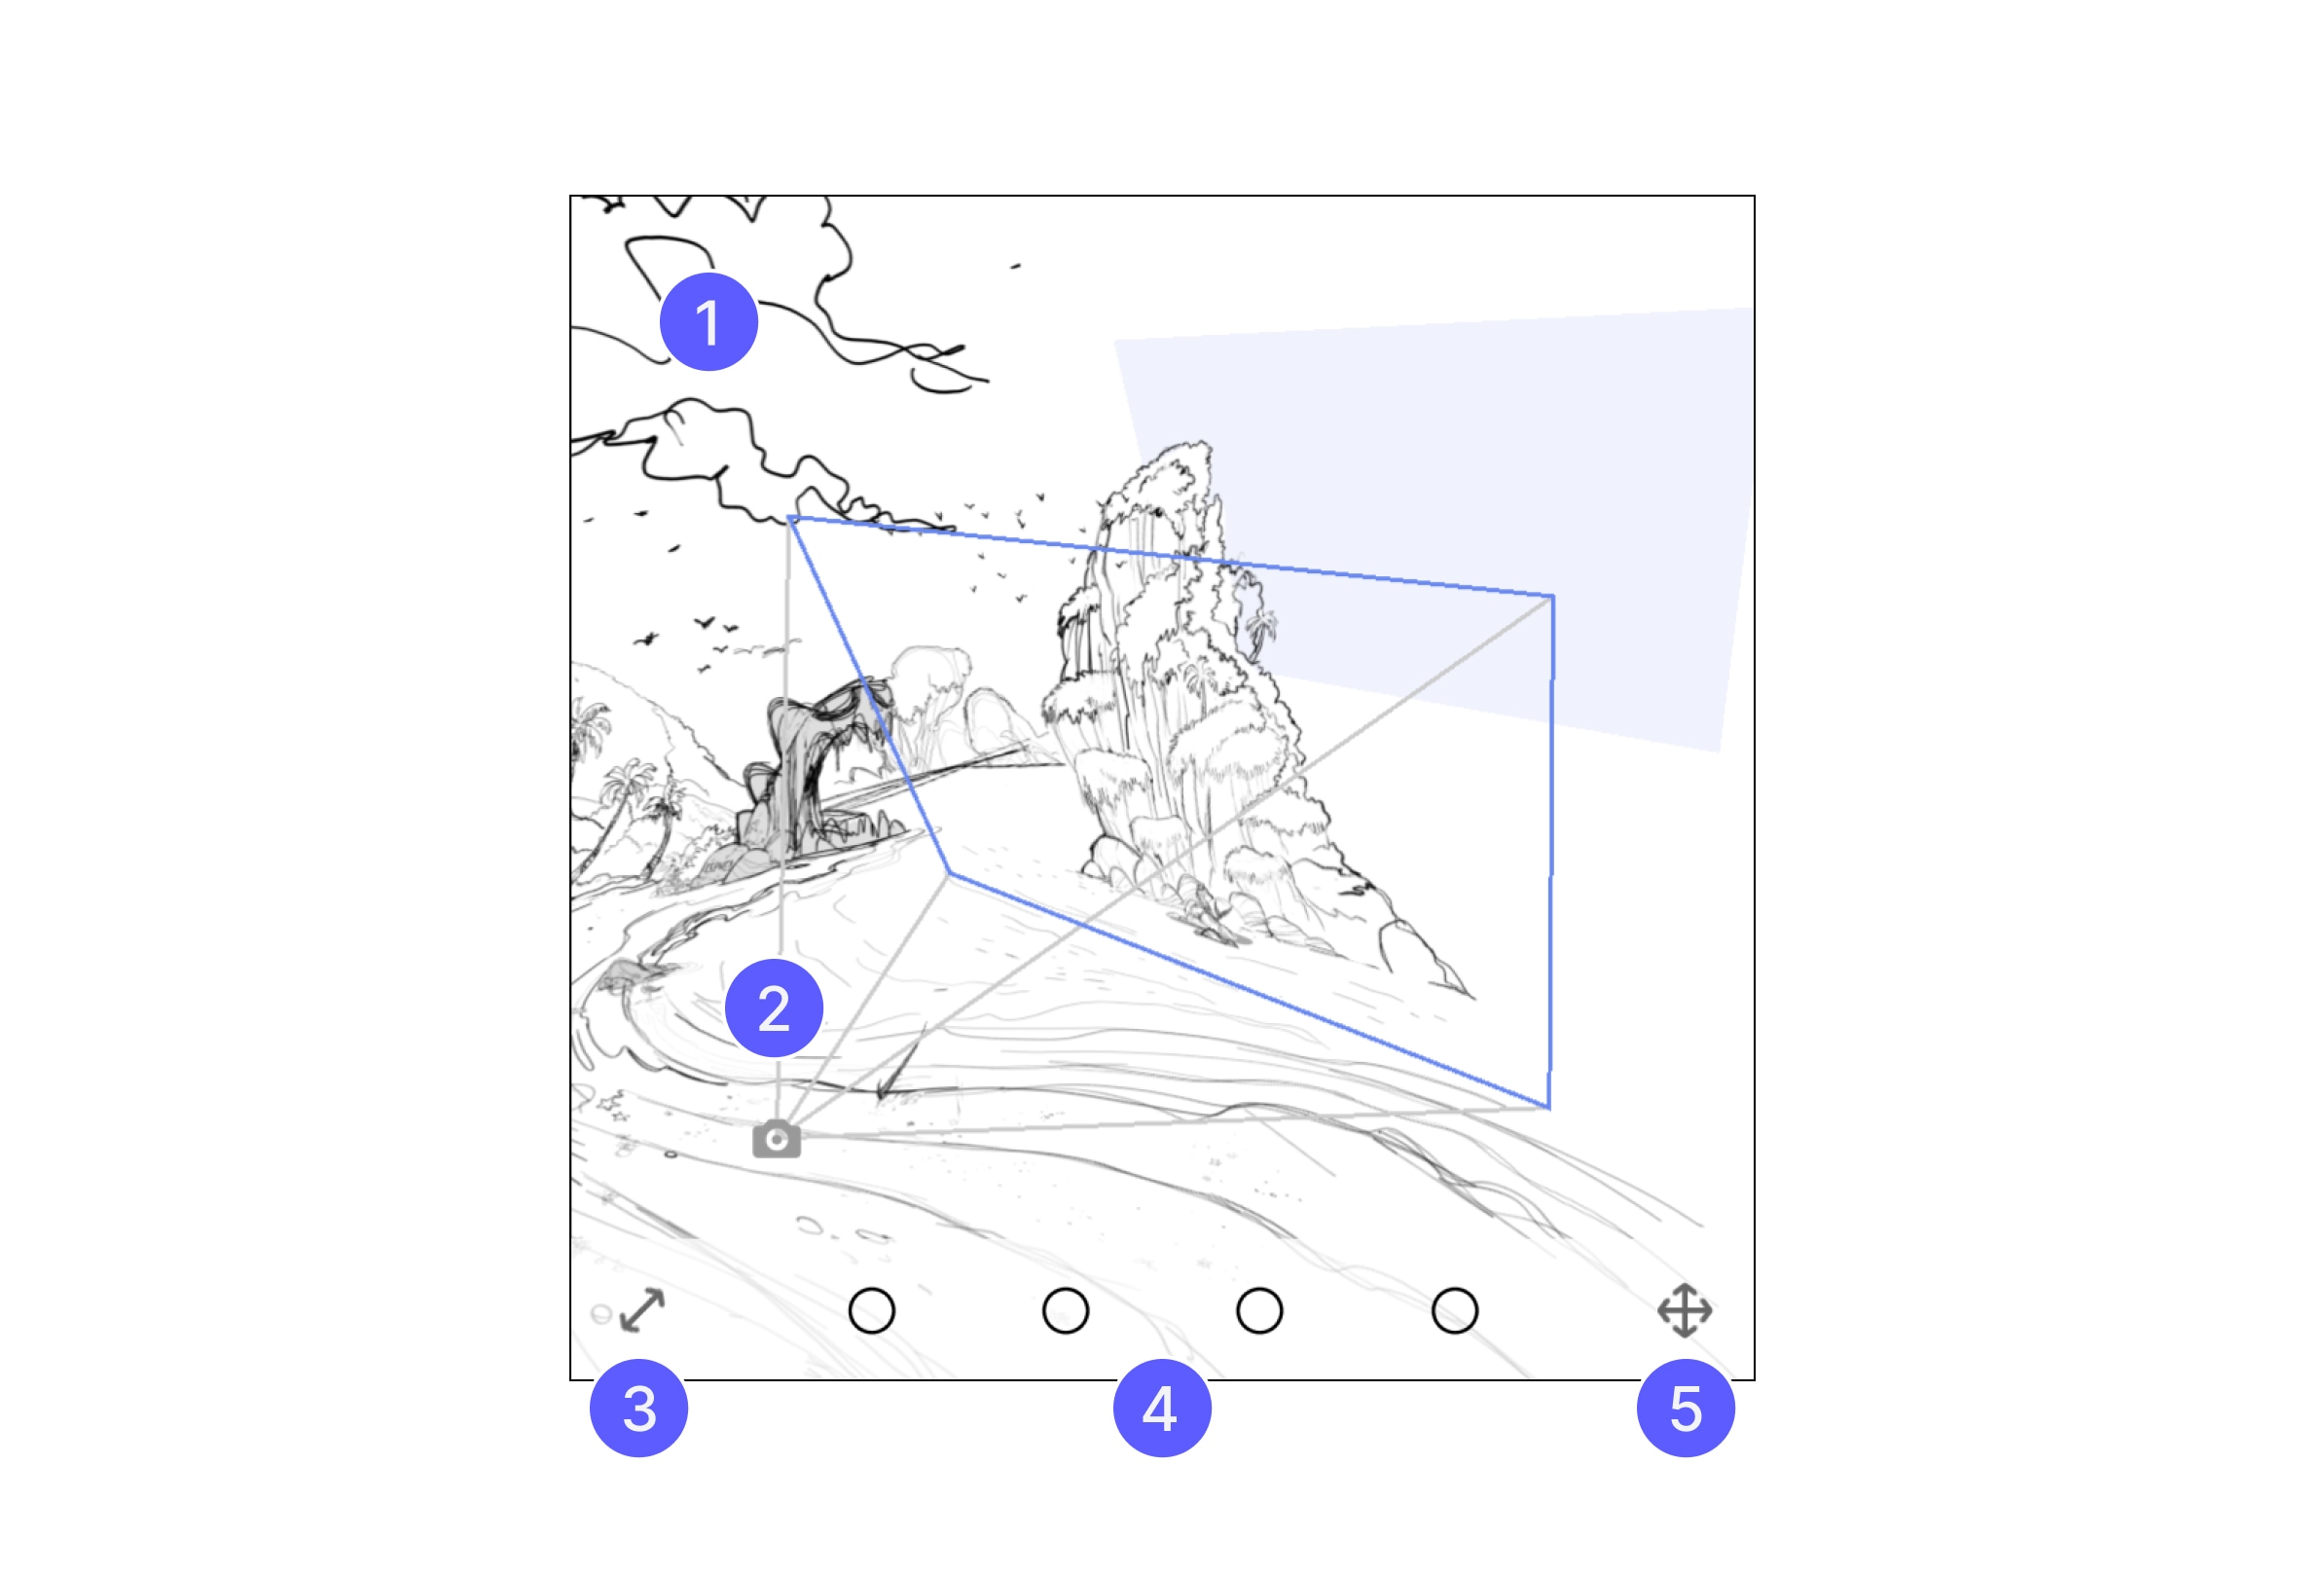
Reference View
An interactive 3D view of your scene. You can use any standard navigation gestures to adjust the view: drag one finger or pen to rotate the view, pinch to zoom, and drag with two fingers to pan.
Camera Frustum
The blue wireframes represent the camera view. The camera itself is located at the tip of the pyramid and the rectangle base of the pyramid shows the bounds of your current camera view. The second rectangular (in blue) frame belongs to your new canvas. As you move the canvas in the main view, you’ll see this frame move to correspond with the canvas’ new position.
Resize Window
Drag the scale icon in the bottom-left corner to adjust the size of the Bird’s Eye View.
Canonical Views
Tap the radio buttons to switch between top, side, 45-degree, and front views. You can also tap inside the reference view to cycle through these views.
Move Window
Drag the move icon in the bottom-right corner to reposition the Bird’s Eye View in the main view.
Parallel Canvas Creation in Draw vs. View Mode
The Add a New Canvas button behaves slightly differently depending on whether you’re in Draw mode or View mode.
In Draw Mode
- The new blank canvas initializes in the same location as your active canvas.
- If you confirm the placement of the new canvas without moving it, the new canvas will overlap with the old one.
- If you move the new canvas forward or back, it will remain parallel to both the current active canvas and the camera view.
- This is useful for adding layers of detail to existing objects or creating content with consistent alignment.
In View Mode
- The new canvas is parallel to the current camera view, not any existing canvas.
- This is ideal for creating content at custom angles or positions independent of other canvases.
In Mental Canvas, canvases differ from objects in traditional 3D software — they cannot be freely dragged through space after creation. To move a canvas forward or backward, you’ll need to use the Projection tools, but note that this will also scale the contents of the canvas. For this reason, it’s essential to position your canvas correctly when you first add it to the scene.