Importing Images
You can add photos or images to your scene to enhance your composition or reference external elements. For best results, we recommend importing .png or .webp files to preserve transparency, though other formats like .jpg are also supported.
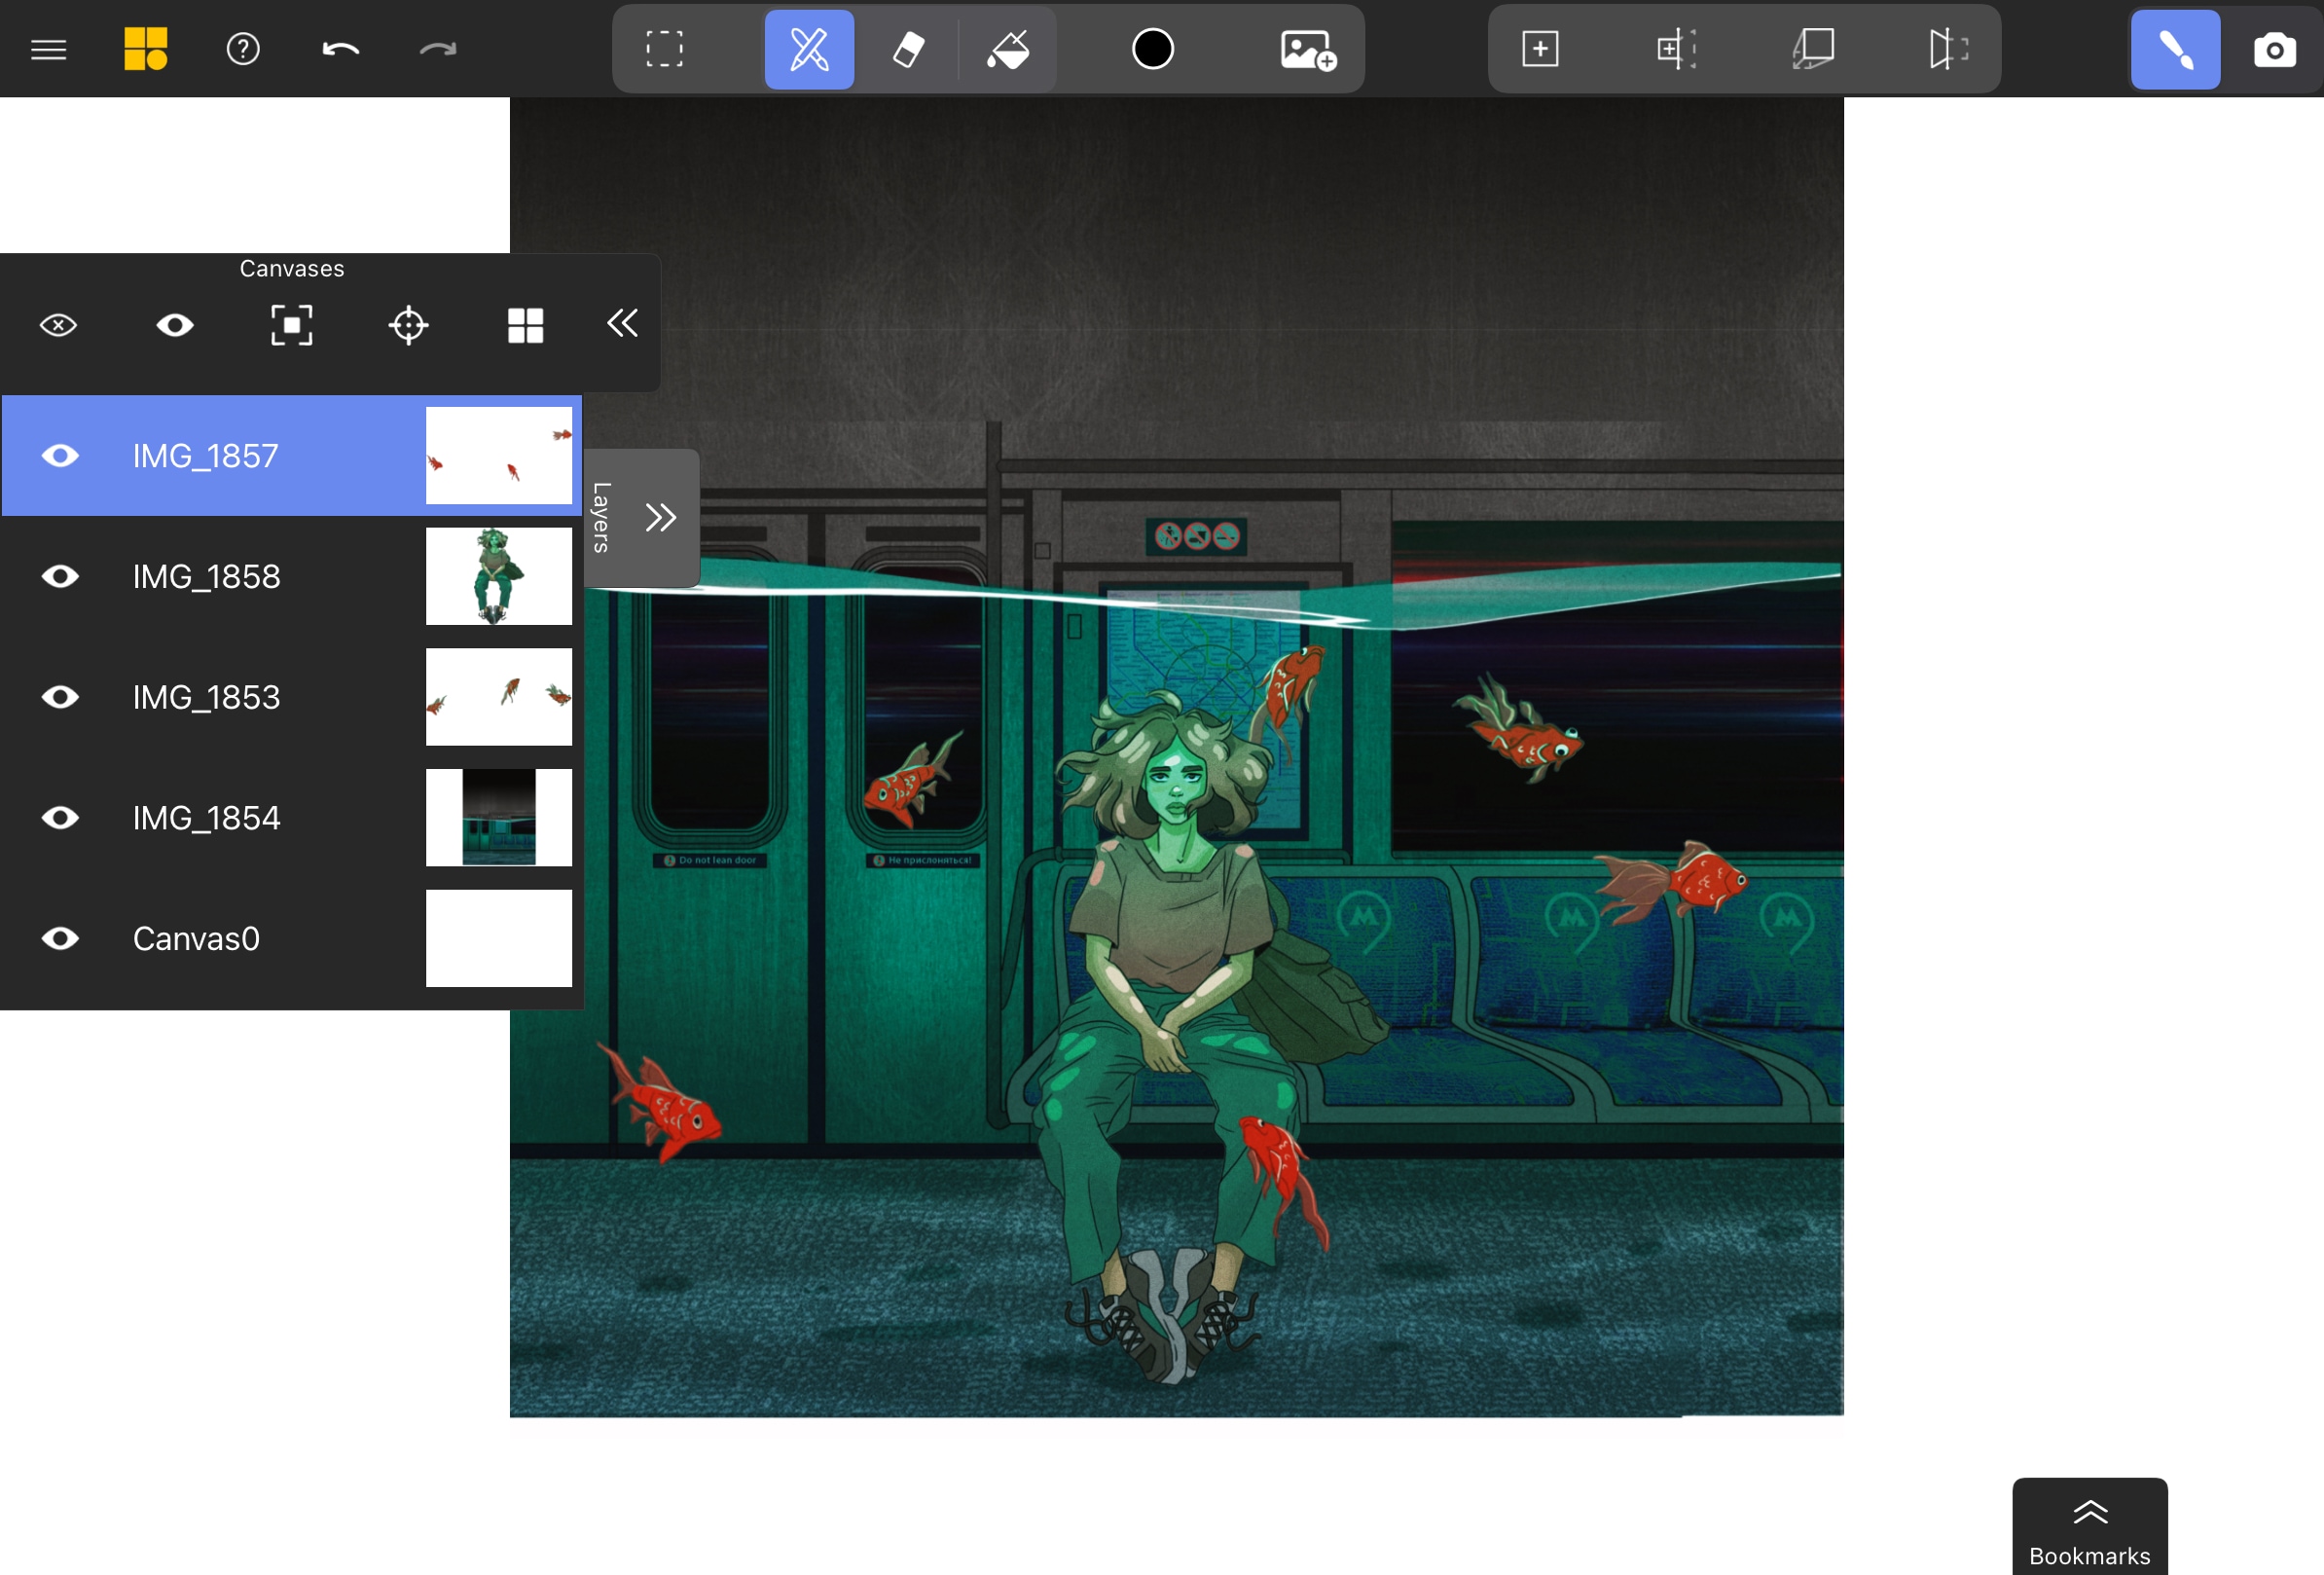
The scene below was created in a different drawing app, then all the layers were imported into Mental Canvas and projected into 3D.

How to Import Images
Choose or Create a Canvas
Select an existing canvas or create a blank canvas where you want to place your image(s).
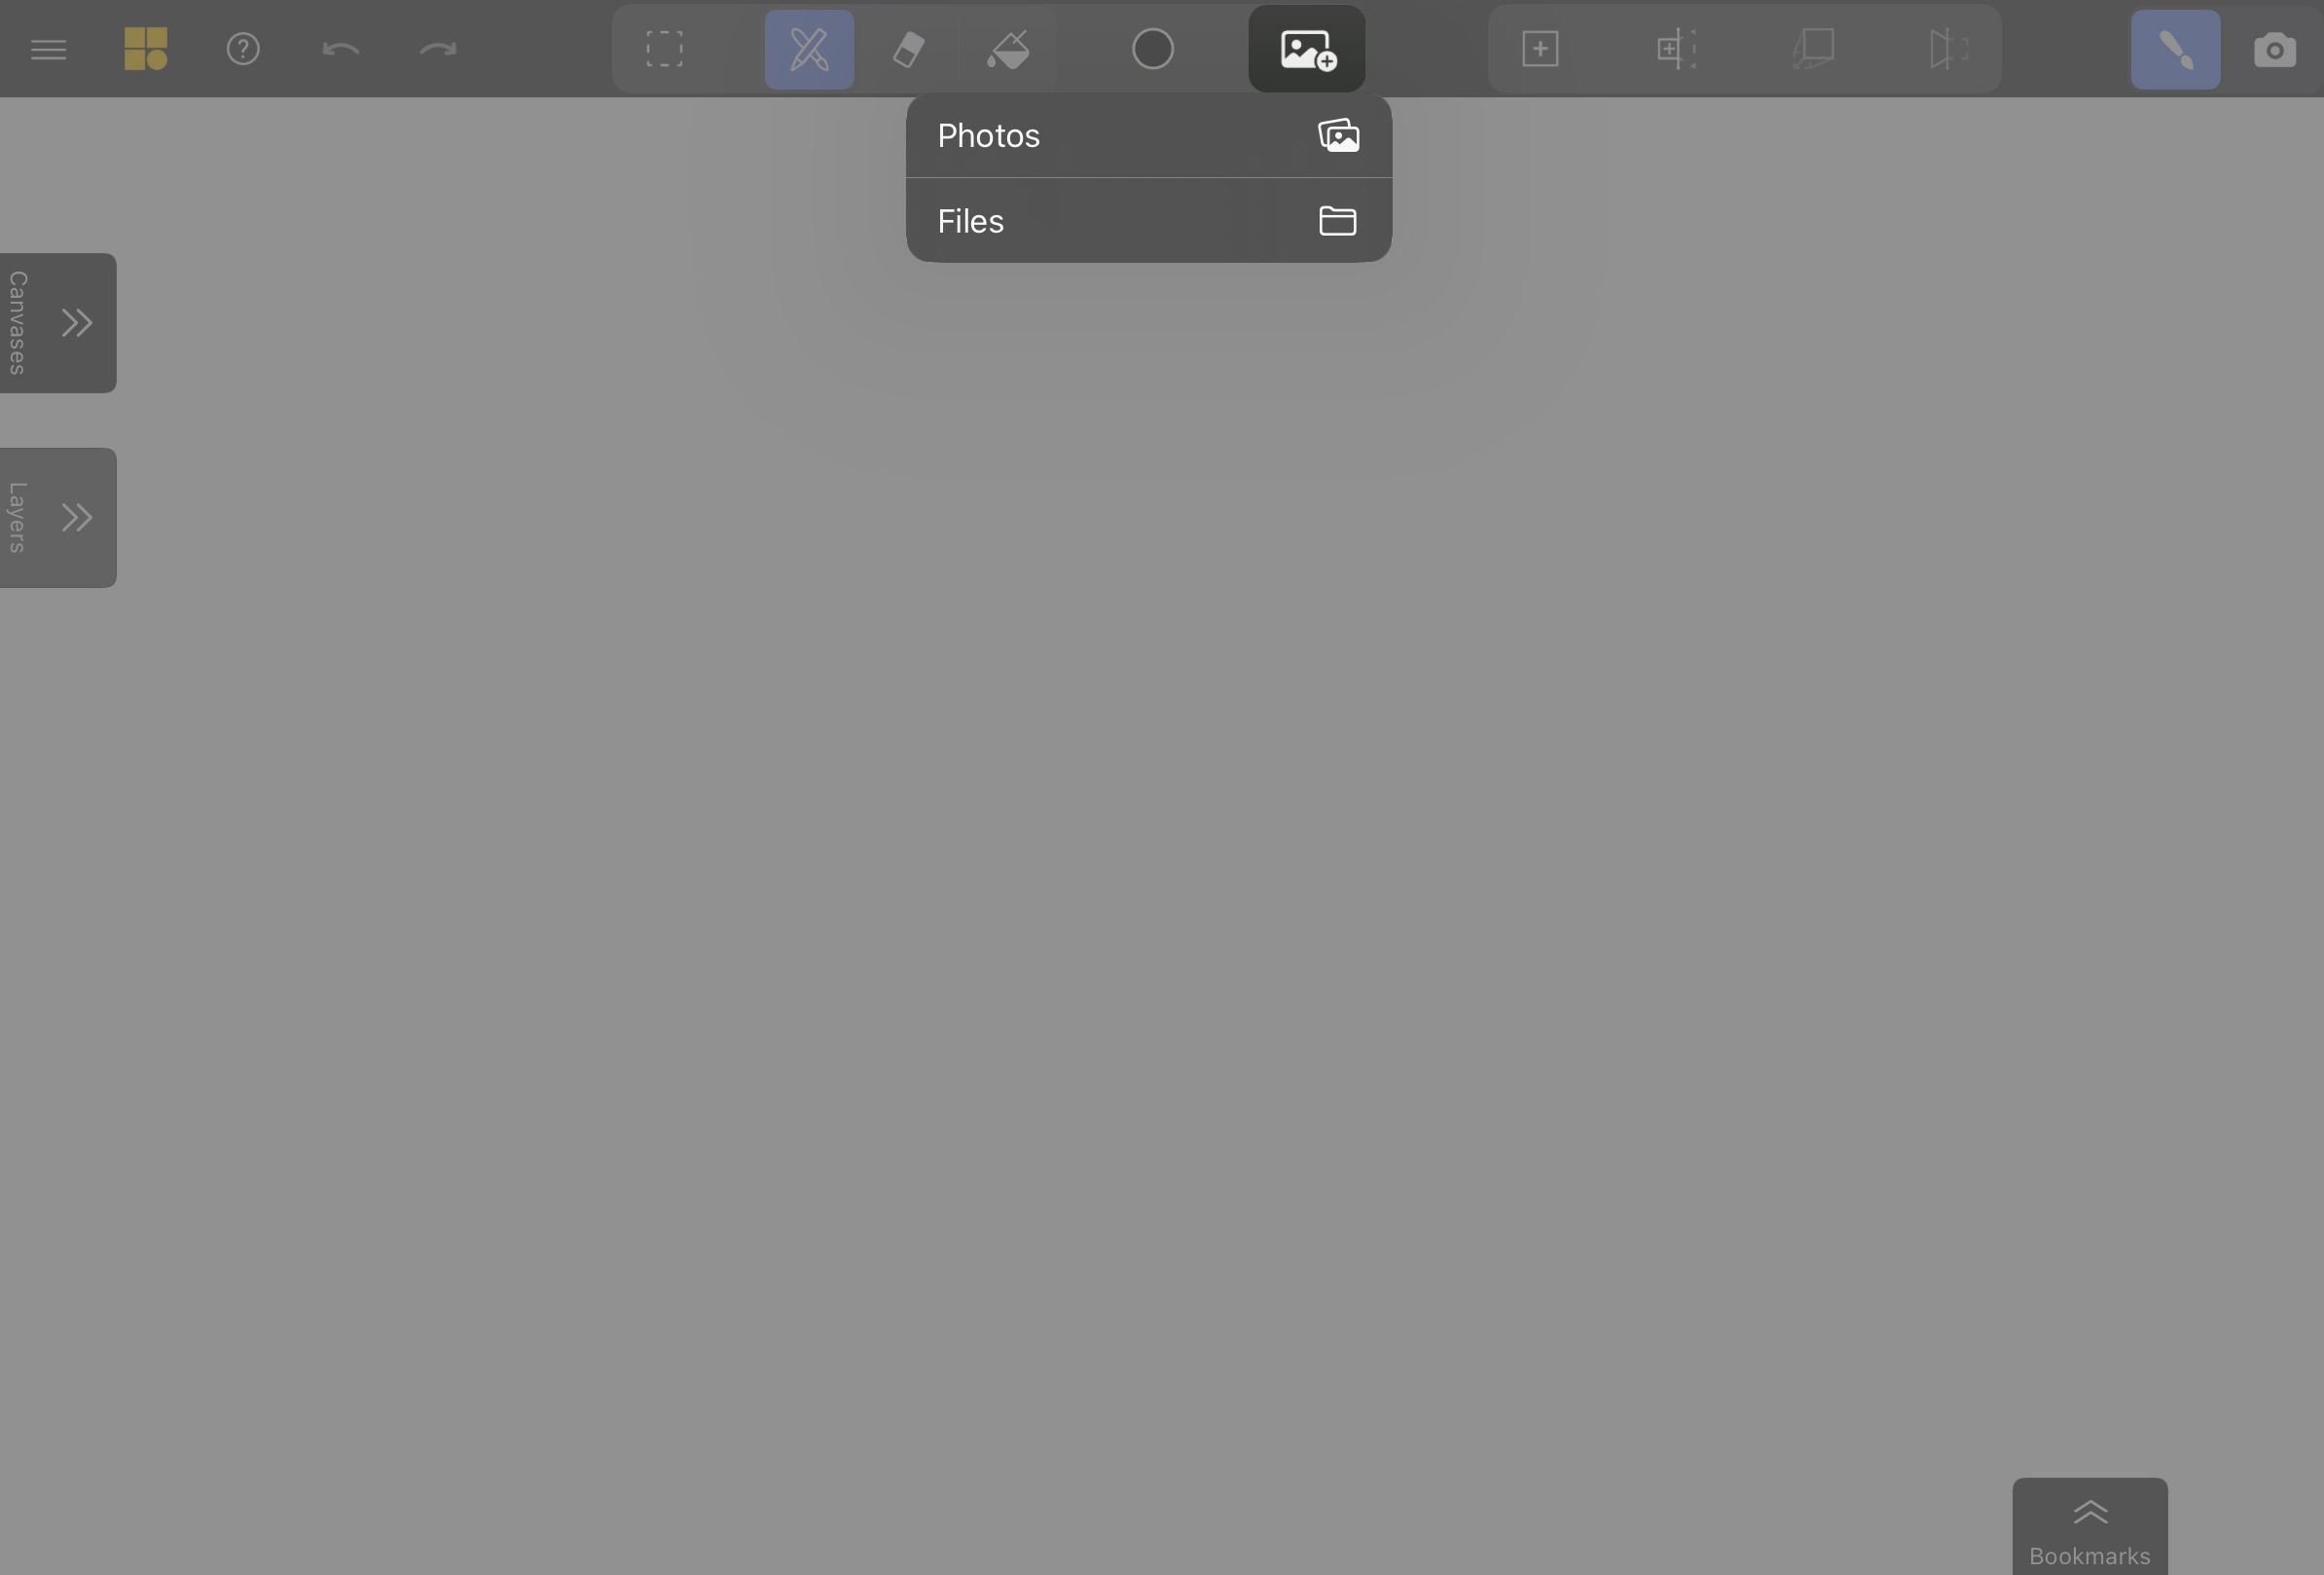
Use the Import Image tool
Tap the Import Image button in the top toolbar and choose the location you want to import from – Files or Photos.
Select Your Images
Select the image(s) you want and hit Open.
Due to iPadOS limitations, the two import options behave differently:
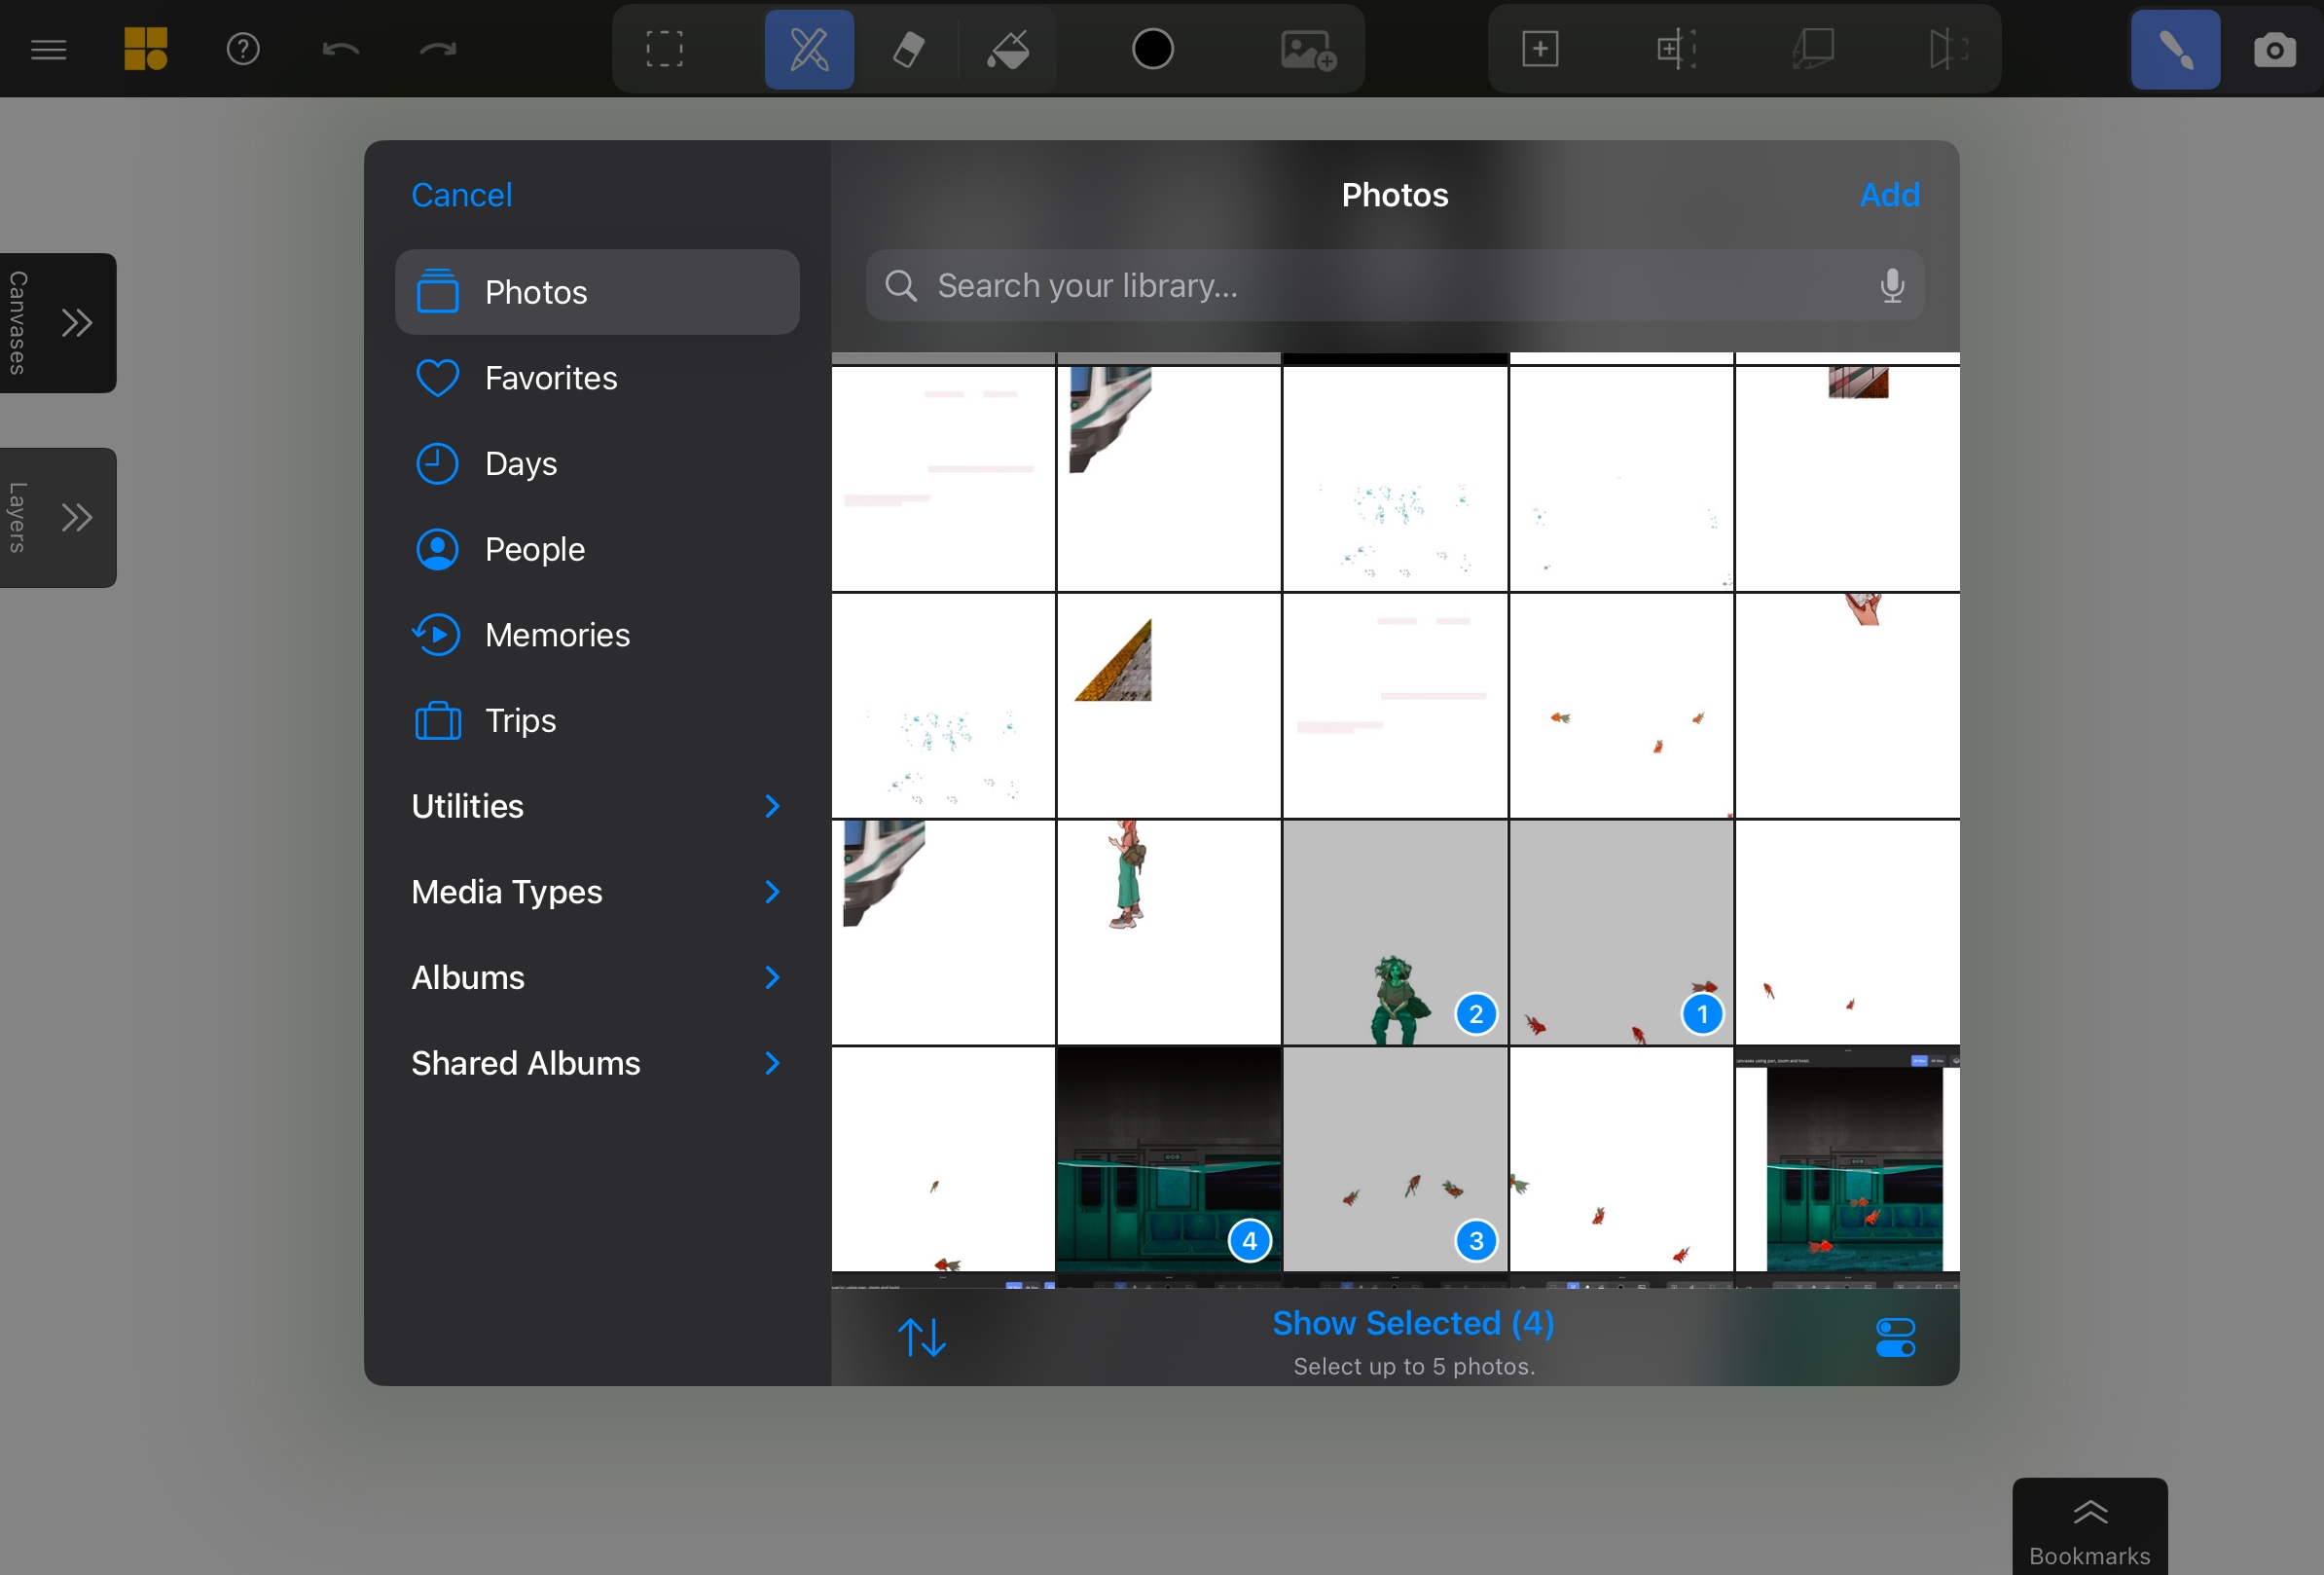 Photos: Import up to 5 images in the order you select, with the first image as the top layer.
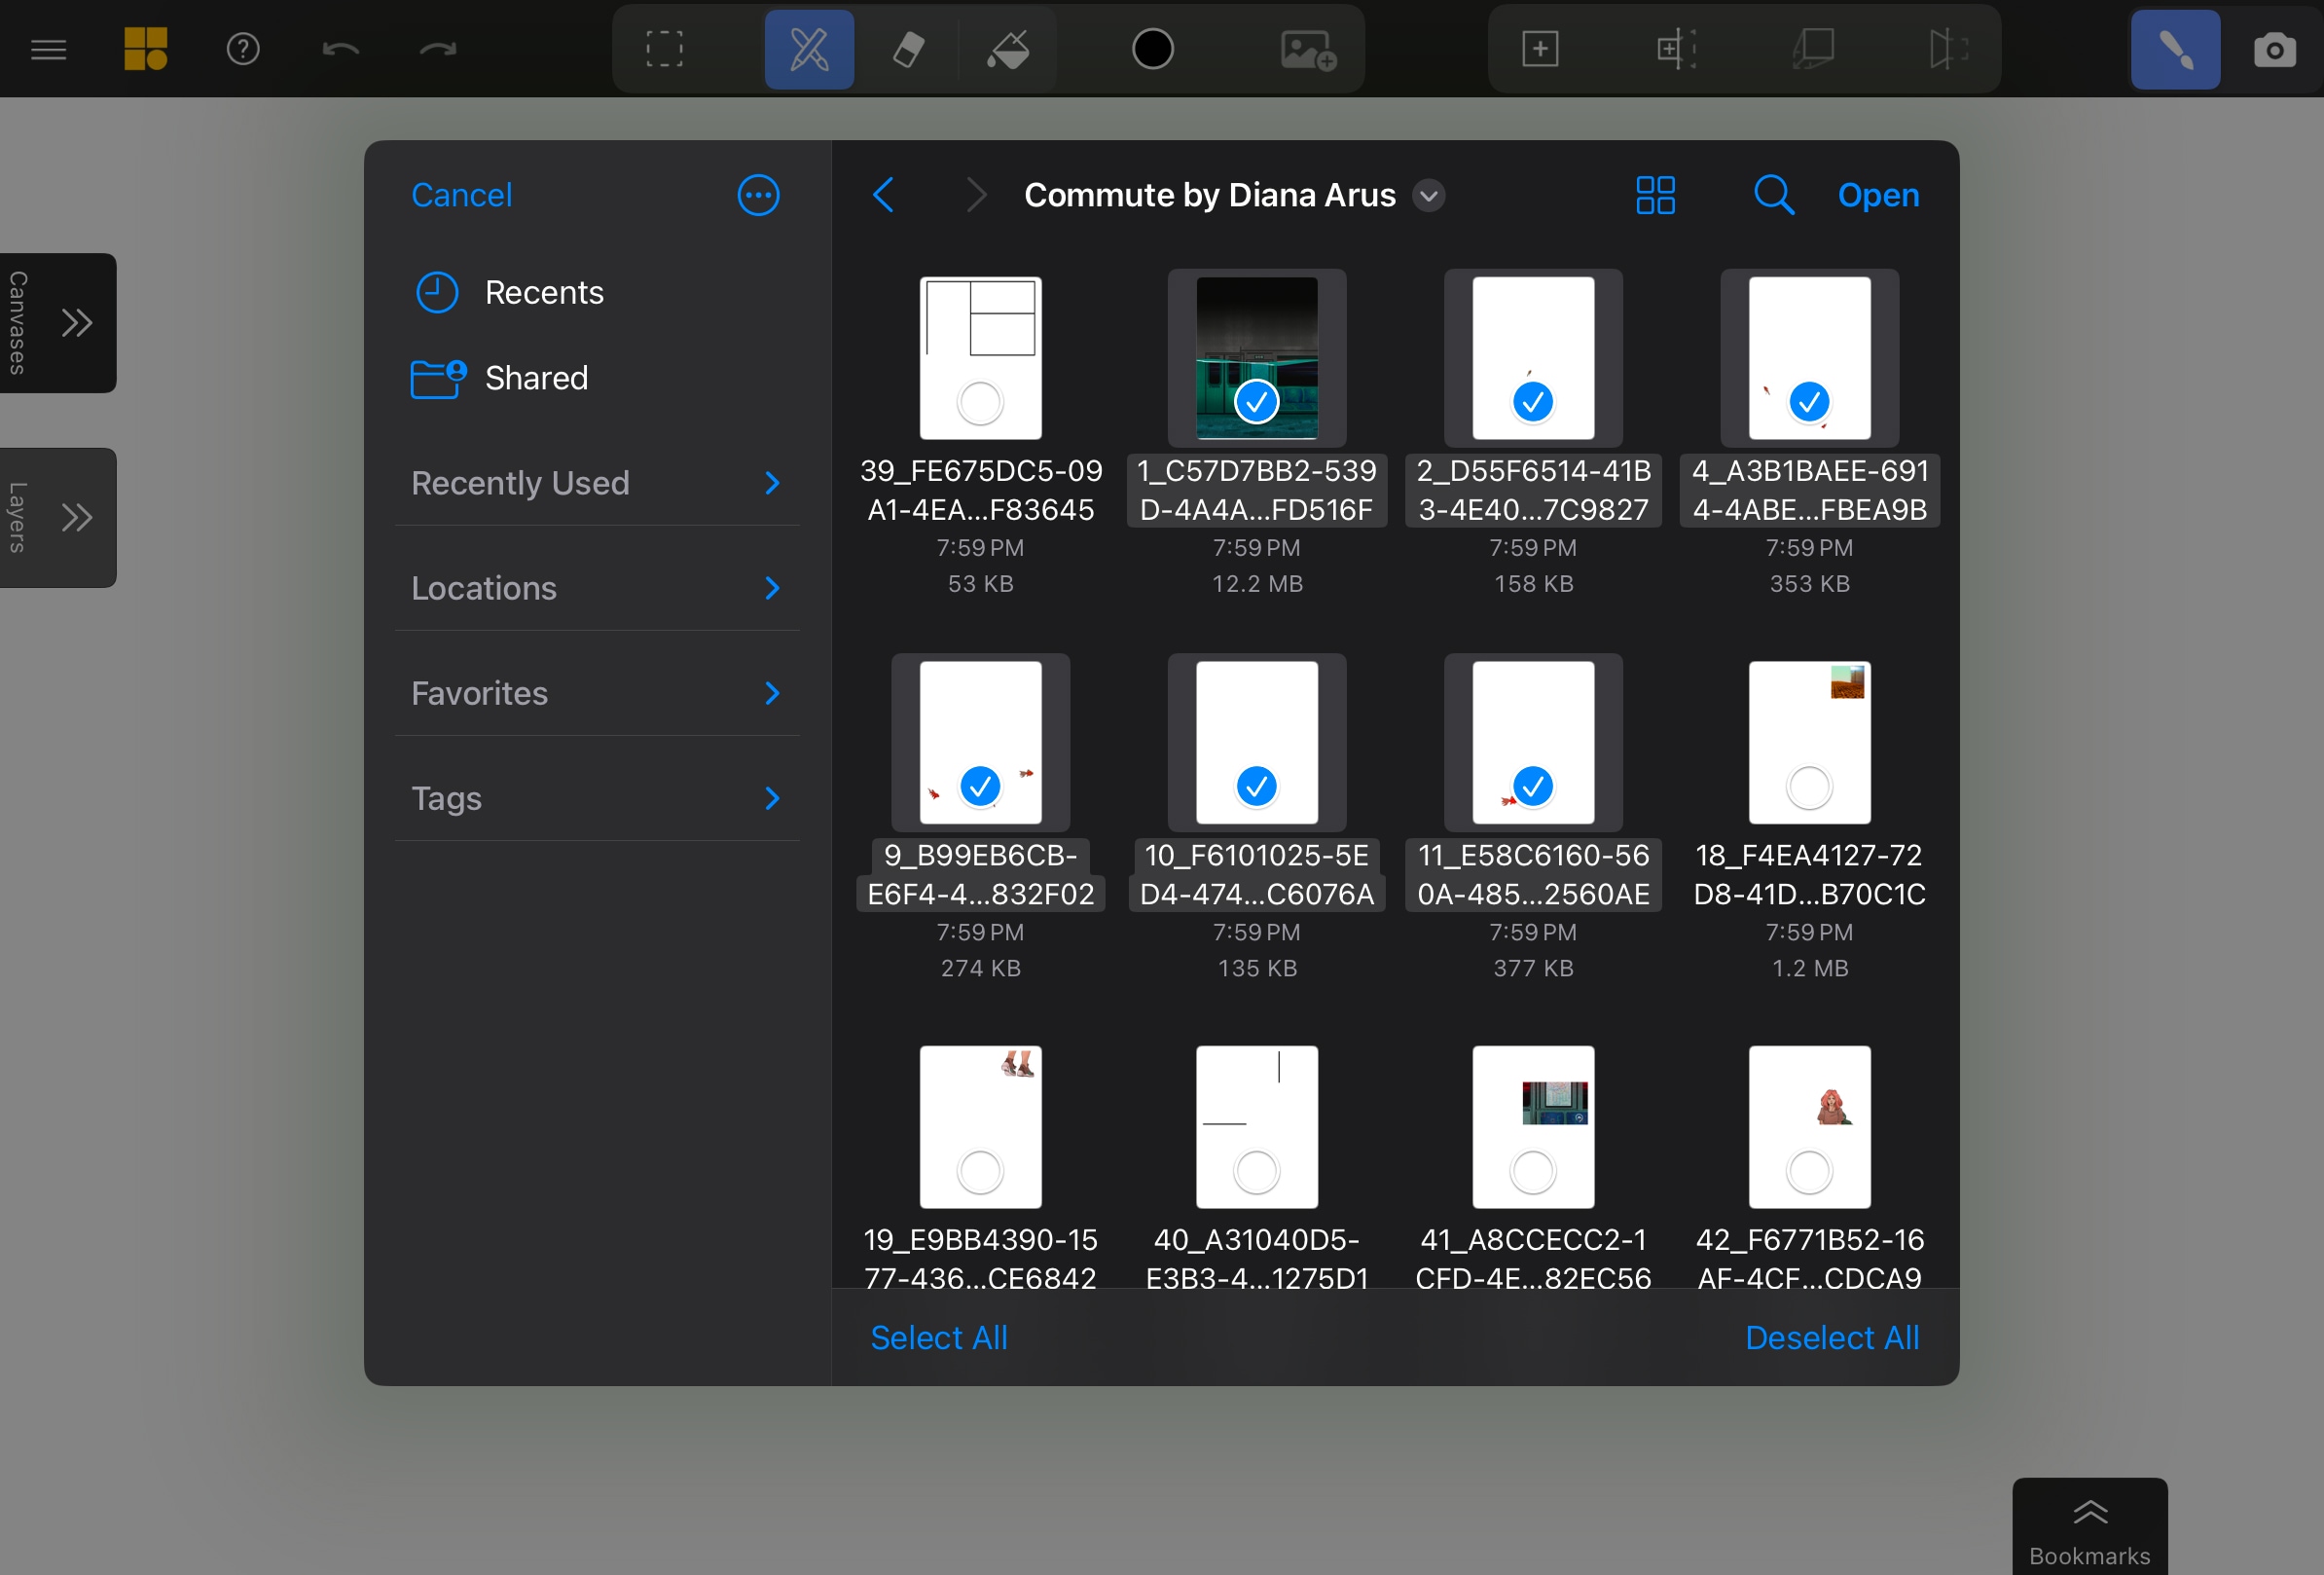 Files: No image limit, but layer order is determined automatically, front-to-back alphanumerically by filename.
If you’re working with a large layer stack, you can either repeat the import process in batches or manually rearrange layers after import.
Position Your Images in 2D
Your images will appear in the center of your current view on the canvas. Use these gestures to position them:
- Pinch to scale.
- Single finger or pen drag to move in 2D.
- Twist to rotate.
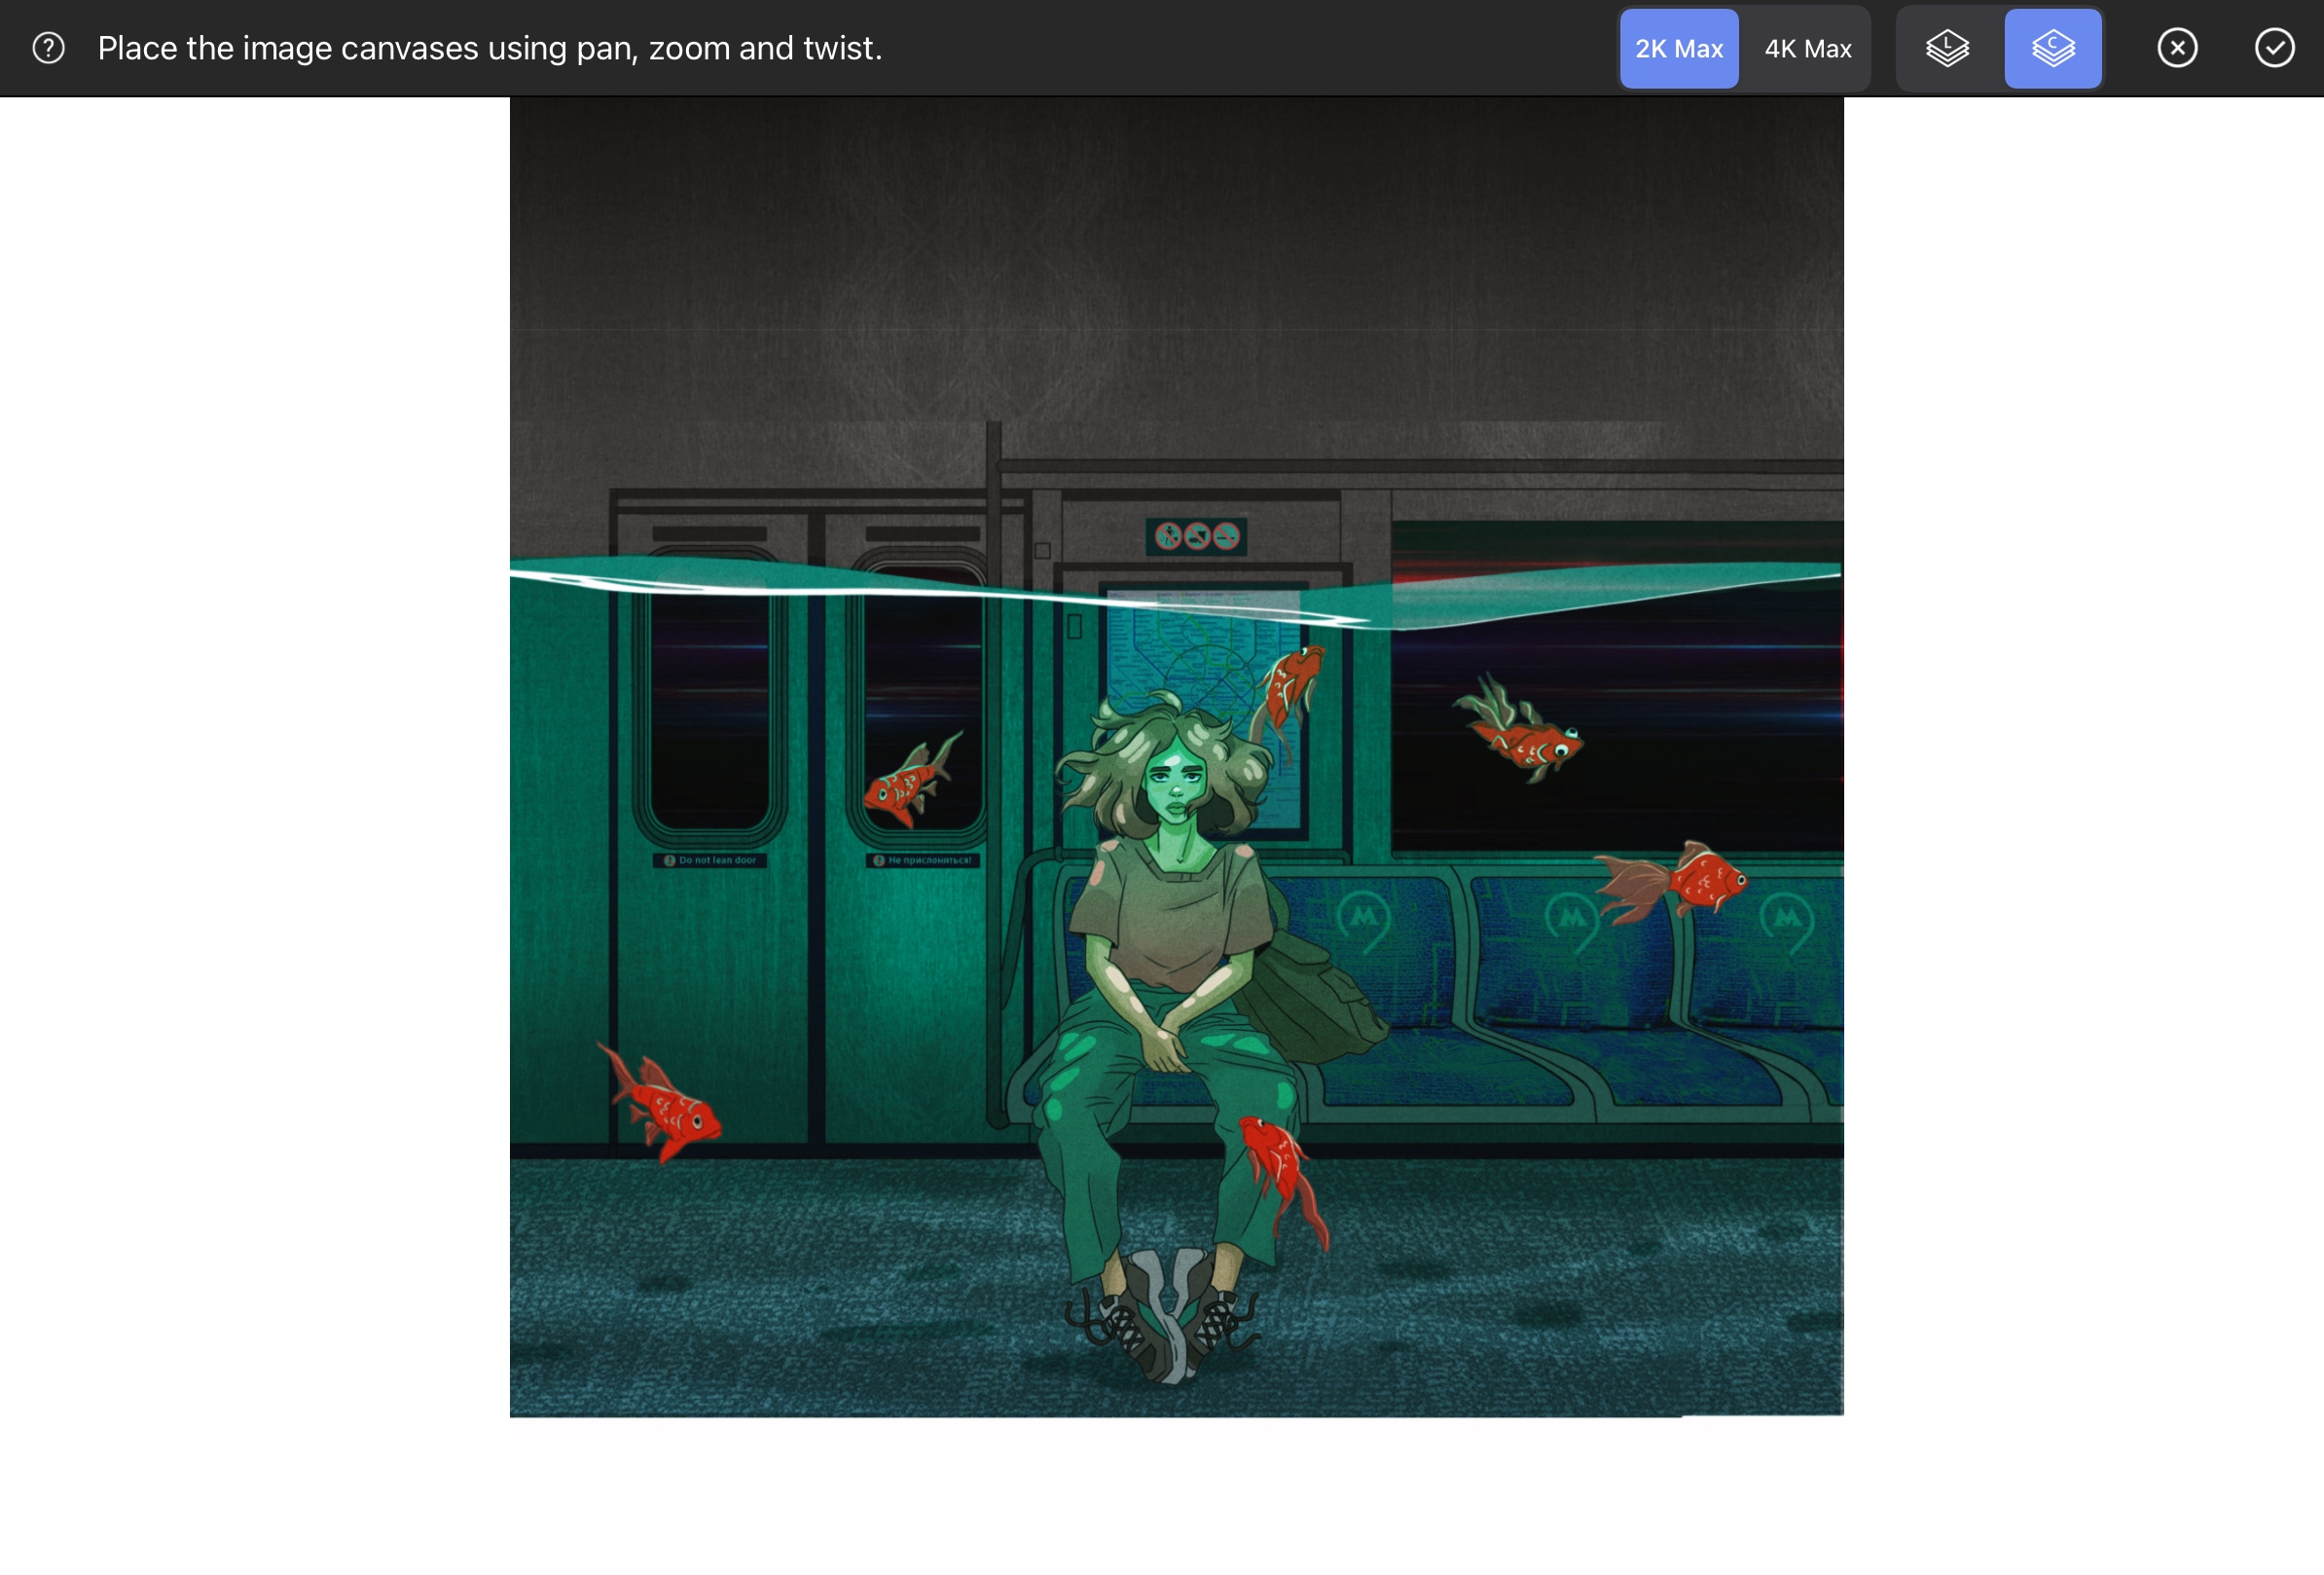
Once placed, images can be moved and scaled in 2D with the Selection Tools in the same ways as strokes.
Adjust Image Resolution
In the top toolbar, toggle between 2K (2048x2048) and 4K (4096x4096) resolutions. Choose 4K for maximum detail, but note that importing many high-resolution images may affect performance. If your image is smaller than 2K, the toggle will be grayed out.
Choose Layers or Canvases
If you’re importing multiple images, use the toolbar toggle to select how they’re placed:
- Separate Layers – L: Images stay on one canvas but on different layers.
- Separate Canvases – C: Each image is placed on its own canvas, useful if you’re planning on arranging the images in 3D space.
Confirm Import
Hit Confirm in the right-hand toolbar to finalize the import.
In this example, the images were imported as separate canvases, so they appear one by one in the Canvas List.
Additional Notes
- Imported images are marked with an image icon in the lower-right corner of their thumbnail in the Layers List.
- Once you’ve imported your images in the scene, you can edit them using tools like Selection and Projection, just like drawn strokes.
- If you’ve made changes to your imported image and want to replace it, use the Image Replace function.