Projecting a 2D Drawing
Projection allows you to transform a flat 2D sketch into a spatial 3D scene while keeping your original view intact. In this guide, we’ll take a simple perspective drawing of a park and project its elements into 3D space.
Start with a 2D Sketch
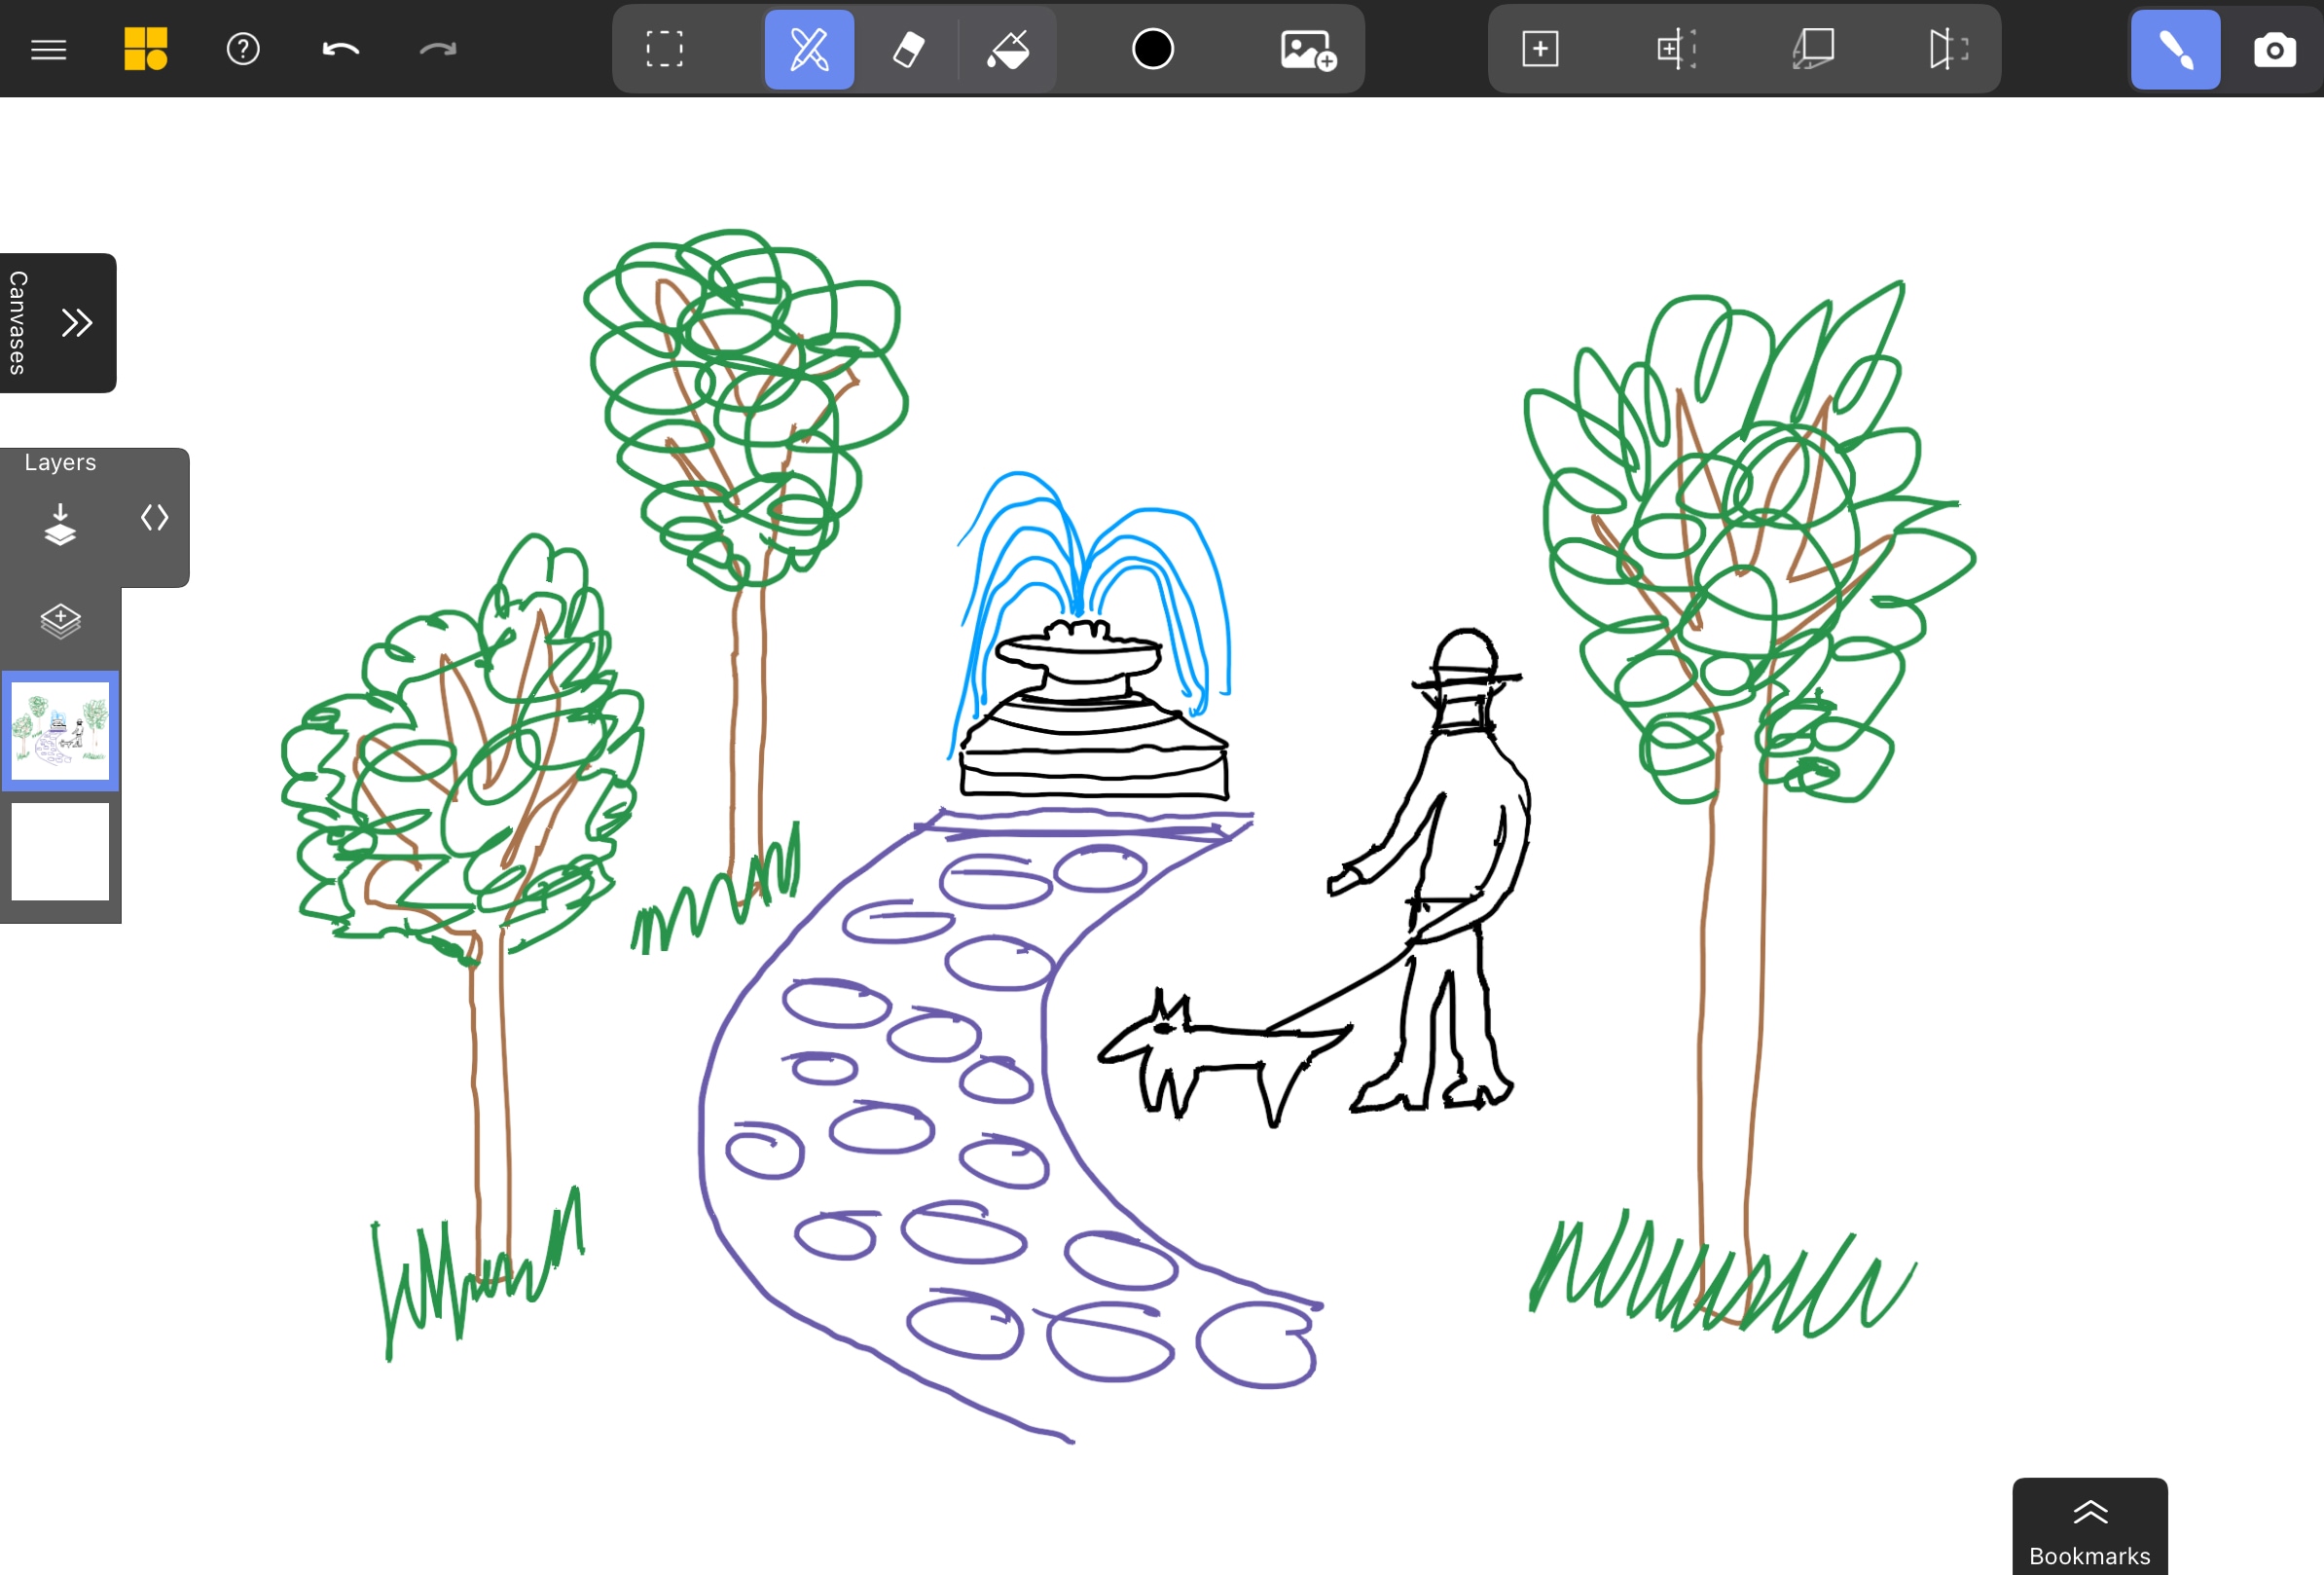
We start with a perspective sketch of a park featuring trees, a pathway, and a person walking their dog.
From the side view, you can see that everything is currently flat on a single canvas.
Save the Original View
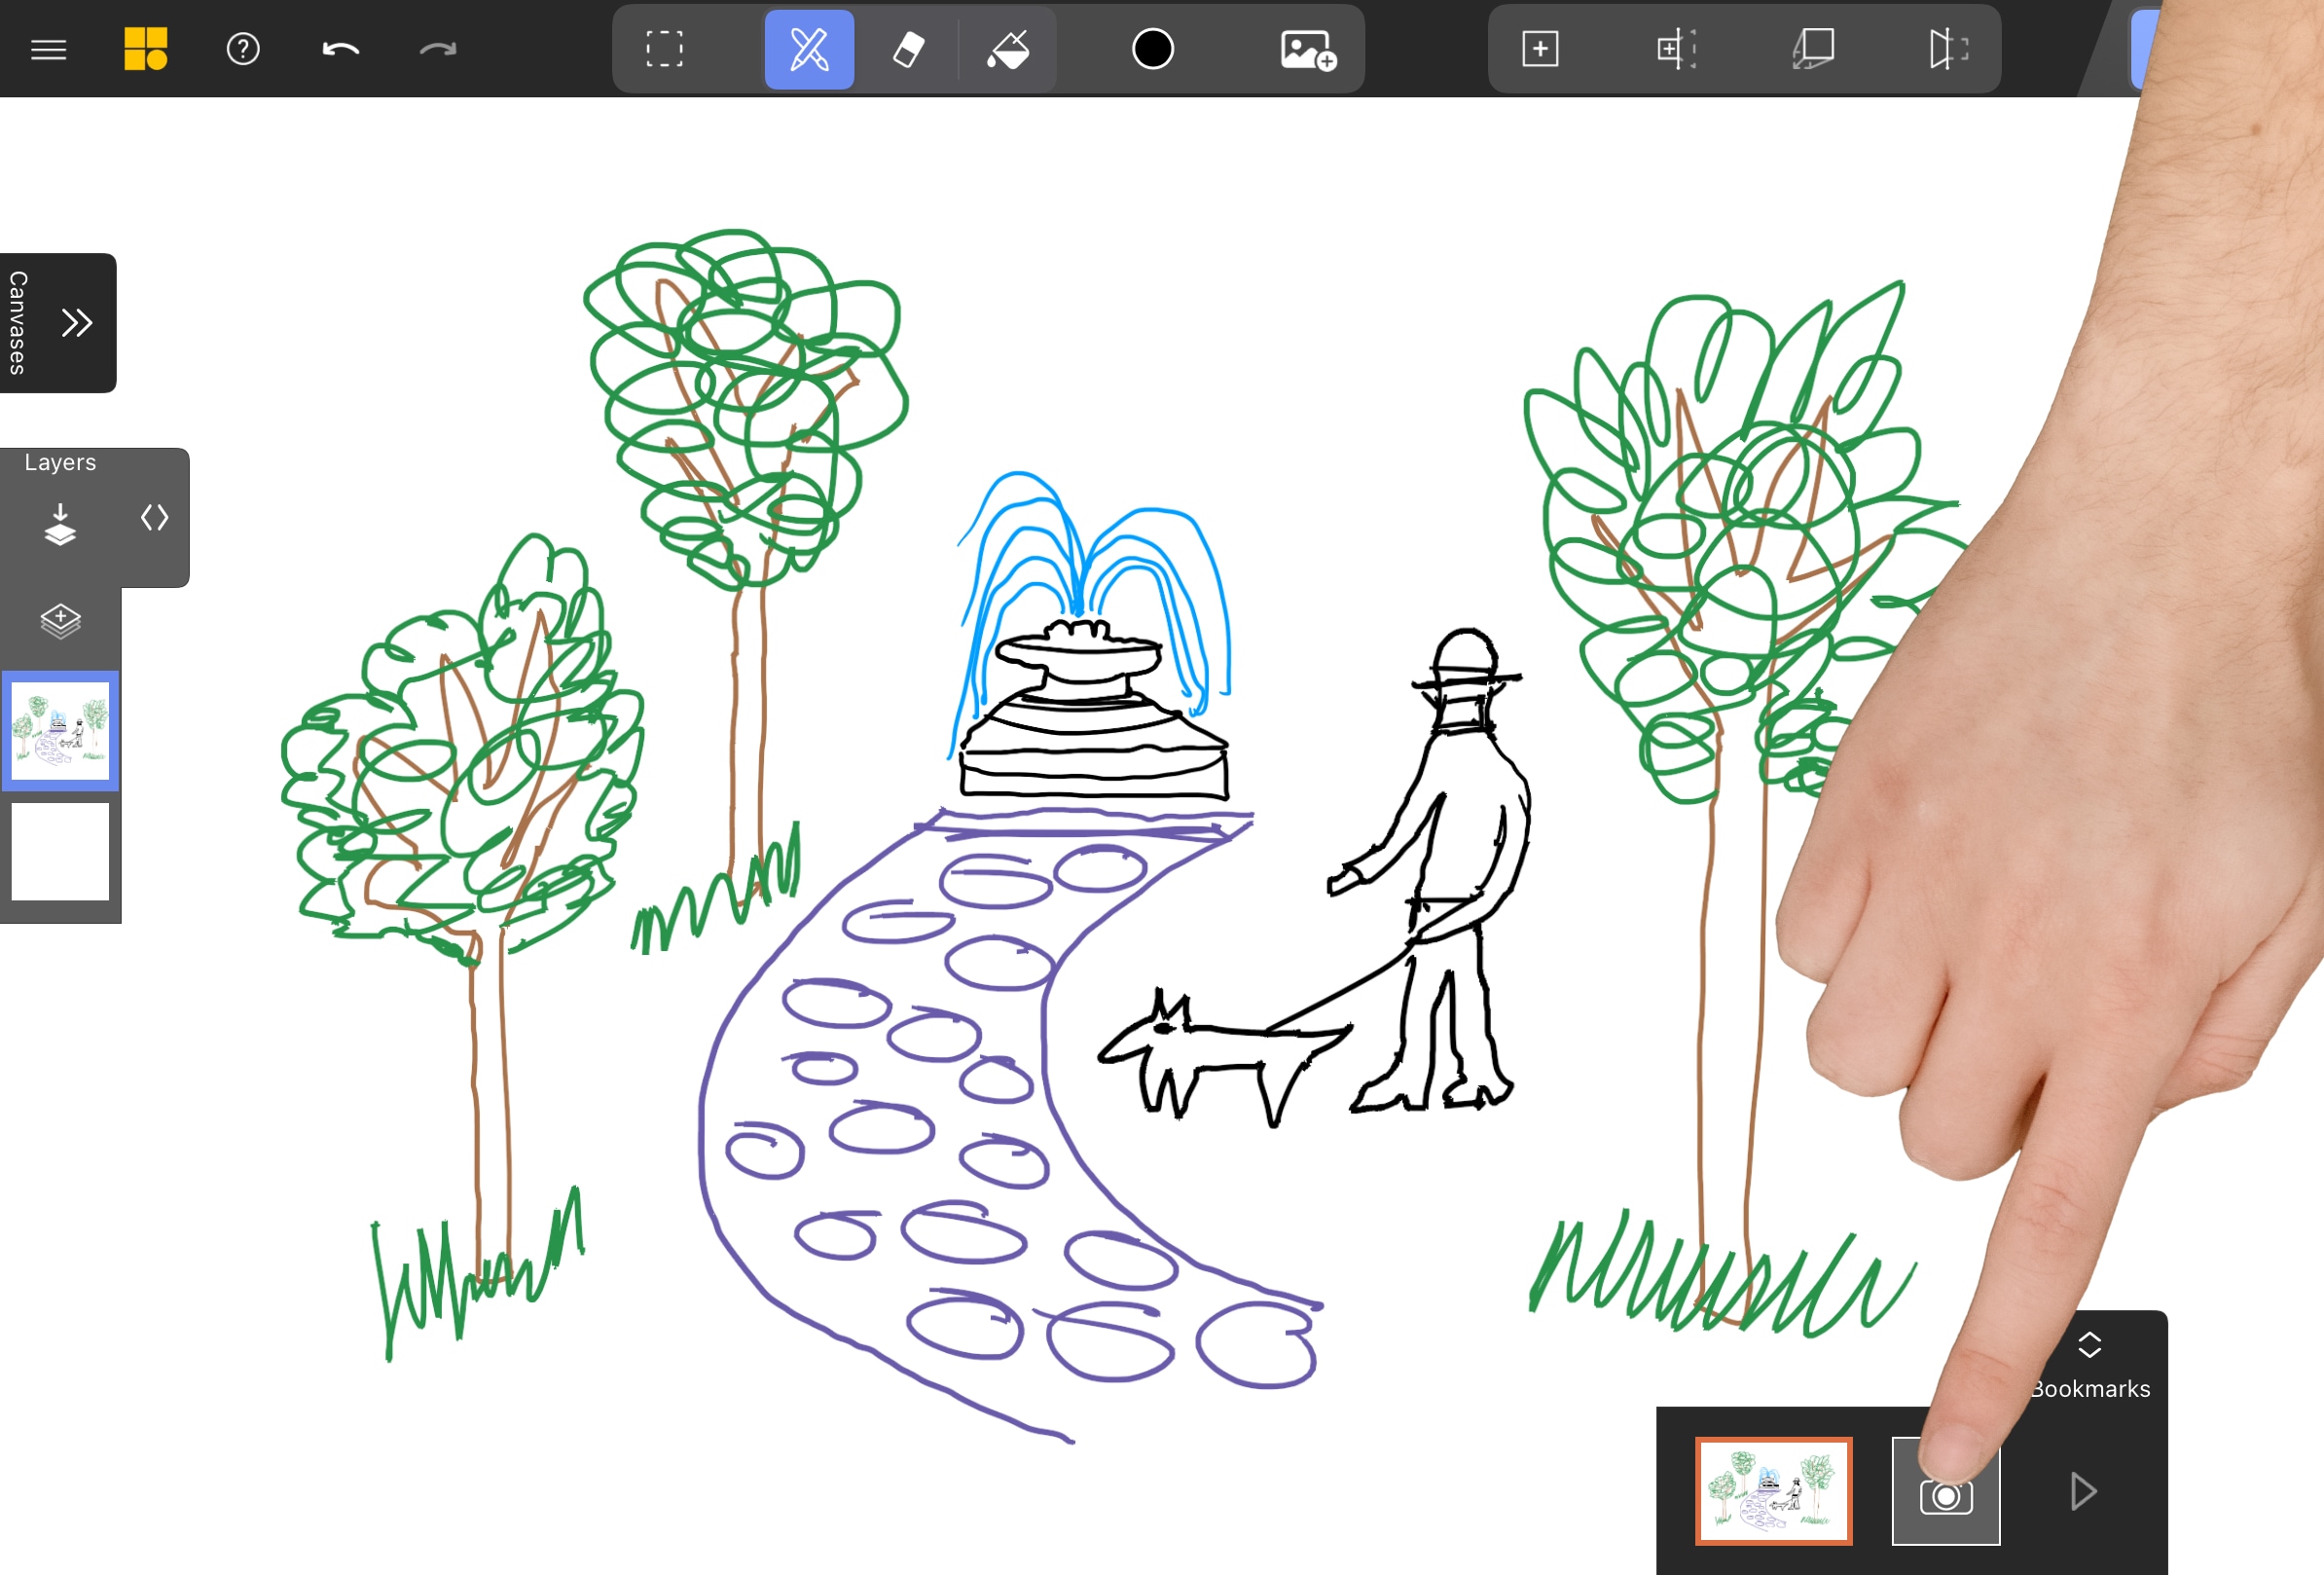
Since we want to maintain the composition of our original perspective, we first navigate to that view and save it as a Bookmark. This ensures that if we move away during projection, we can always return to the exact starting position.
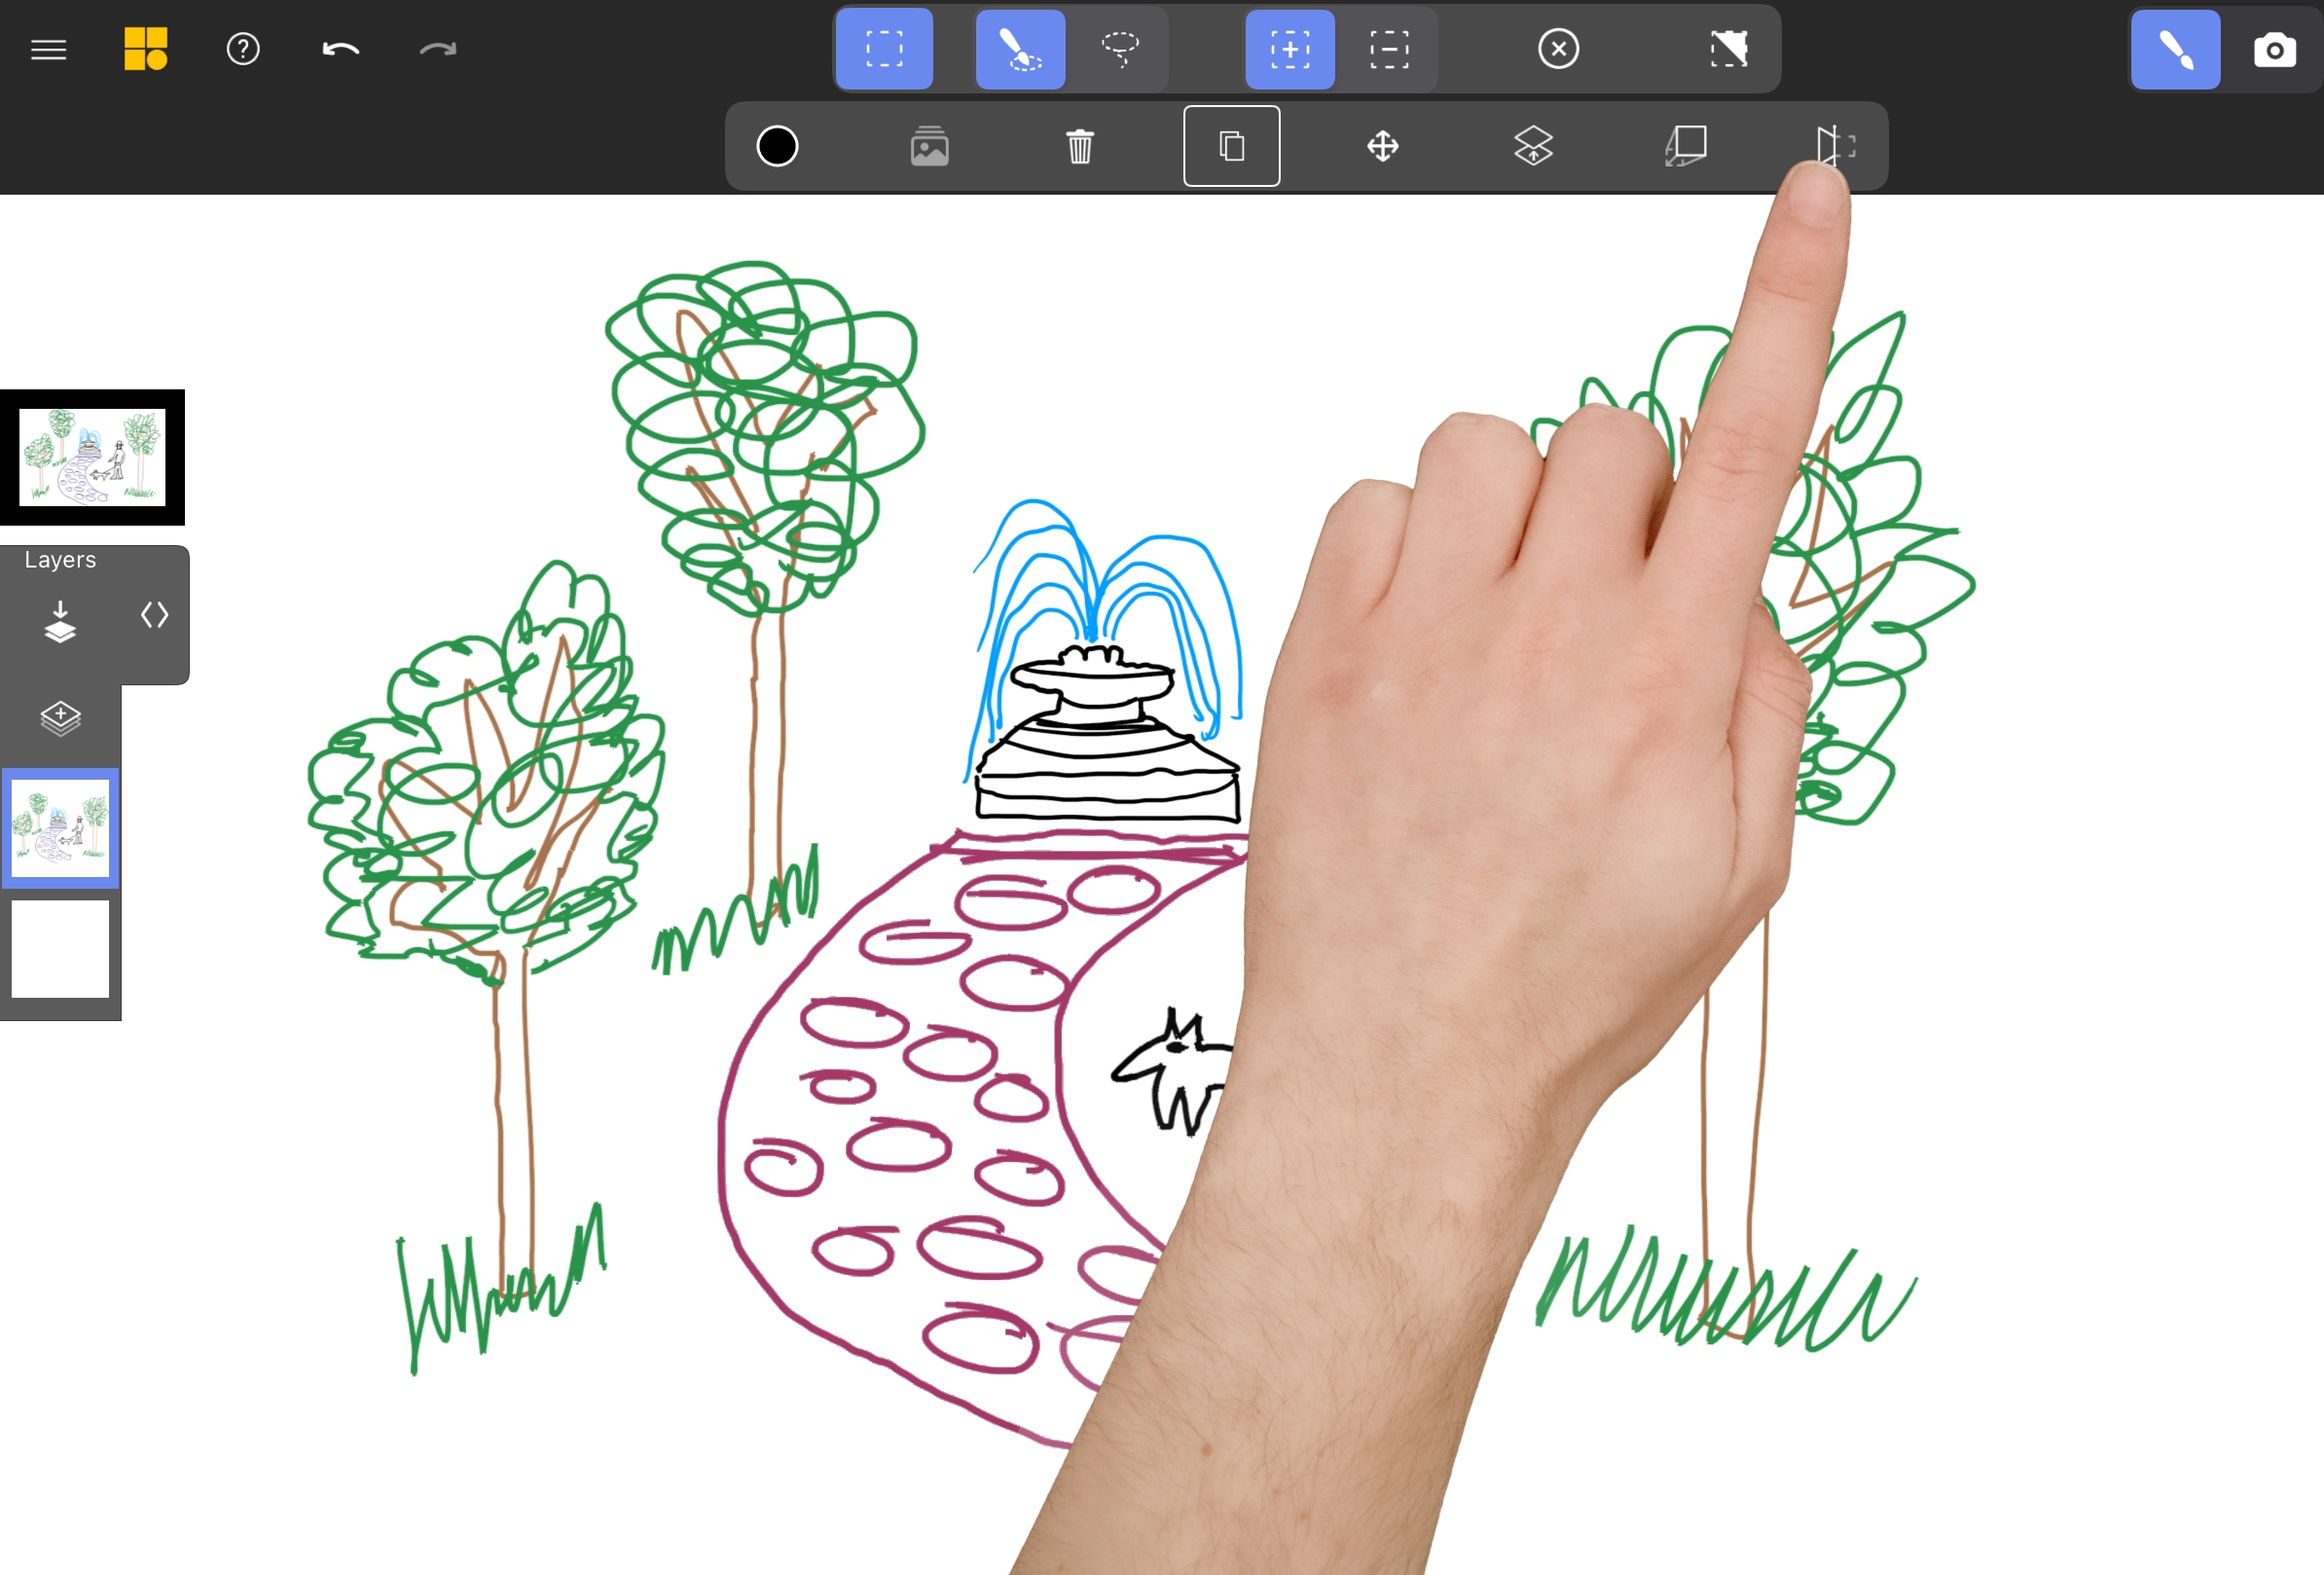
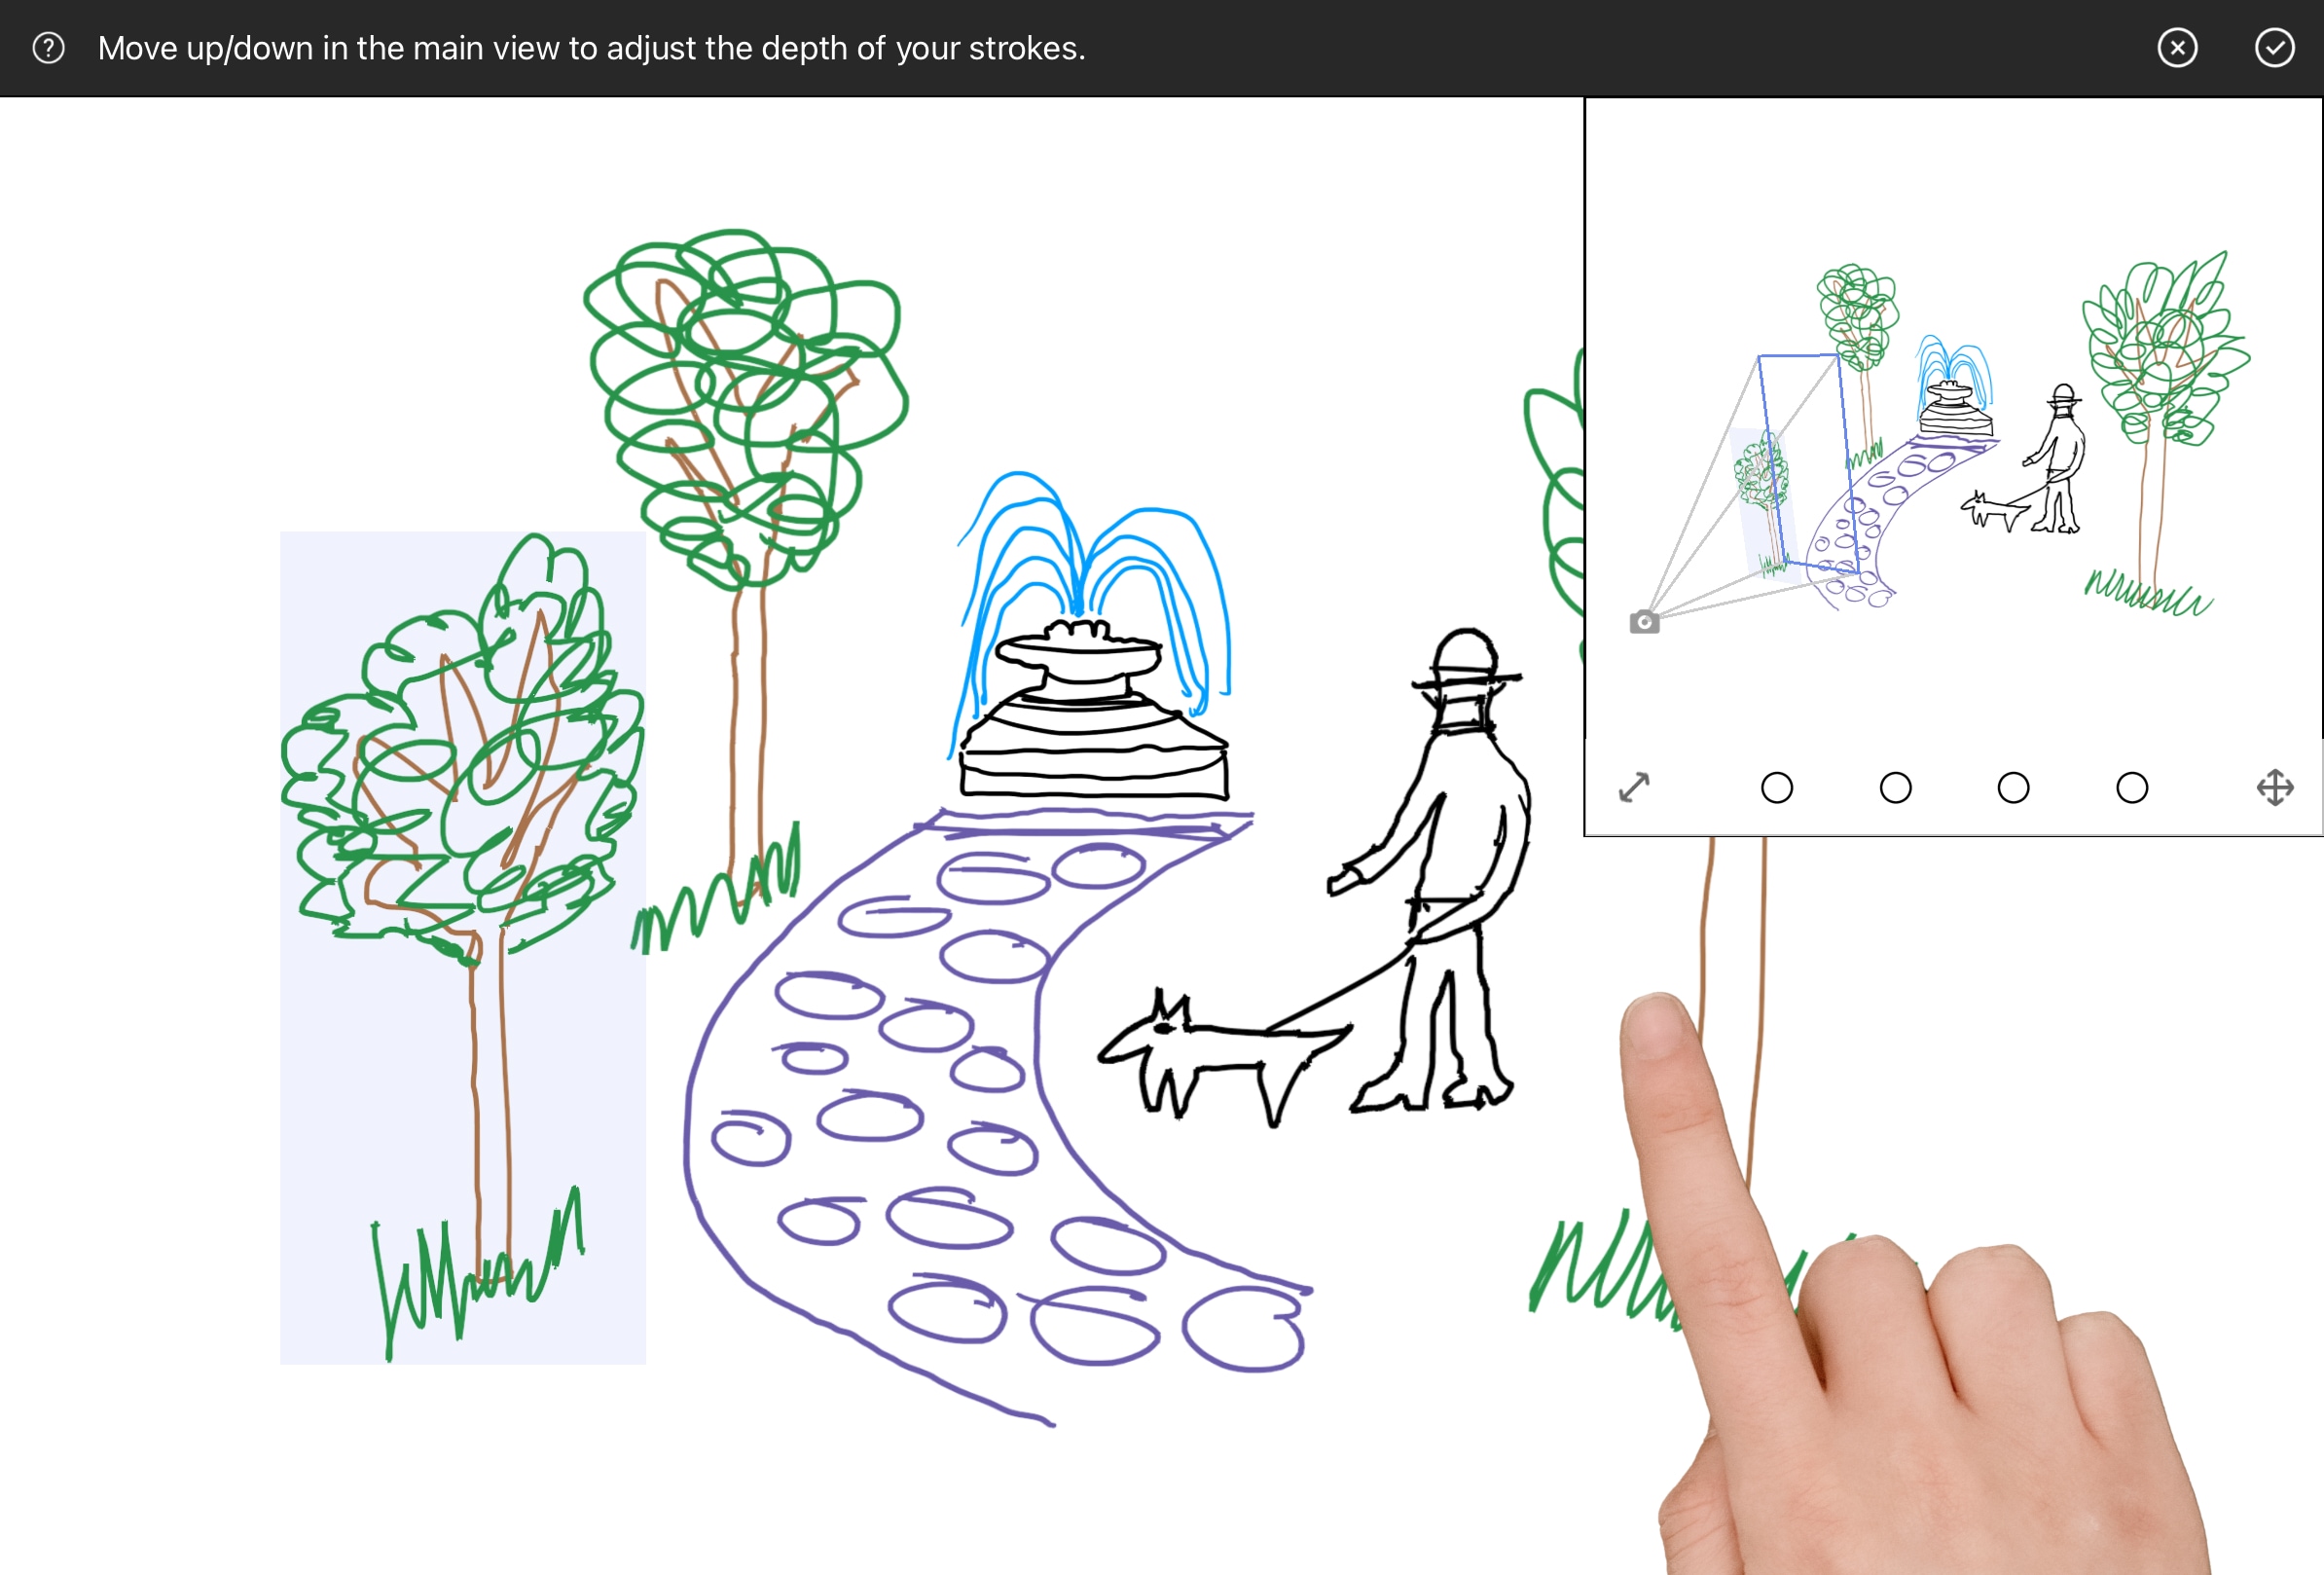
Project the Ground Using Hinge Projection
We begin by projecting the ground plane, as it will serve as a foundation for aligning other elements.
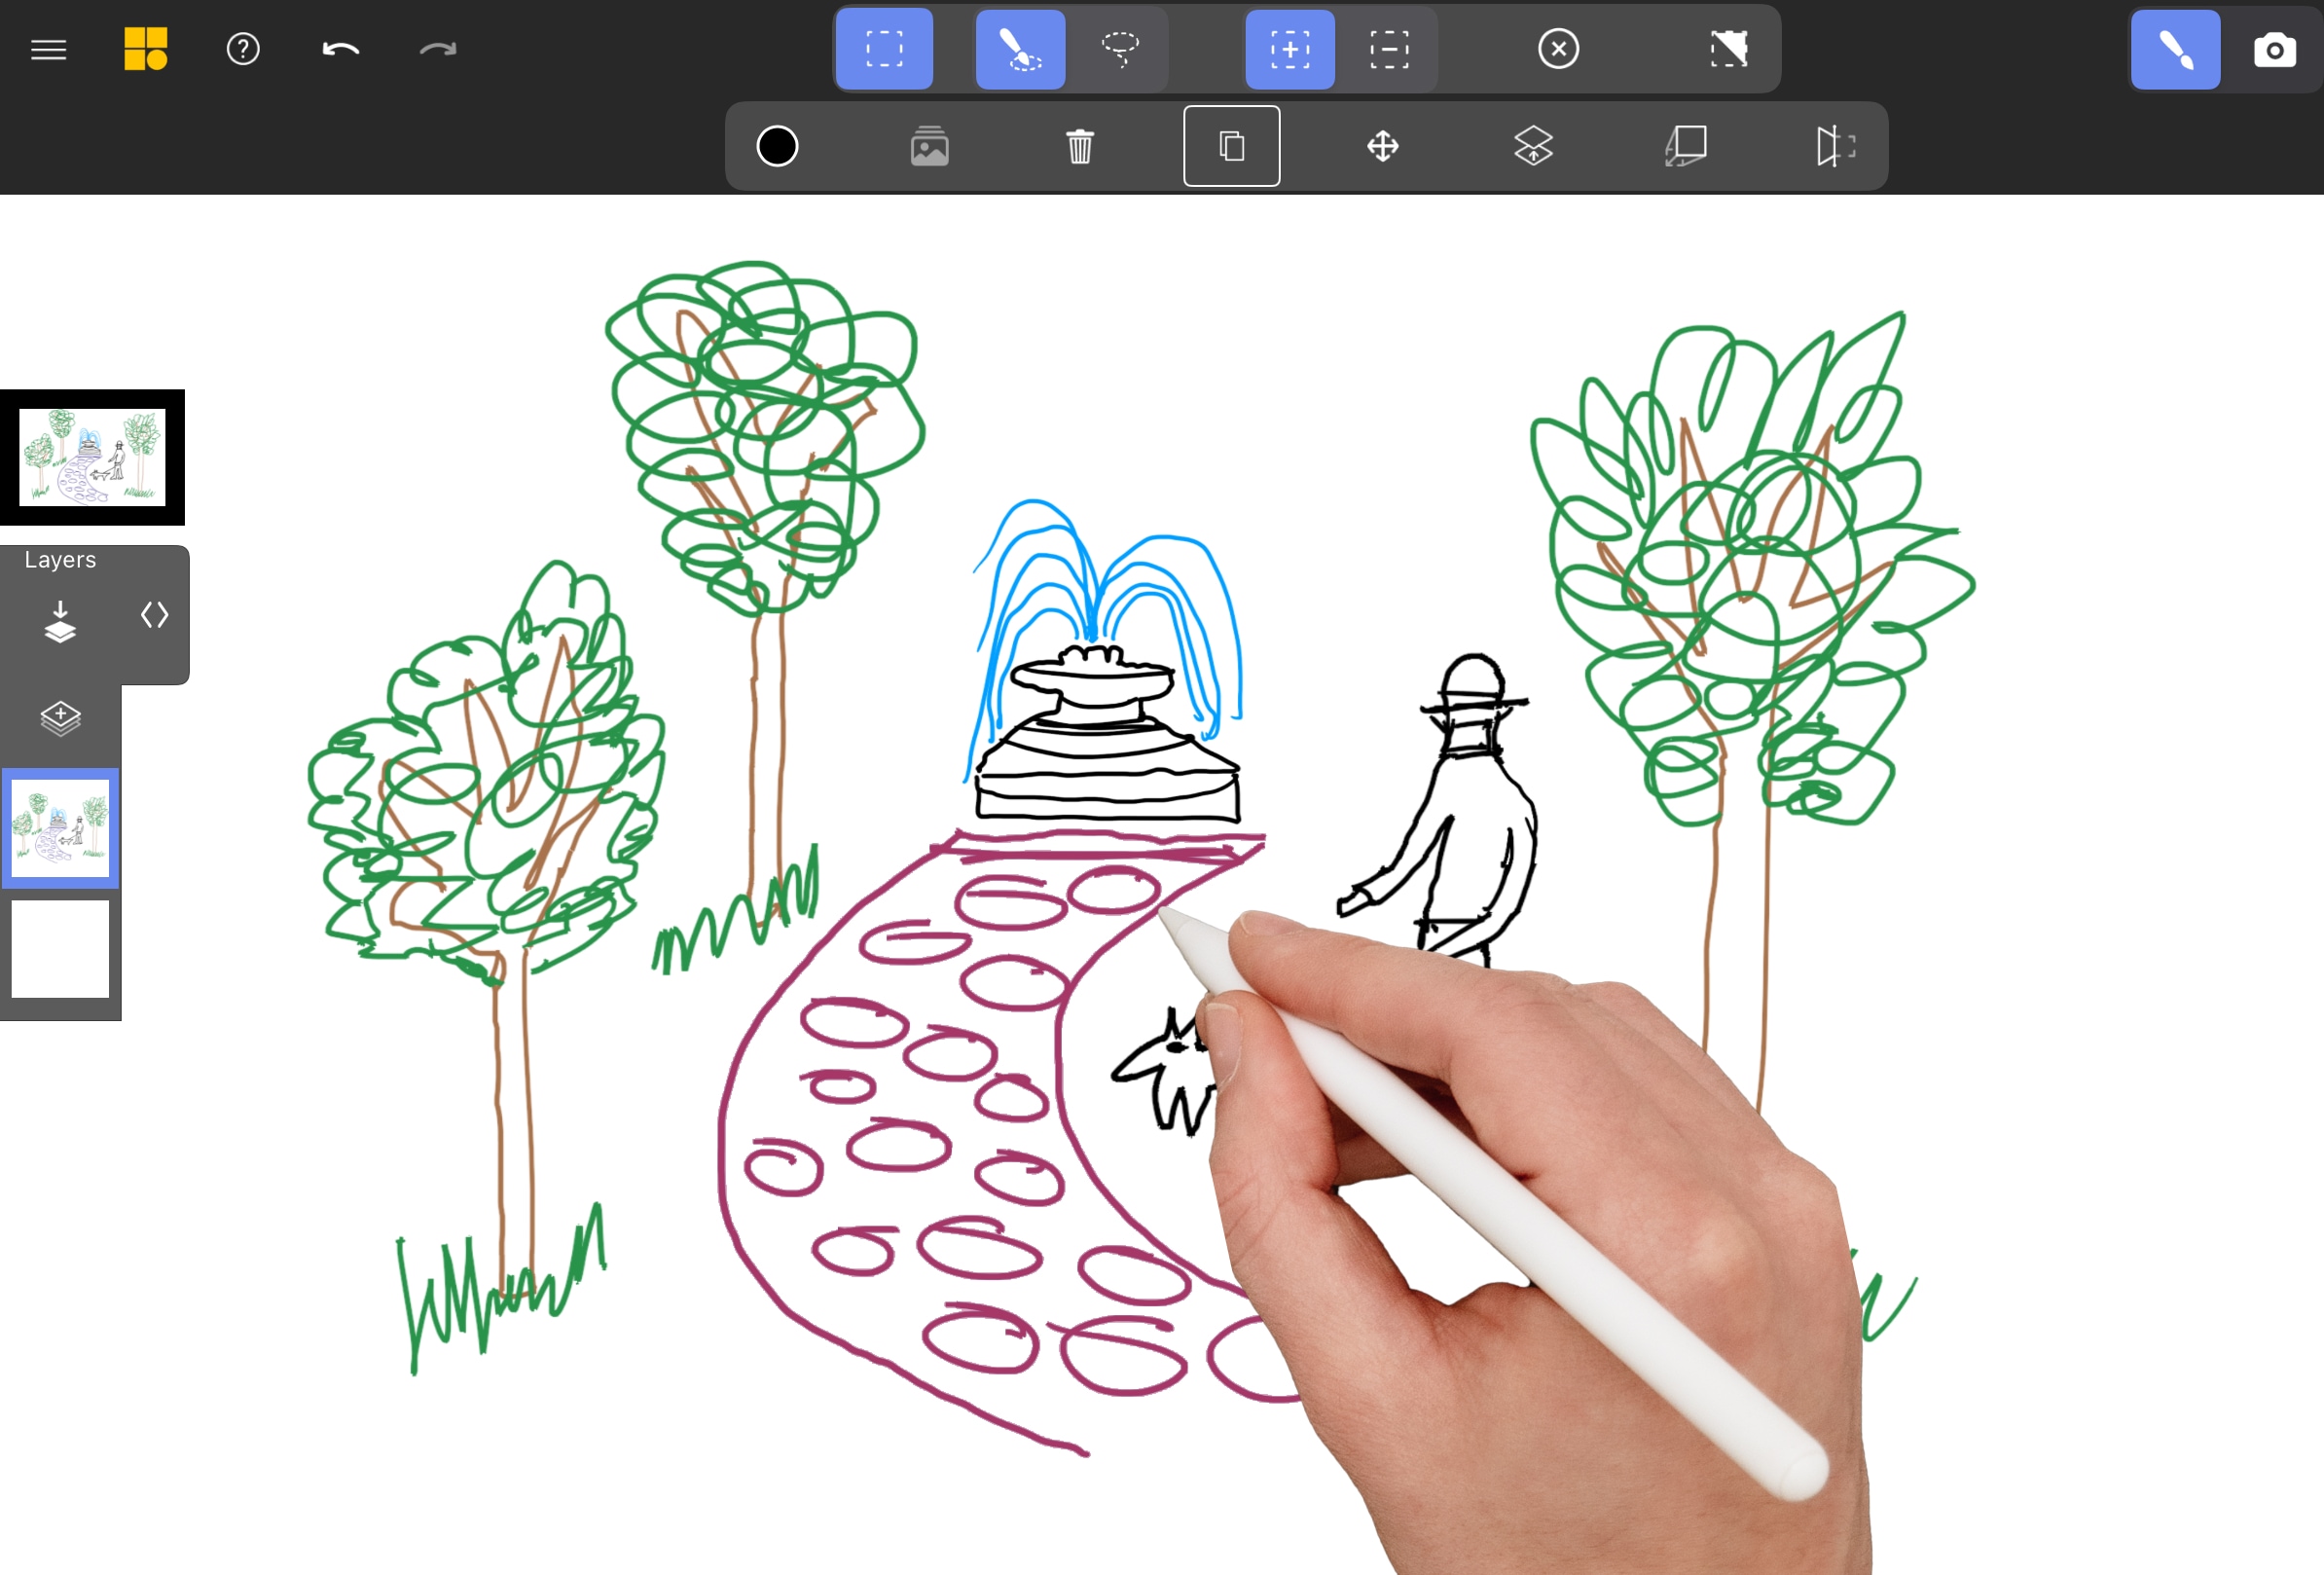
Select the Path
Enter Selection Mode and select all strokes that make up the pathway by dragging your pen or finger over them.
Hinge Project the Selection
Ensure you’re at the correct view (or tap the Canvas Thumbnail to return to it). In the Actions section of the toolbar, select Hinge Projection .
Place the hinge axis horizontally
Drag the two handles to position the hinge axis horizontally in the middle of the scene, approximately at the fountain.
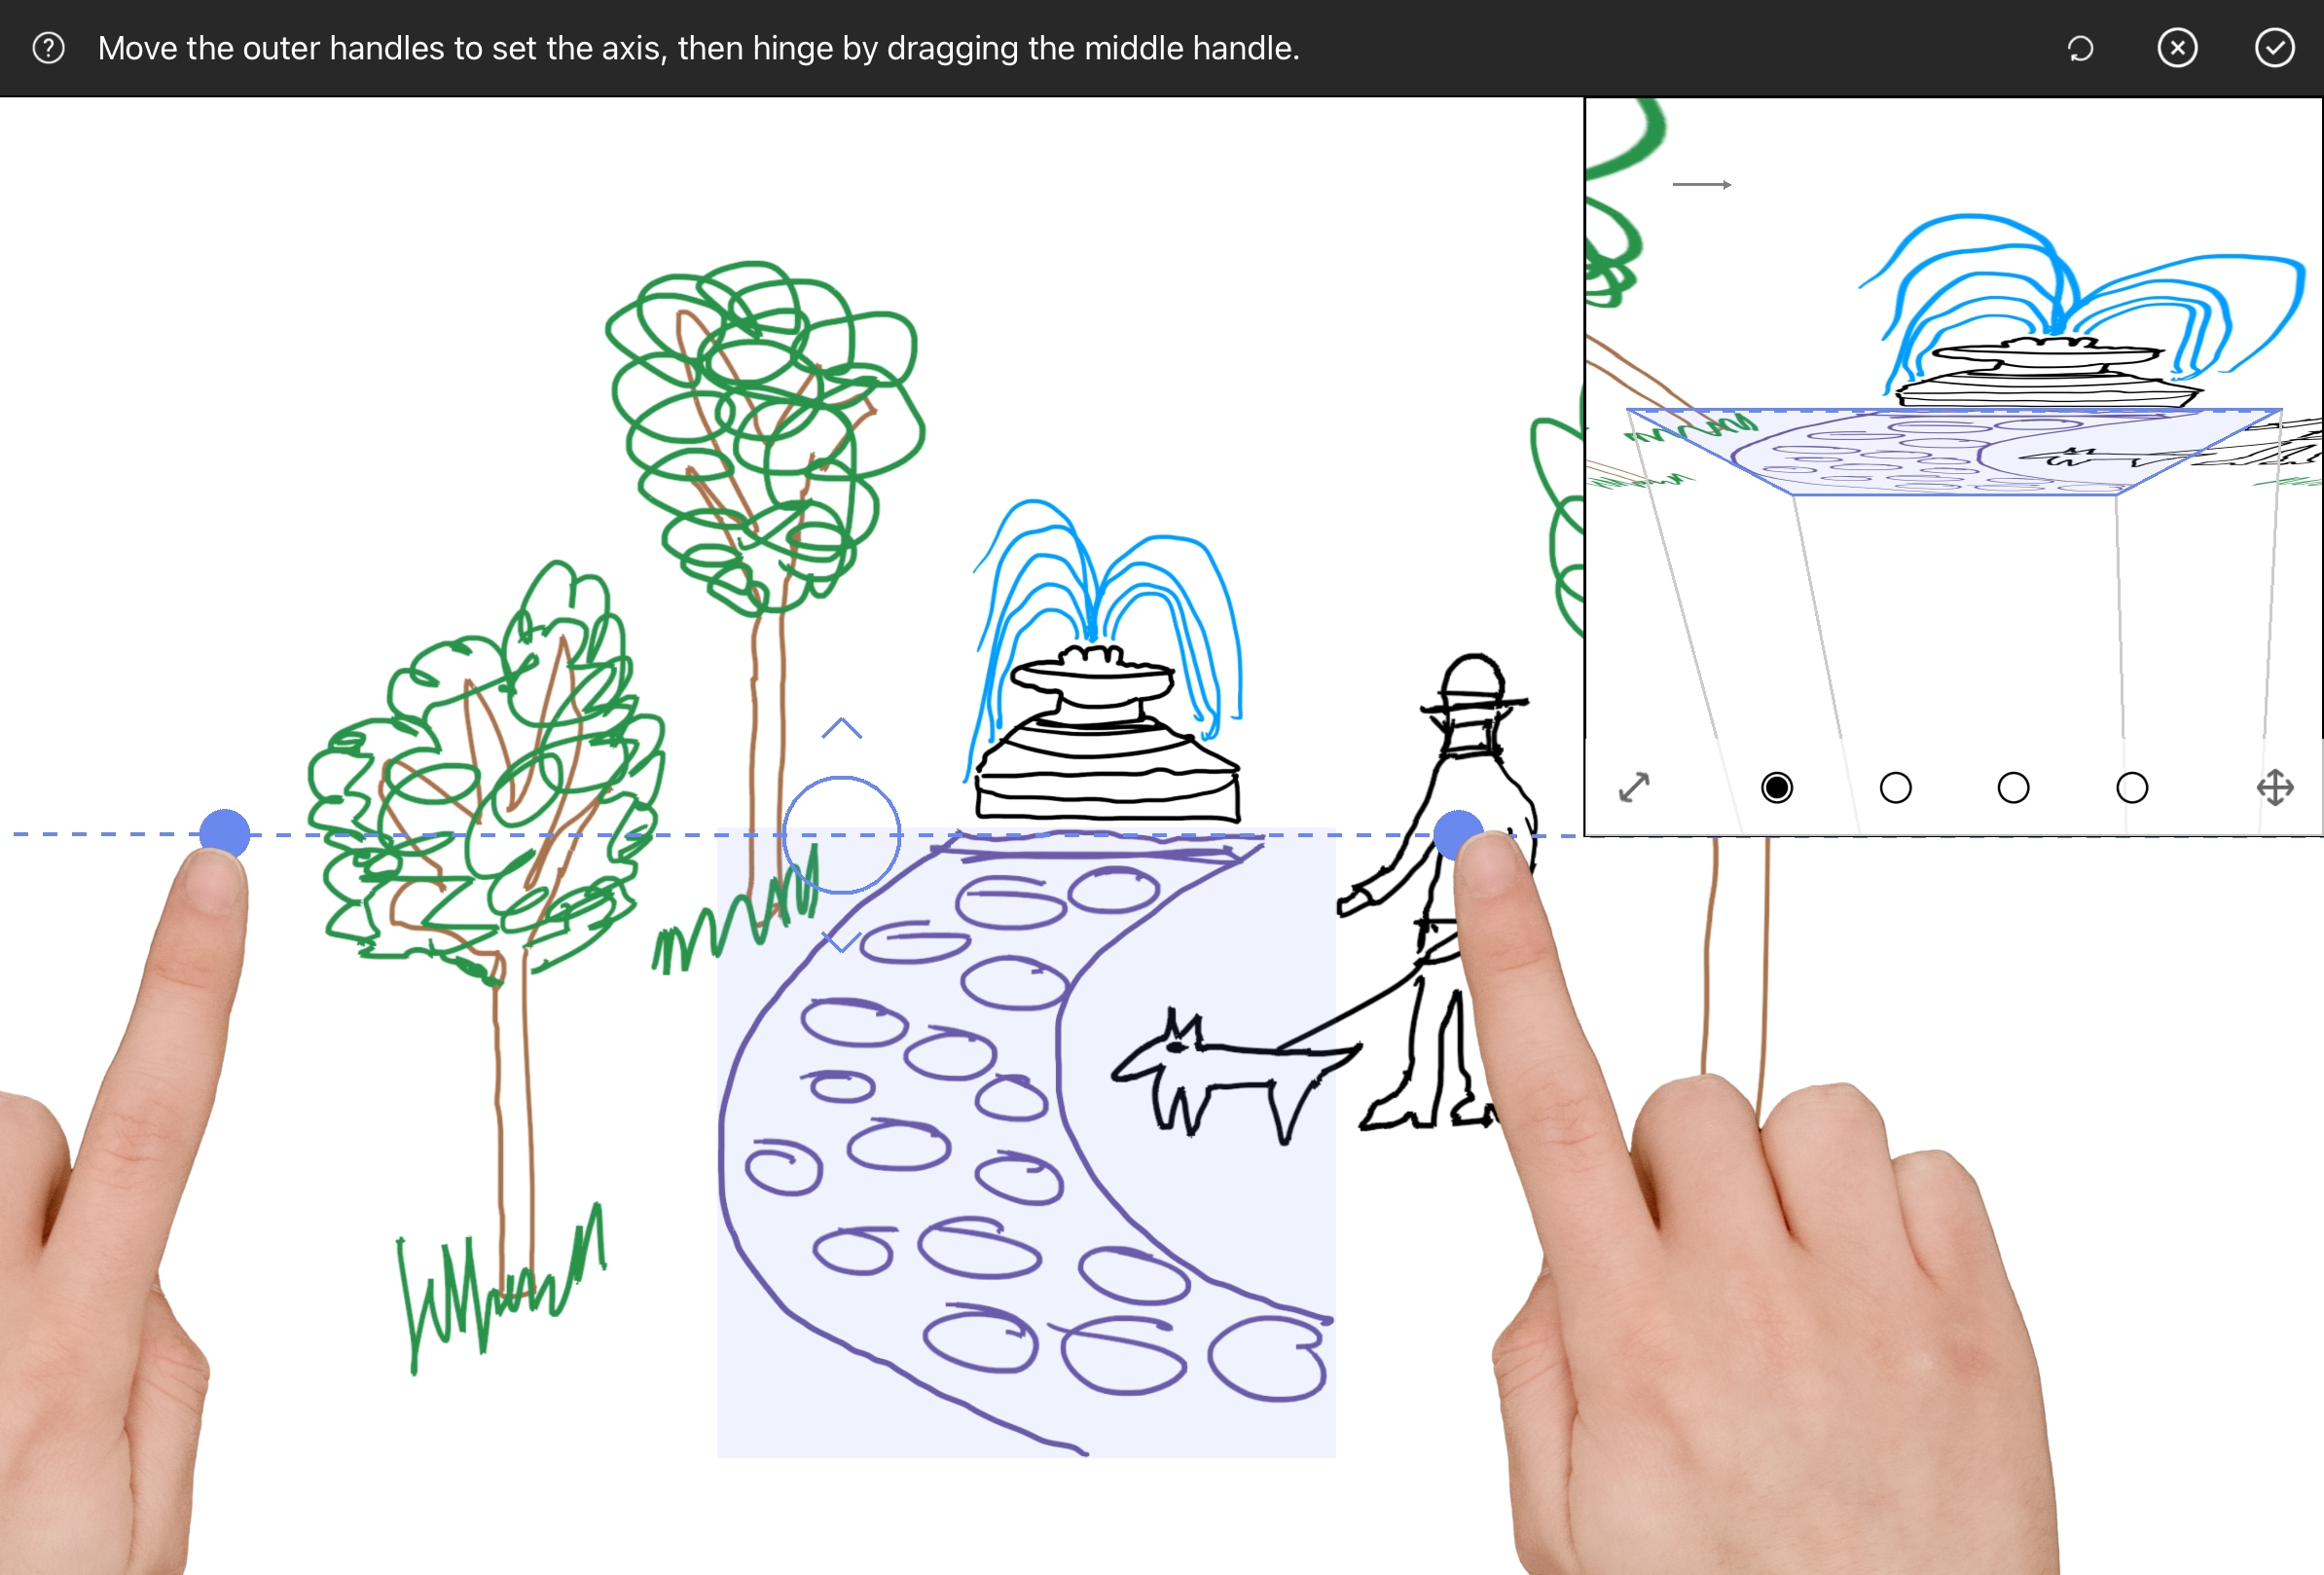
Project the strokes into place
Drag along the axis to position your strokes. Use the Bird’s Eye View for reference to fine-tune the projection.
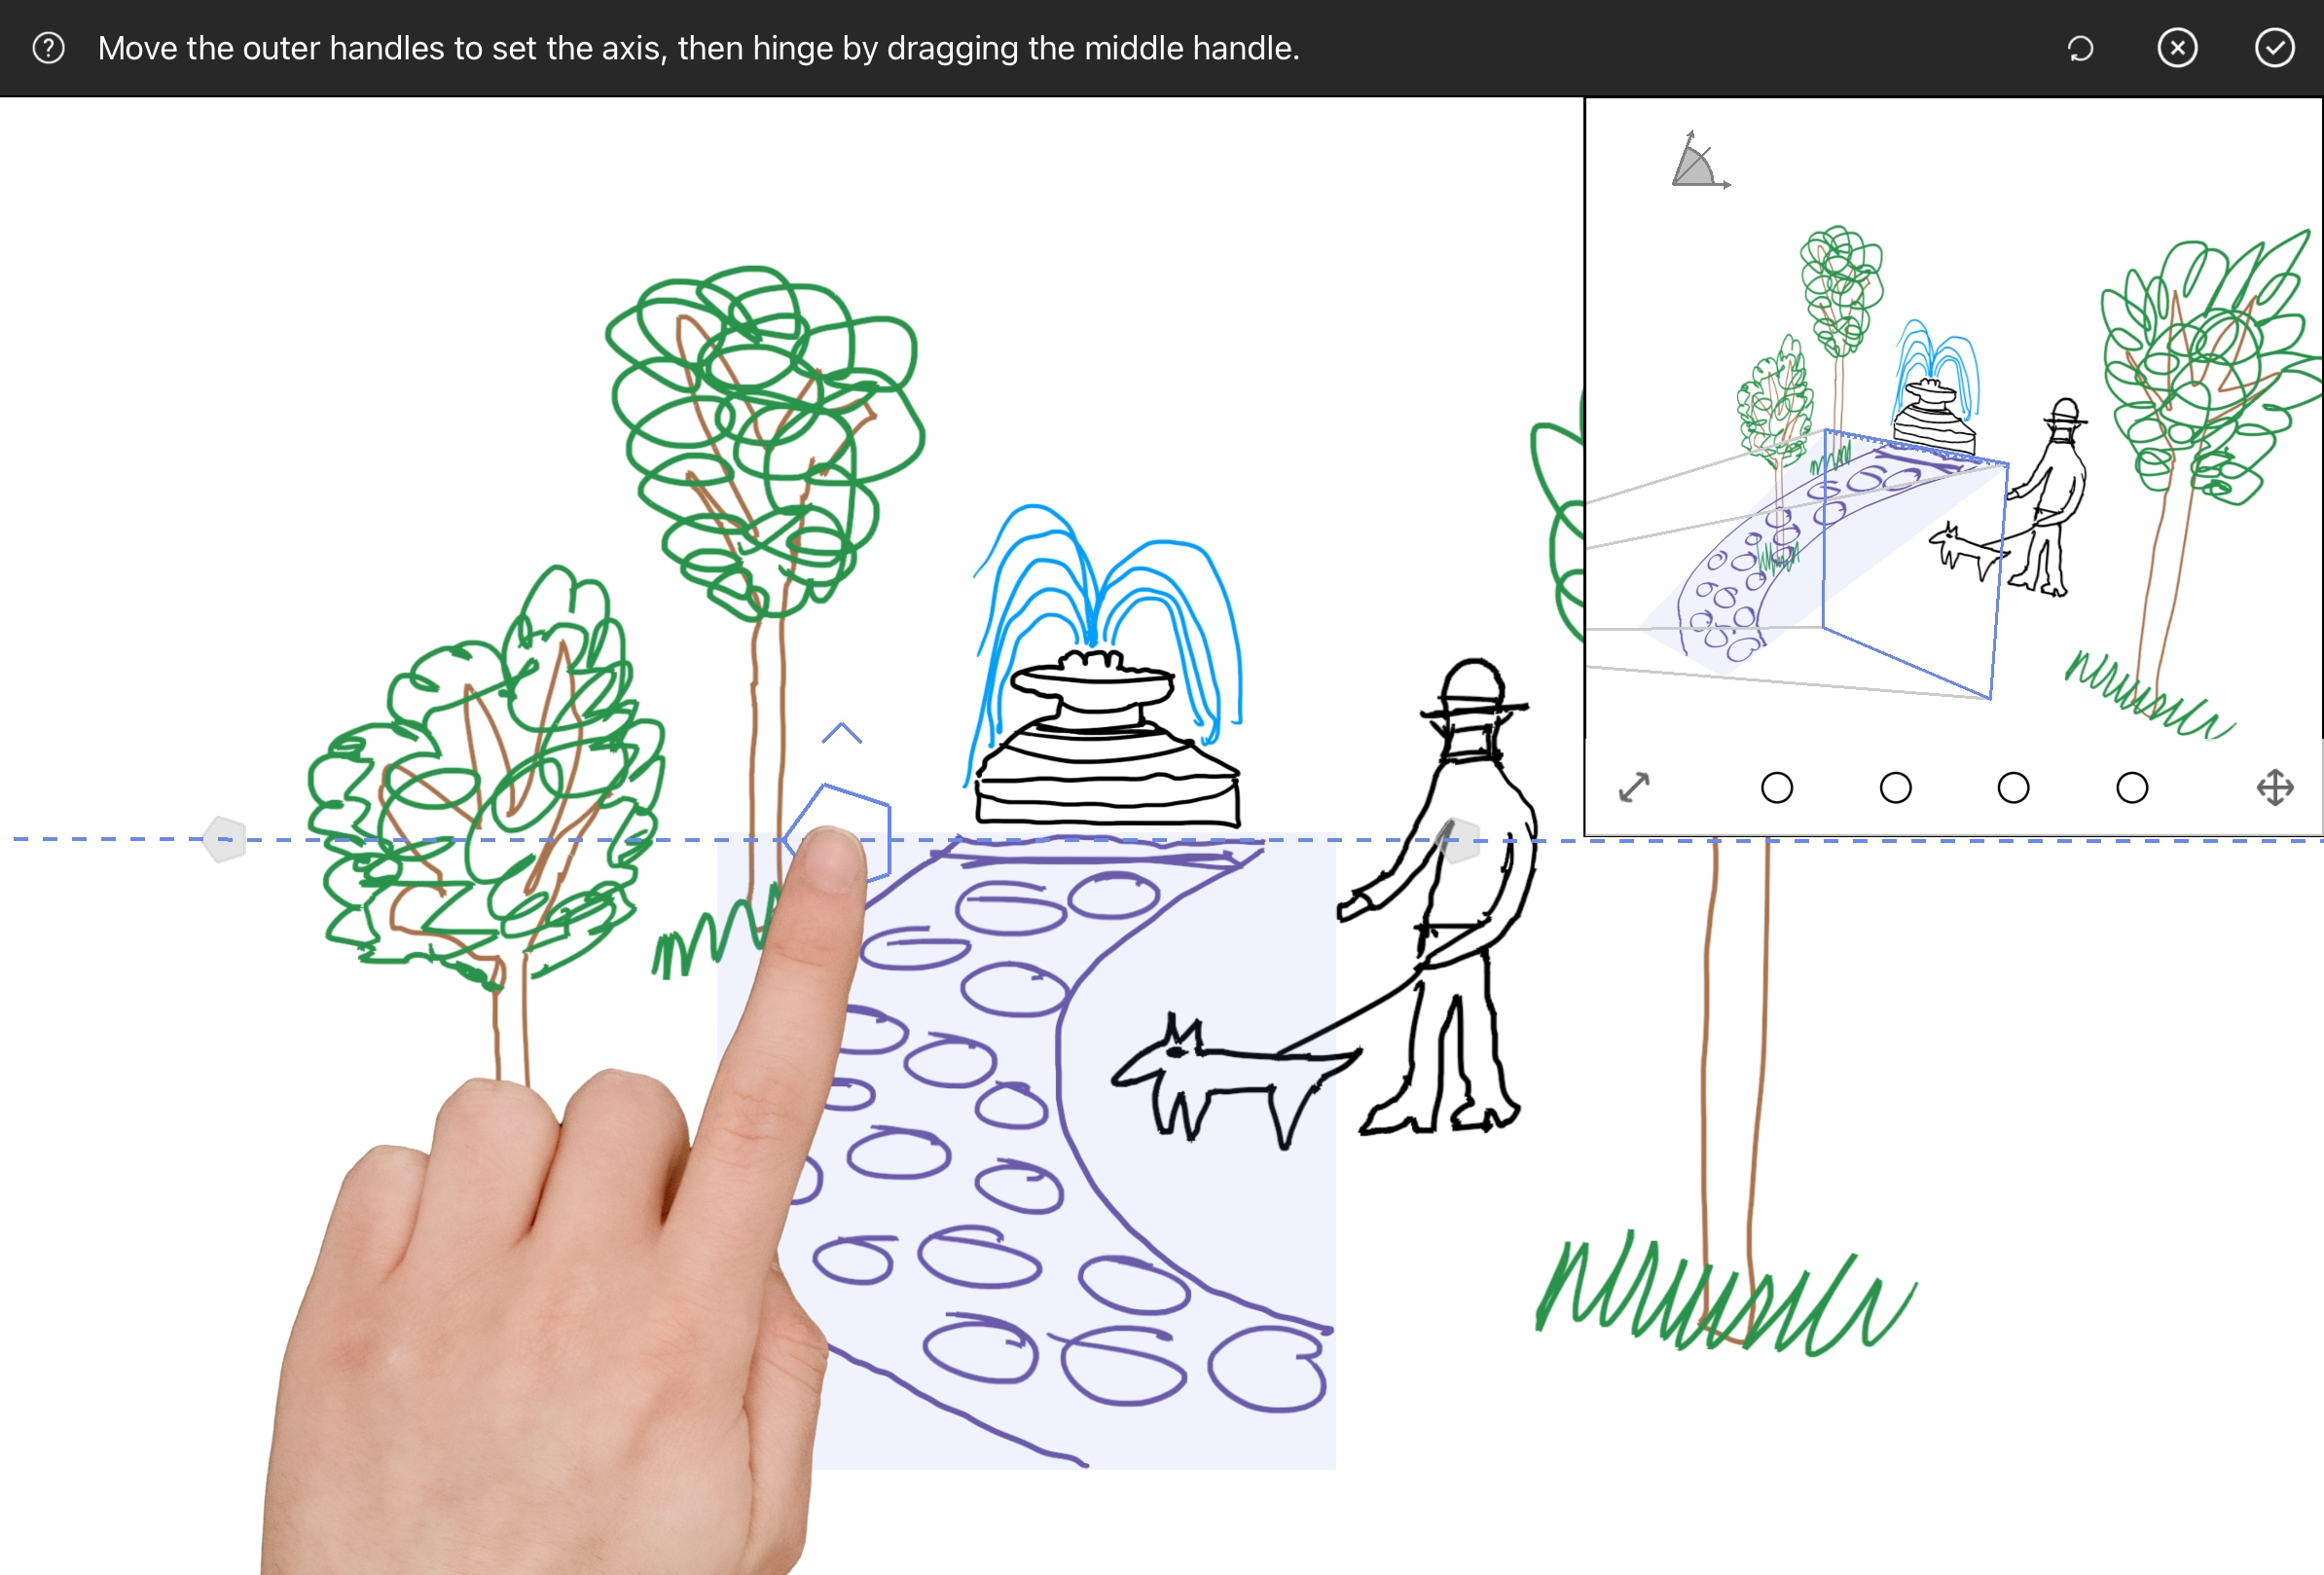
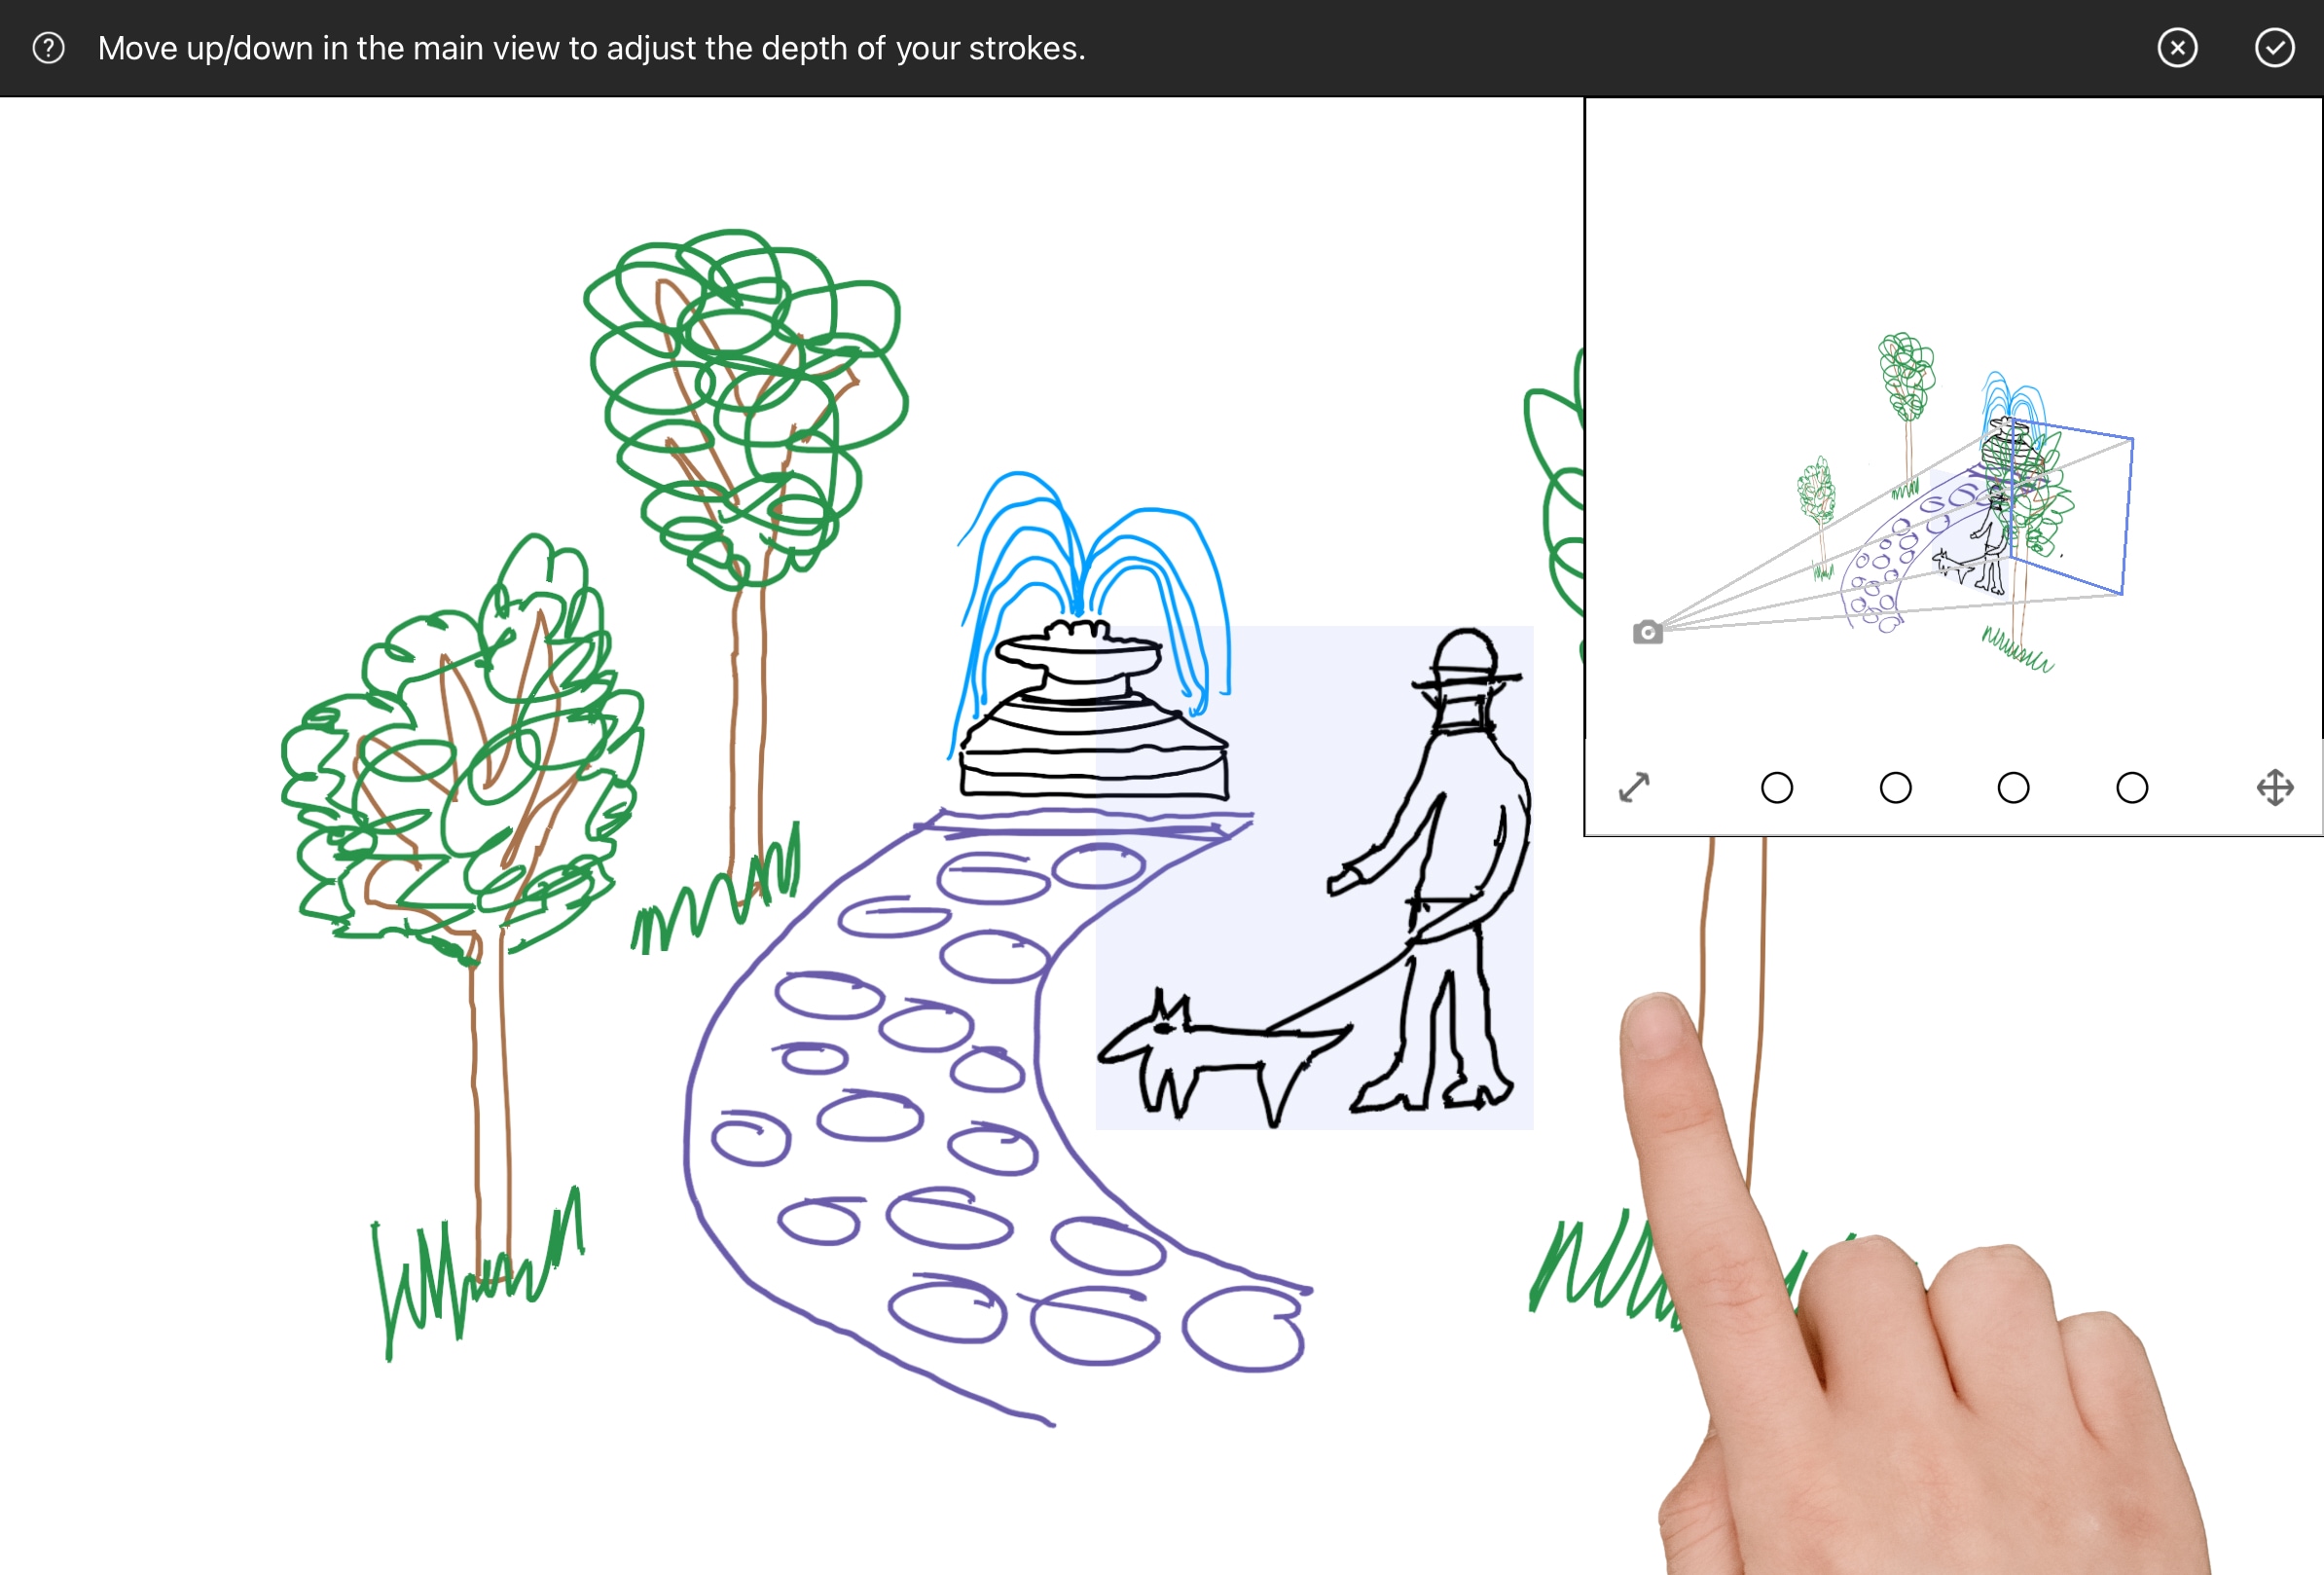
When you’re ready, hit Confirm to finalize the projection.
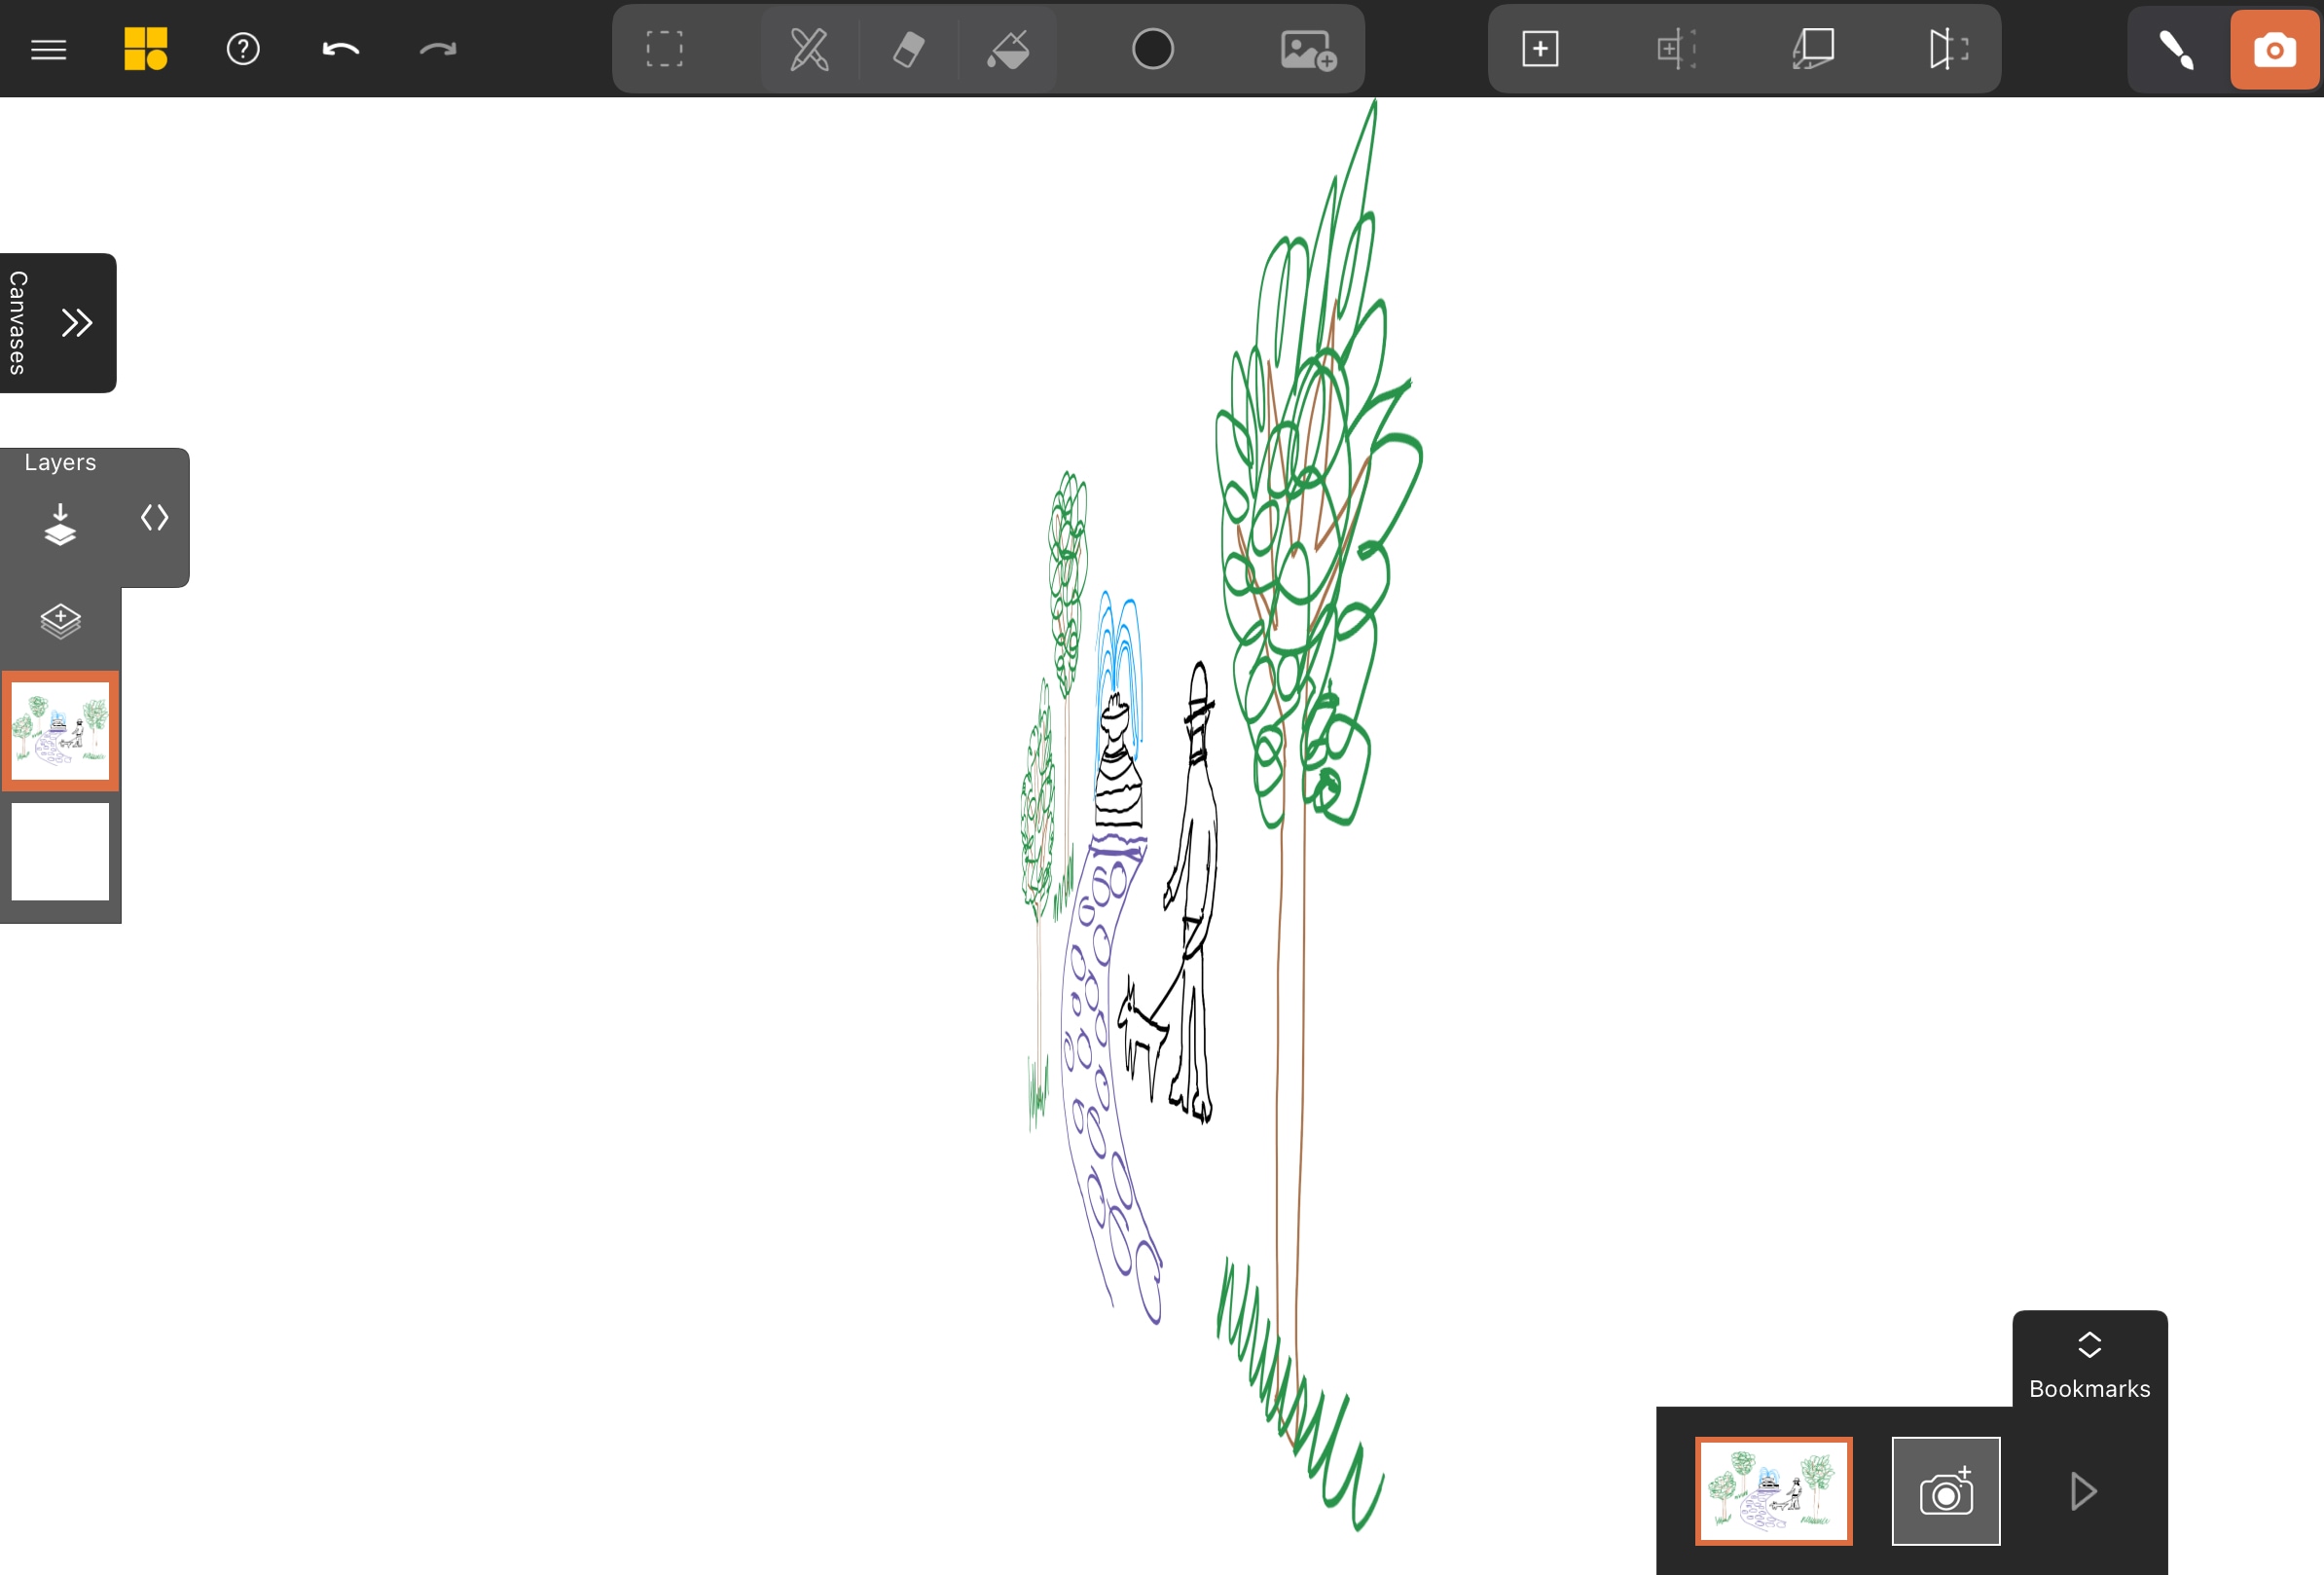
From your original view, the scene will appear unchanged. However, when you switch to View Mode and rotate in 3D, you’ll see that the path has been projected into space and now exists on a separate canvas.
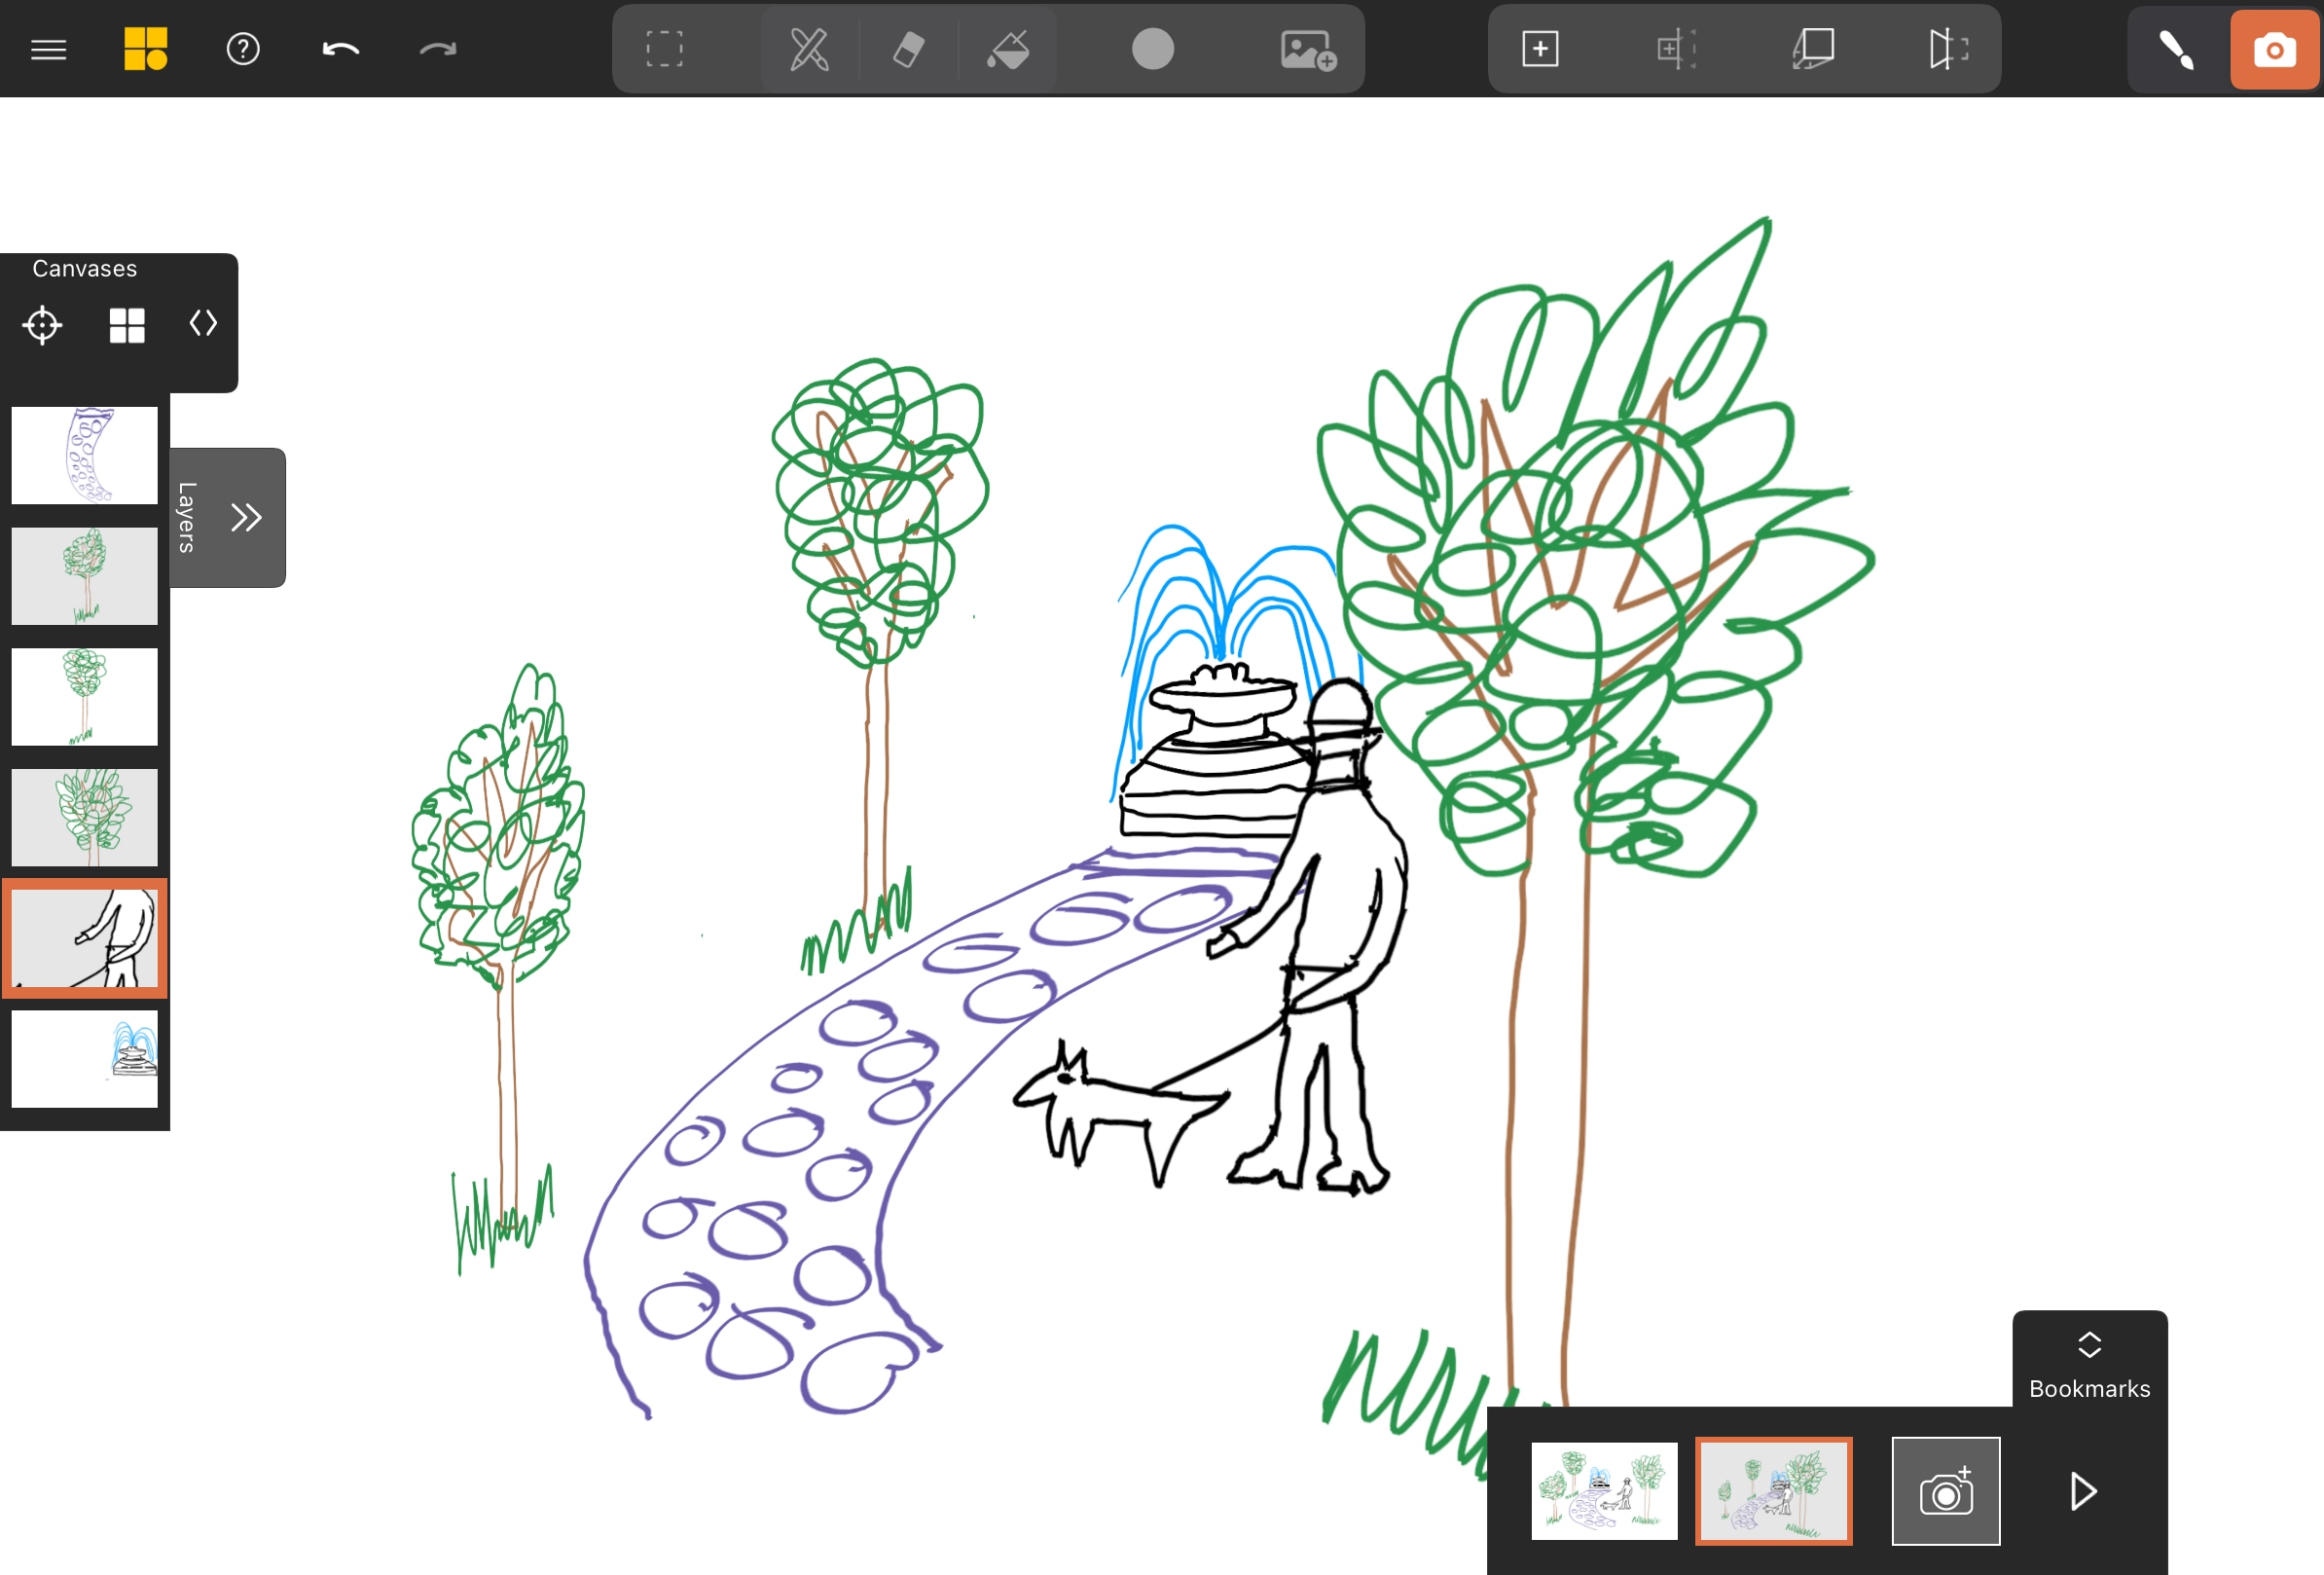
Add Depth to Objects with Parallel Projection
Next, we’ll give depth to the trees and the person walking the dog by using Parallel Projection .
Select the tree and choose the Parallel Projection tool from the Selection toolbar.
Adjust the depth of the tree by dragging your pen or finger. Use the projected ground as a reference.
Repeat the steps for each tree and the dog walker.
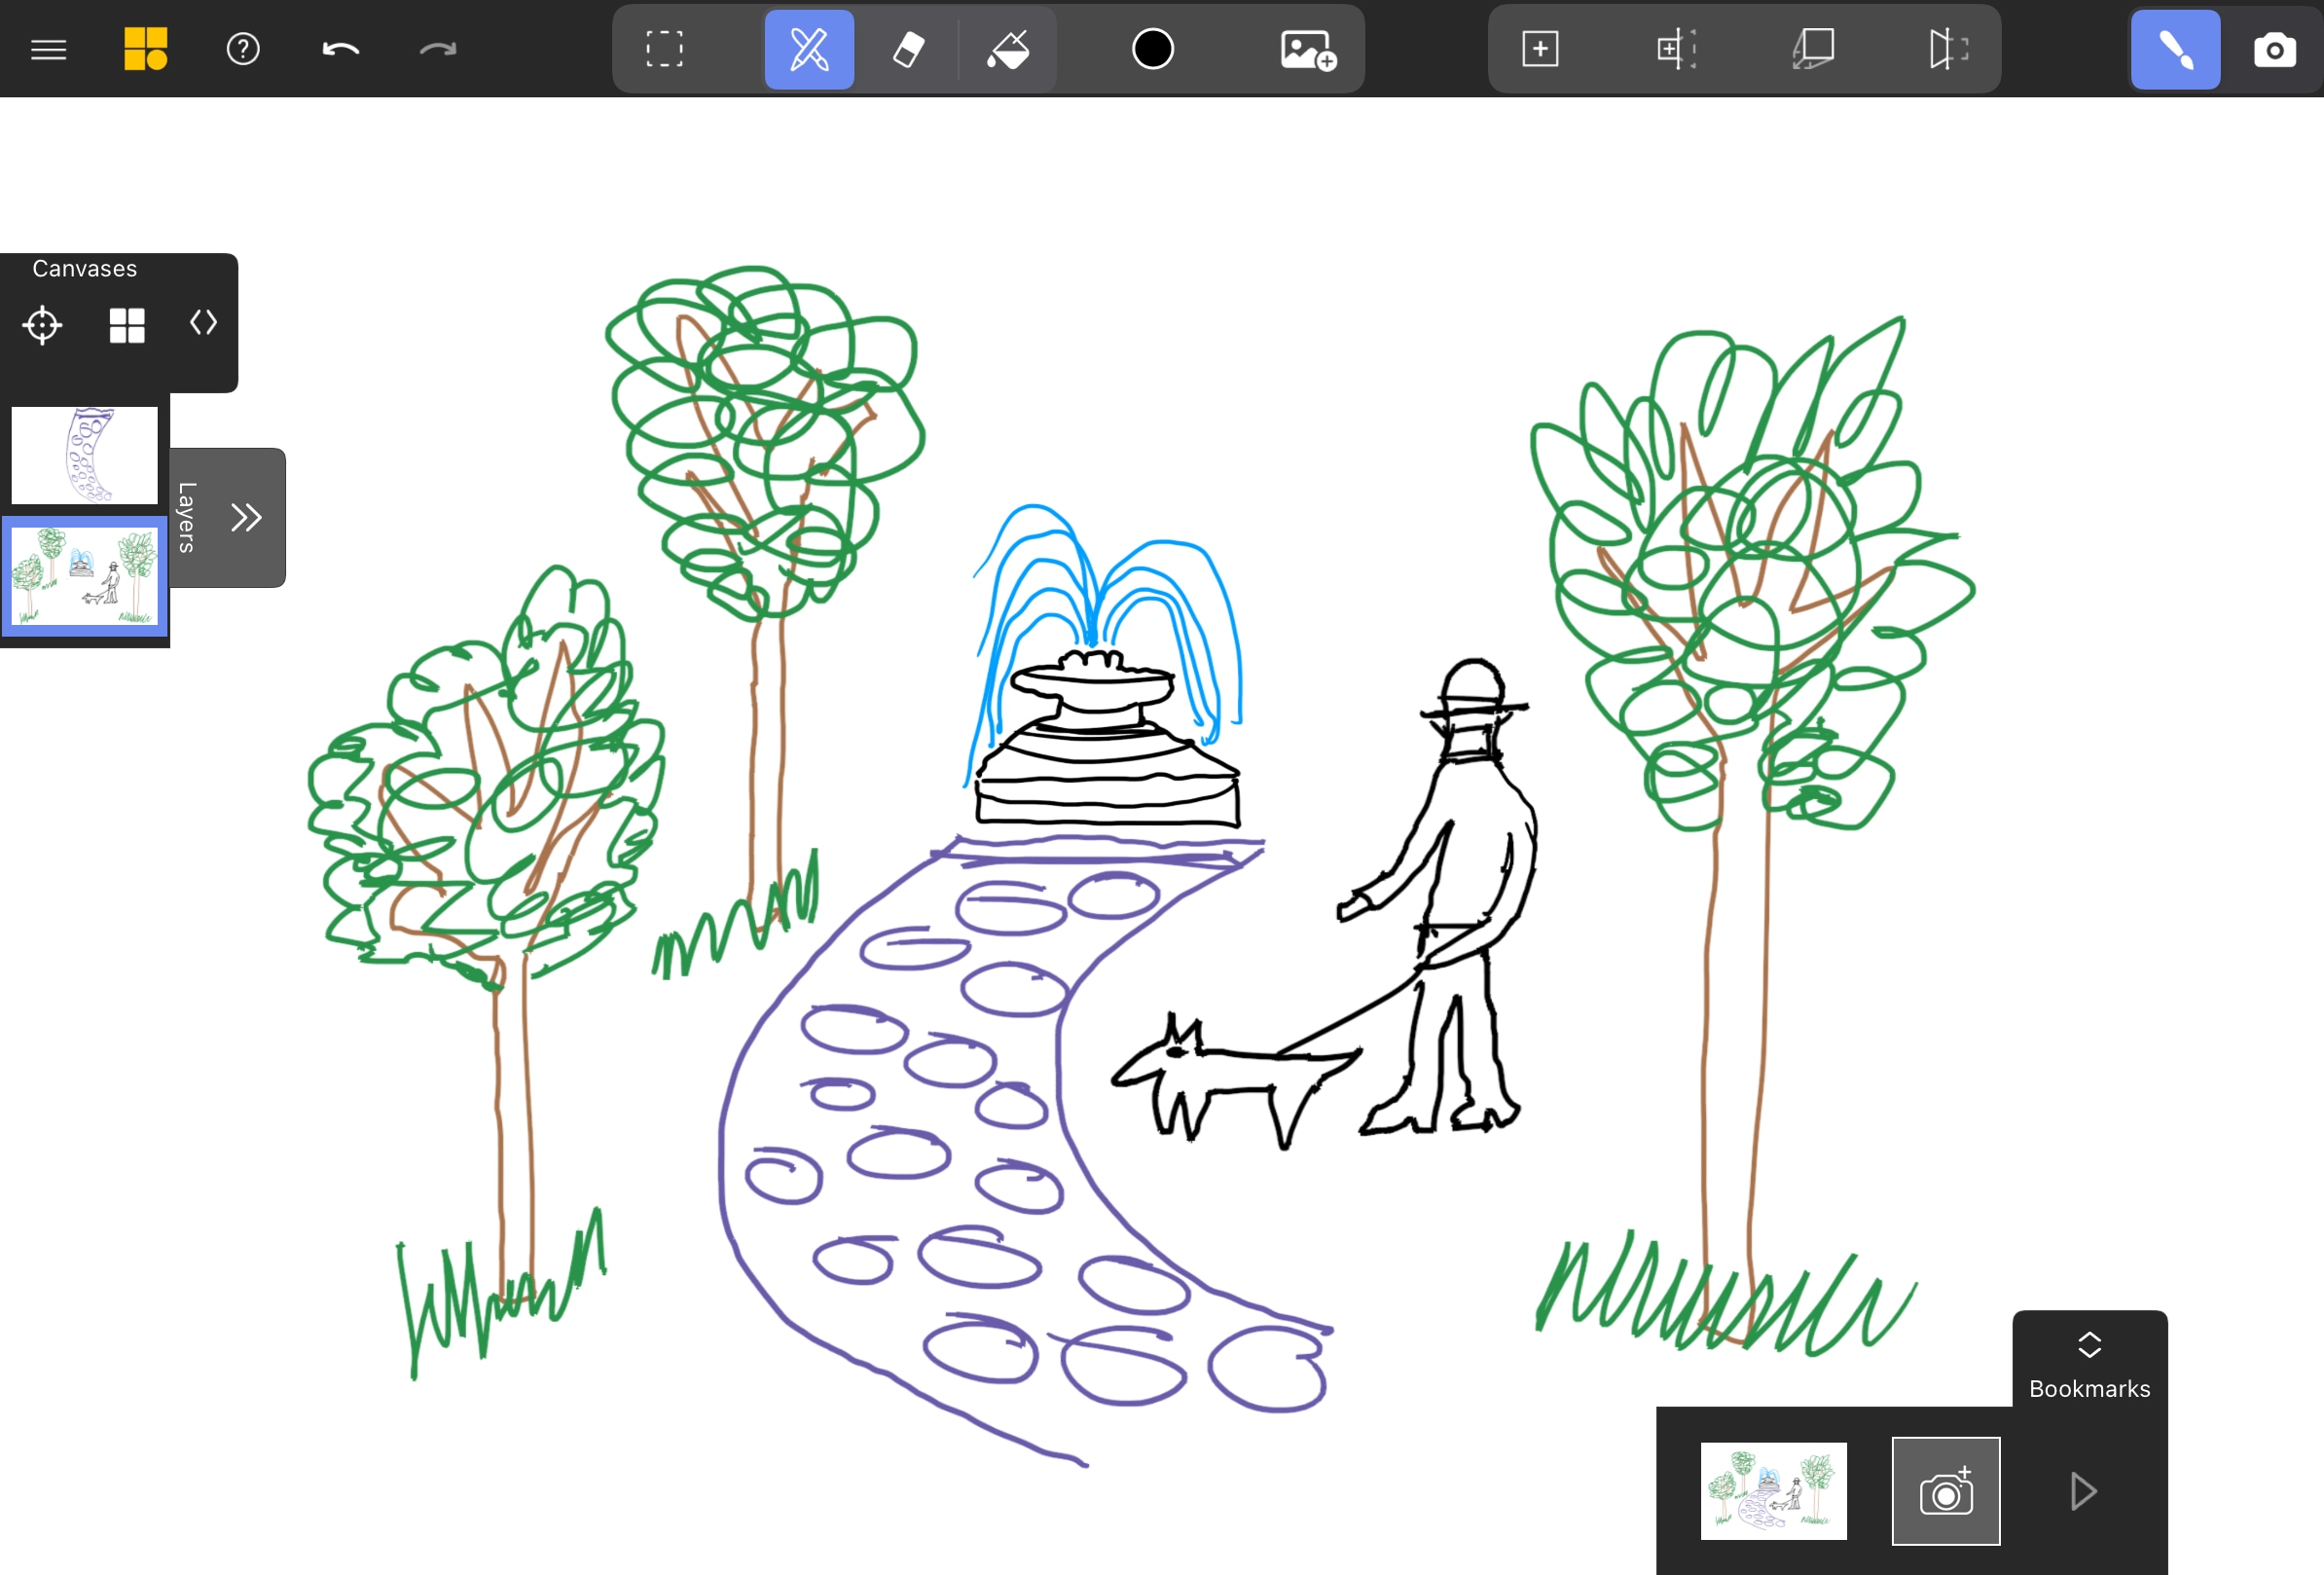
Review the Final Scene
After projecting all elements, the original perspective remains unchanged, but the side views reveal a more dynamic spatial scene. The trees, path, and figure now exist in different planes, creating depth while maintaining the 2D composition from the intended viewpoint.
You can create a flythrough video of your projected scene using the Bookmarks List or publish it as an interactive web scene